Workbench
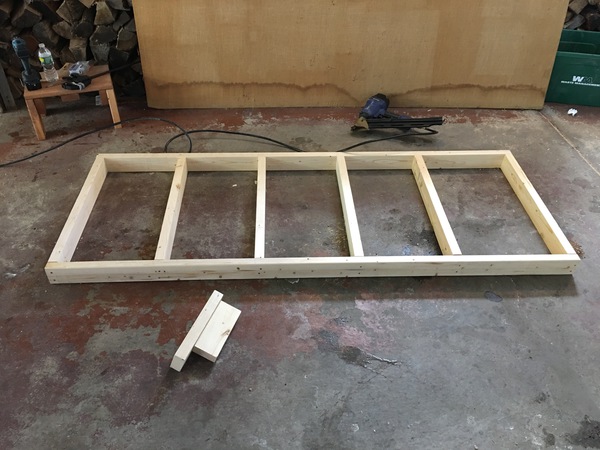
Posted by Dave Eddy on Jan 15 2016 - tags: diyI built a workbench modeled after one that my dad had built in his garage. The design is very straight-forward, it follows conventions for framing a wall or a floor, with 2x4 studs nailed in 16” on center to support the desktops.
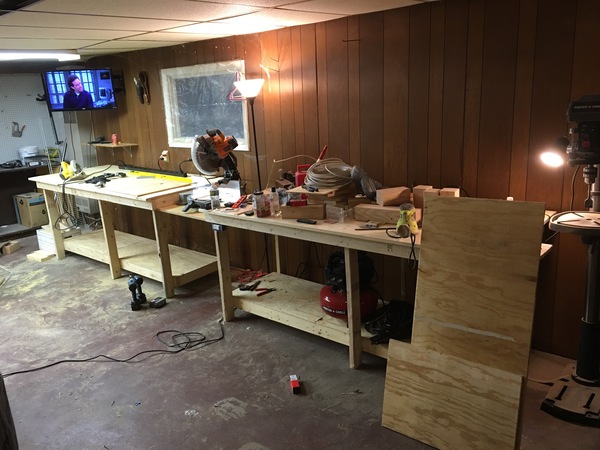
I liked the workbench so much I built a second right after, and connected the two together with a piece of 3/4” plywood to hold my chop saw!
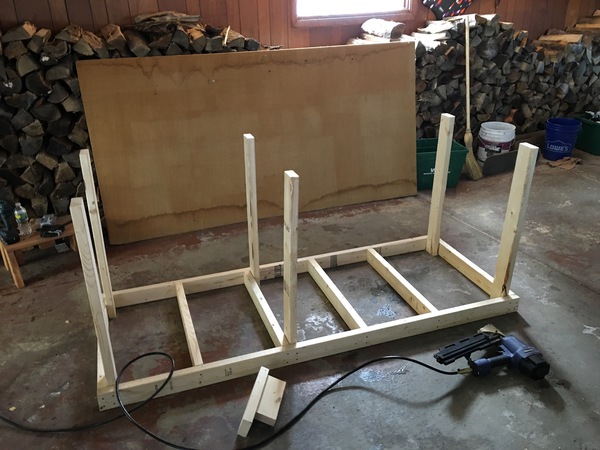
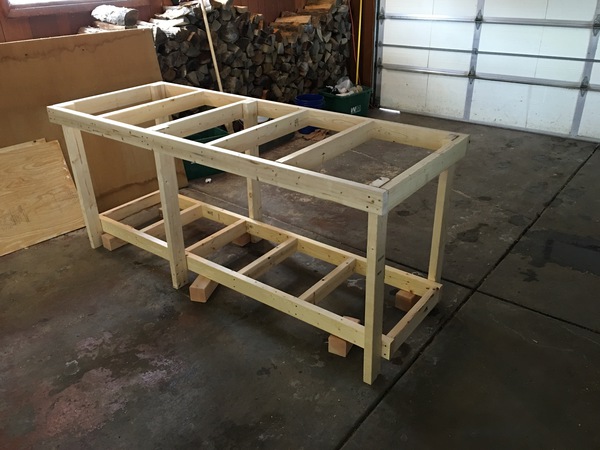
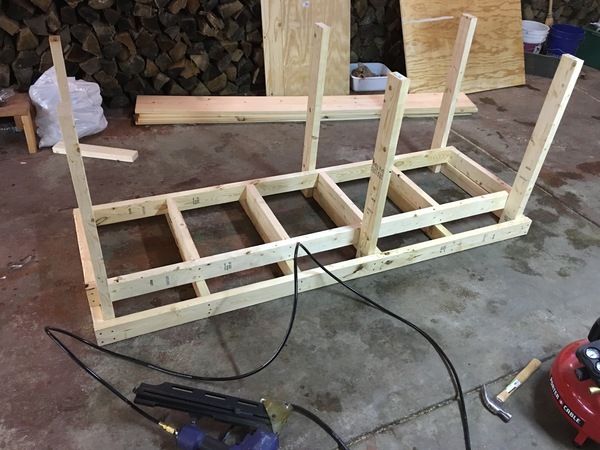
I started by building the bench upside-down, creating the supports for the table top first.
2x4’s used for legs
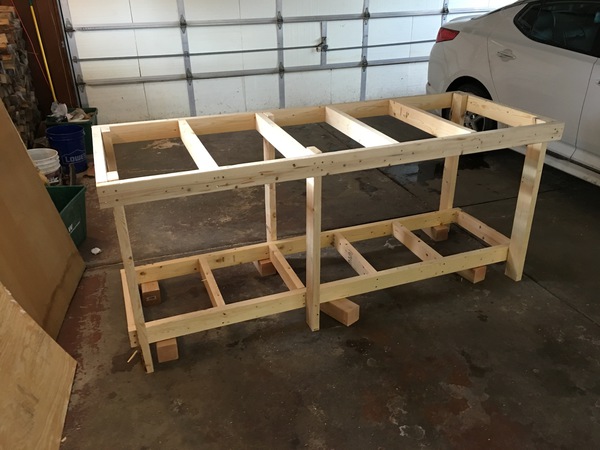
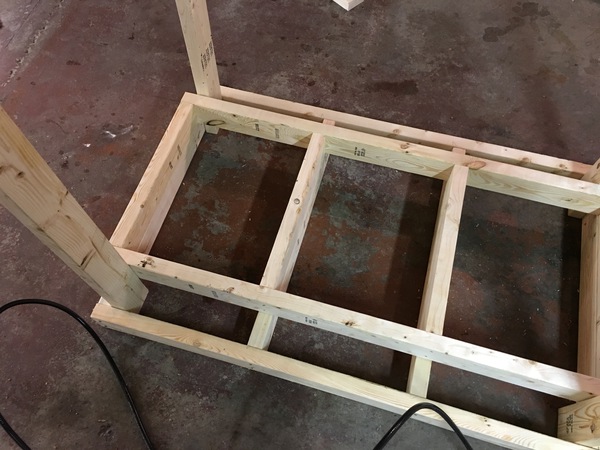
Flipped over, and more 2x4’s added to hold the bottom into place (and to be the bottom shelf). The 4x4’s were used to hold up the wood to be spacers. This way, the bottom shelf is roughly 4” (exactly 3.5”) off the ground.
Another angle
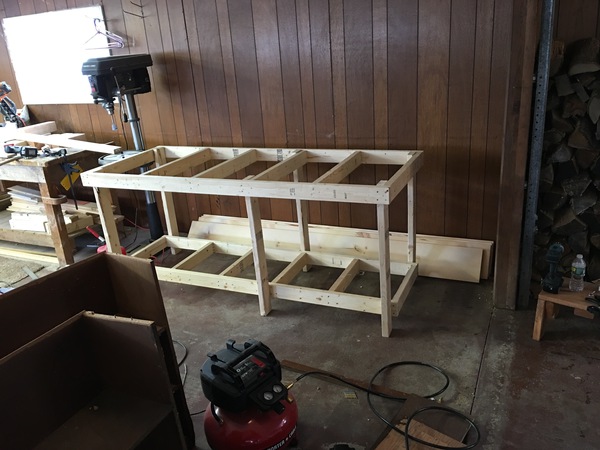
Where the first bench is going
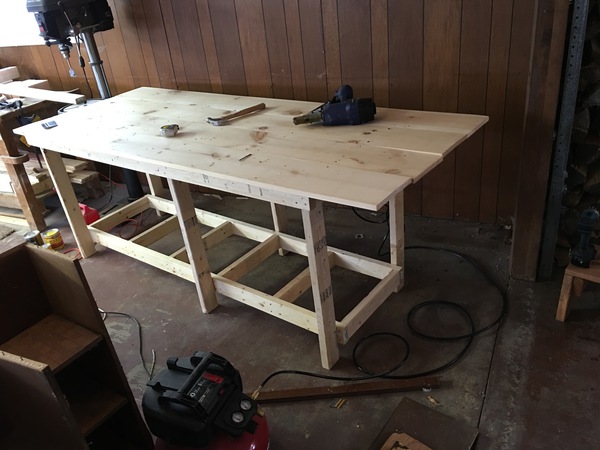
Pine pieces nailed in for the desktop - I used a circular saw to trim off the excess
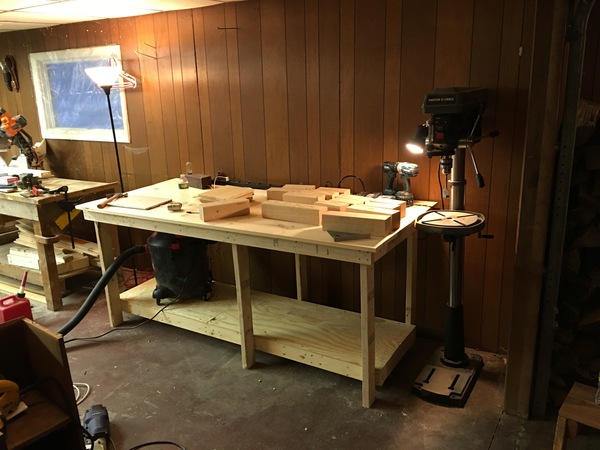
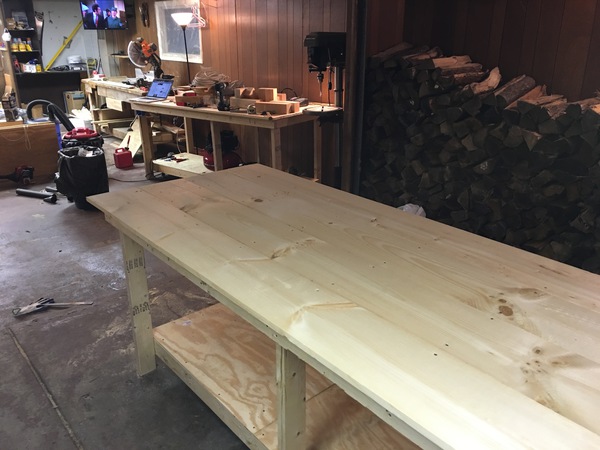
The first workbench in place.
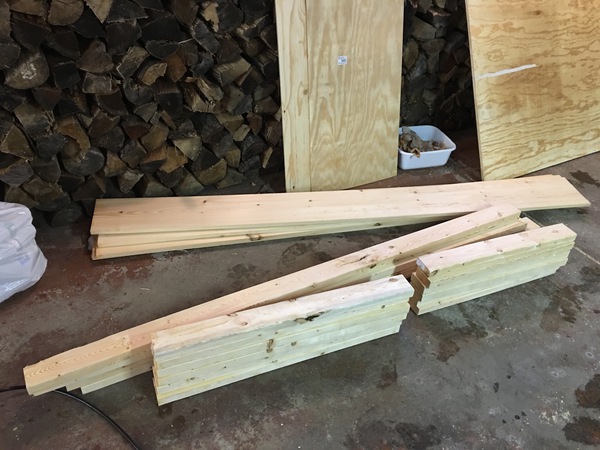
First cuts for the second bench!
Basically the same process as the first
I built in the bottom shelf before flipping the piece this time
Fully assembled with plywood on the bottom shelf
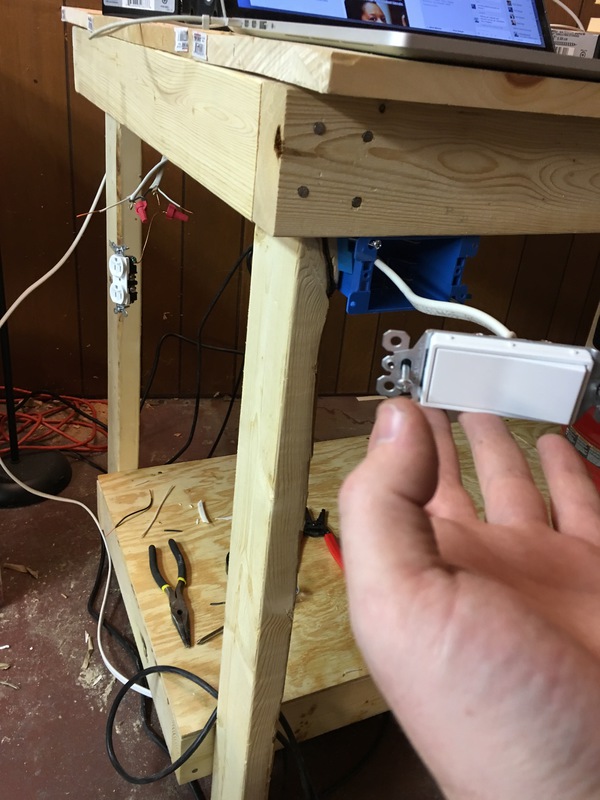
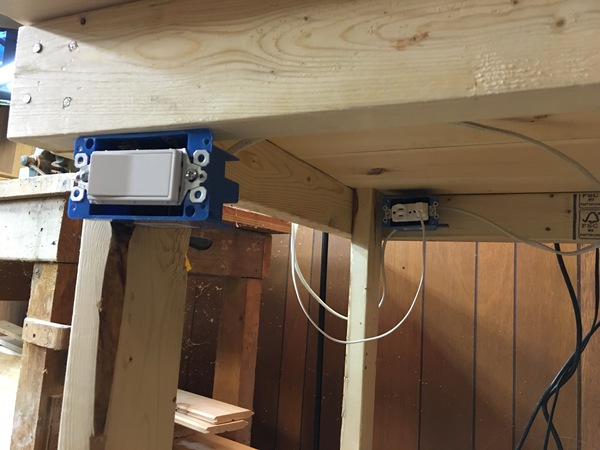
The second bench has a switch in the front and an outlet in the back - the idea here is to have an easy way to flip on and off the shopvac that is used for the chop saws dust collection.
The wiring all done.
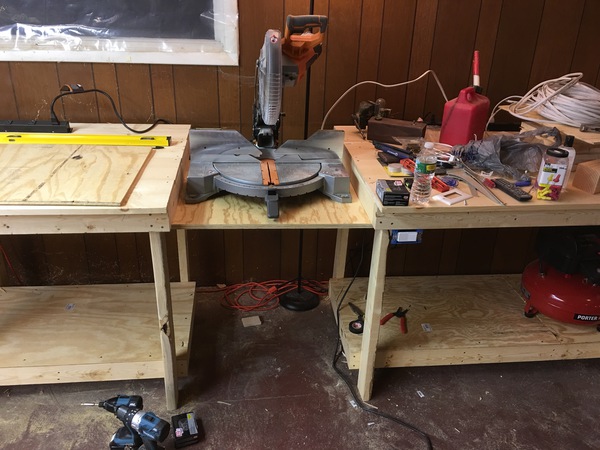
Joined together, with the saw in place.
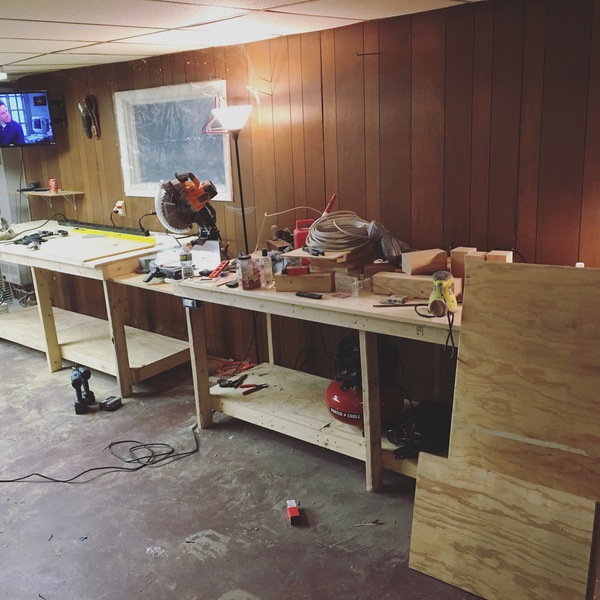
Finished
