DIY Desk
Posted by Dave Eddy on Apr 15 2016 - tags: diyI built a desk. No formal plans or anything, just used some 4x4’s for the legs, 2x4’s to support the table top, and 1x6’s for the table top.
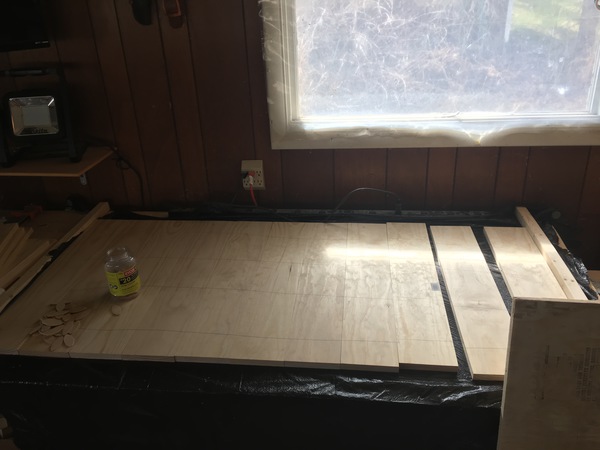
Getting the desktop pine boards ready to biscuit join
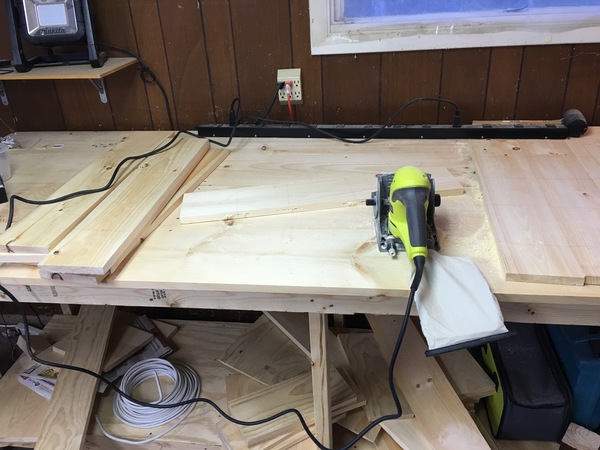
Creating the biscuits in the boards
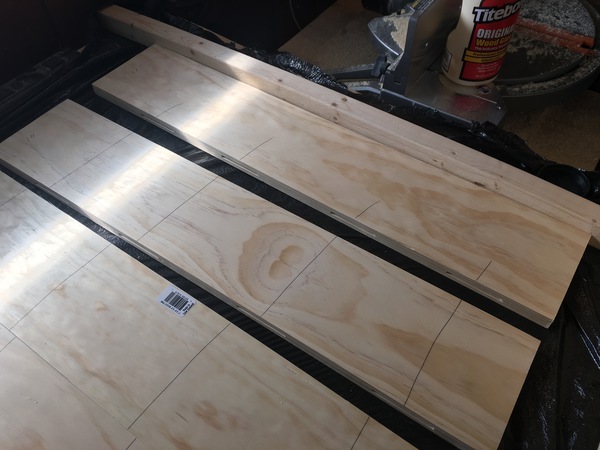
All of the biscuits cut, ready to glue
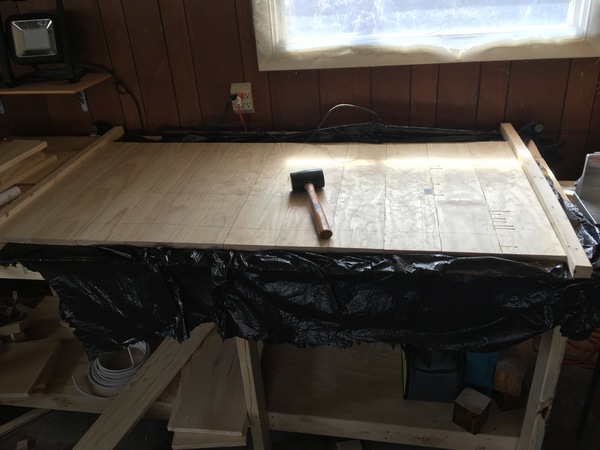
Biscuits in place and glued. The pieces at the end were clamped to the table, and the mallet was used to push them tightly together to create a really tight bond. I didn’t have clamps long enough for the entire table so I had to improvise.
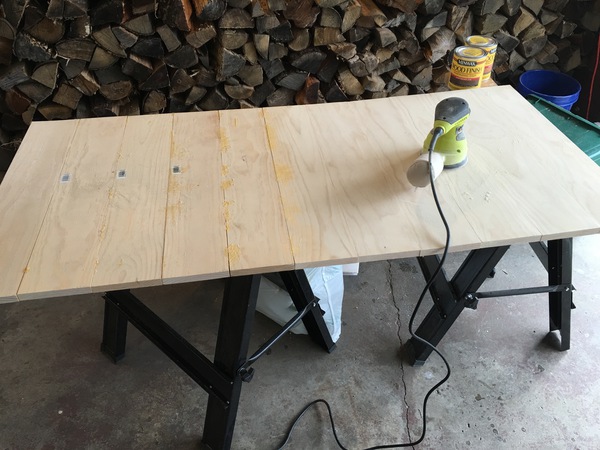
Table top is assembled, now time to sand it down and make it all sit flush and get ready for staining
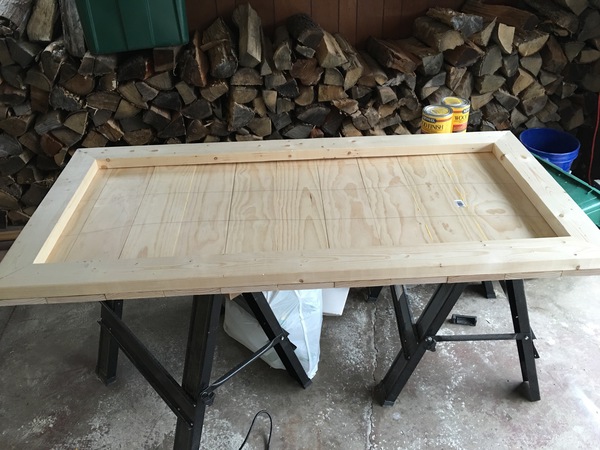
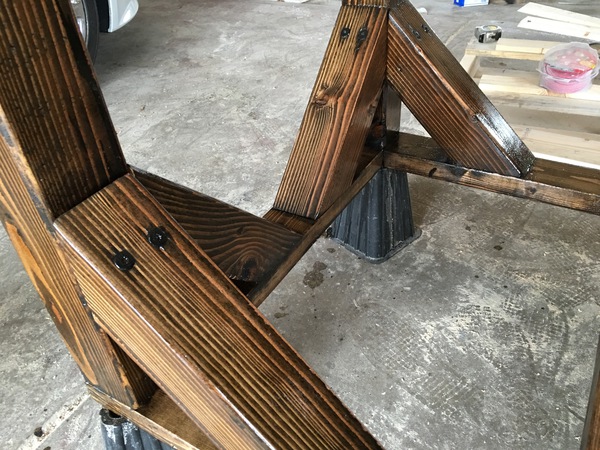
2x4’s cut with 45 degree angles to act as the frame that’ll support the desktop, dry fit right now
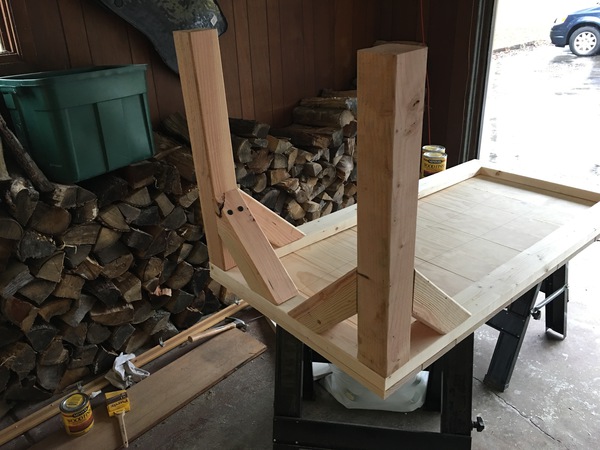
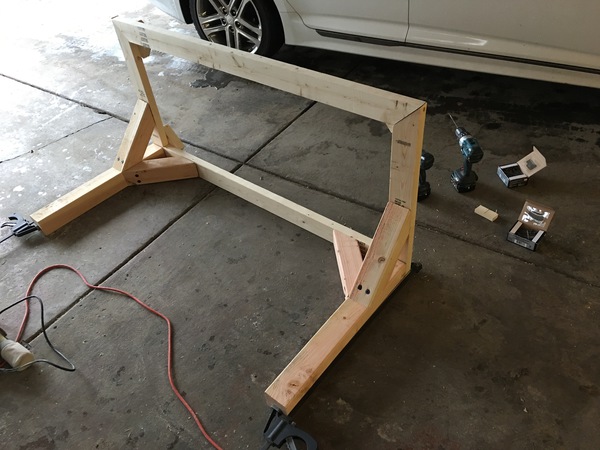
Two out of the 4 legs screwed into place
What the desk looks like so far - 2 out of 4 legs installed
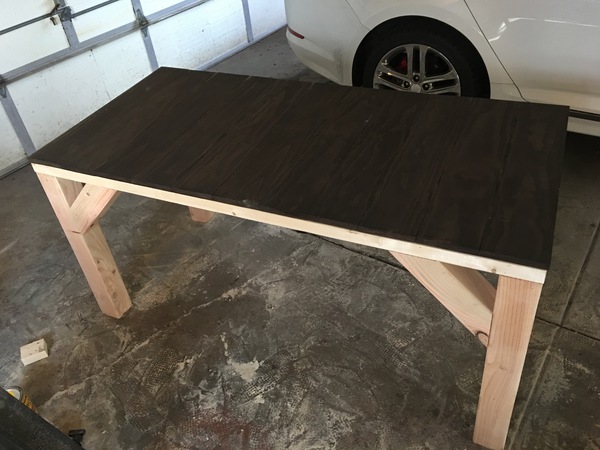
Stained desktop on top of the frame. Huge shoutout to Sarah on this one. I didn’t like the way the wood came out looking with Ipswich Pine stain (very light stain), so I was going to trash this desktop and remake it with different wood. She stained it with a way darker stain (espresso) because it really didn’t matter, since I was just going to throw it out. Long story short I ended up liking it A LOT so I kept it, and made the whole desk espresso!
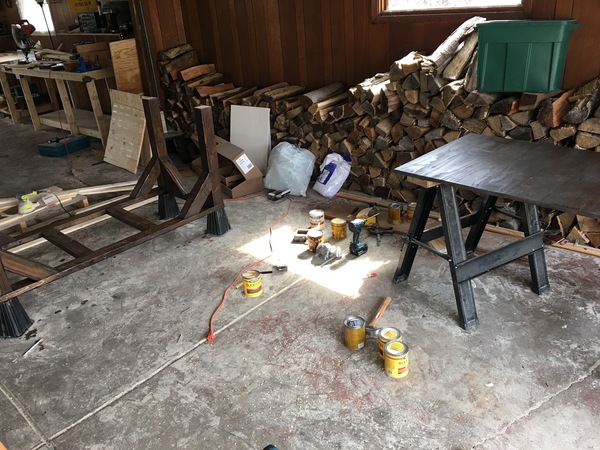
All 4 legs installed and the desktop just placed on top (not screwed in)
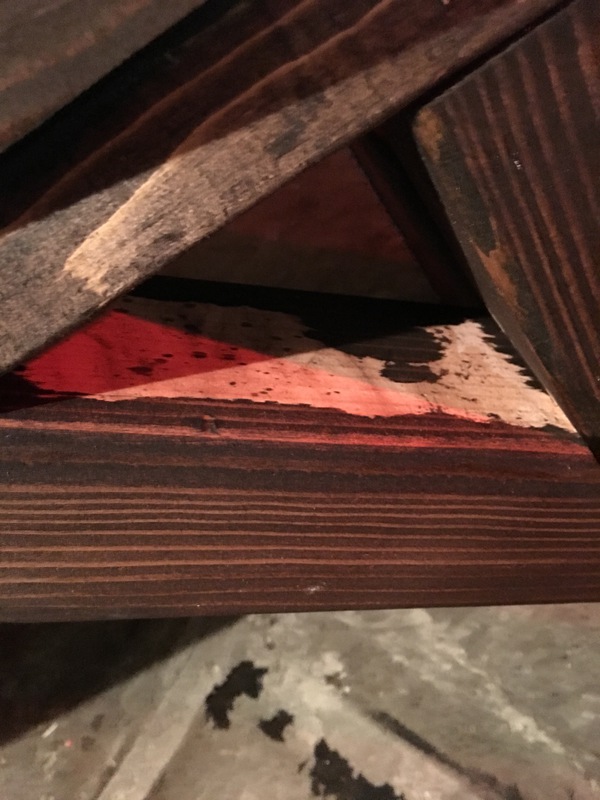
Sarah helped me stain the entire desktop…. we kinda suck I guess hahah
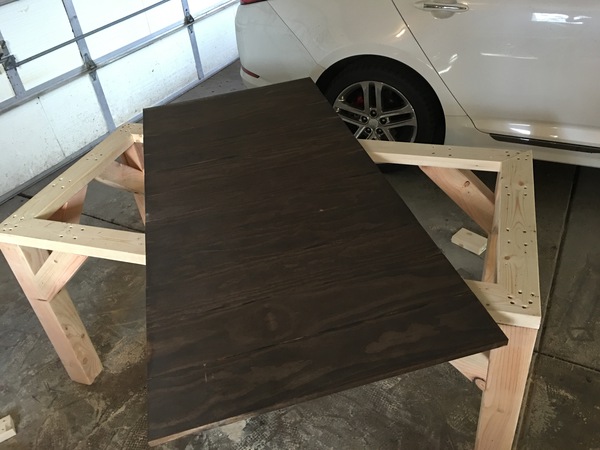
Stained desktop ready to be finished (not screwed together yet)
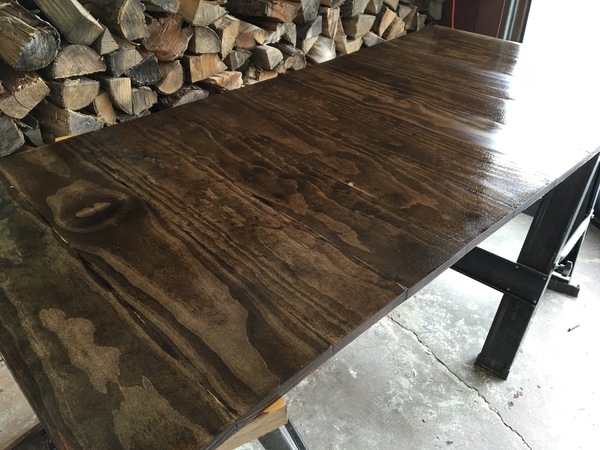
Desk frame and desktop being finished (clear satin polyurethane)
Poly drying on the desktop (7 coats total) - silky smooth.
Poly drying on the frame (3 coats total)
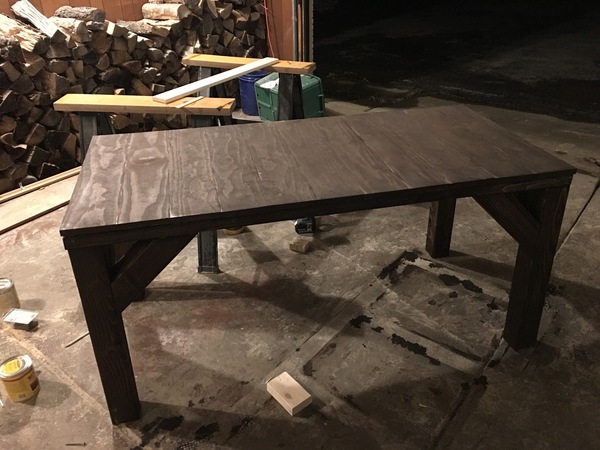
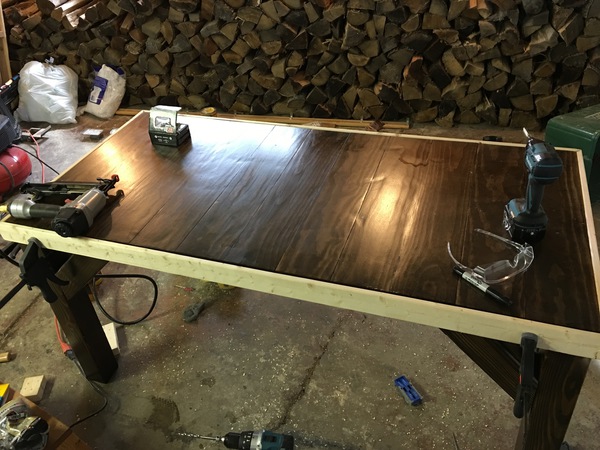
Desktop and frame screwed together, 1x3 pine boards used as moulding around the entire desk (cut at 45 degrees), dry fit with clamps, and eventually brad nailed in and stained
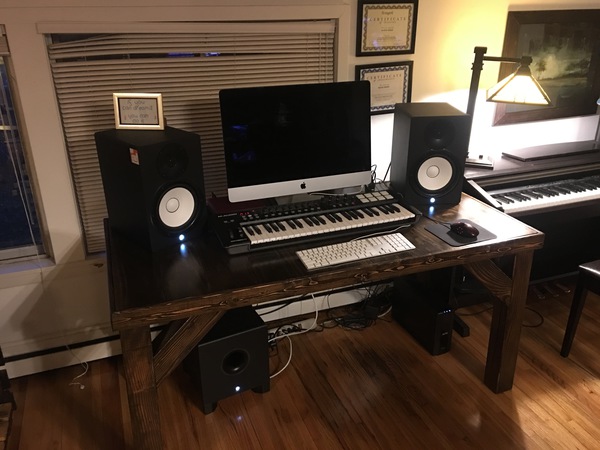
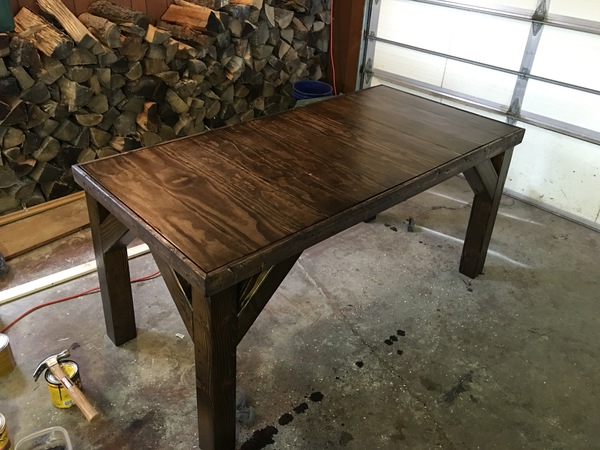
Finished desk!
My old desk that was replaced, which is actually patio furniture from Ikea.
