Pine Faux Beam with Recessed Lighting
Posted by Dave Eddy on Sep 21 2016 - tags: diyMy house has 2 beams that run through the entire upstairs to hold the roof up. I decided to make a 3rd “fake beam” to run through the center of the ceiling with recessed lighting.
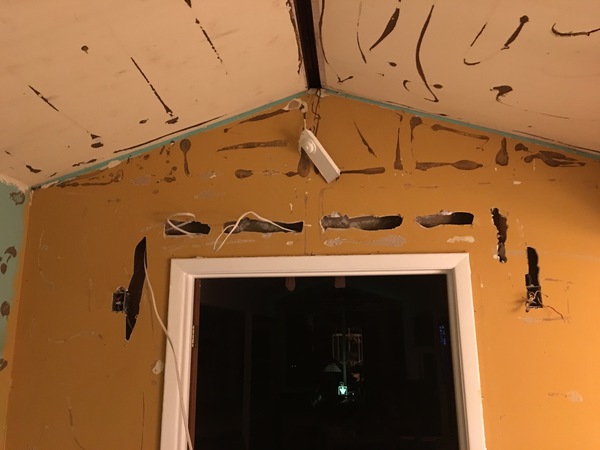
Here’s what the wall and ceiling looked like before. The holes were made to run all of the new electrical lines to power the beam.
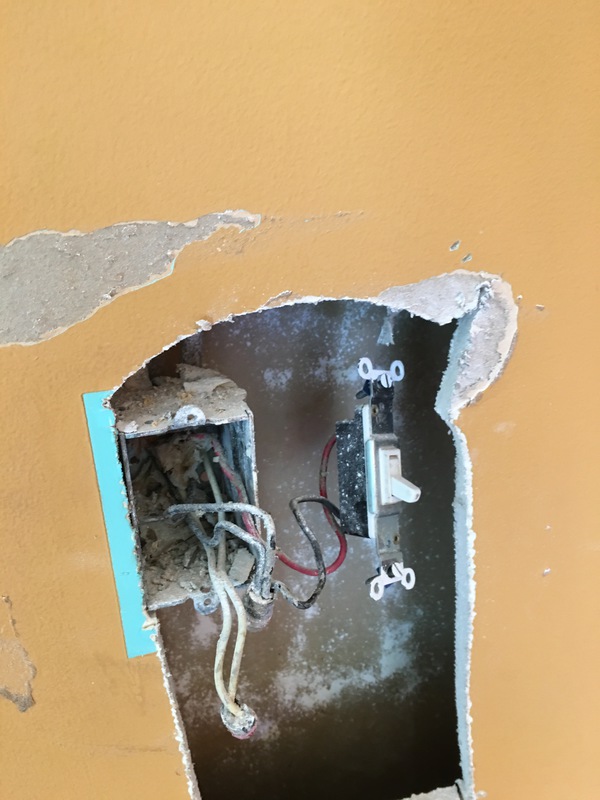
This single switch will be replaced with a double: one switch to control the lights on the wall, and the other to control the beam.
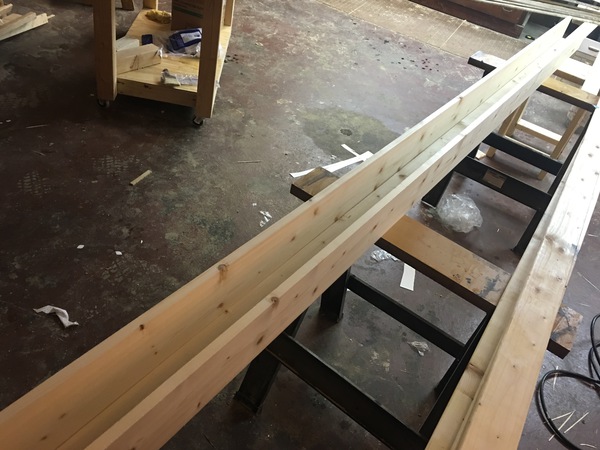
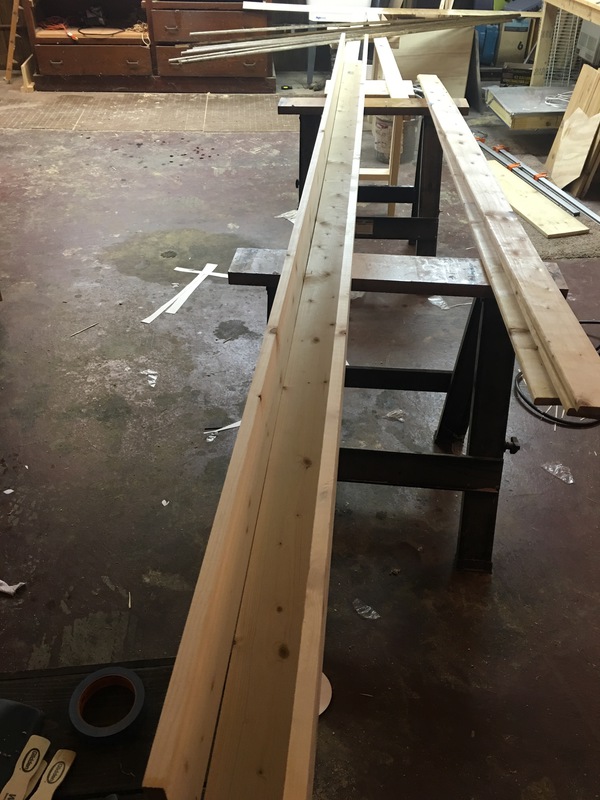
The beam was made with a 1x4 at the bottom, and 1x6’s on the side, with the whole thing about 11 feet long.
Different angle
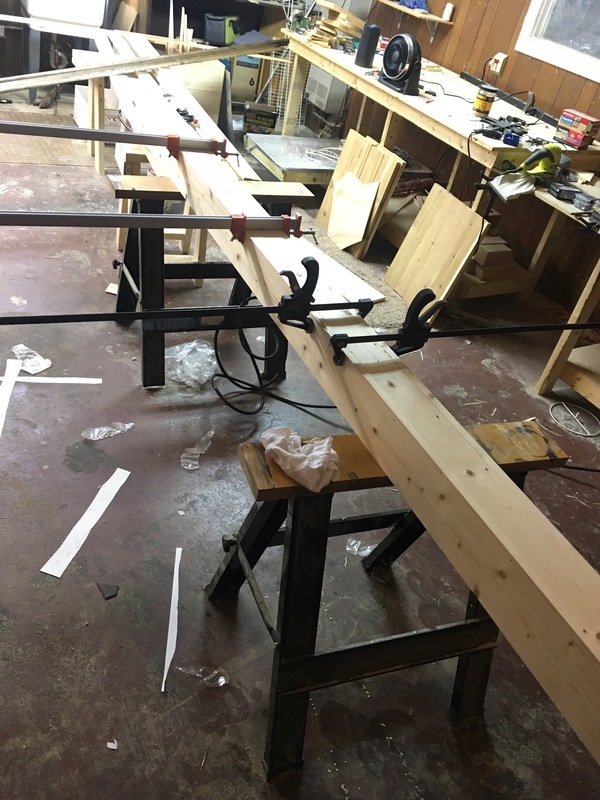
Beam was glued, tack nailed, and clamped together
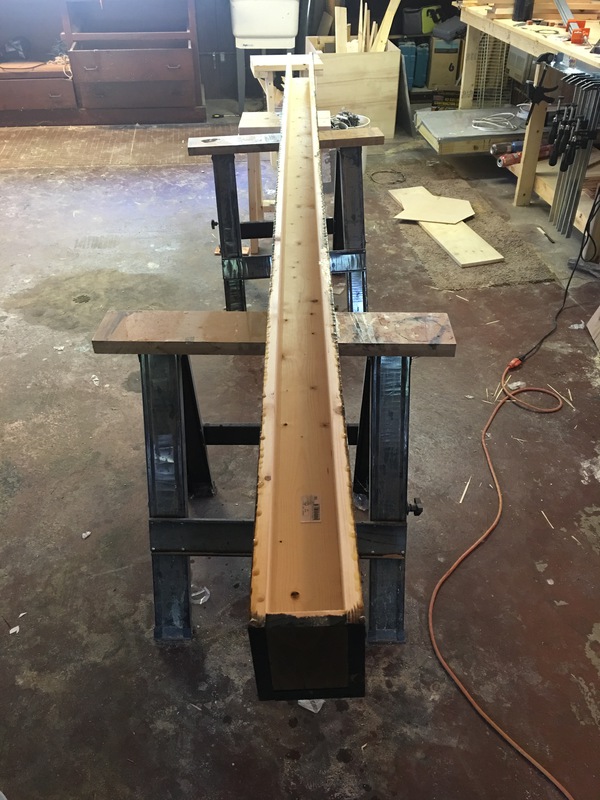
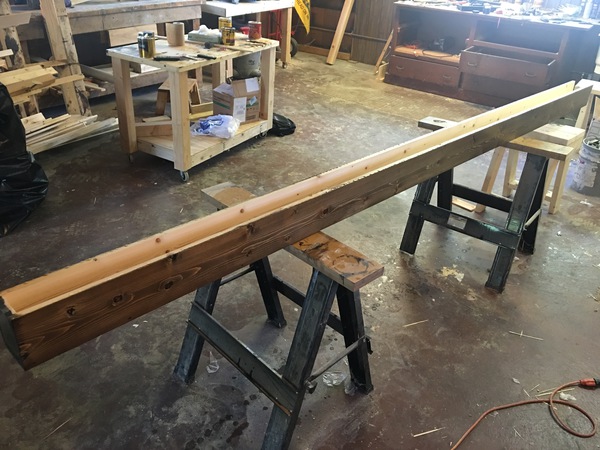
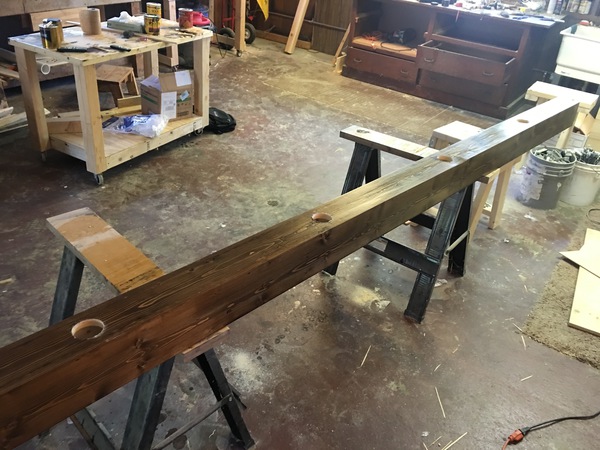
Dark walnut stain and 3 coats of polyurethane applied
Another angle
Holes cut for the recessed lighting!
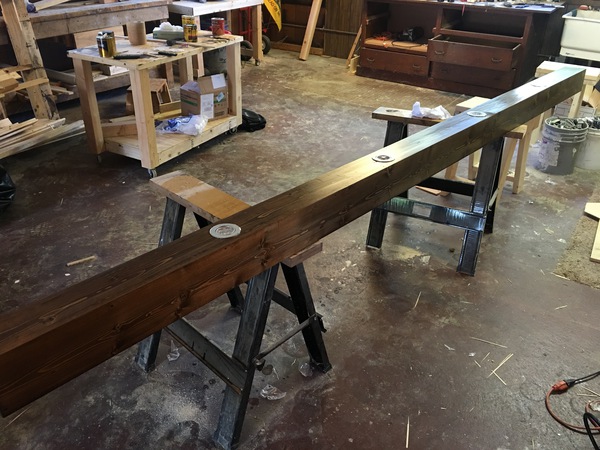
Lights installed with Gorilla Glue.
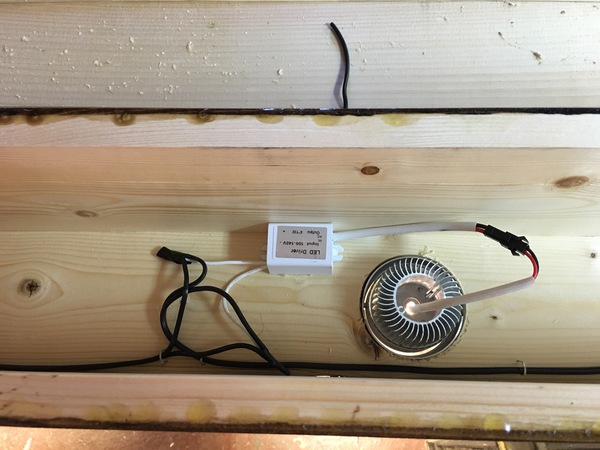
Normal recessed lights are about a minimum of 6 inches deep, which definitely wasn’t going to work for this project. Instead, I found these Low-Profile LED lights on Amazon for ~$8 each.
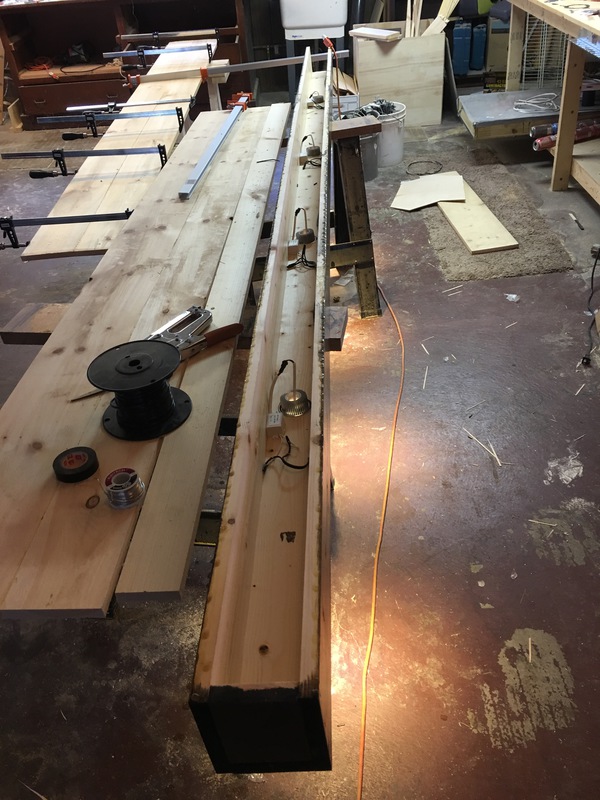
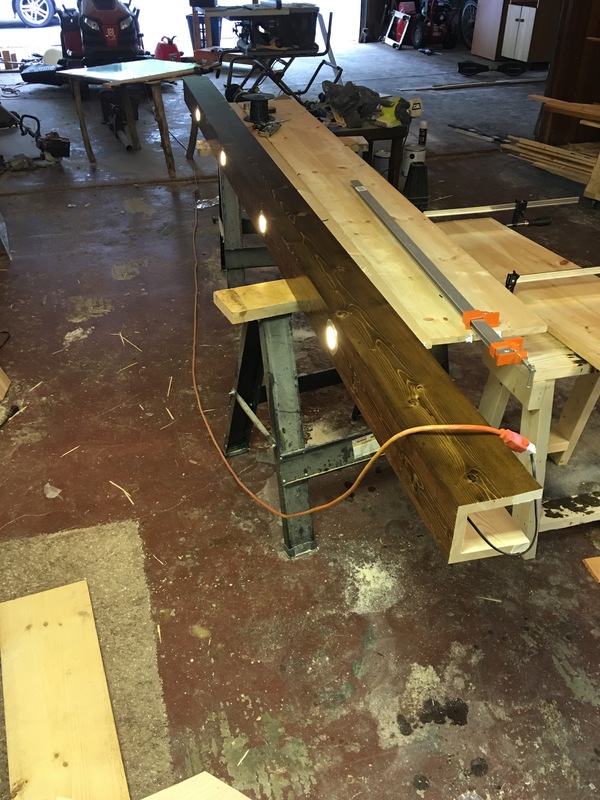
Underside, showing the lights wired in and running.
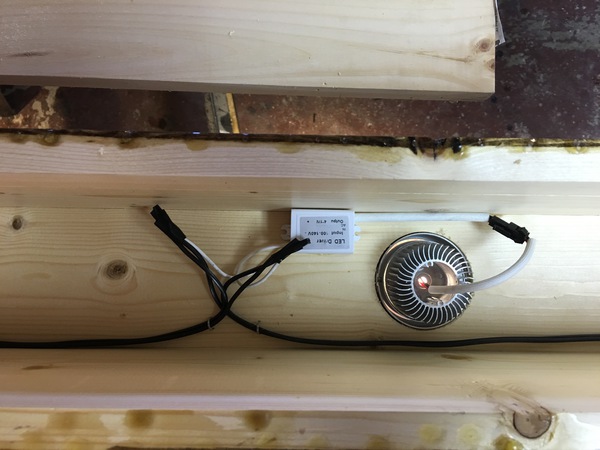
This is how the lights were wired: The lights come with their own little transformer that has 2 wires dangling off of it. I soldered with wires to basic lamp wire I had lying around, and repeated that process for each light.
Straight over shot
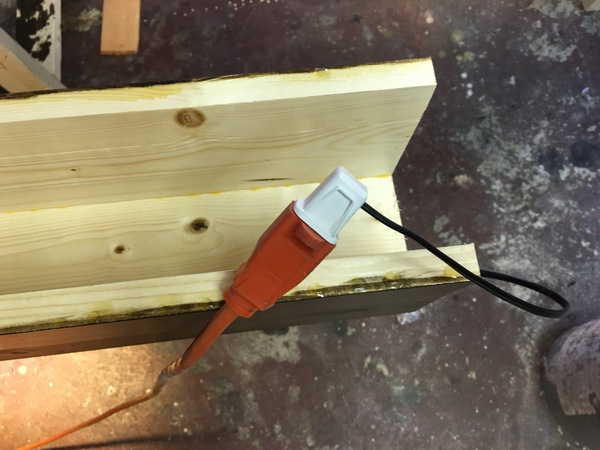
At the end of the lamp wire I attached a plug so the entire beam acts like a lamp - you just plug it in to a normal outlet to power it.
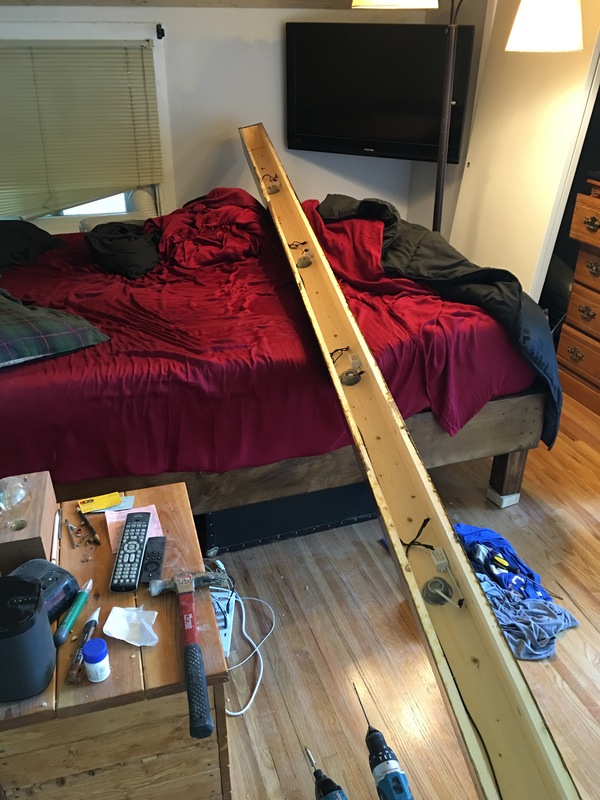
Beam sideways to see the wiring and the light output
Beam ready to install in my bedroom… this thing is ridiculously long!
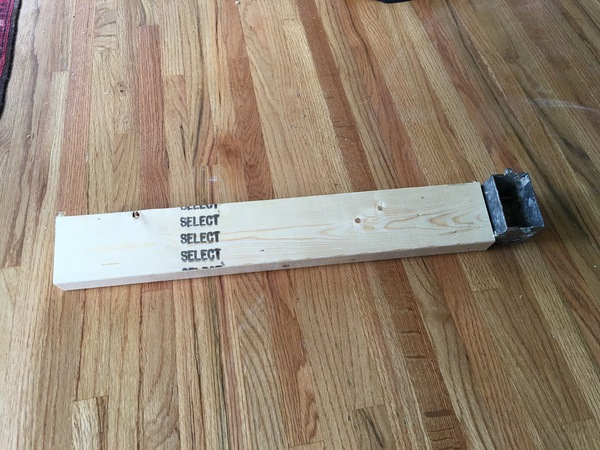
To install the beam I made these 2x4 pieces that I screwed into the ceiling, and then screwed the beam into. For the piece on the end I installed an outlet so the beam would have something to plug in to.
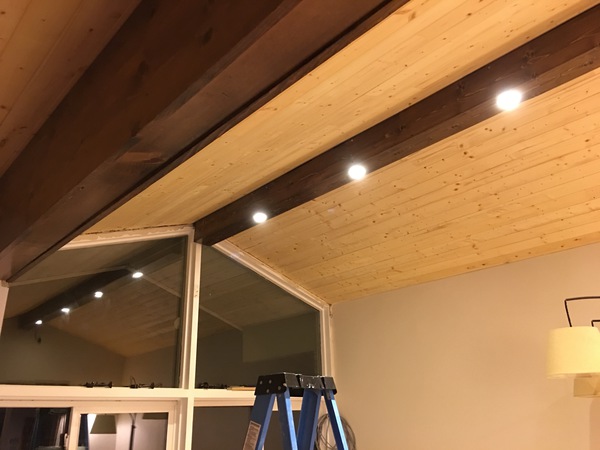
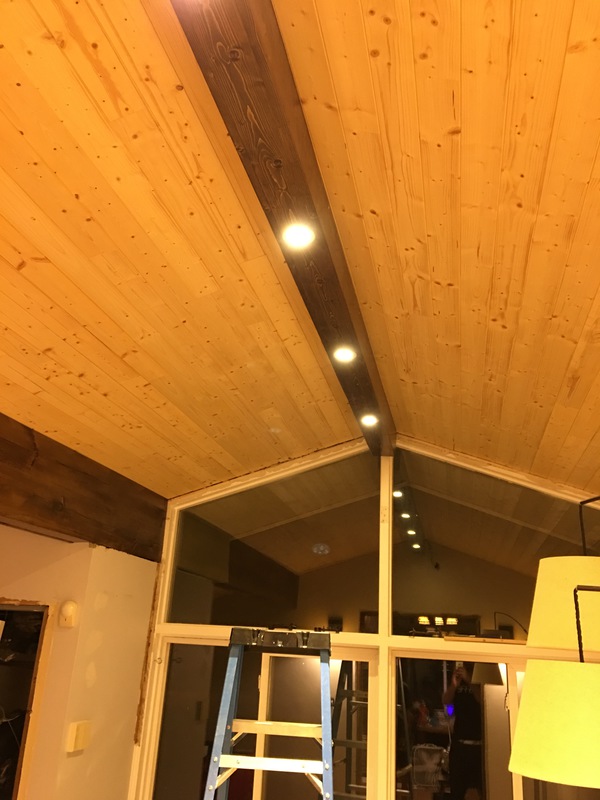
Finished product!
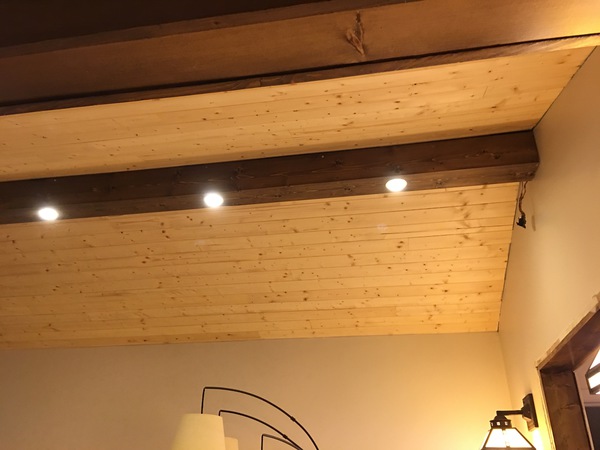
Side shot
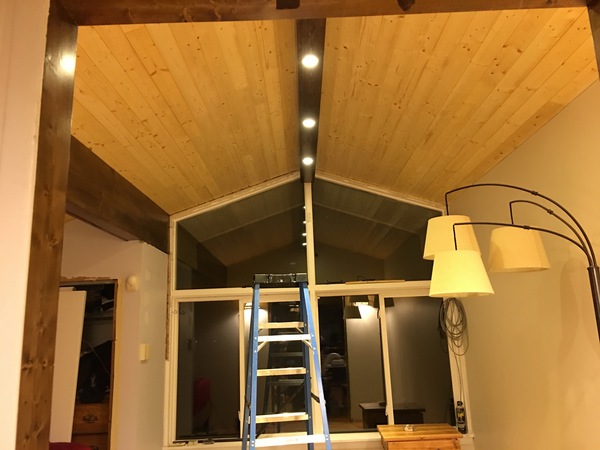
From the door way
