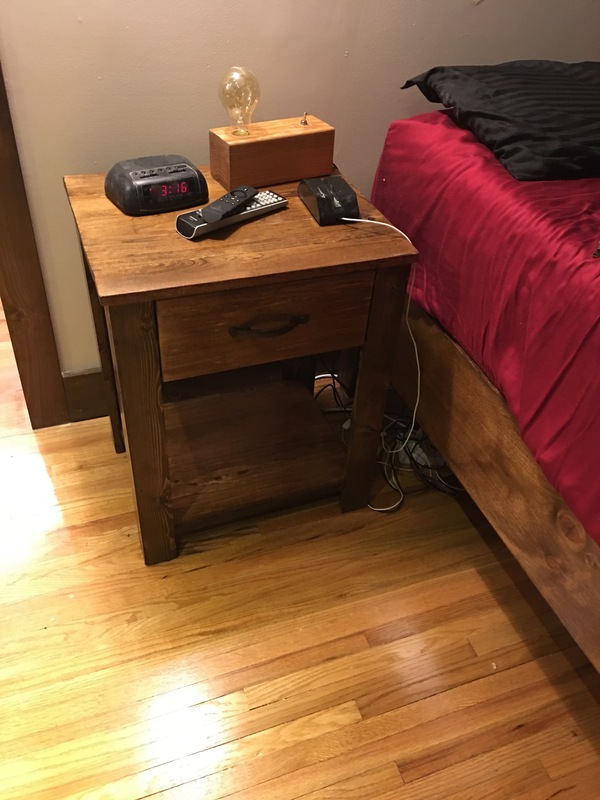
Matching Nightstands
Posted by Dave Eddy on Oct 29 2016 - tags: diyIt’s only been a year since I built my first nightstand, but in that time I’ve learned a lot that could be translated over into building newer, fancier nightstands for my bedroom.
I still love my light-up nightstand - it will just have a new place in my house.
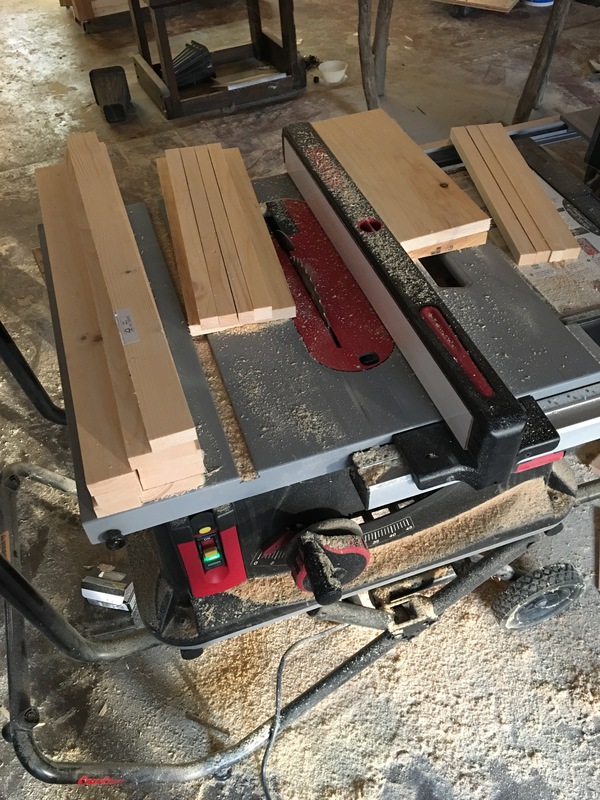
Ripping down various pieces on my table saw for the nightstand. I cut the pieces to the right lengths with my chop saw first, and then run them through the table saw to get them to the correct width.
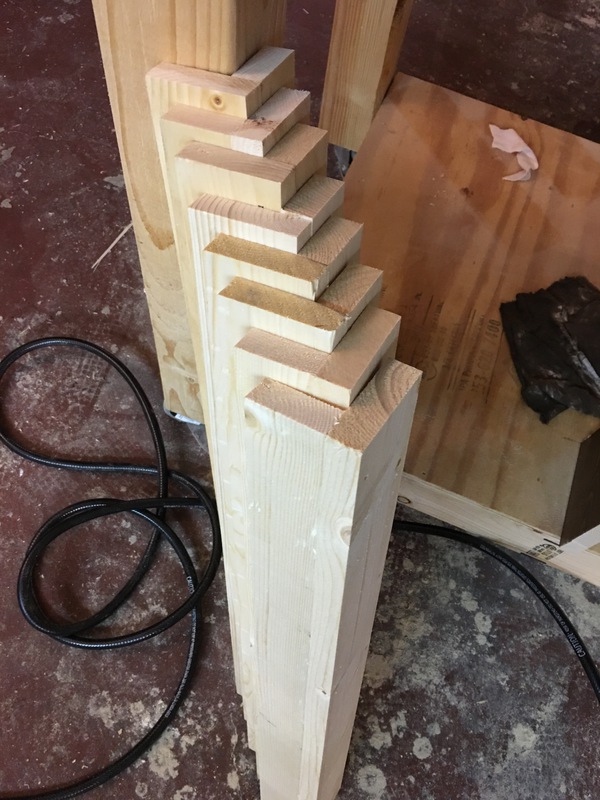
8 legs made (4 for each nightstand). I made these by ripping a 1x5 almost down the middle:
A 1x5 is actually 0.75” by 4.5”. To make the nightstand legs even on both sides I had to take 4.5” and divide it by 2, yielding 2.25”. However, because of how the pieces would be joined, I had to take the width (0.75”) and divide that by 2 as well, and then use it to modify the original values.
Simplified
4.5" / 2 = 2.25"
0.75" / 2 = 0.375"
- Side 1: 2.25” + 0.375” = 2.625”
- Side 2: 2.25” - 0.375” = 1.875”
This way, one leg is 2.625” inches, and the other leg of 1.875” when combined with the 0.75” width of the other board is 2.625” as well.
The legs were glued and tack nailed to each other.
2x8’s were used to join the legs together to make the sides, as well as small 1x1 pieces for the bottom shelf (the 1x1’s were actually just scrap pieces I had from other projects lying around).
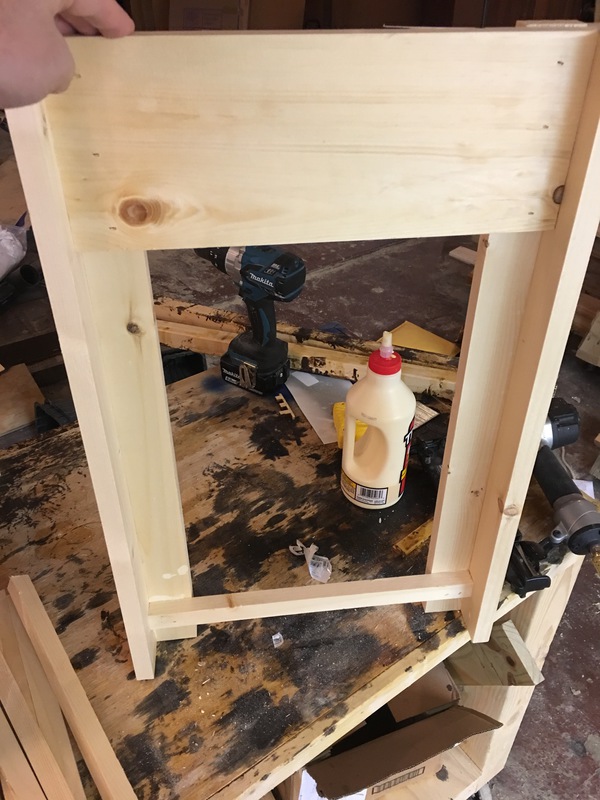
A finished side piece - all joints were glued and then tack nailed.
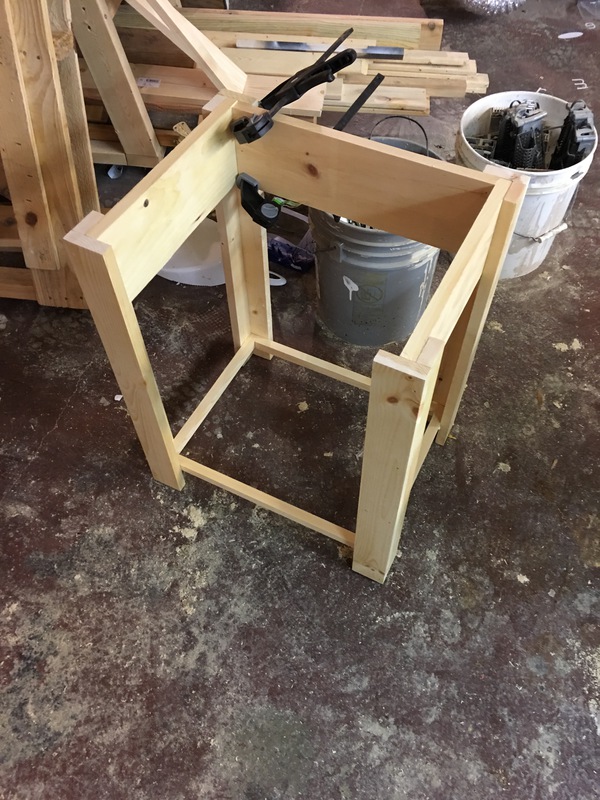
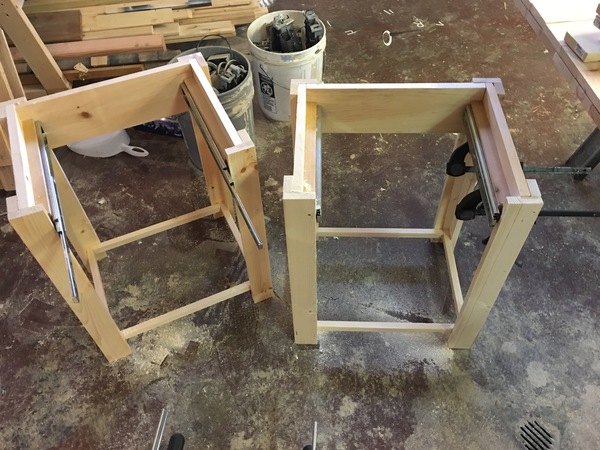
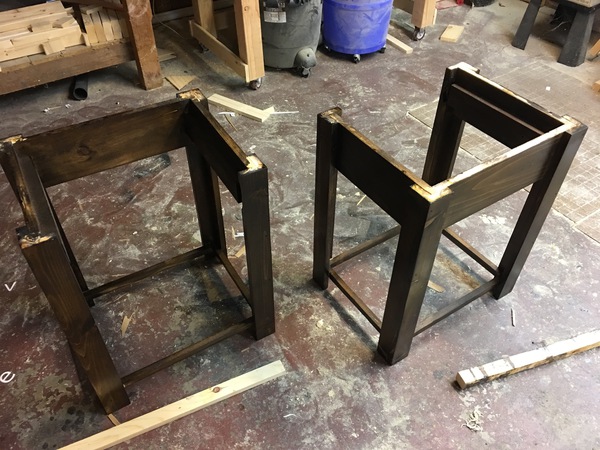
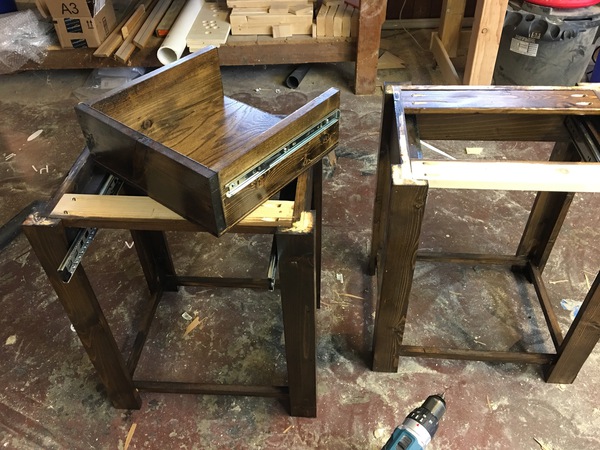
A finished frame - some joints were a little weak so I used clamps to hold them in place while the glue set
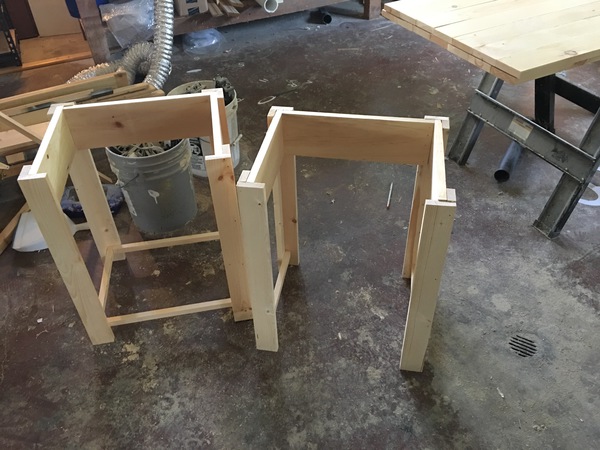
Both frames constructed and glued
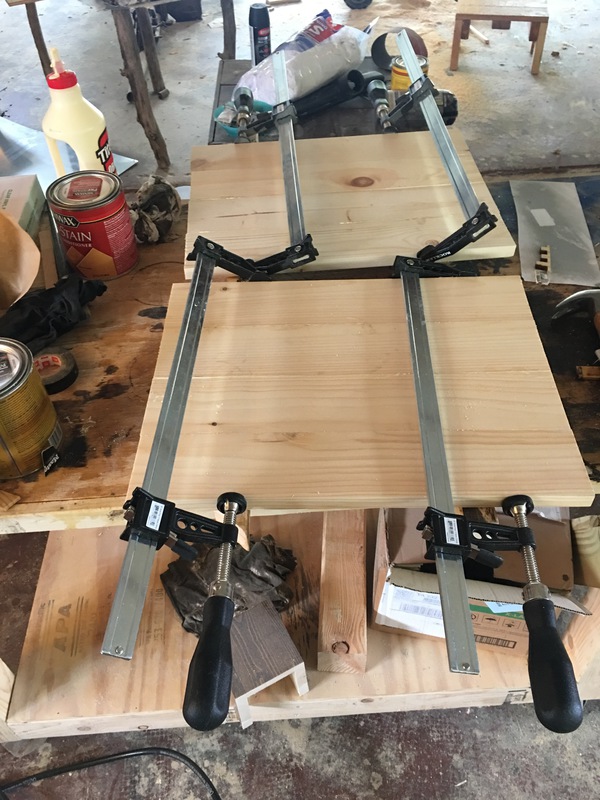
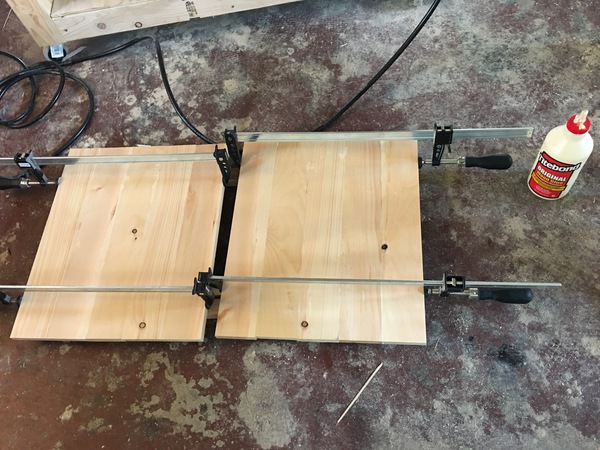
Bottom shelfs constructed out of 1x4’s glued together
Same with the top - just slightly wider and longer for a bit of overhang
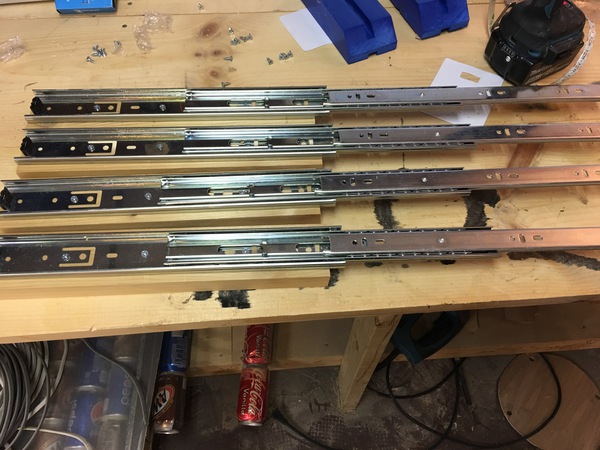
14” Ball-bearing drawer sliding hardware
Hardware installed - these ended up being slightly too long so they were swapped out later for 12” hardware.
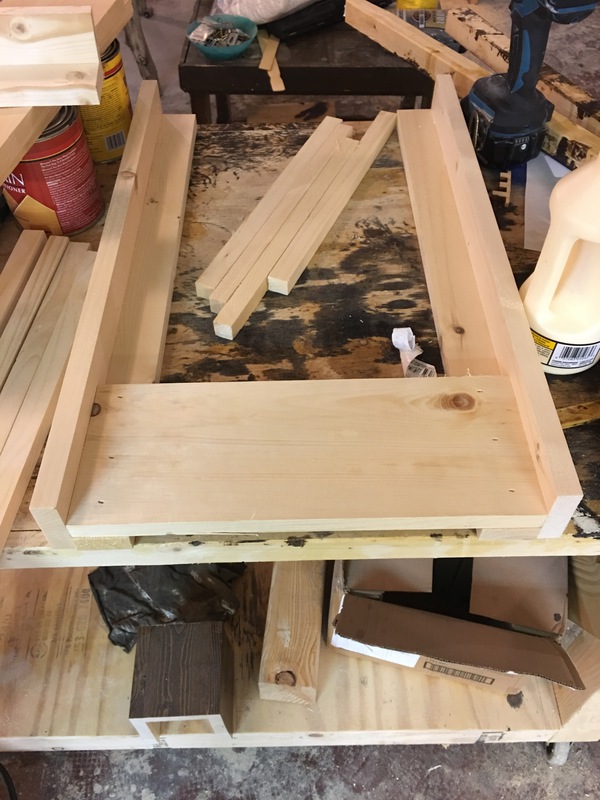
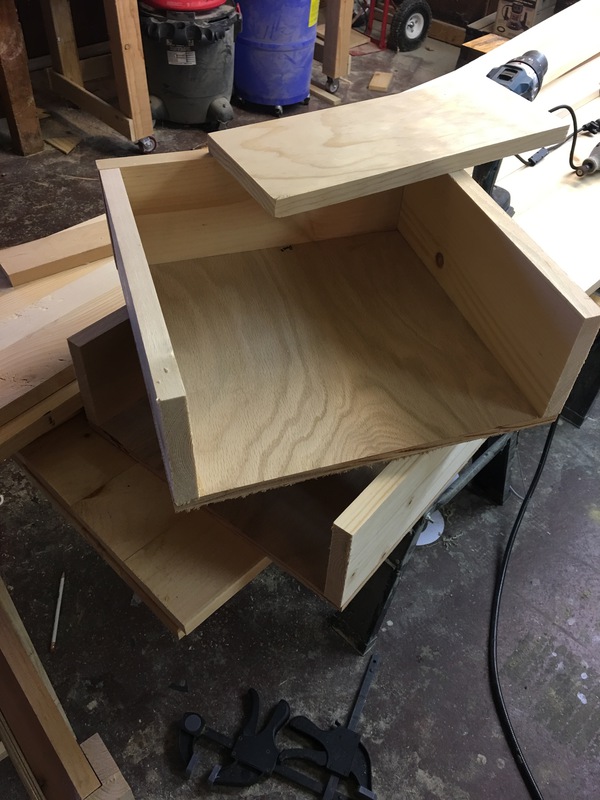
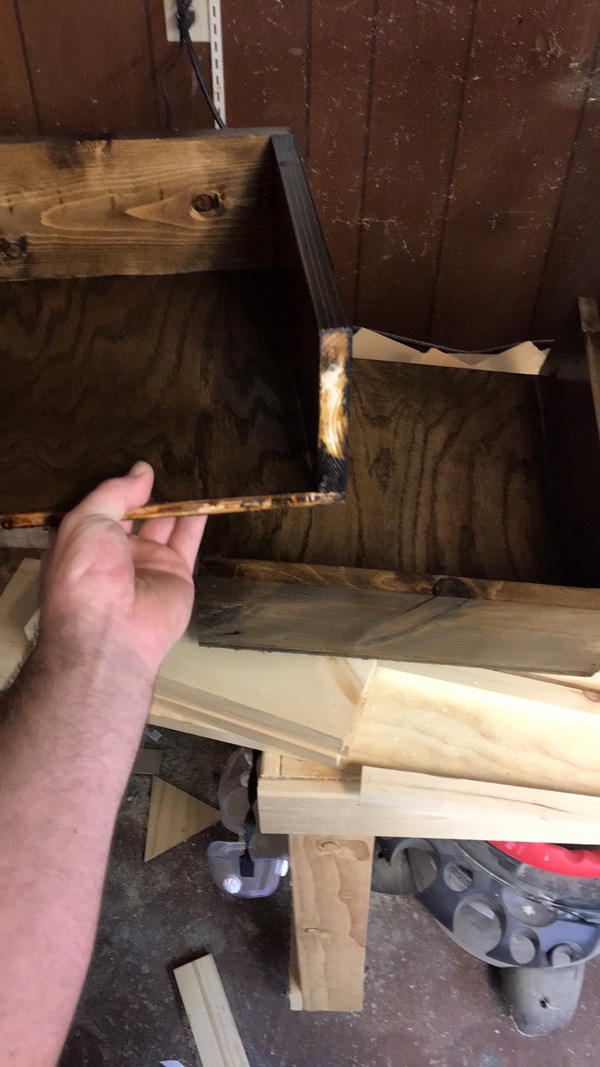
Shelves built with 1/2” plywood for the base and 1x6’s for the sides. All joints are glue and tack nails.
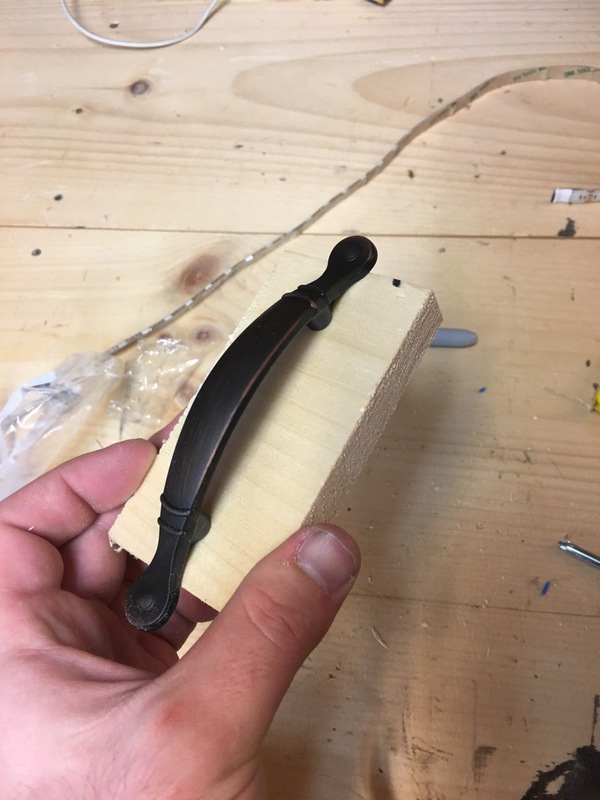
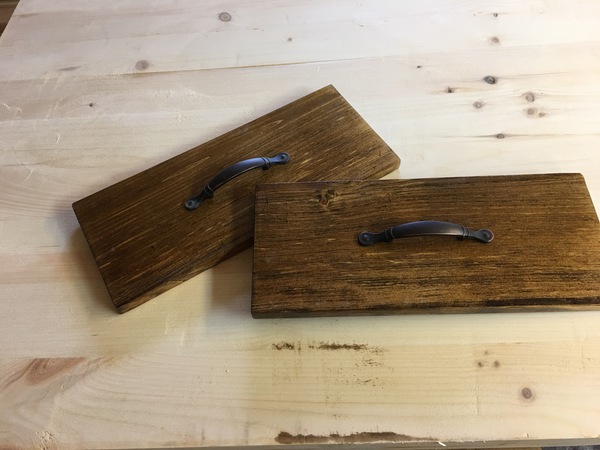
Drawer pulls on a scrap piece of wood
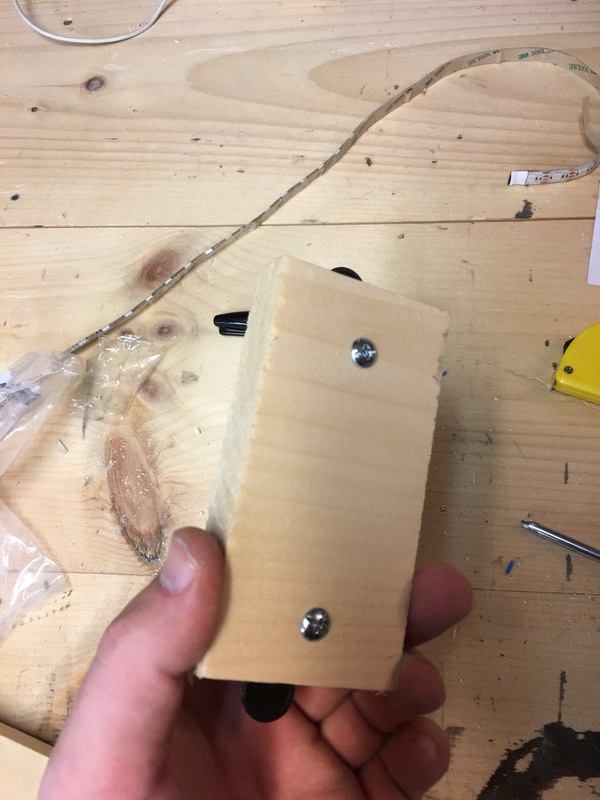
Reverse angle
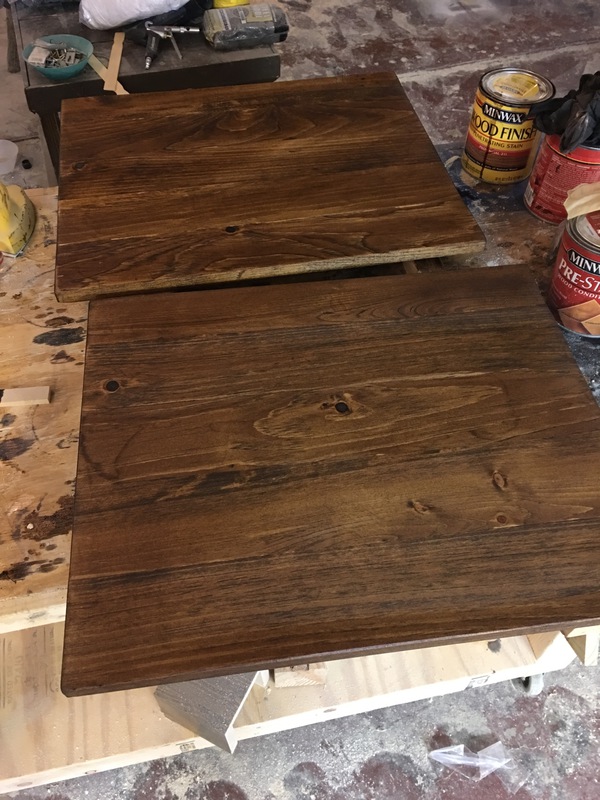
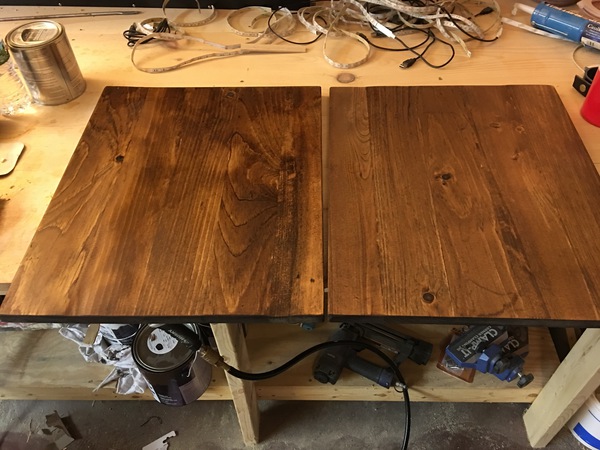
Provincial Pine stain applied to the top pieces
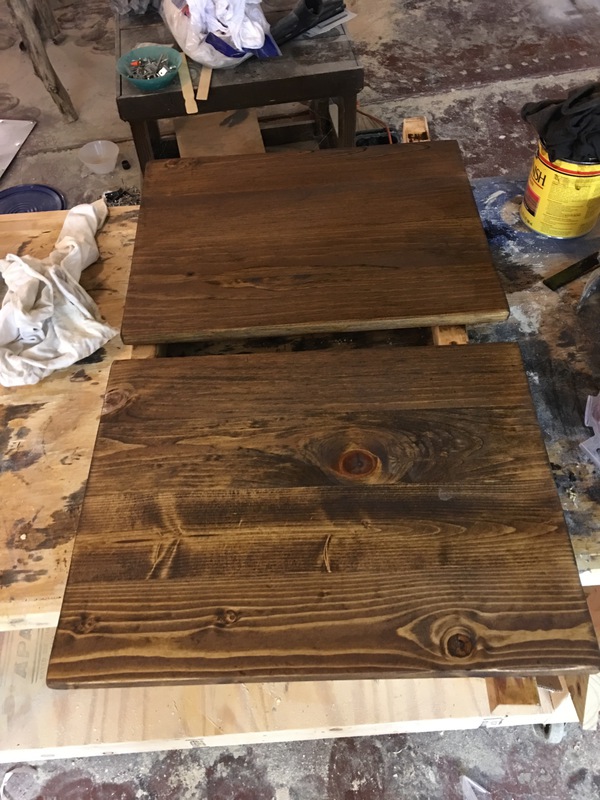
Provincial Pine stain on the bottom pieces
Espresso stain on the frame - I wanted the frame to be darker than the tops and the drawer front
The top pieces ended up having a lot of variation in color which created a unique effect
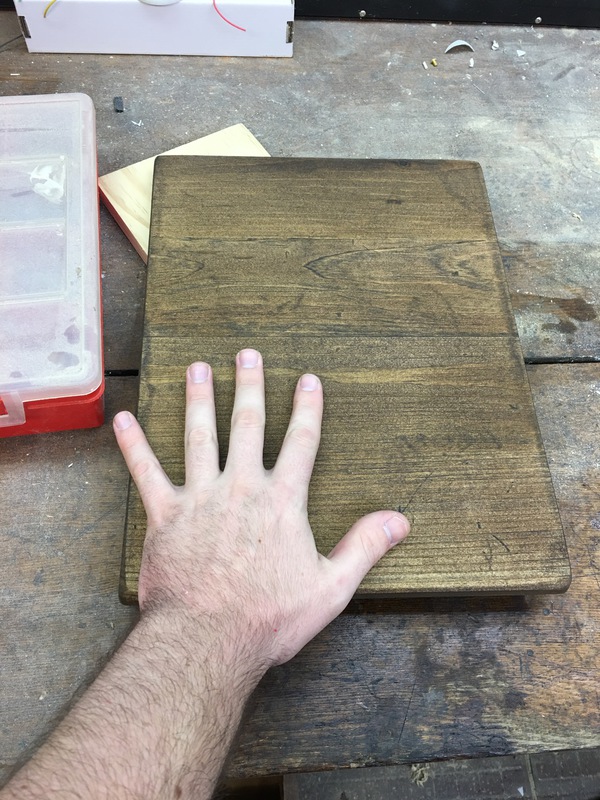
I made an extra slab with Provincial Pine stain because I liked it so much to eventually be a cutting board!
Drawers sanded and stained with espresso
I installed runners with pocket hole screws to the top of the frame to support the top of the nightstand.
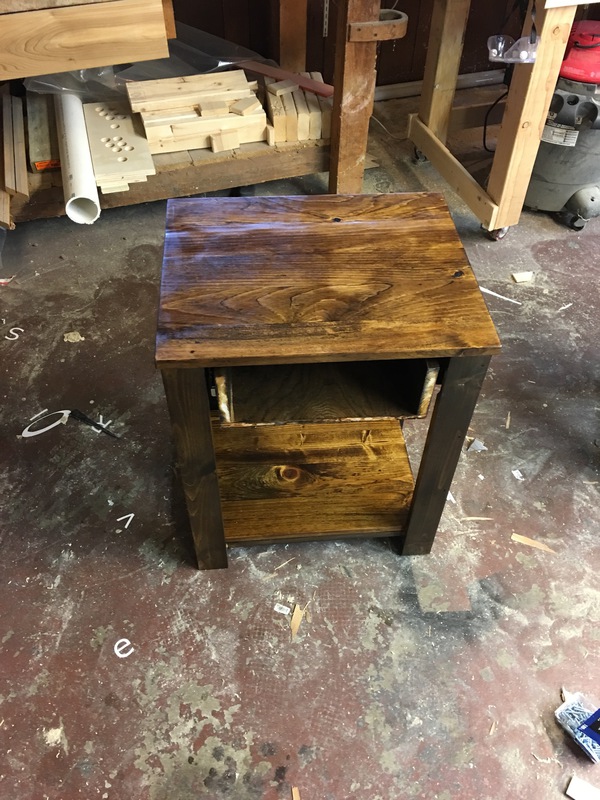
Nightstand 1 - it came out really dark
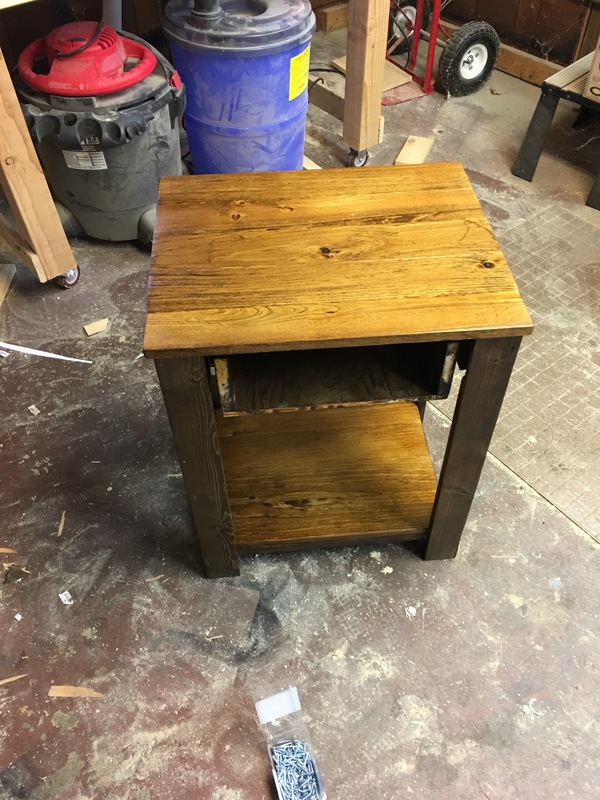
Nightstand 2 - way lighter - the way it looks changes based on how the light is hitting it as well
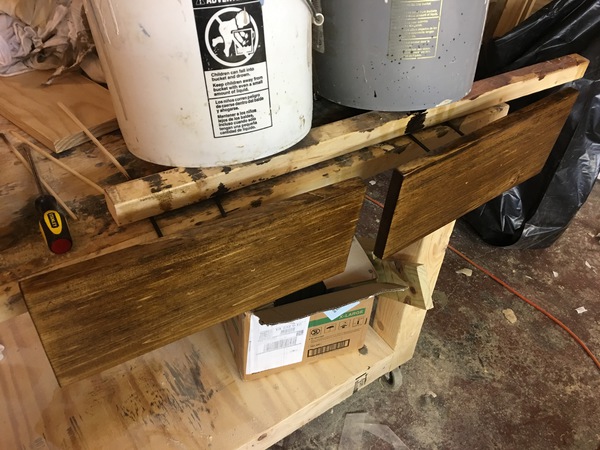
This is how I supported the fronts of the drawers while I applied polyurethane
Fronts of the drawers finished
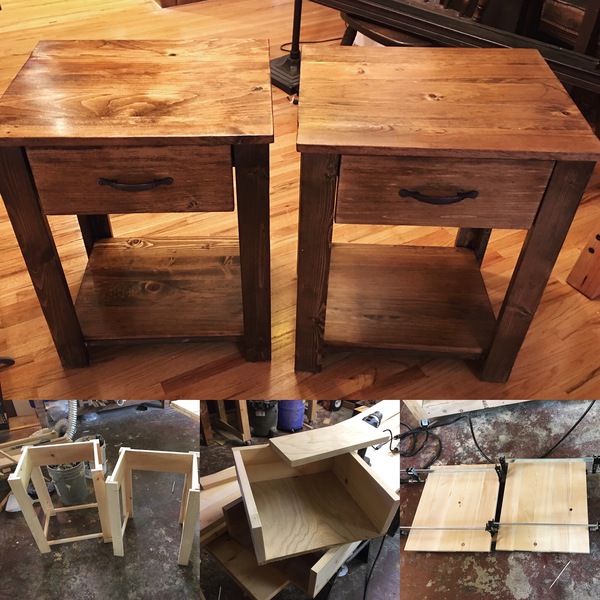
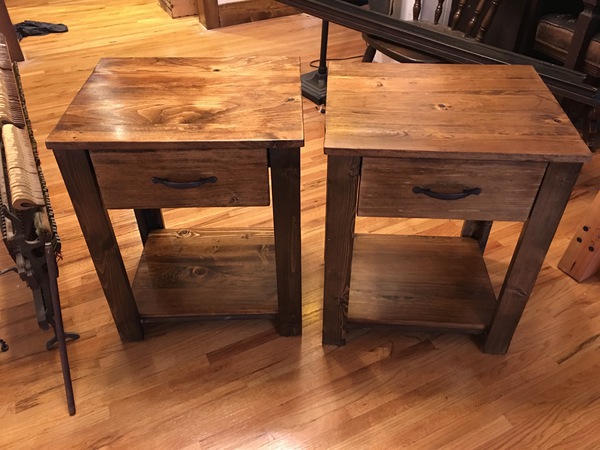
Finished products!
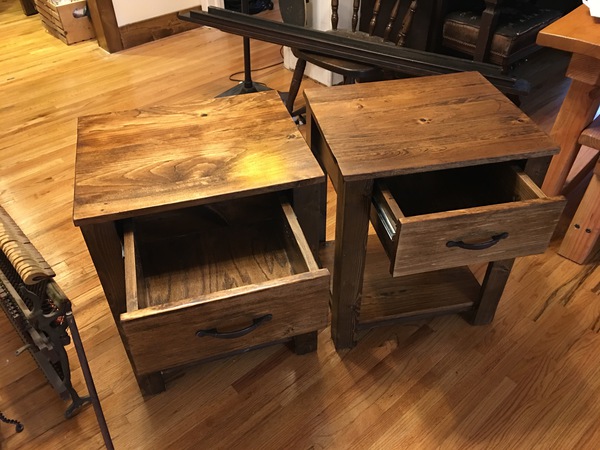
Open drawers
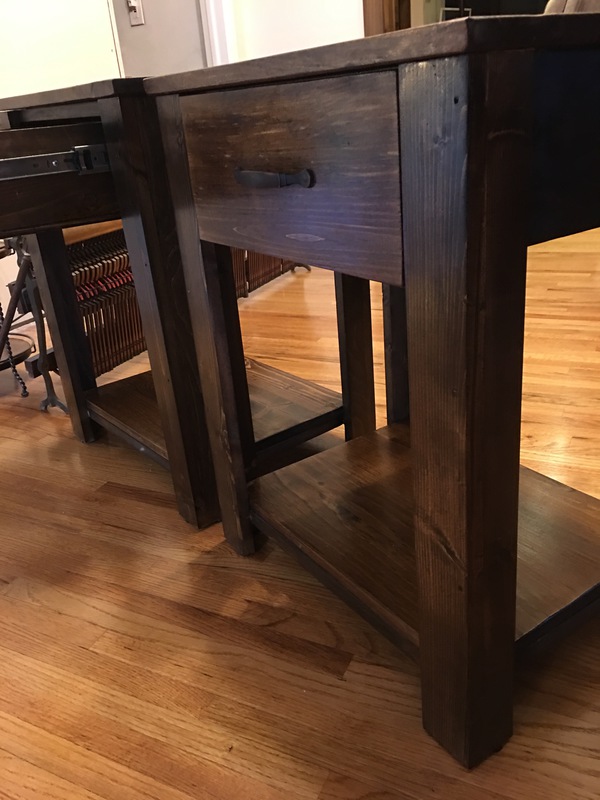
Close up shot
In place!
