Living Room Beam with Recessed LED Lights
Posted by Dave Eddy on Aug 22 2017 - tags: diyLast year I built a Faux Beam with Recessed Lights for my bedroom. I love it so much, I decided to build another one (well, actually 3) for my living room!
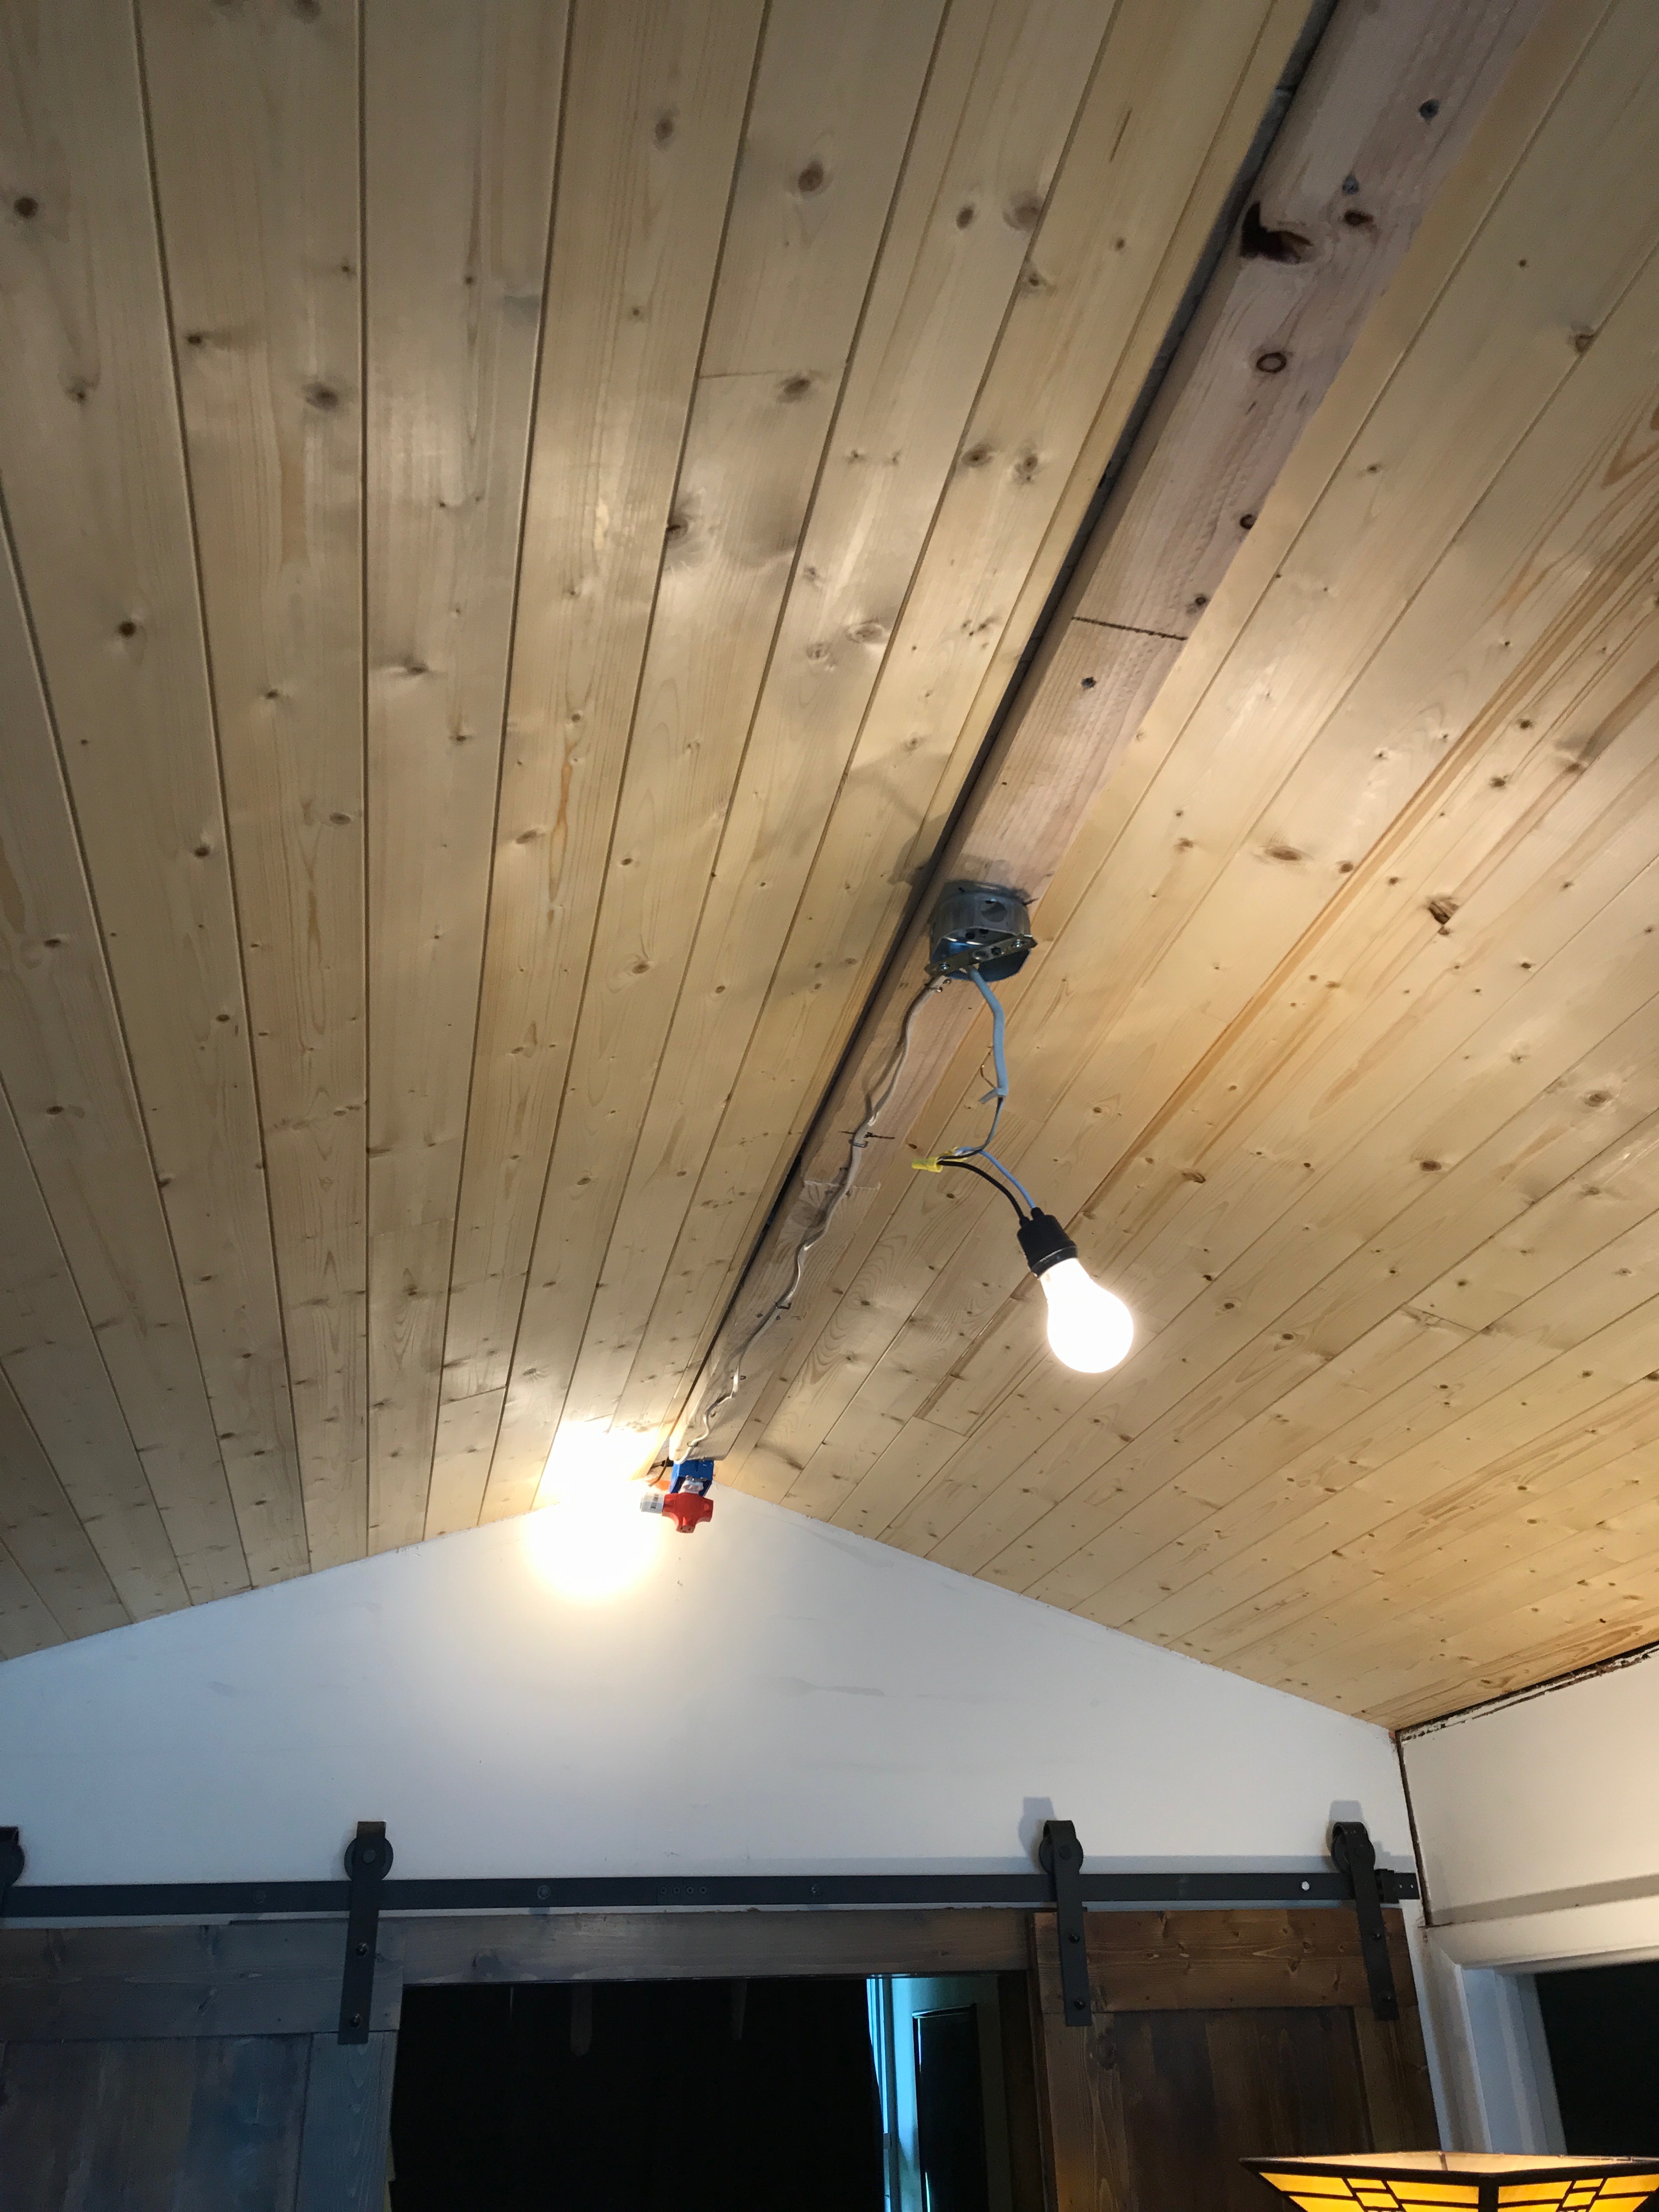
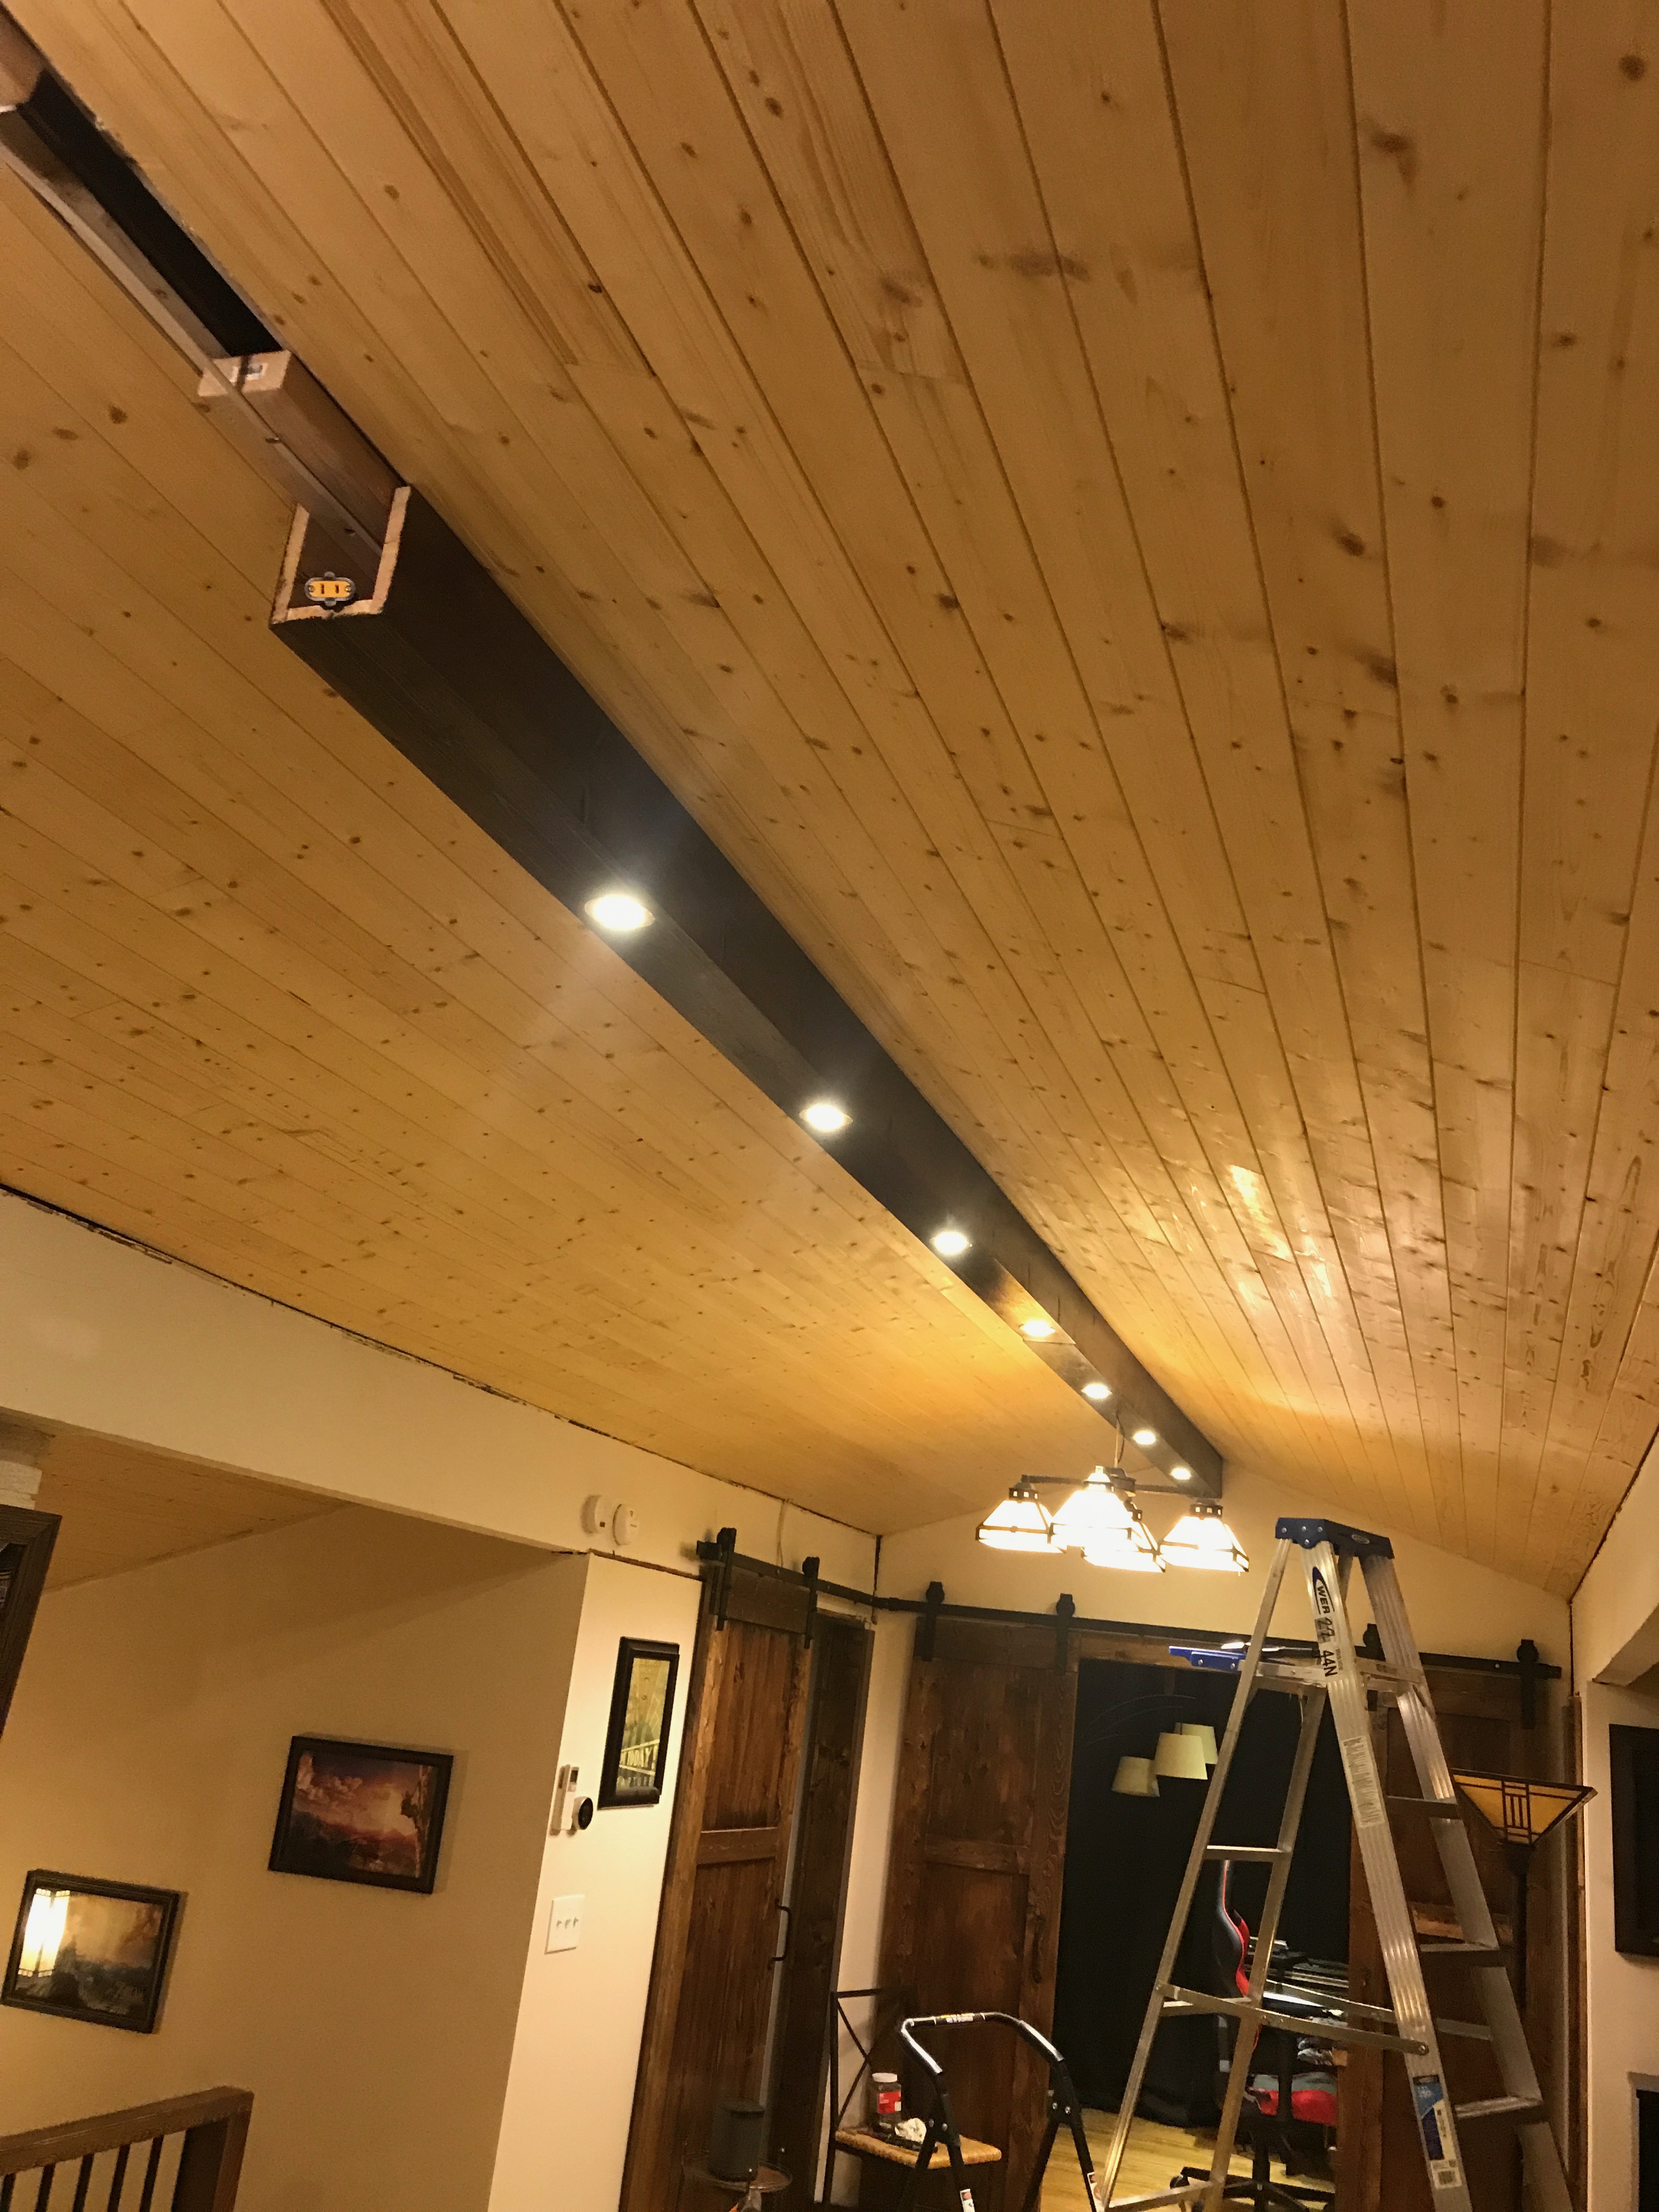
To get started, I installed the 2x4 stringers by securing them with screws through the ceiling joists. The wires seen will be used to power the beam itself and the chandeliers I’ll be hanging up. The wires will be hidden by the Tongue and Groove Ceiling.
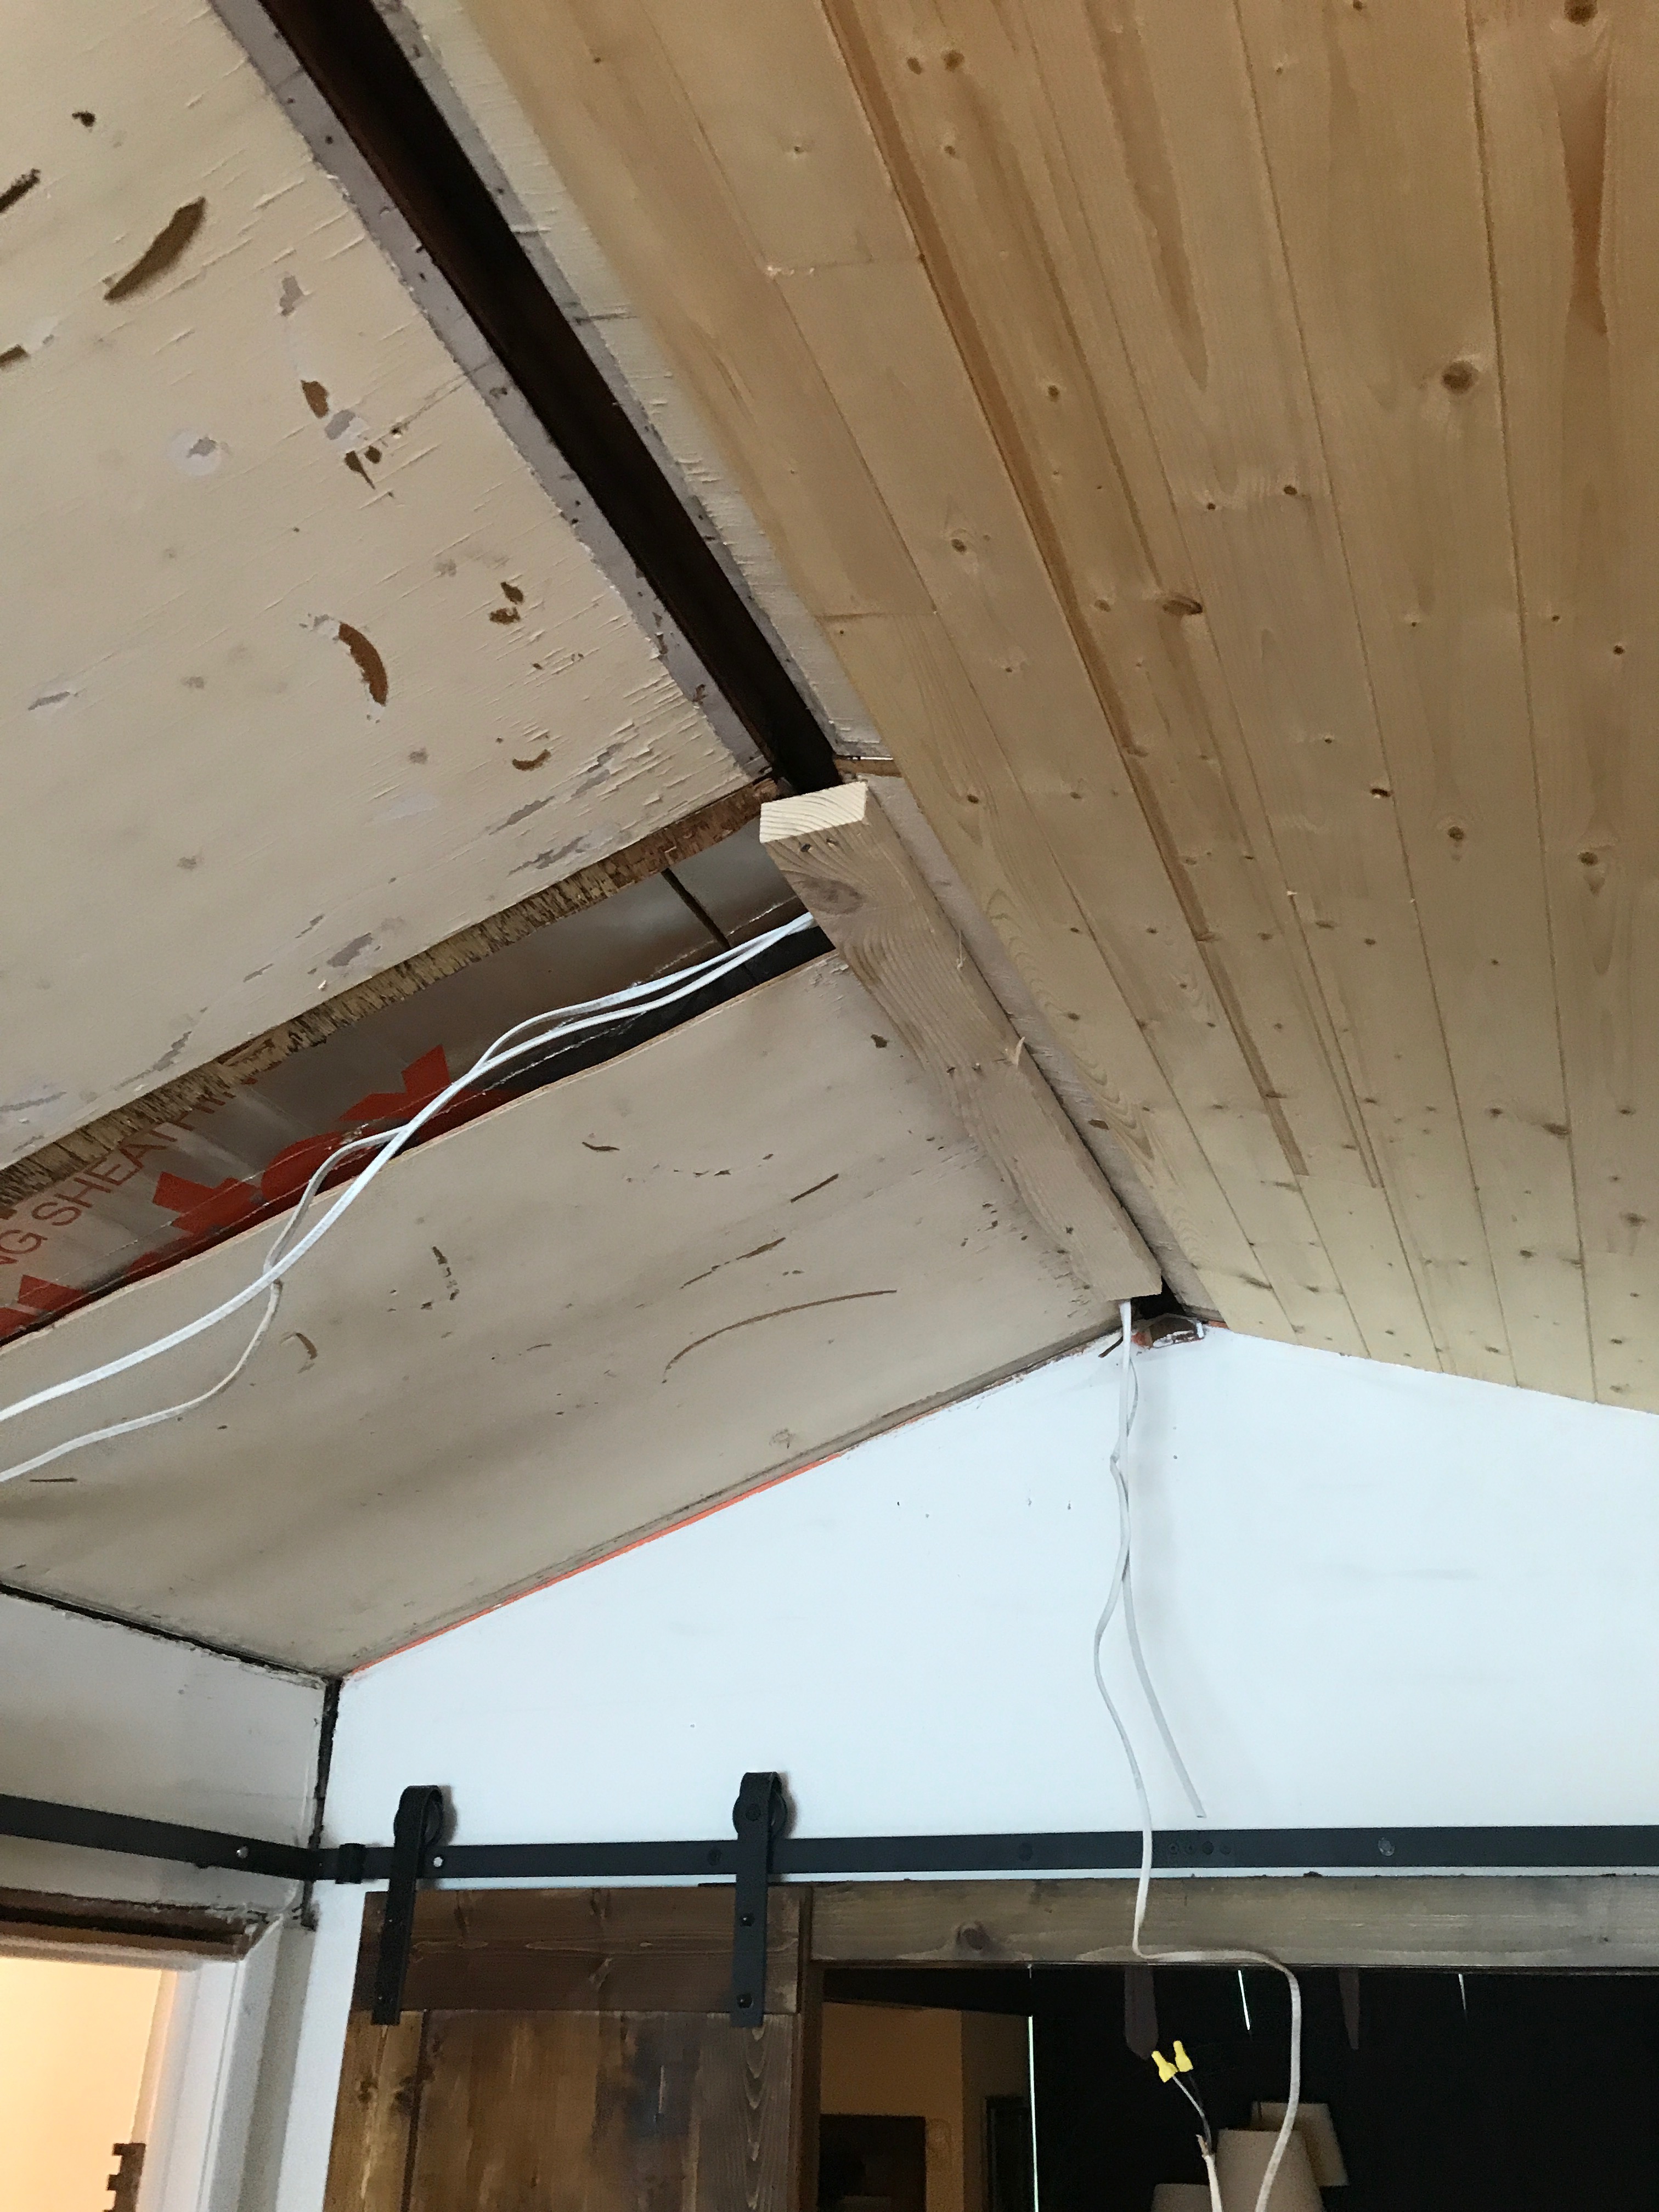
A shot of all the strings up and the wires hidden.
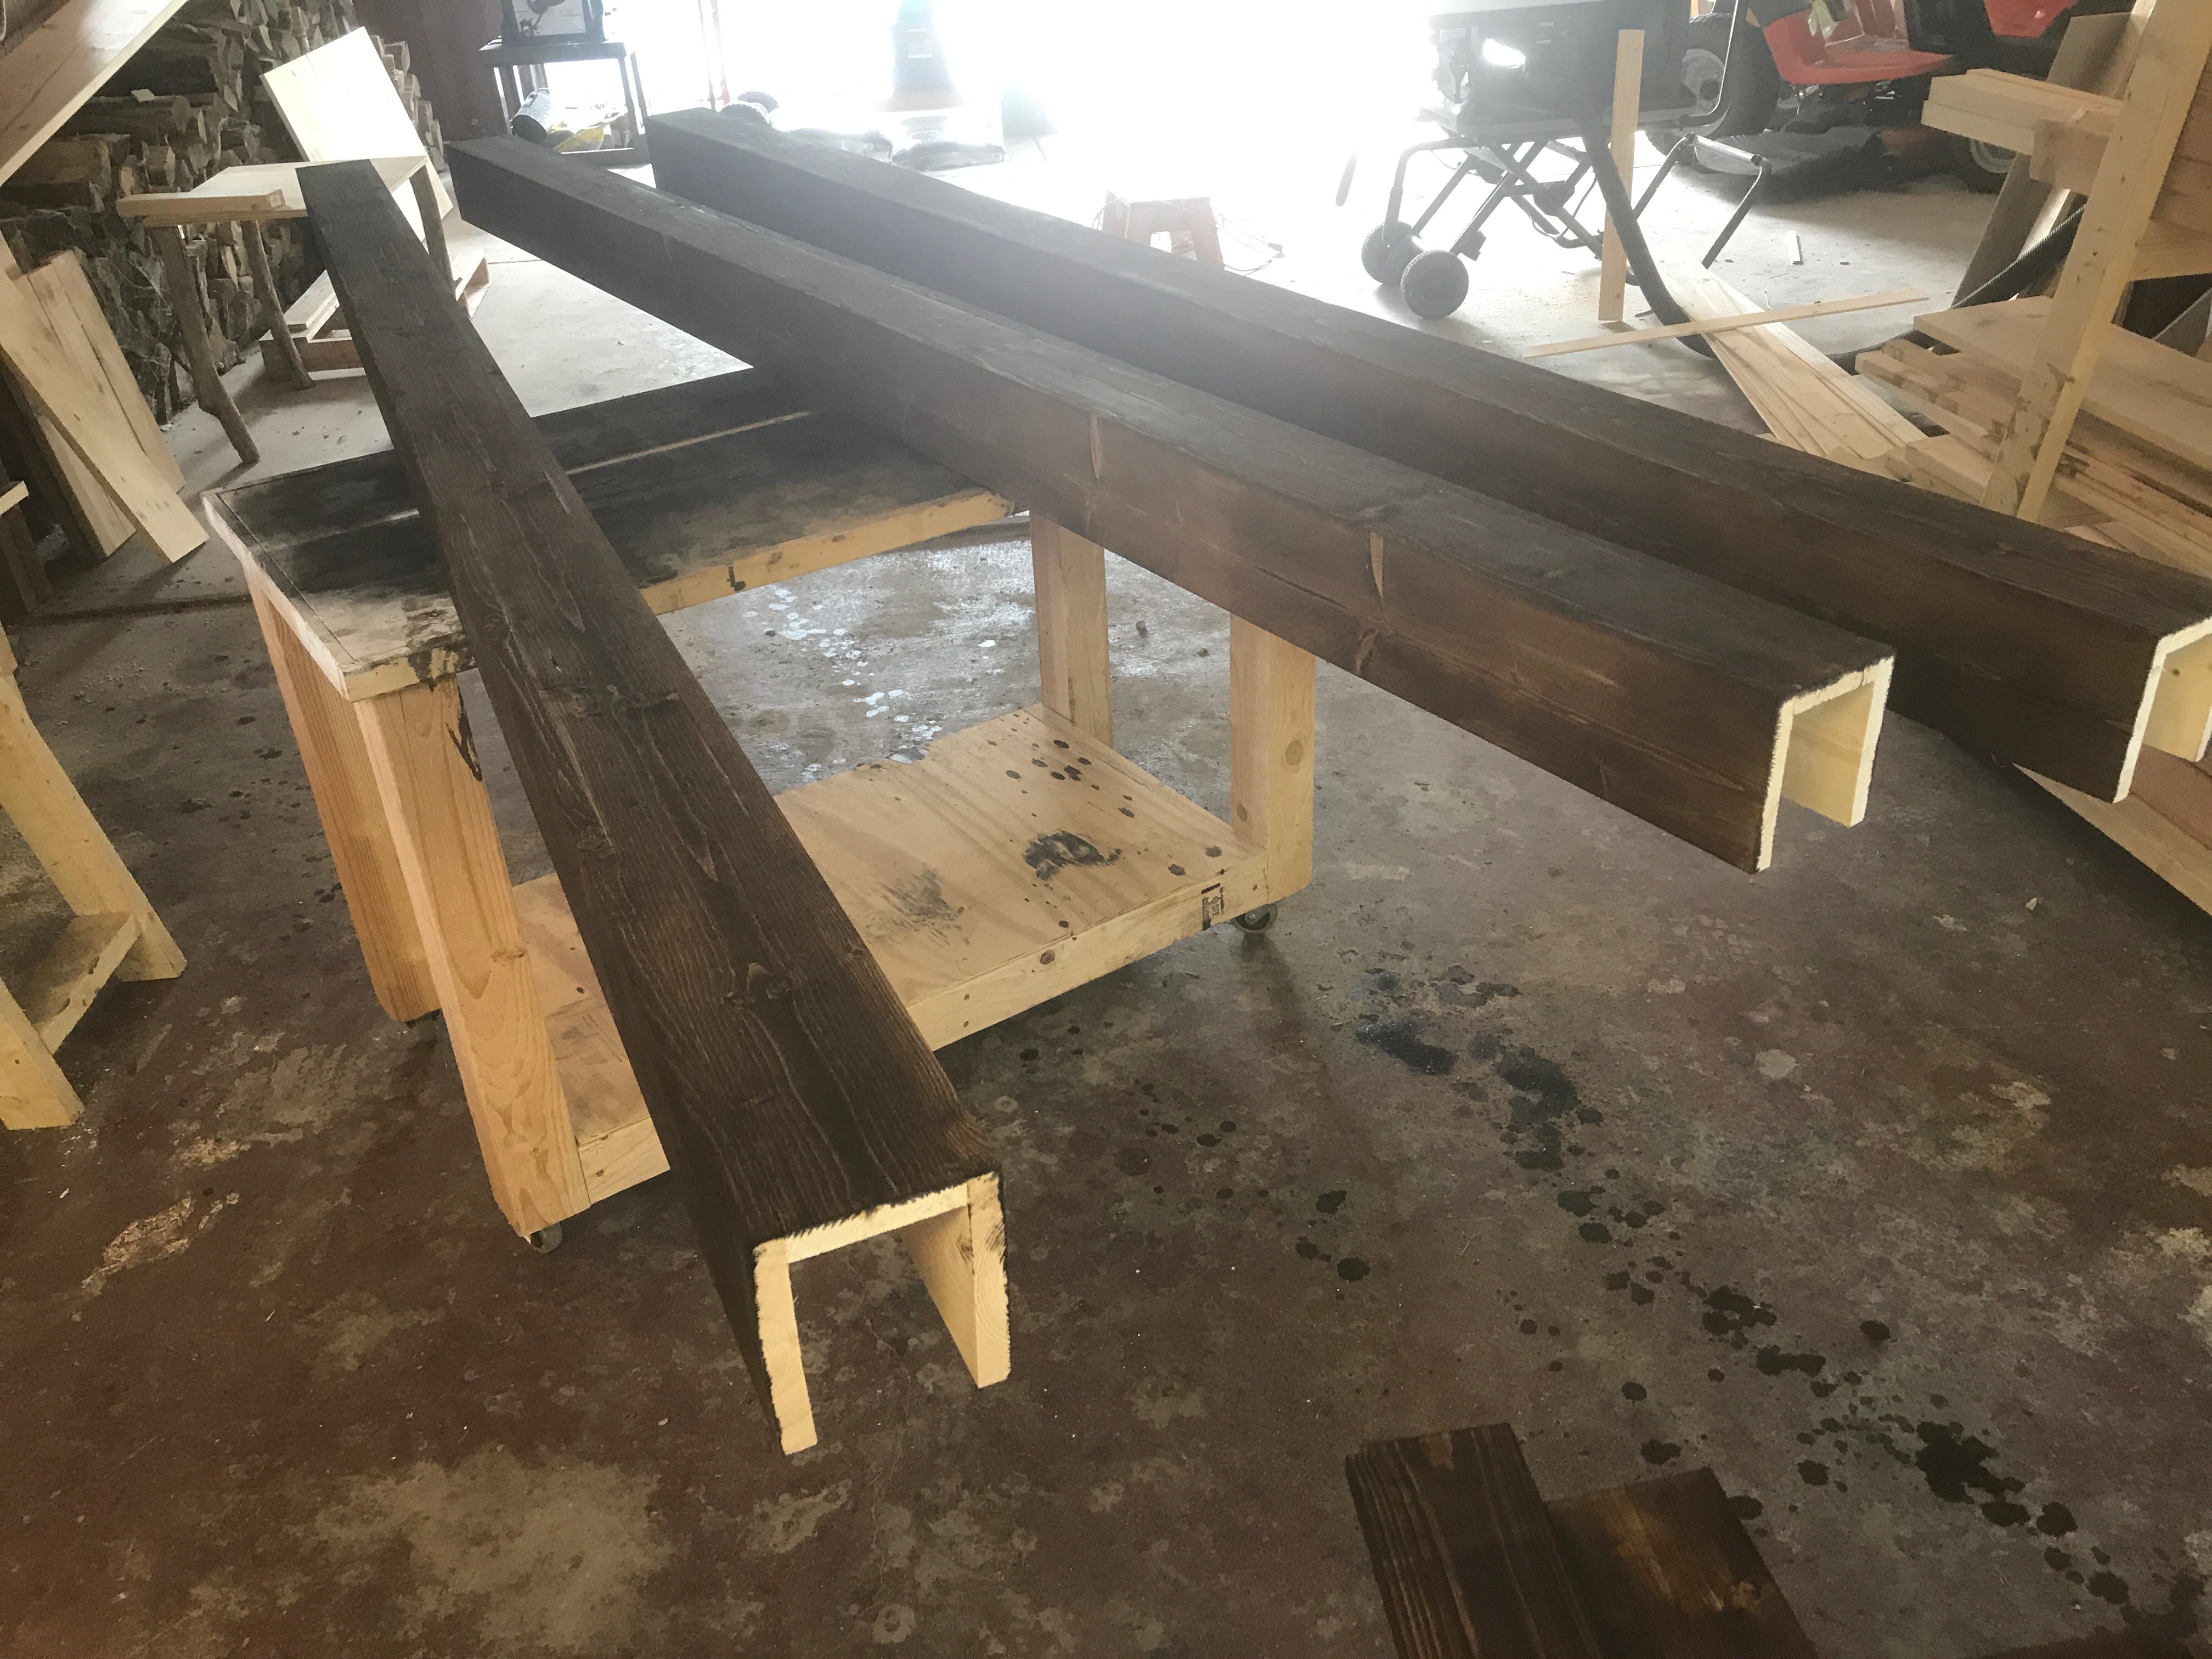
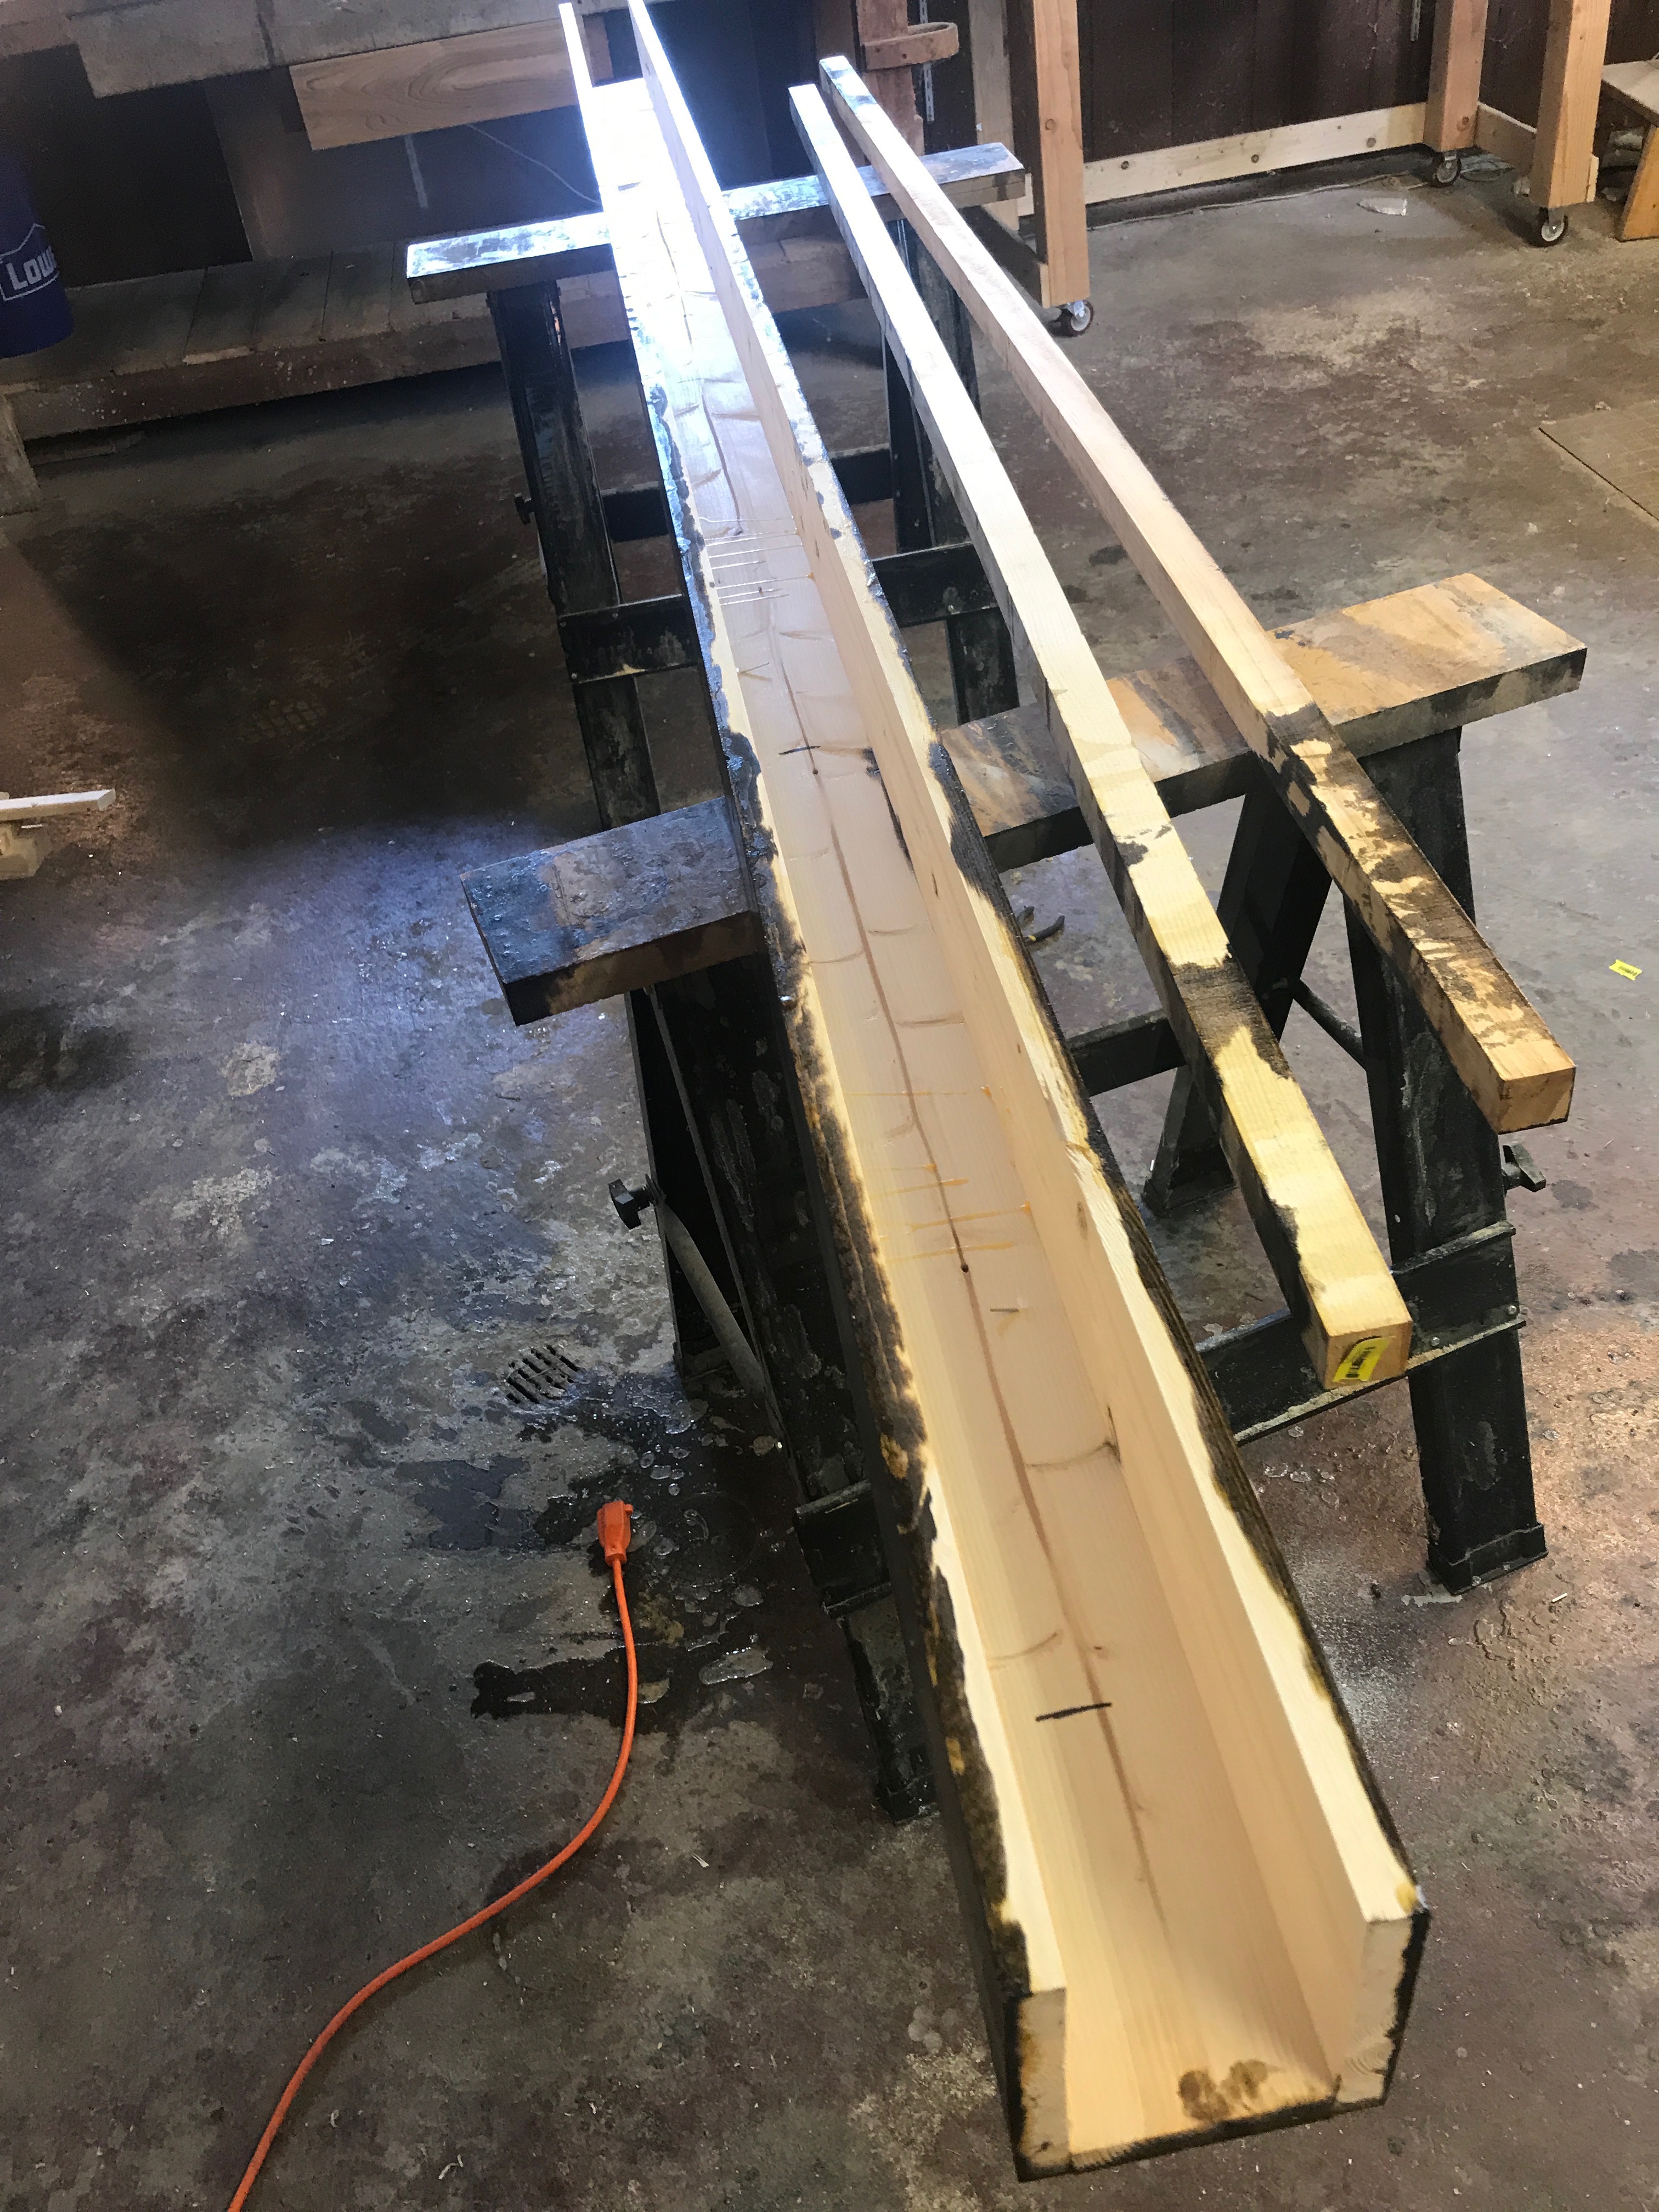
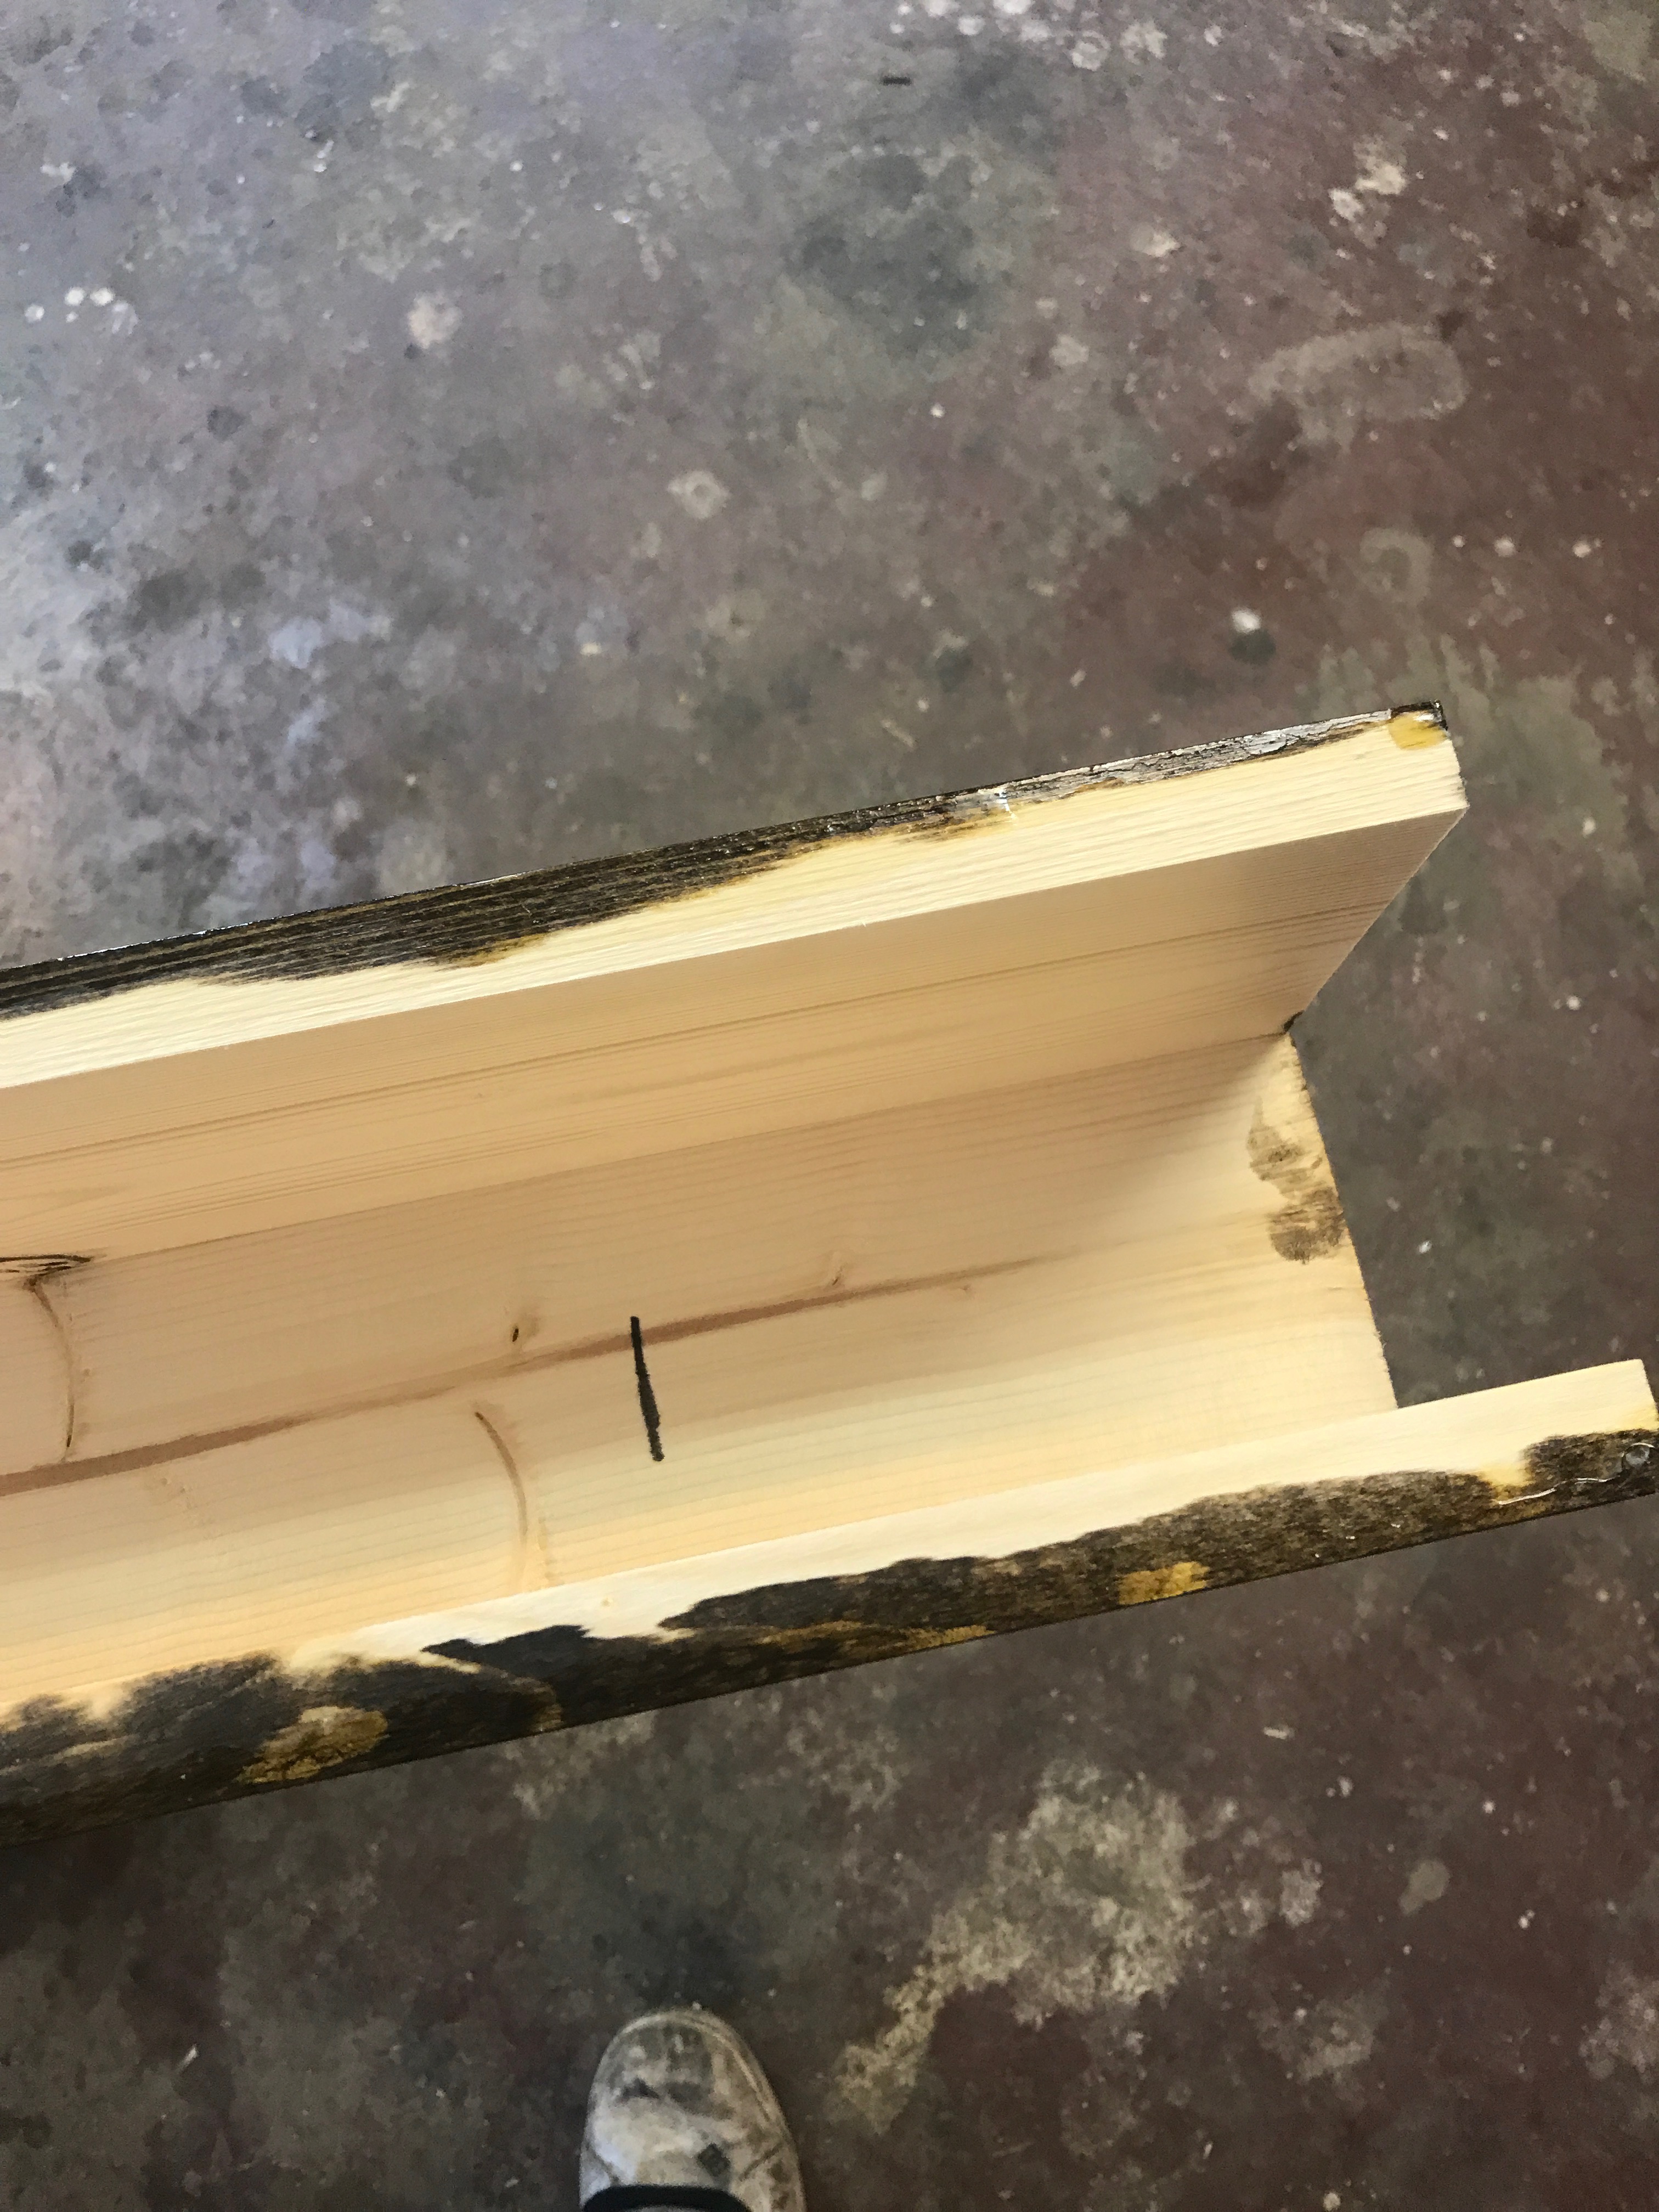
The beams are built by using 1x4x10’ boards for the bottom and 2 1x6x10’ boards for the sides.
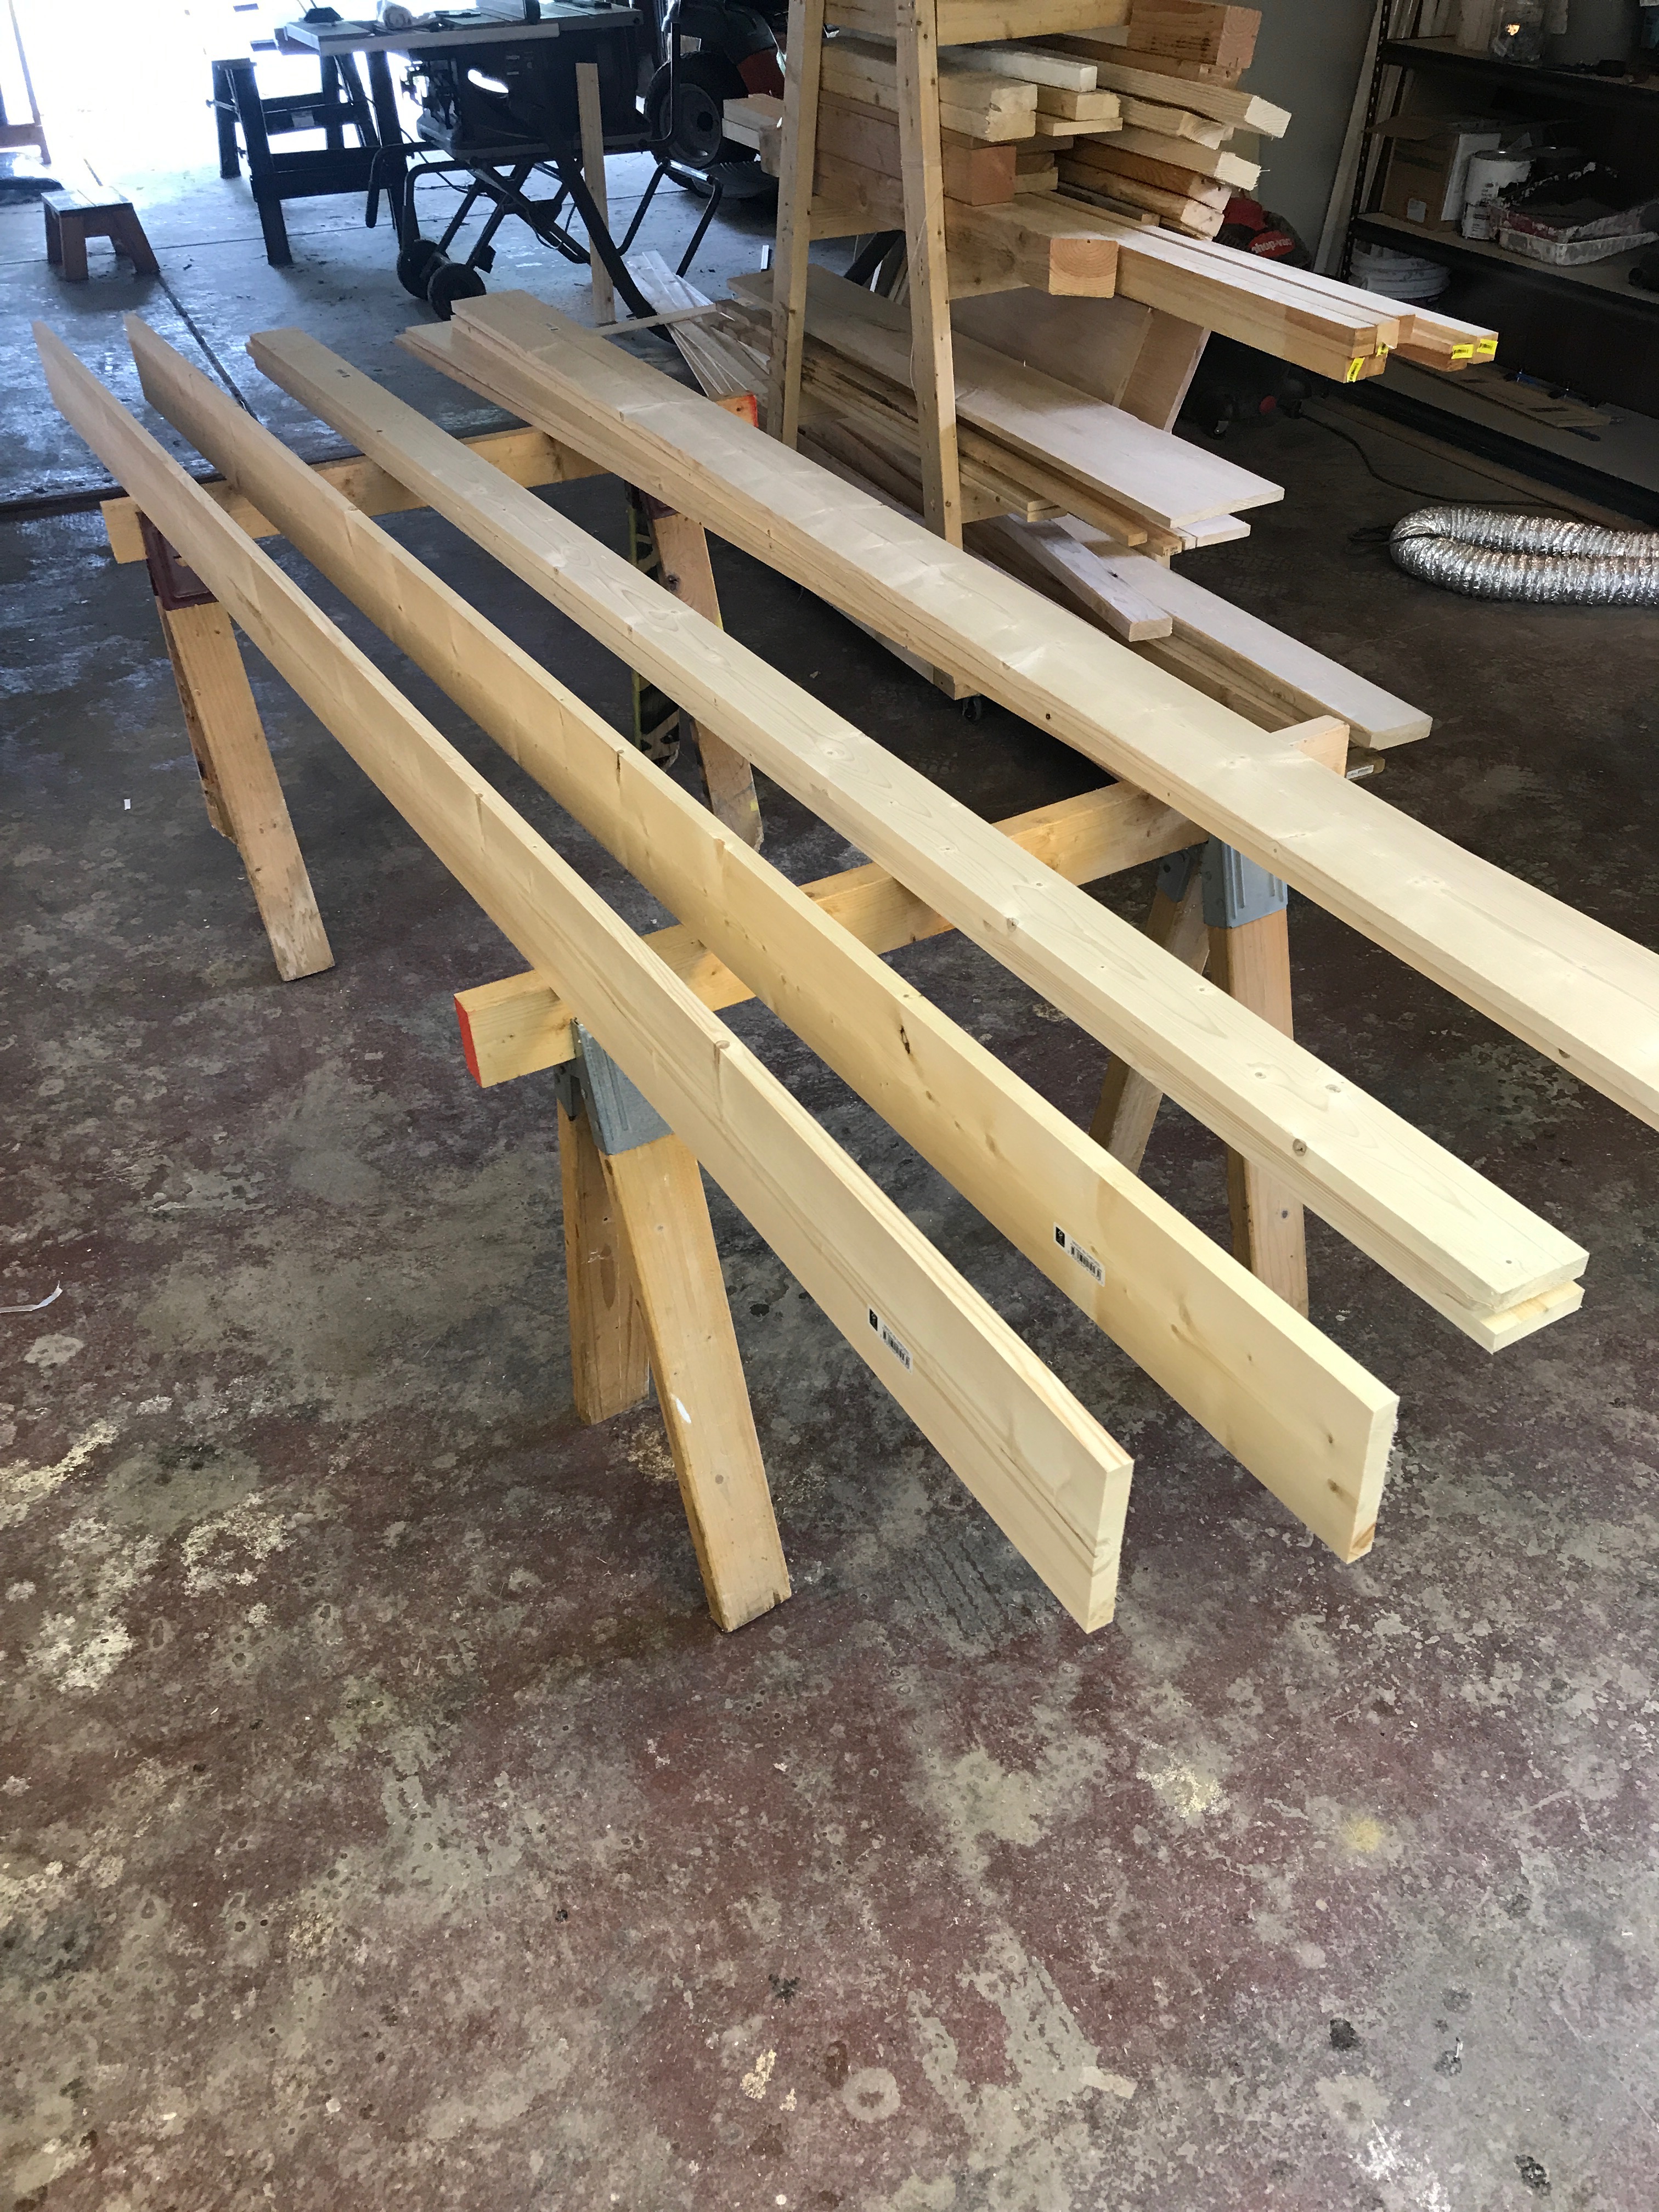
What the beams will look like when they are glued and tacked together.

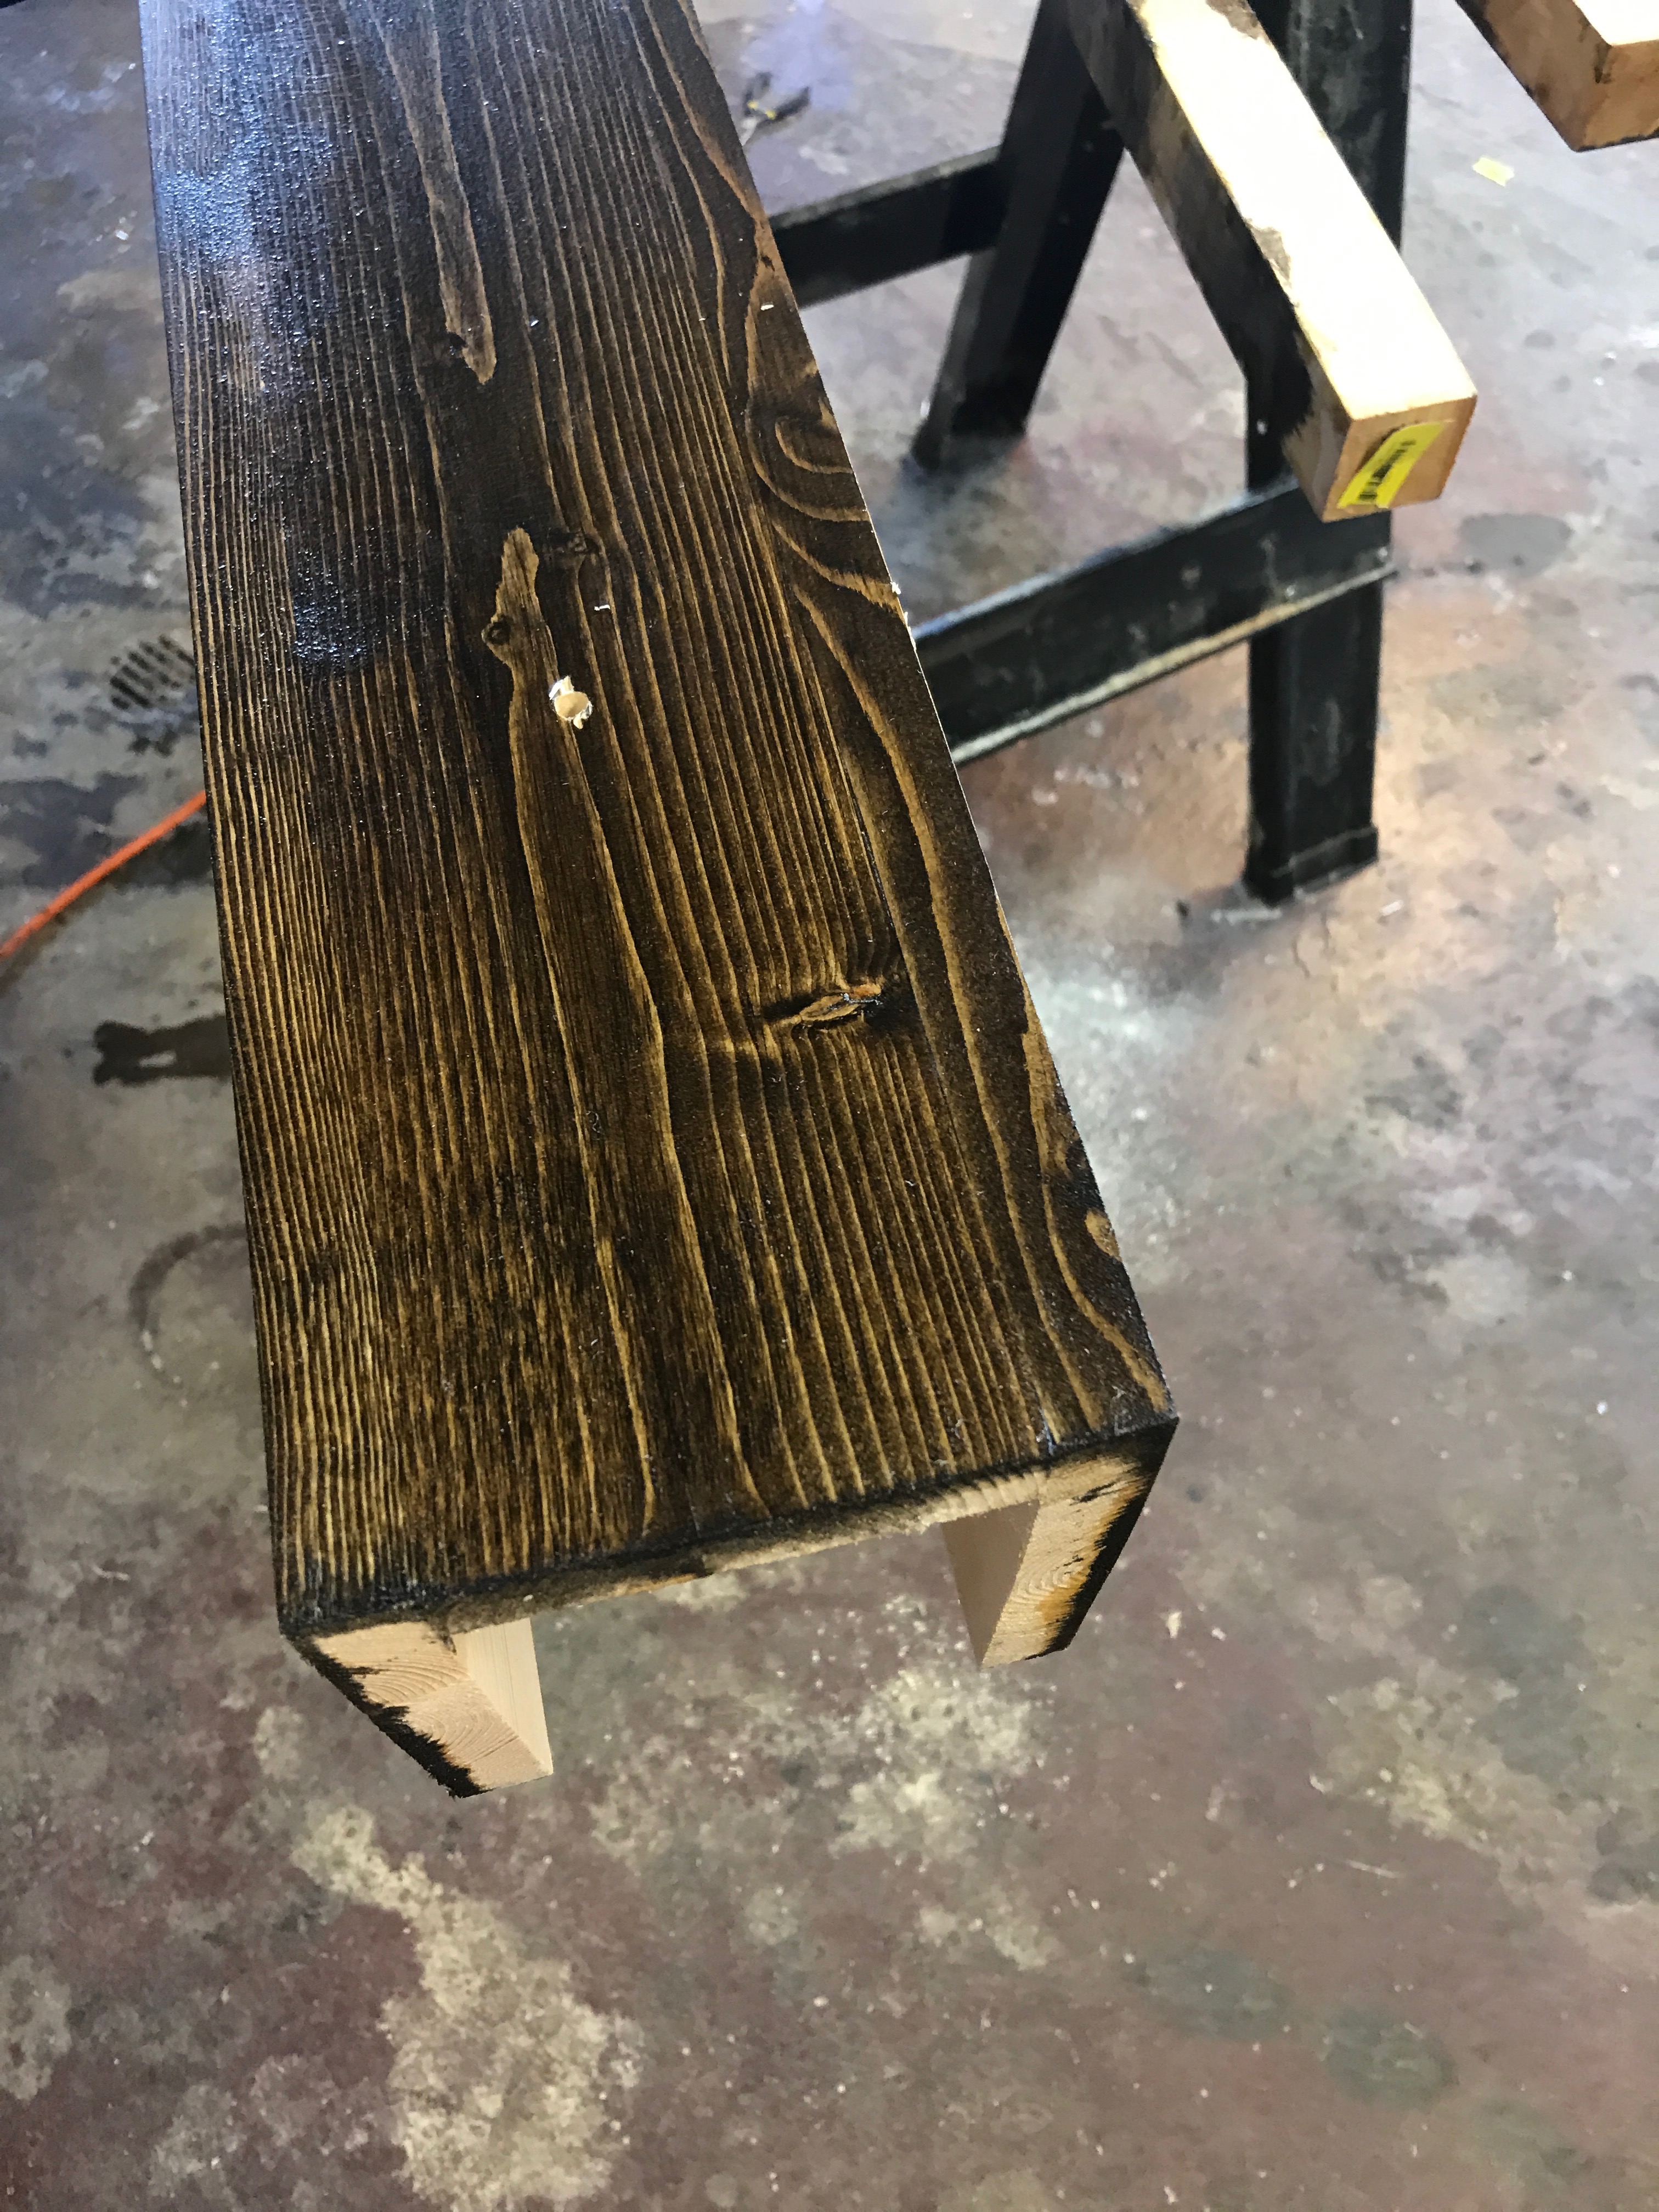
The beams all assembled and stained with Dark Walnut stain.
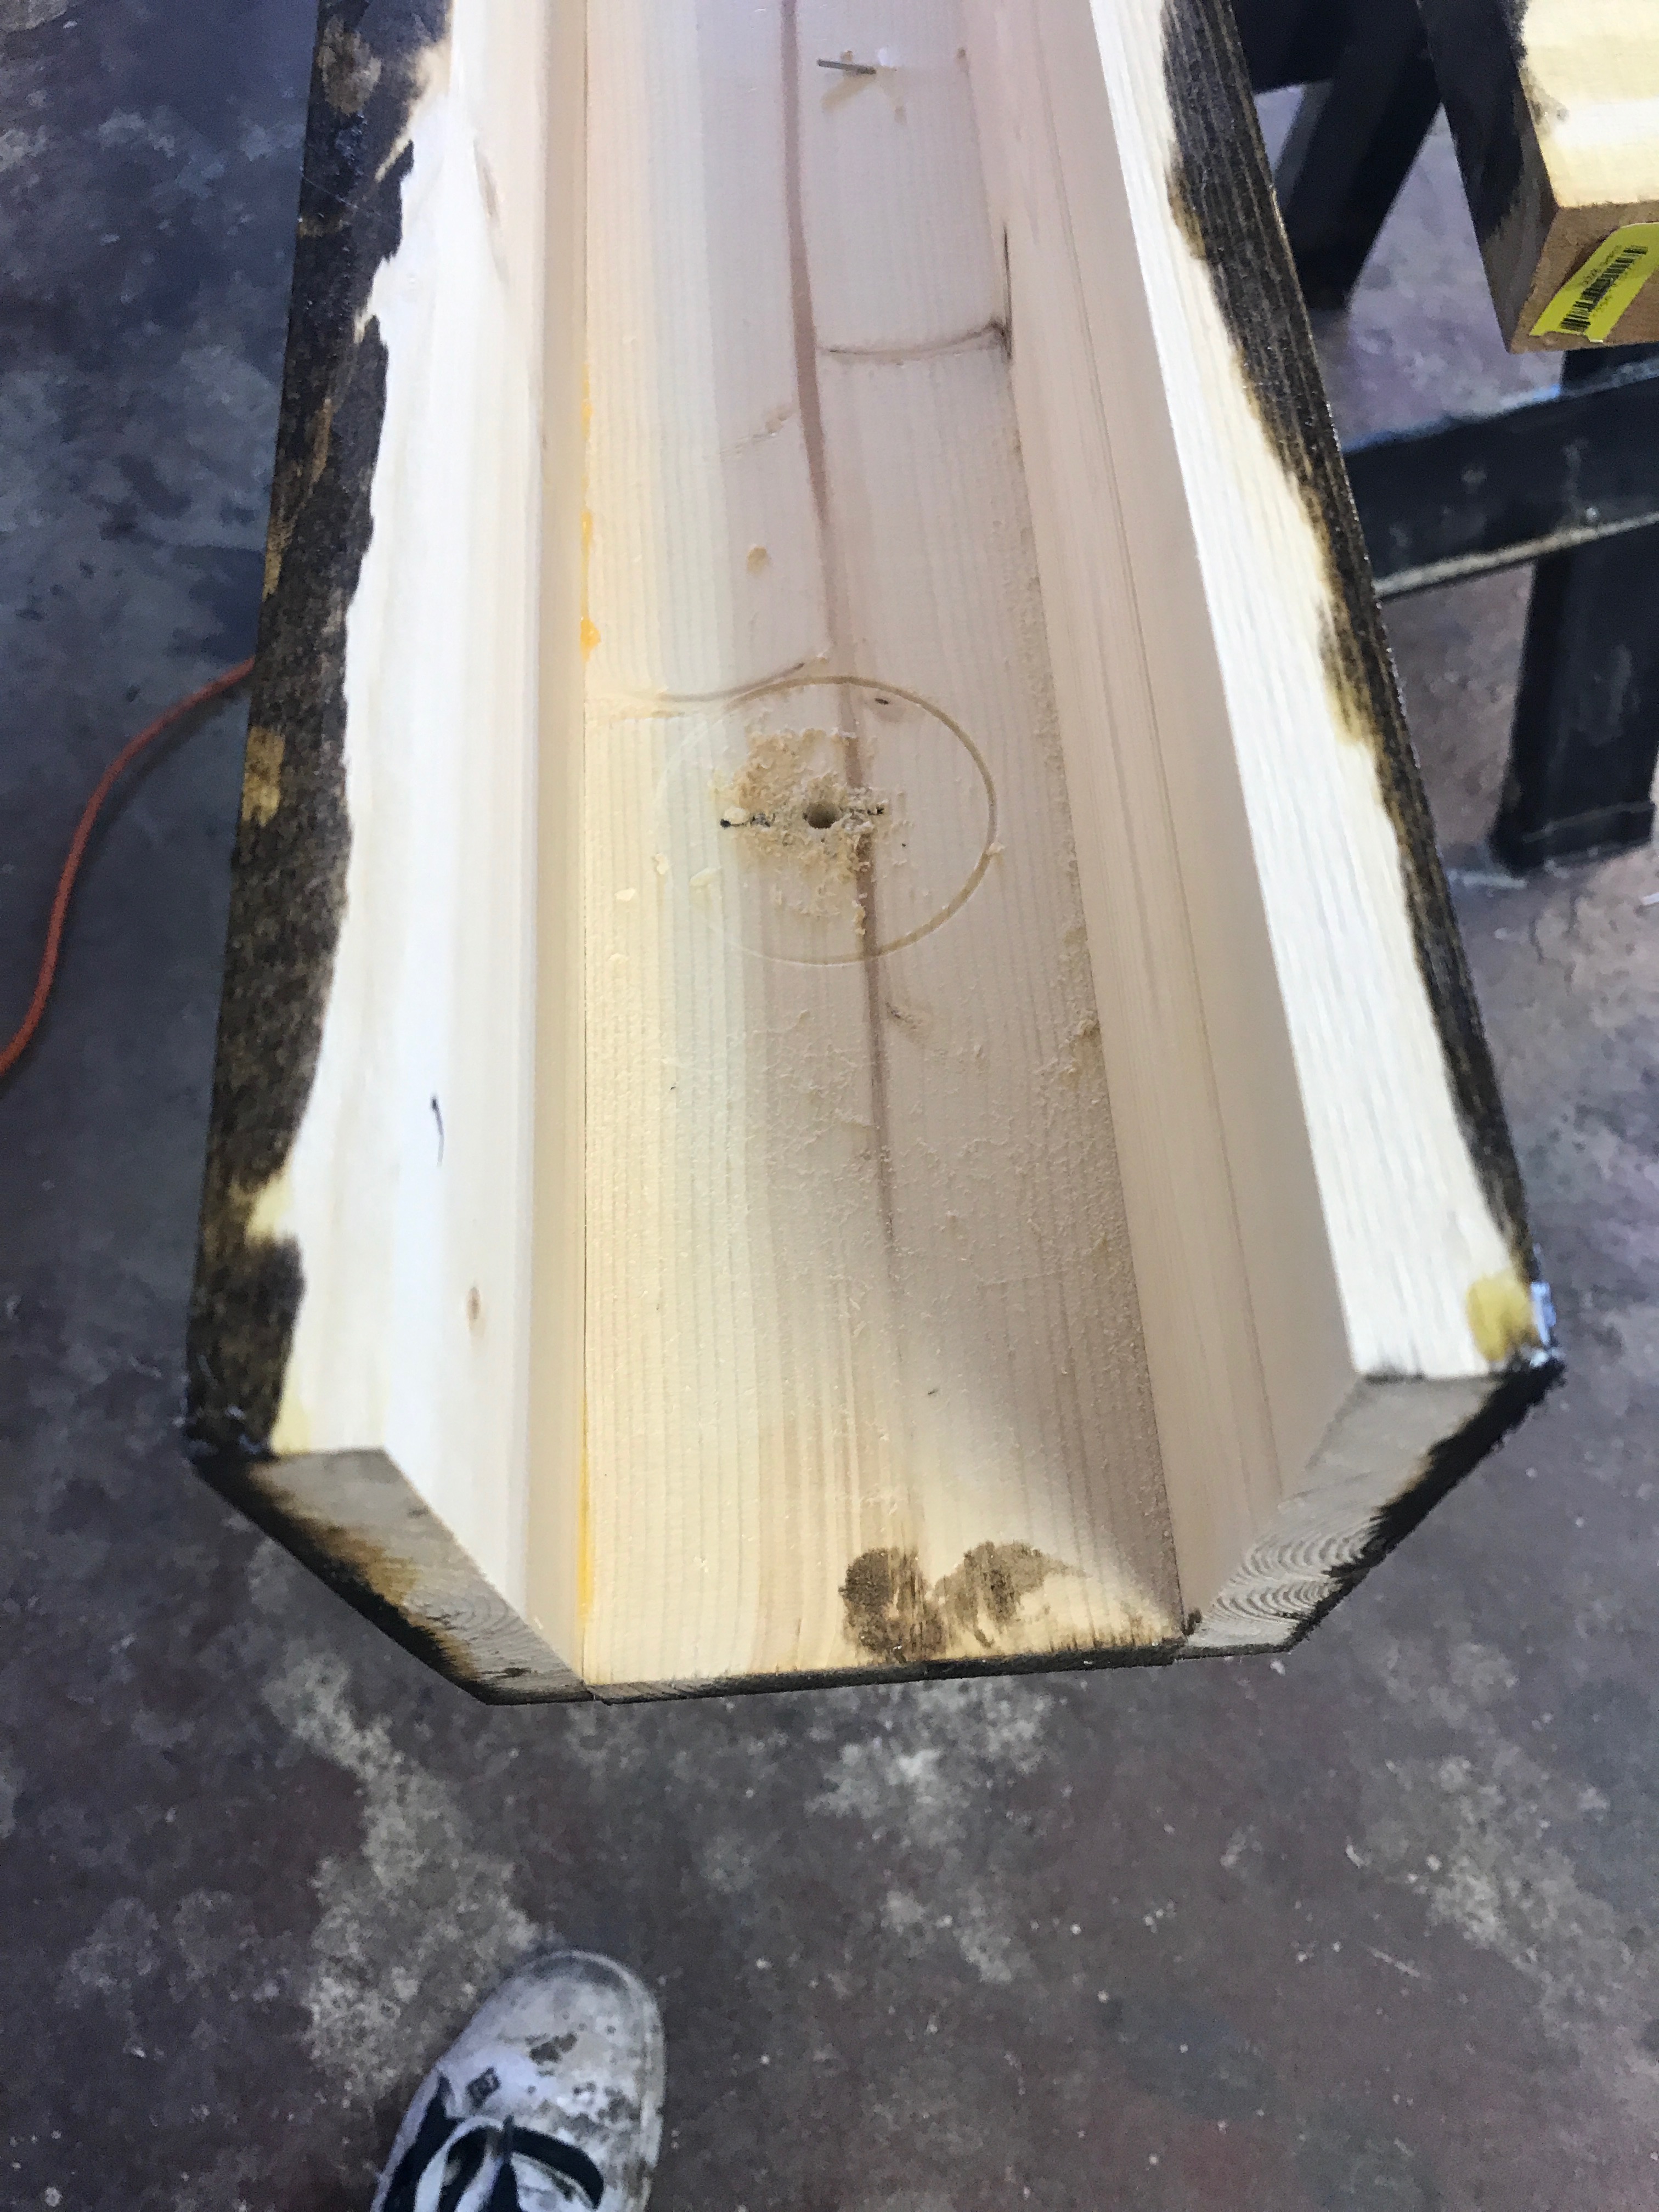
Holes drilled in the first beam for the LED Lights.

I have learned my lesson here. When cutting out the holes from inside the beam and working your way outside, something like this can happen when the hole saw bores through the other side.
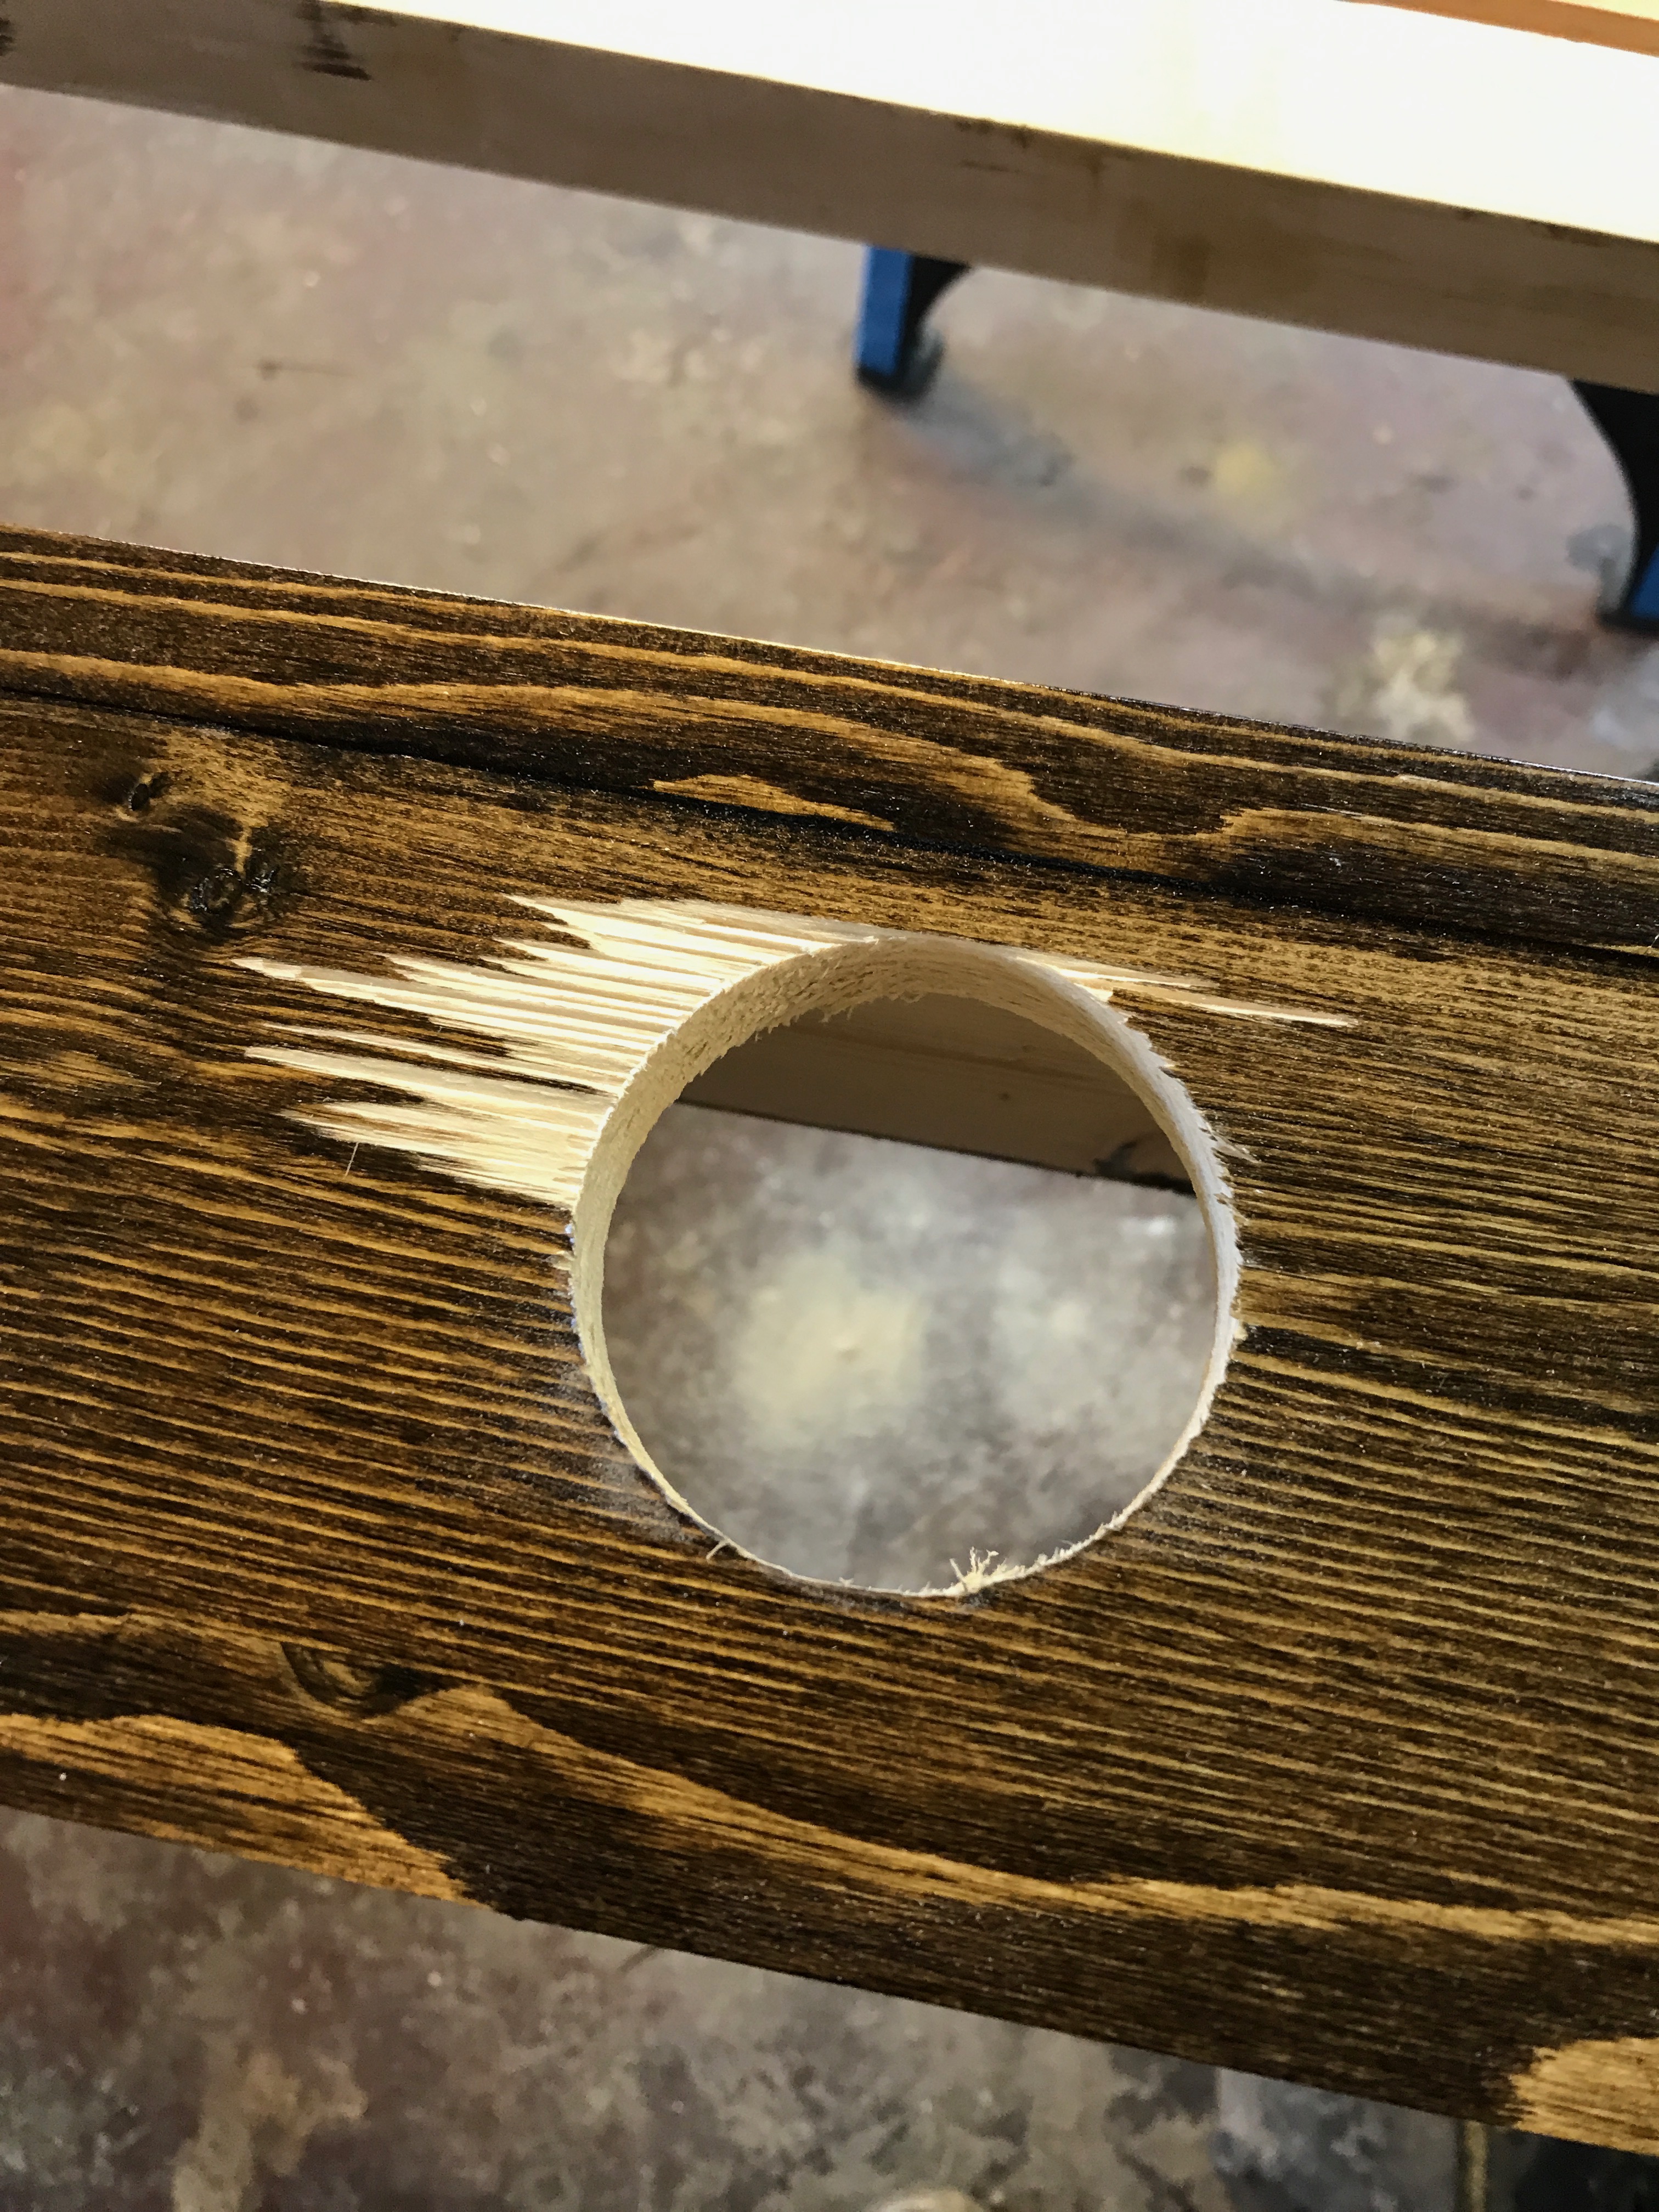
Using a stain pen I was able to cover it up pretty well - but going forward I will be drilling from the finished side through to the unfinished side.
First beam all wired up and ready to be installed.
Securing the beam to the 2x4’s
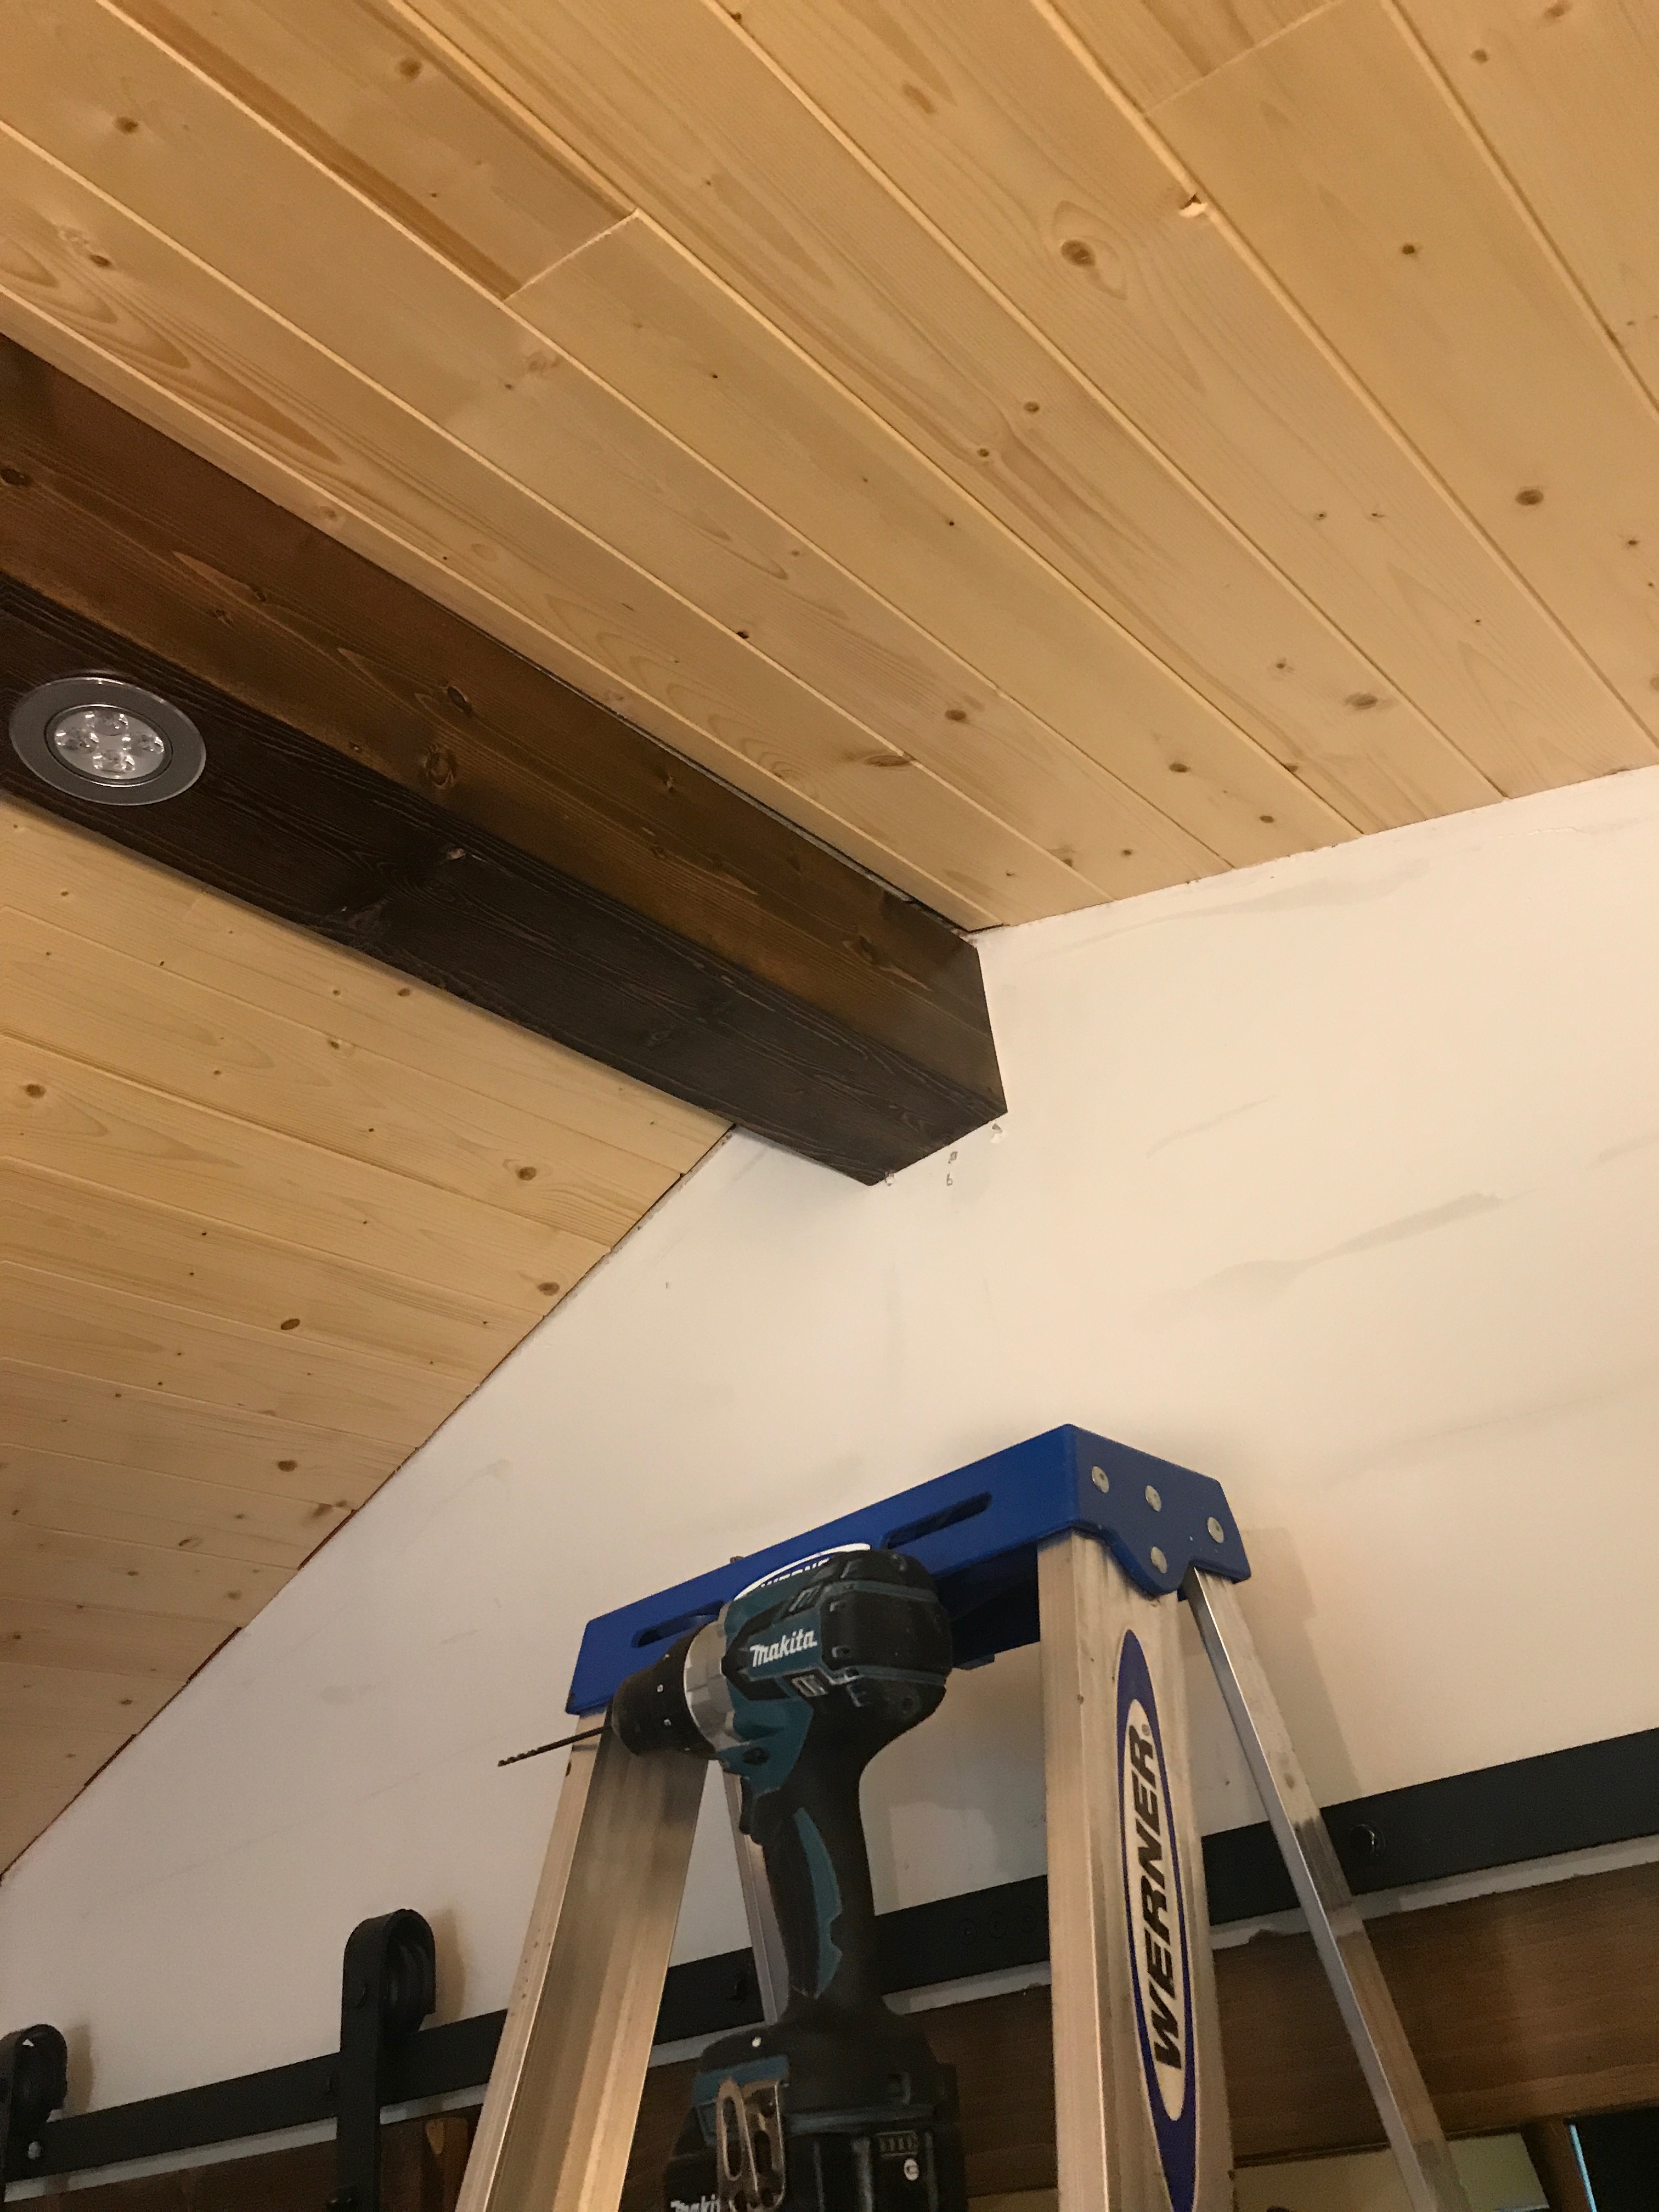
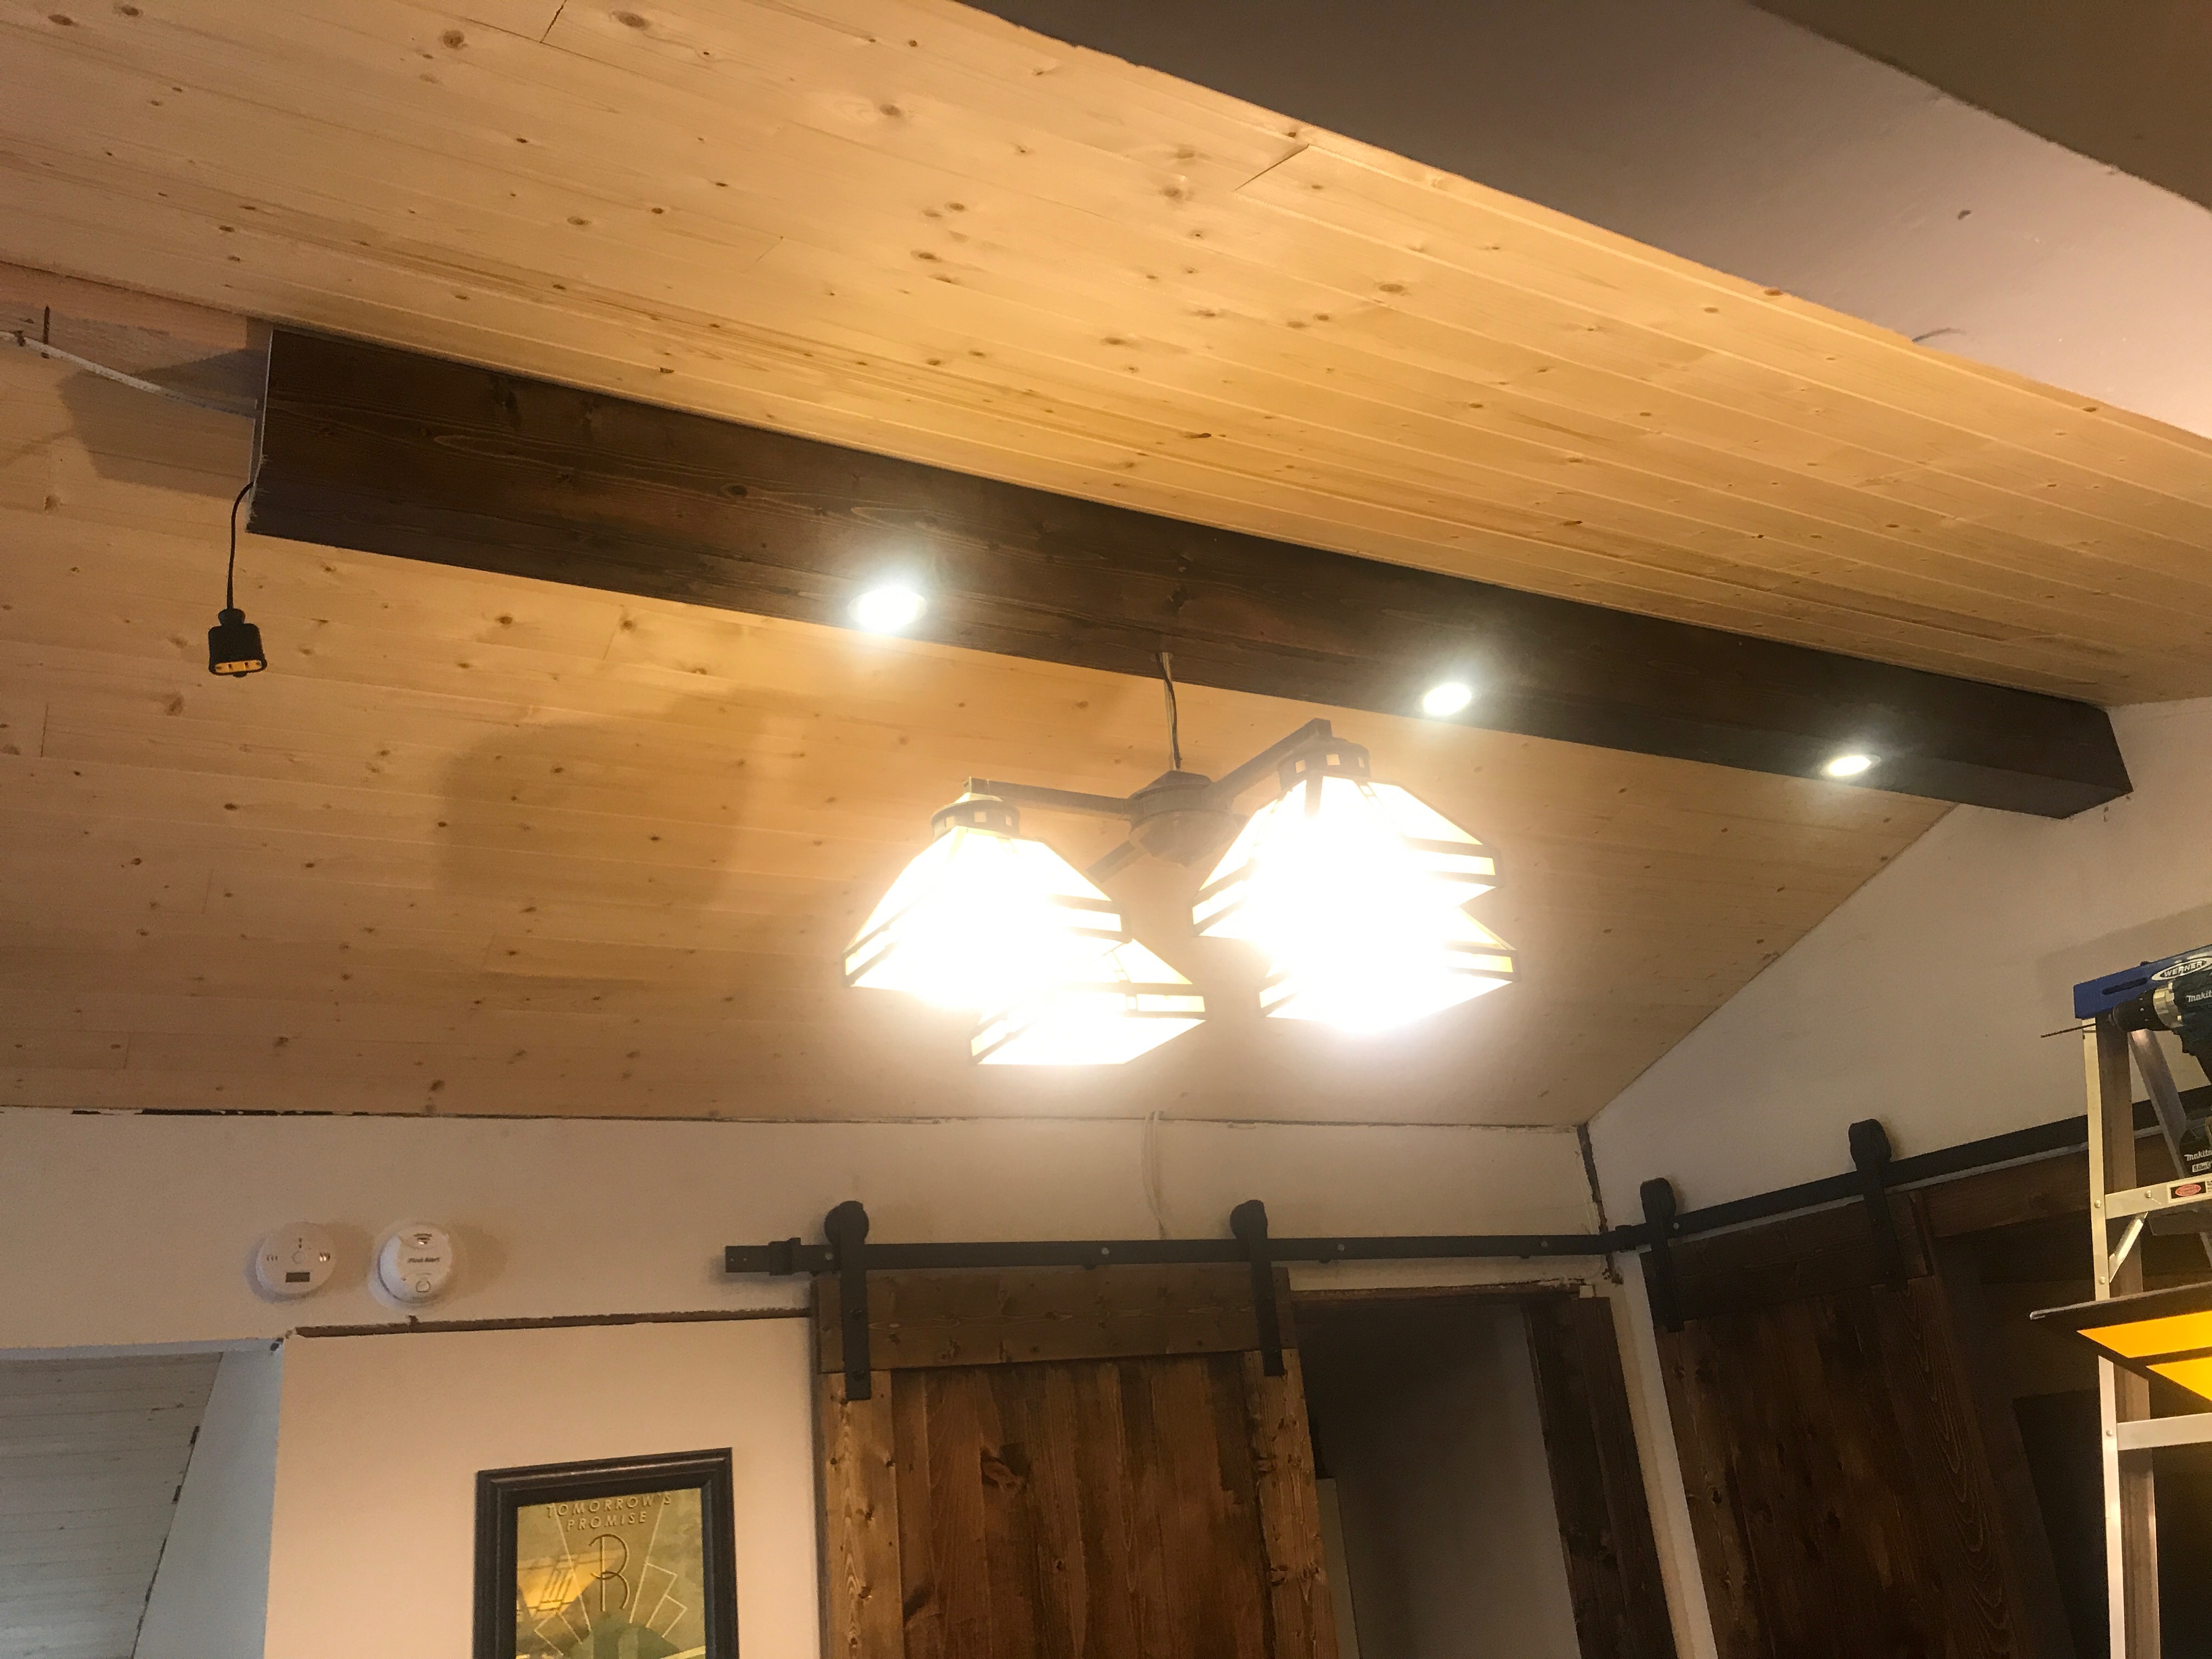
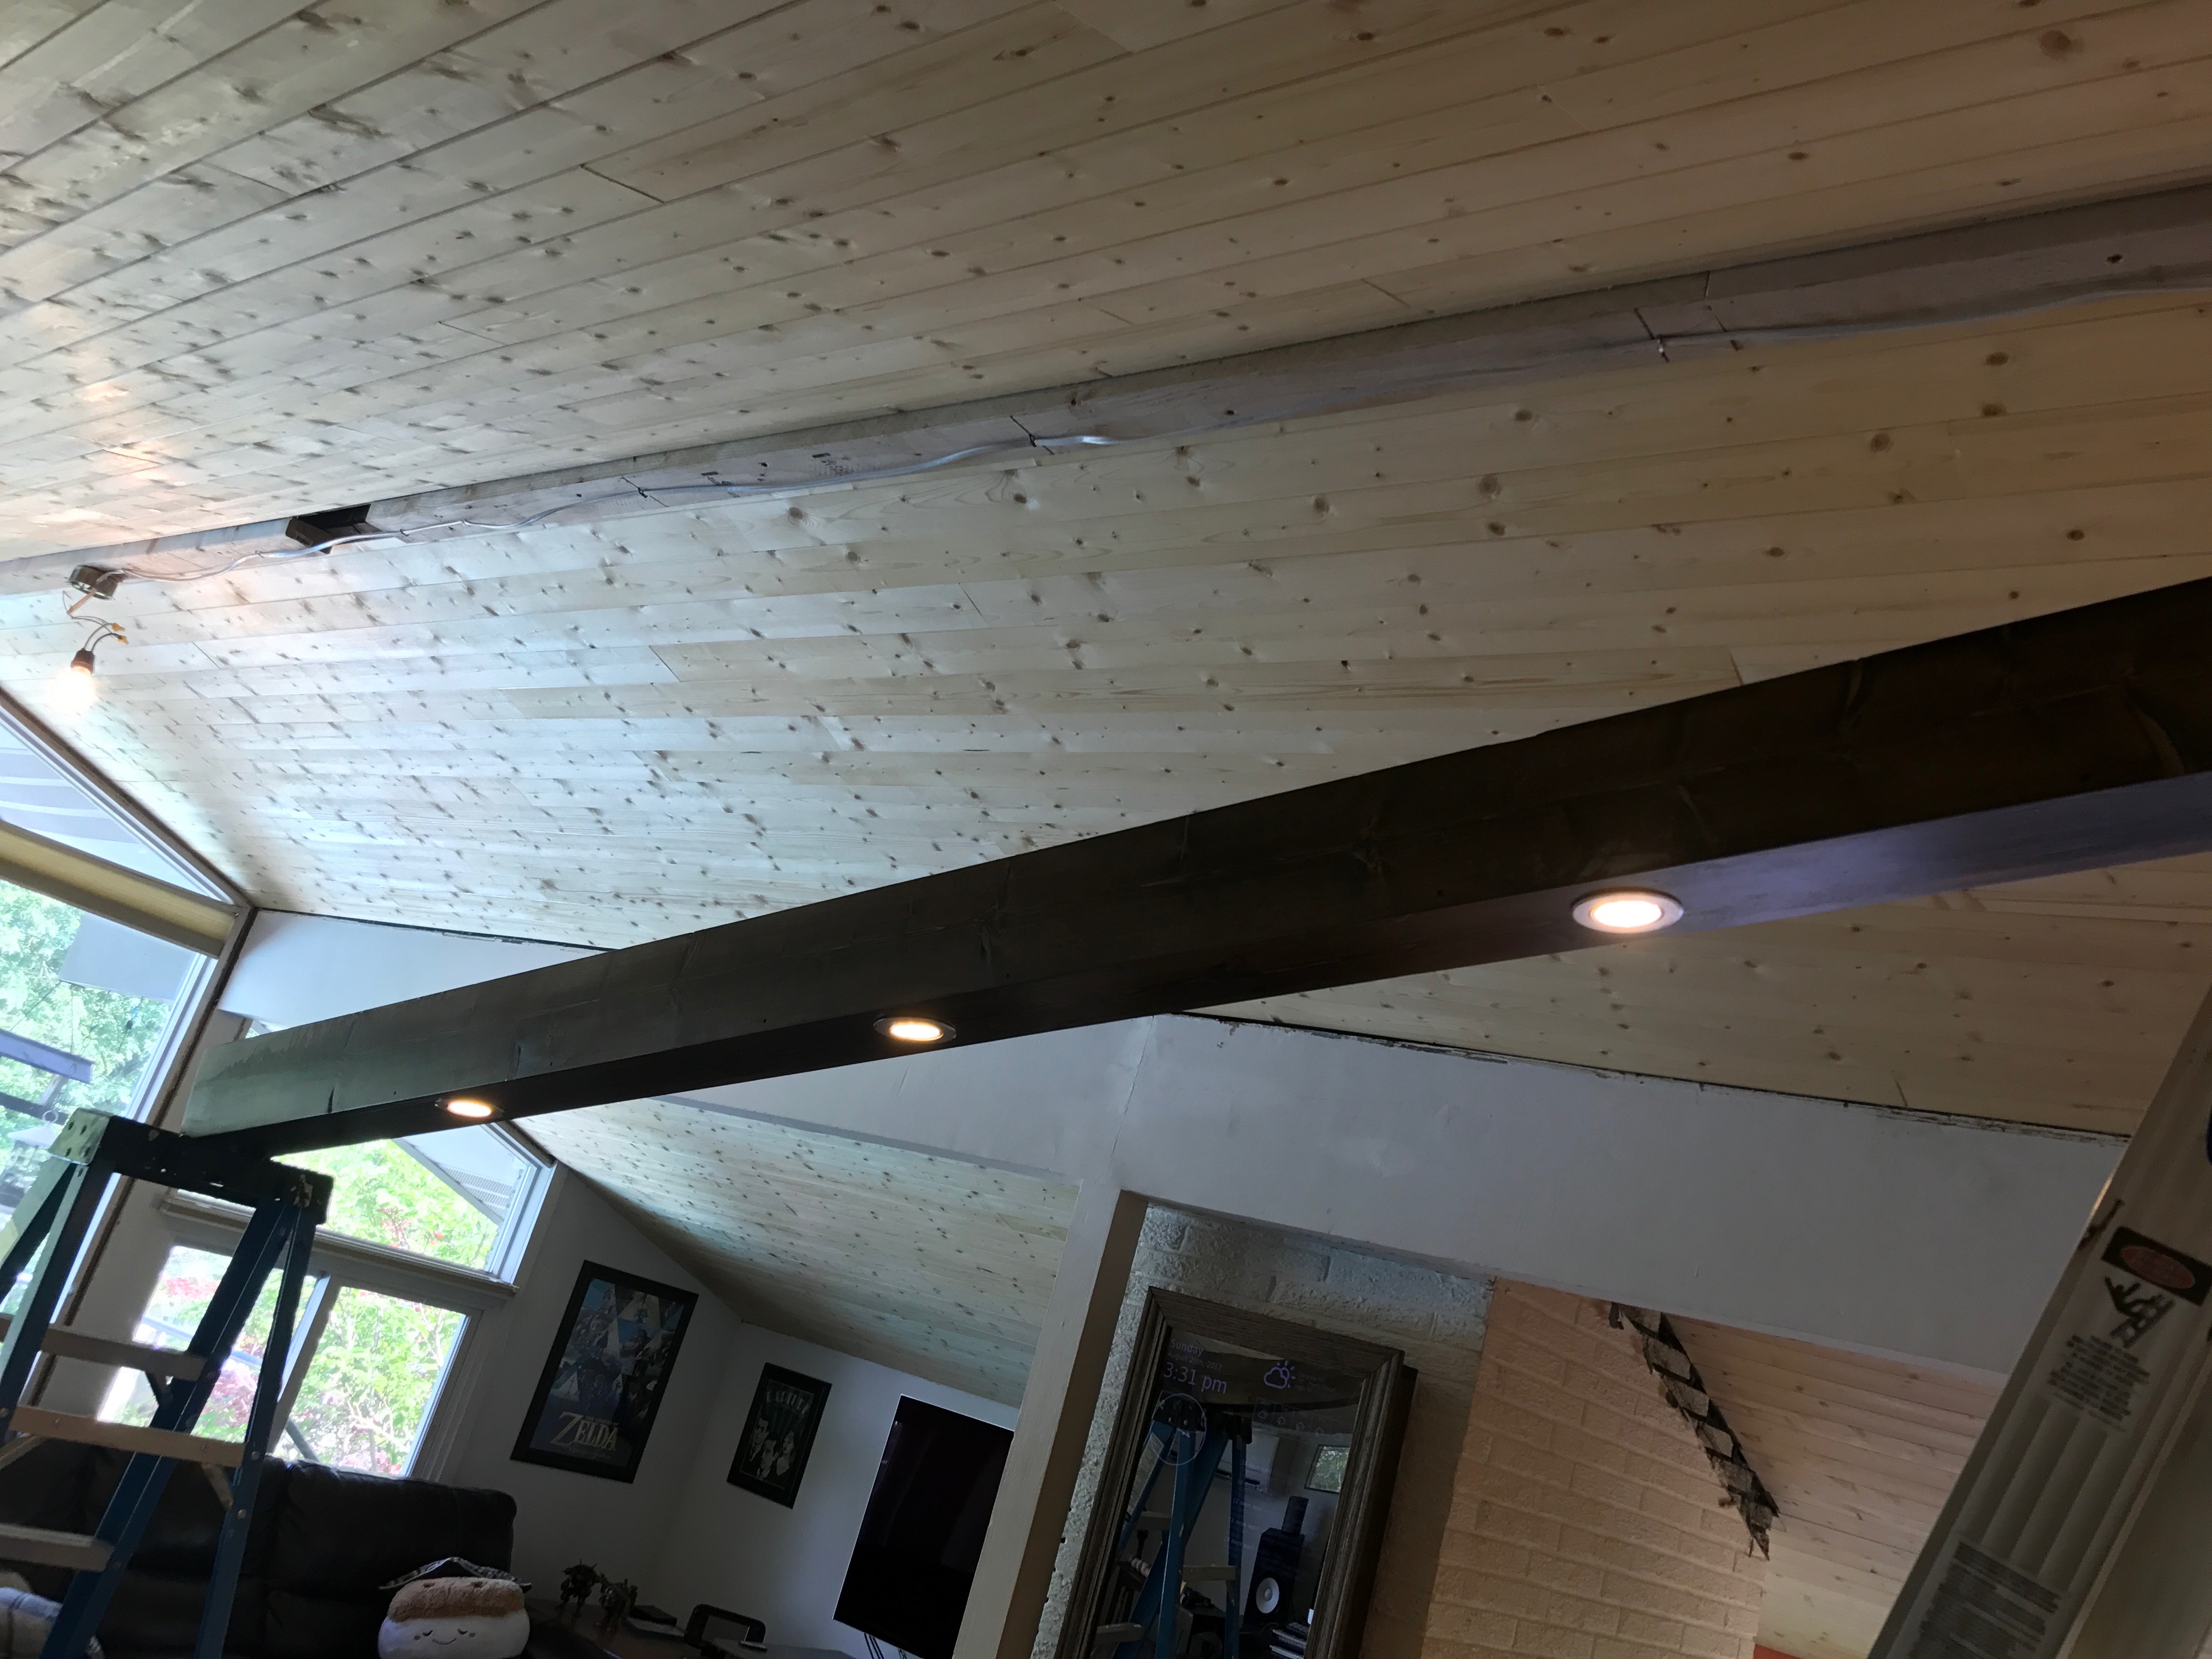
The first beam installed, wired, and the chandelier working as well!
For the next 2 beams, I decided to take a lot more pictures so I could fully explain the process of installing and wiring the lights. This shot shows me ready to work on the next beam.
I marked a dash every 2’6” where the lights will be installed. I picked that measurement largely arbitrarily - I just spaced out the lights myself until they “looked good”, and then took the closest measurement to what I had placed.
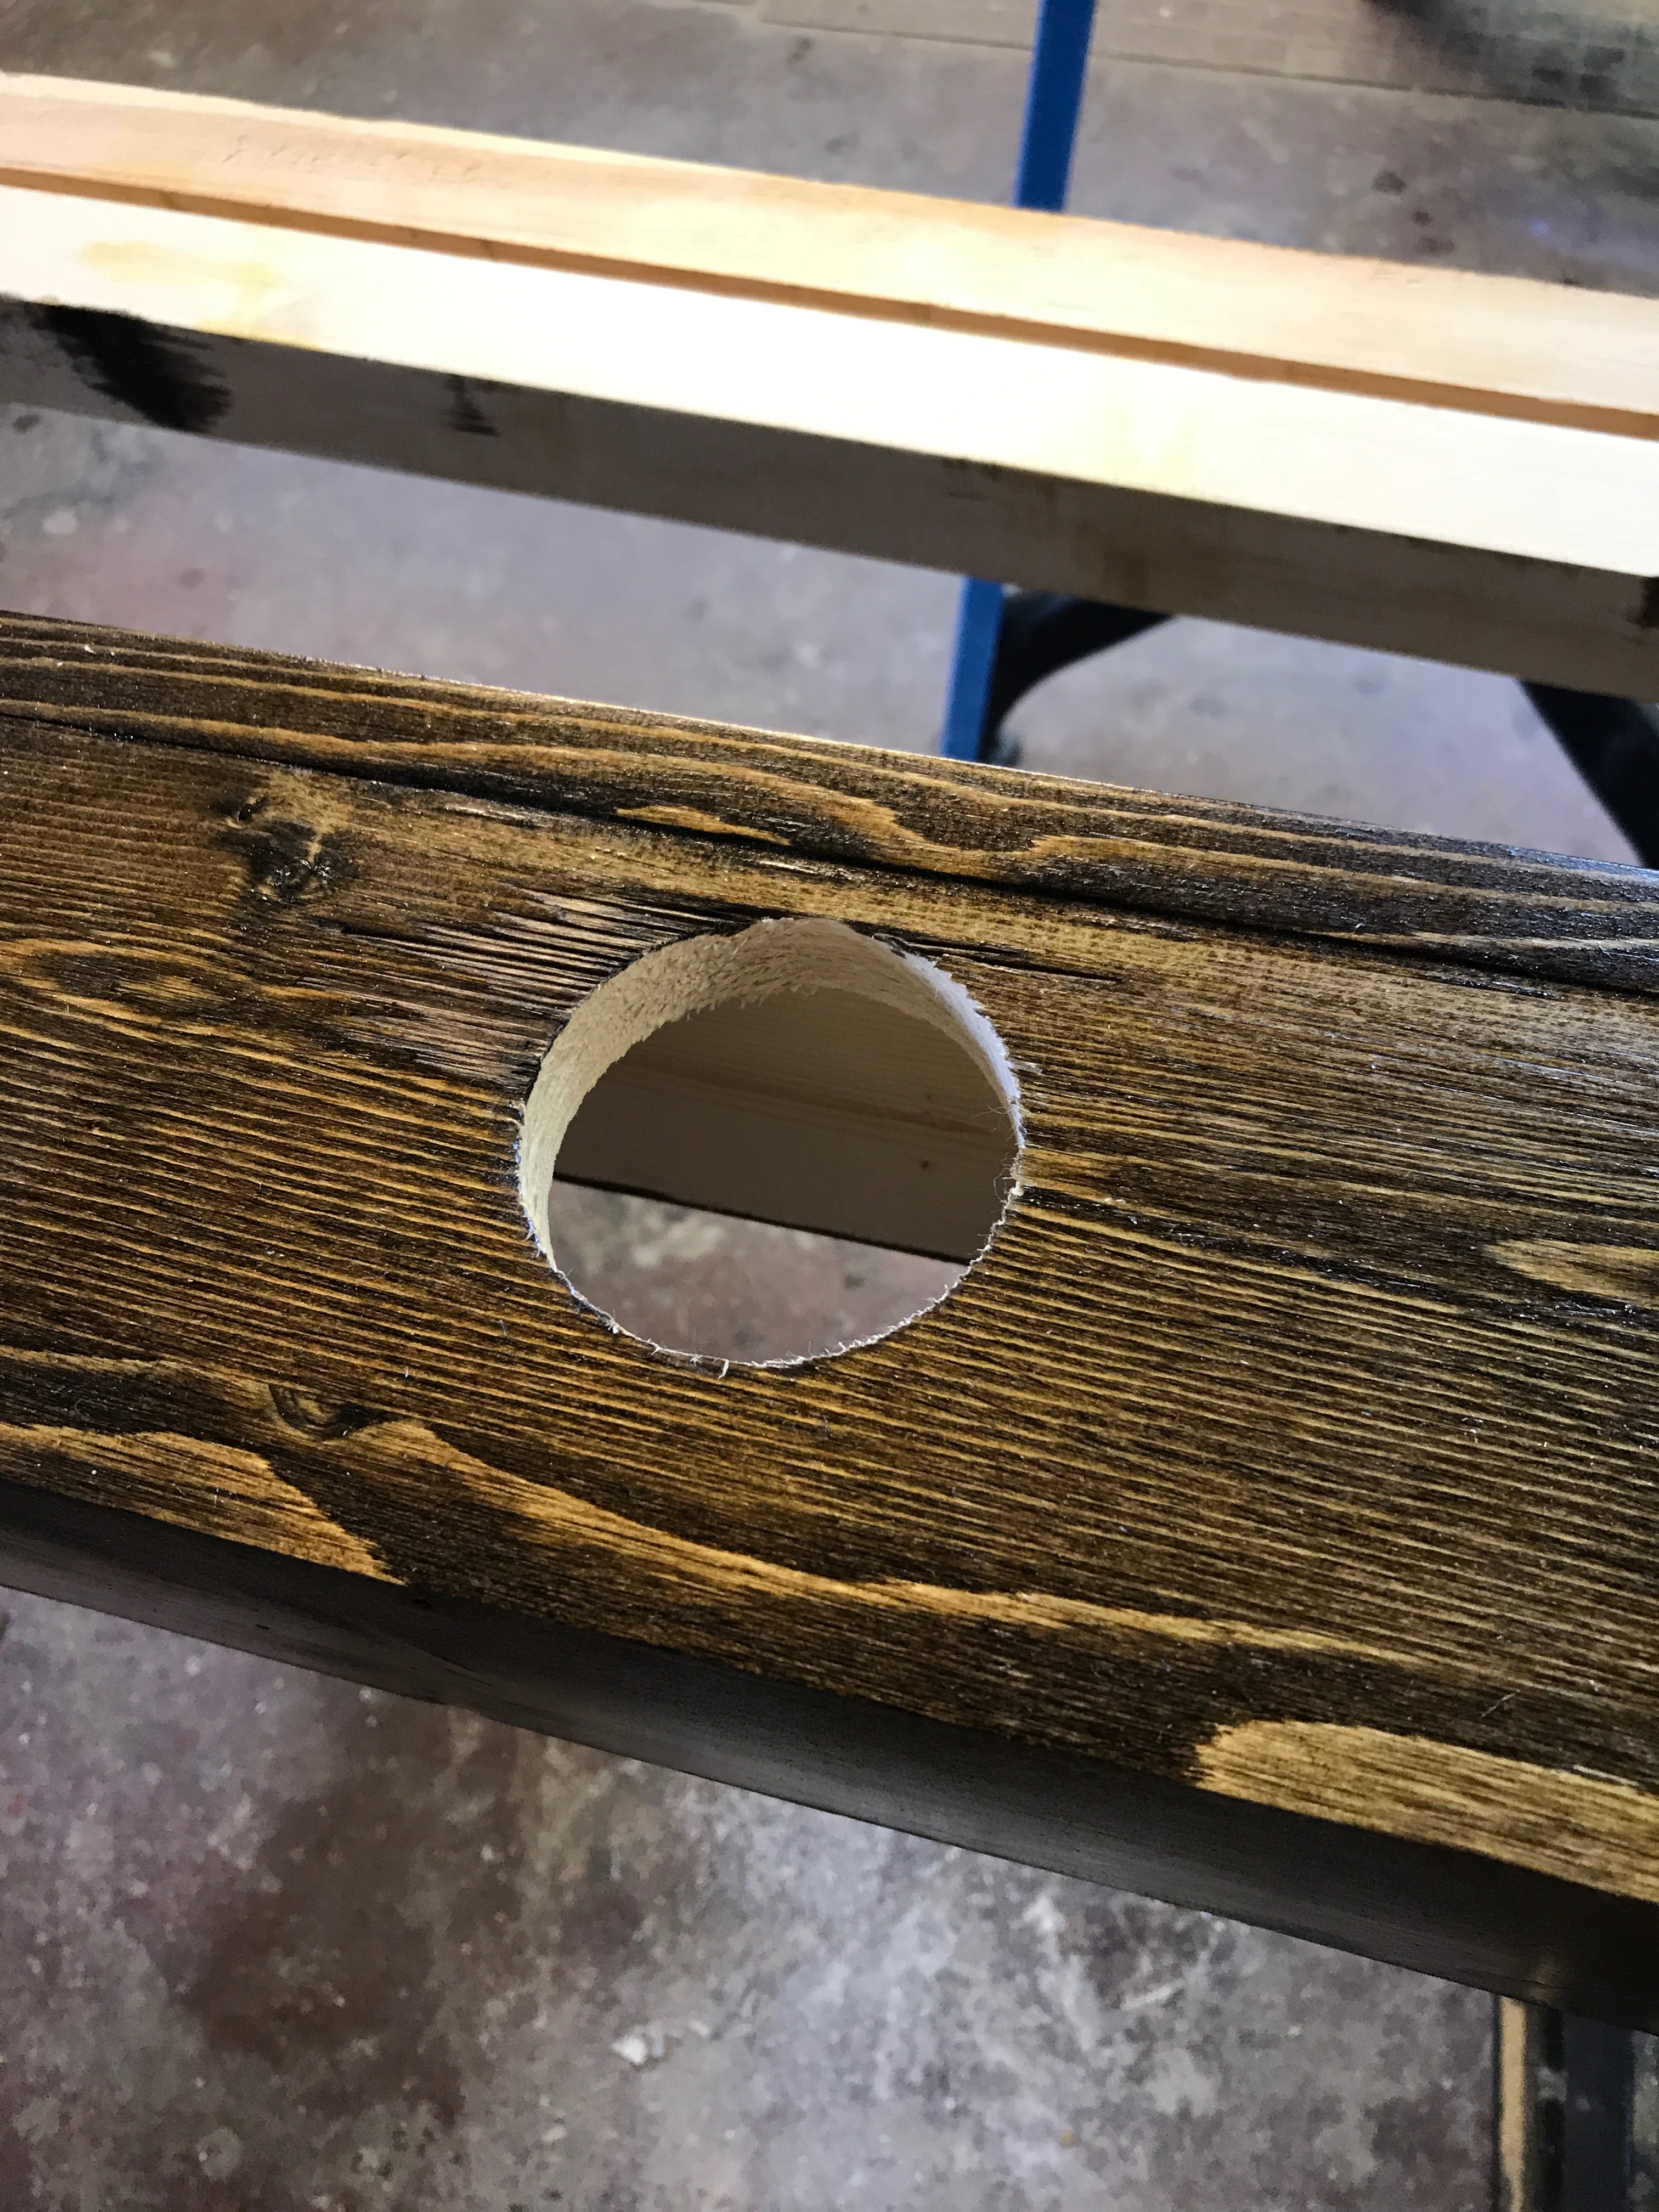
I started drilling from the unfinished side where I wanted the light.
Just enough drilling so the small hole would poke through the finished side.
Then, I finished drilling by going through the finished side to avoid any of the finish coming off.

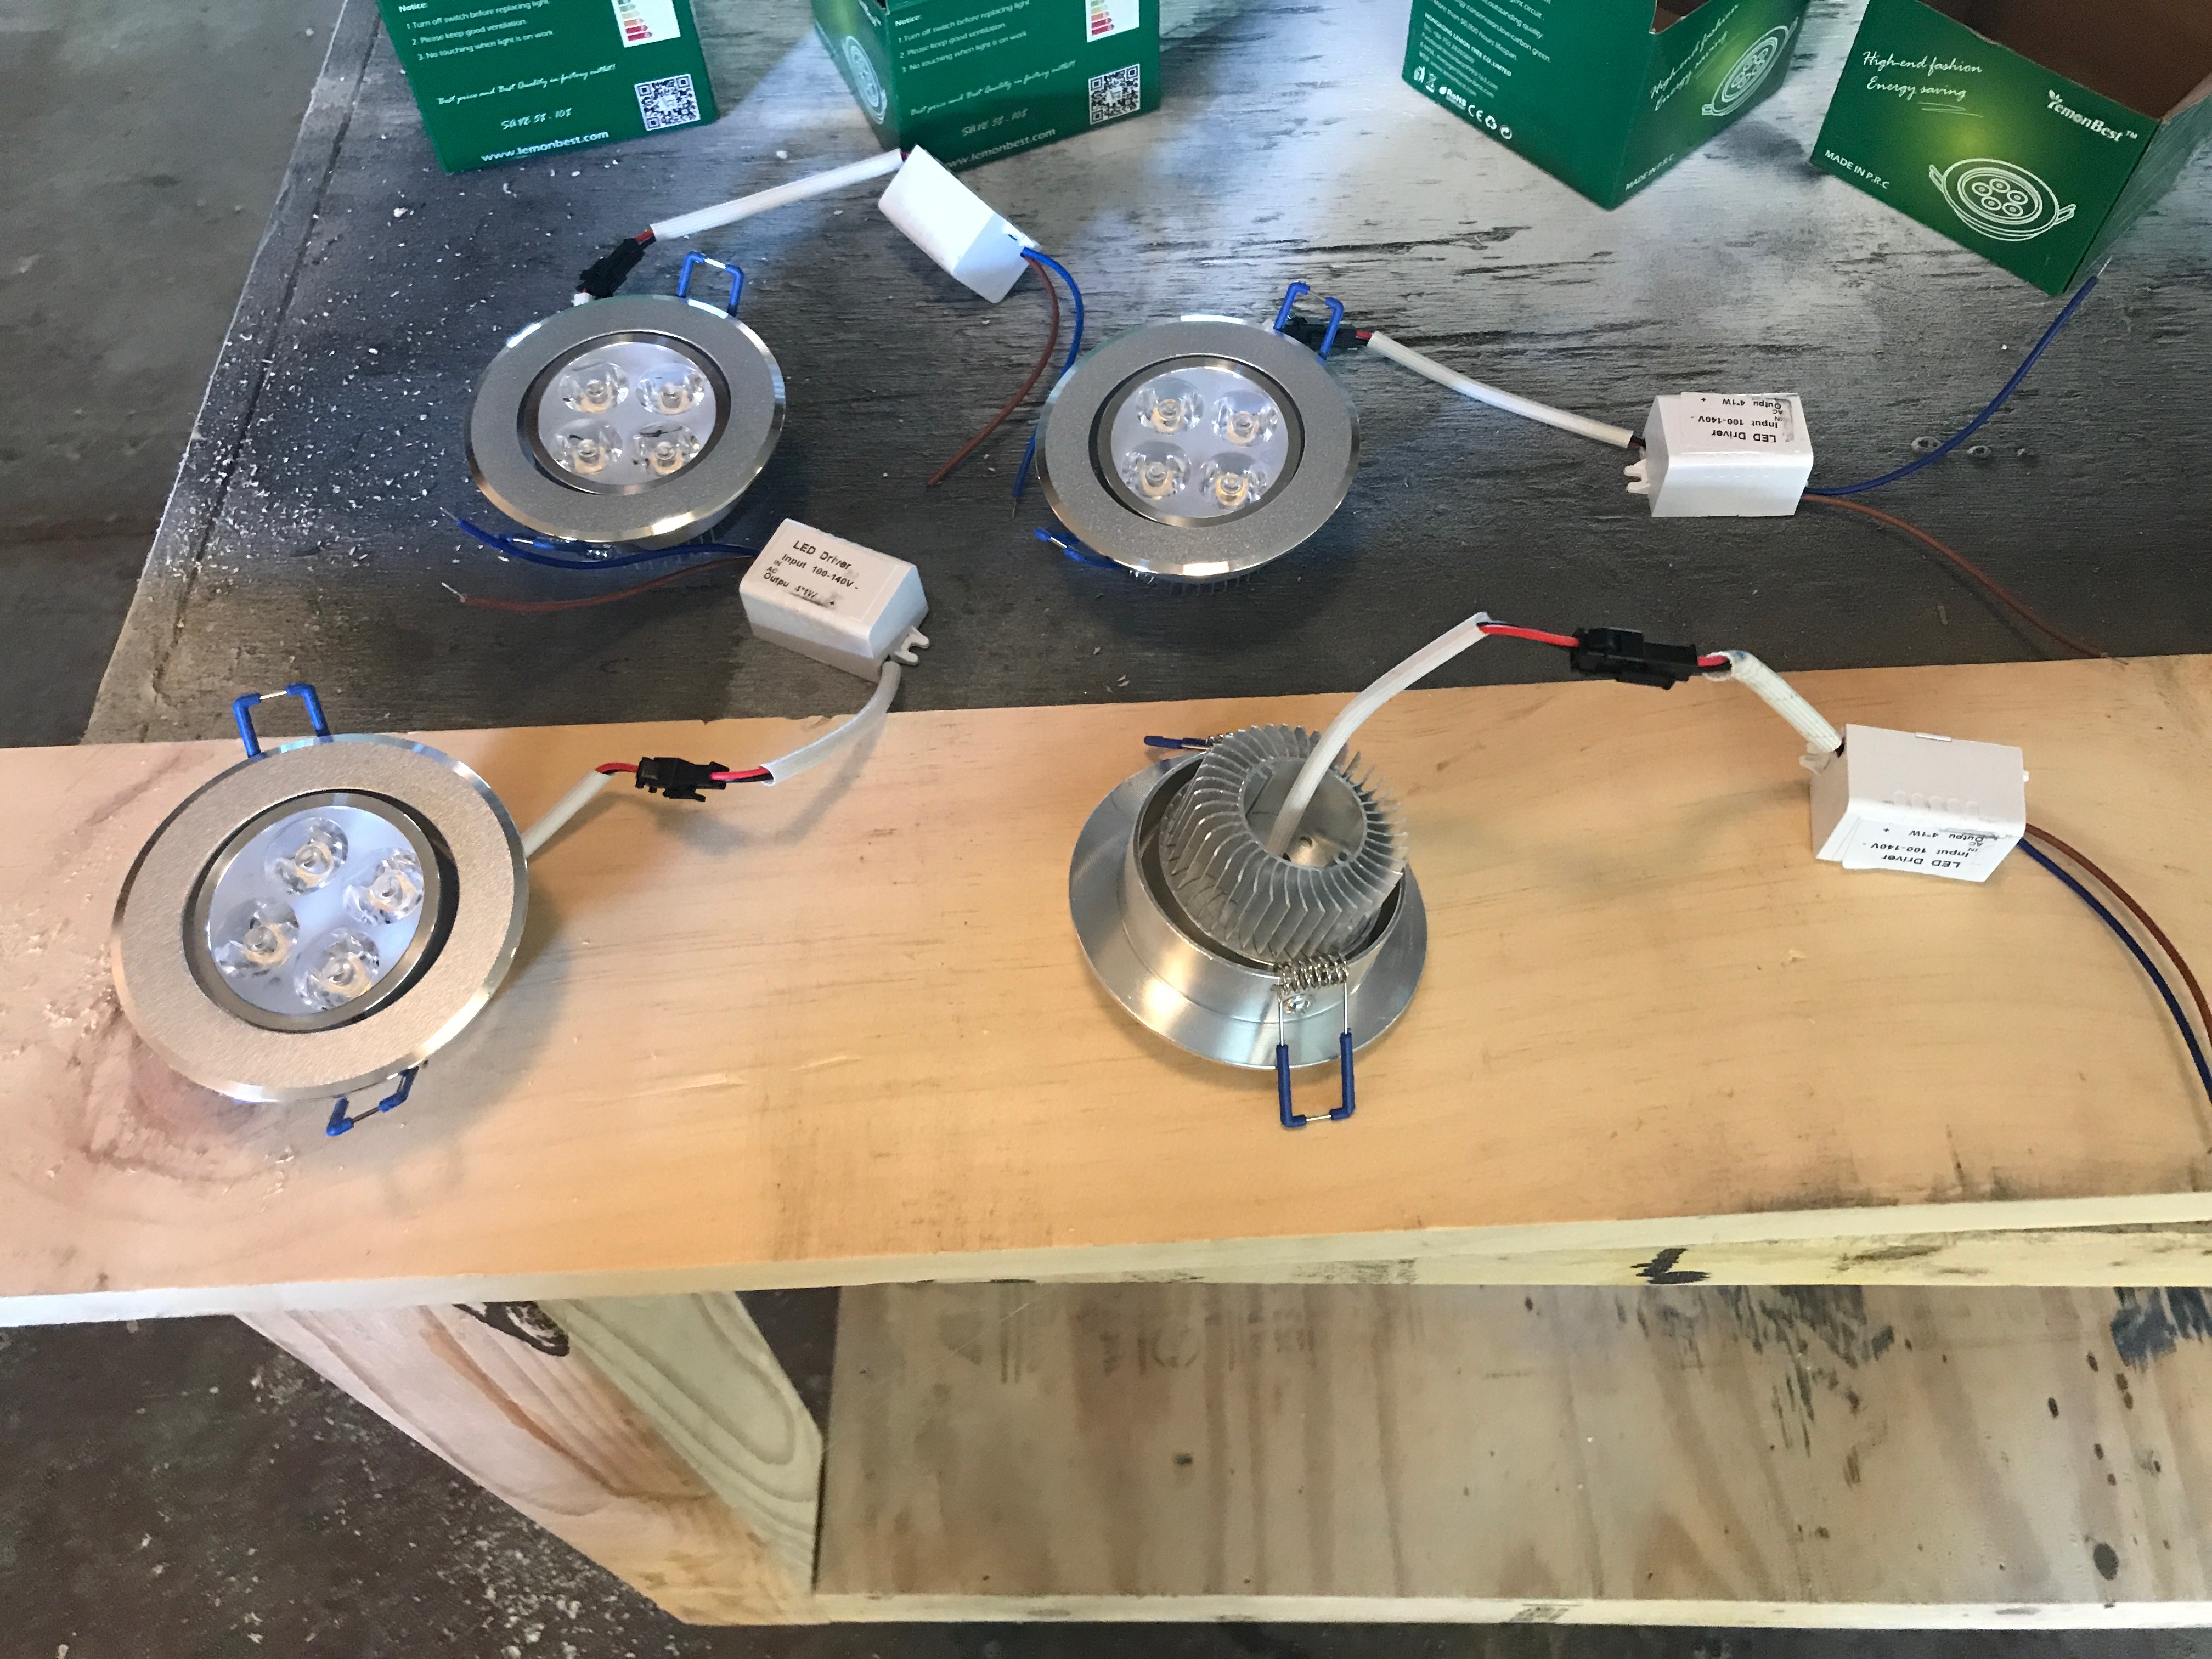
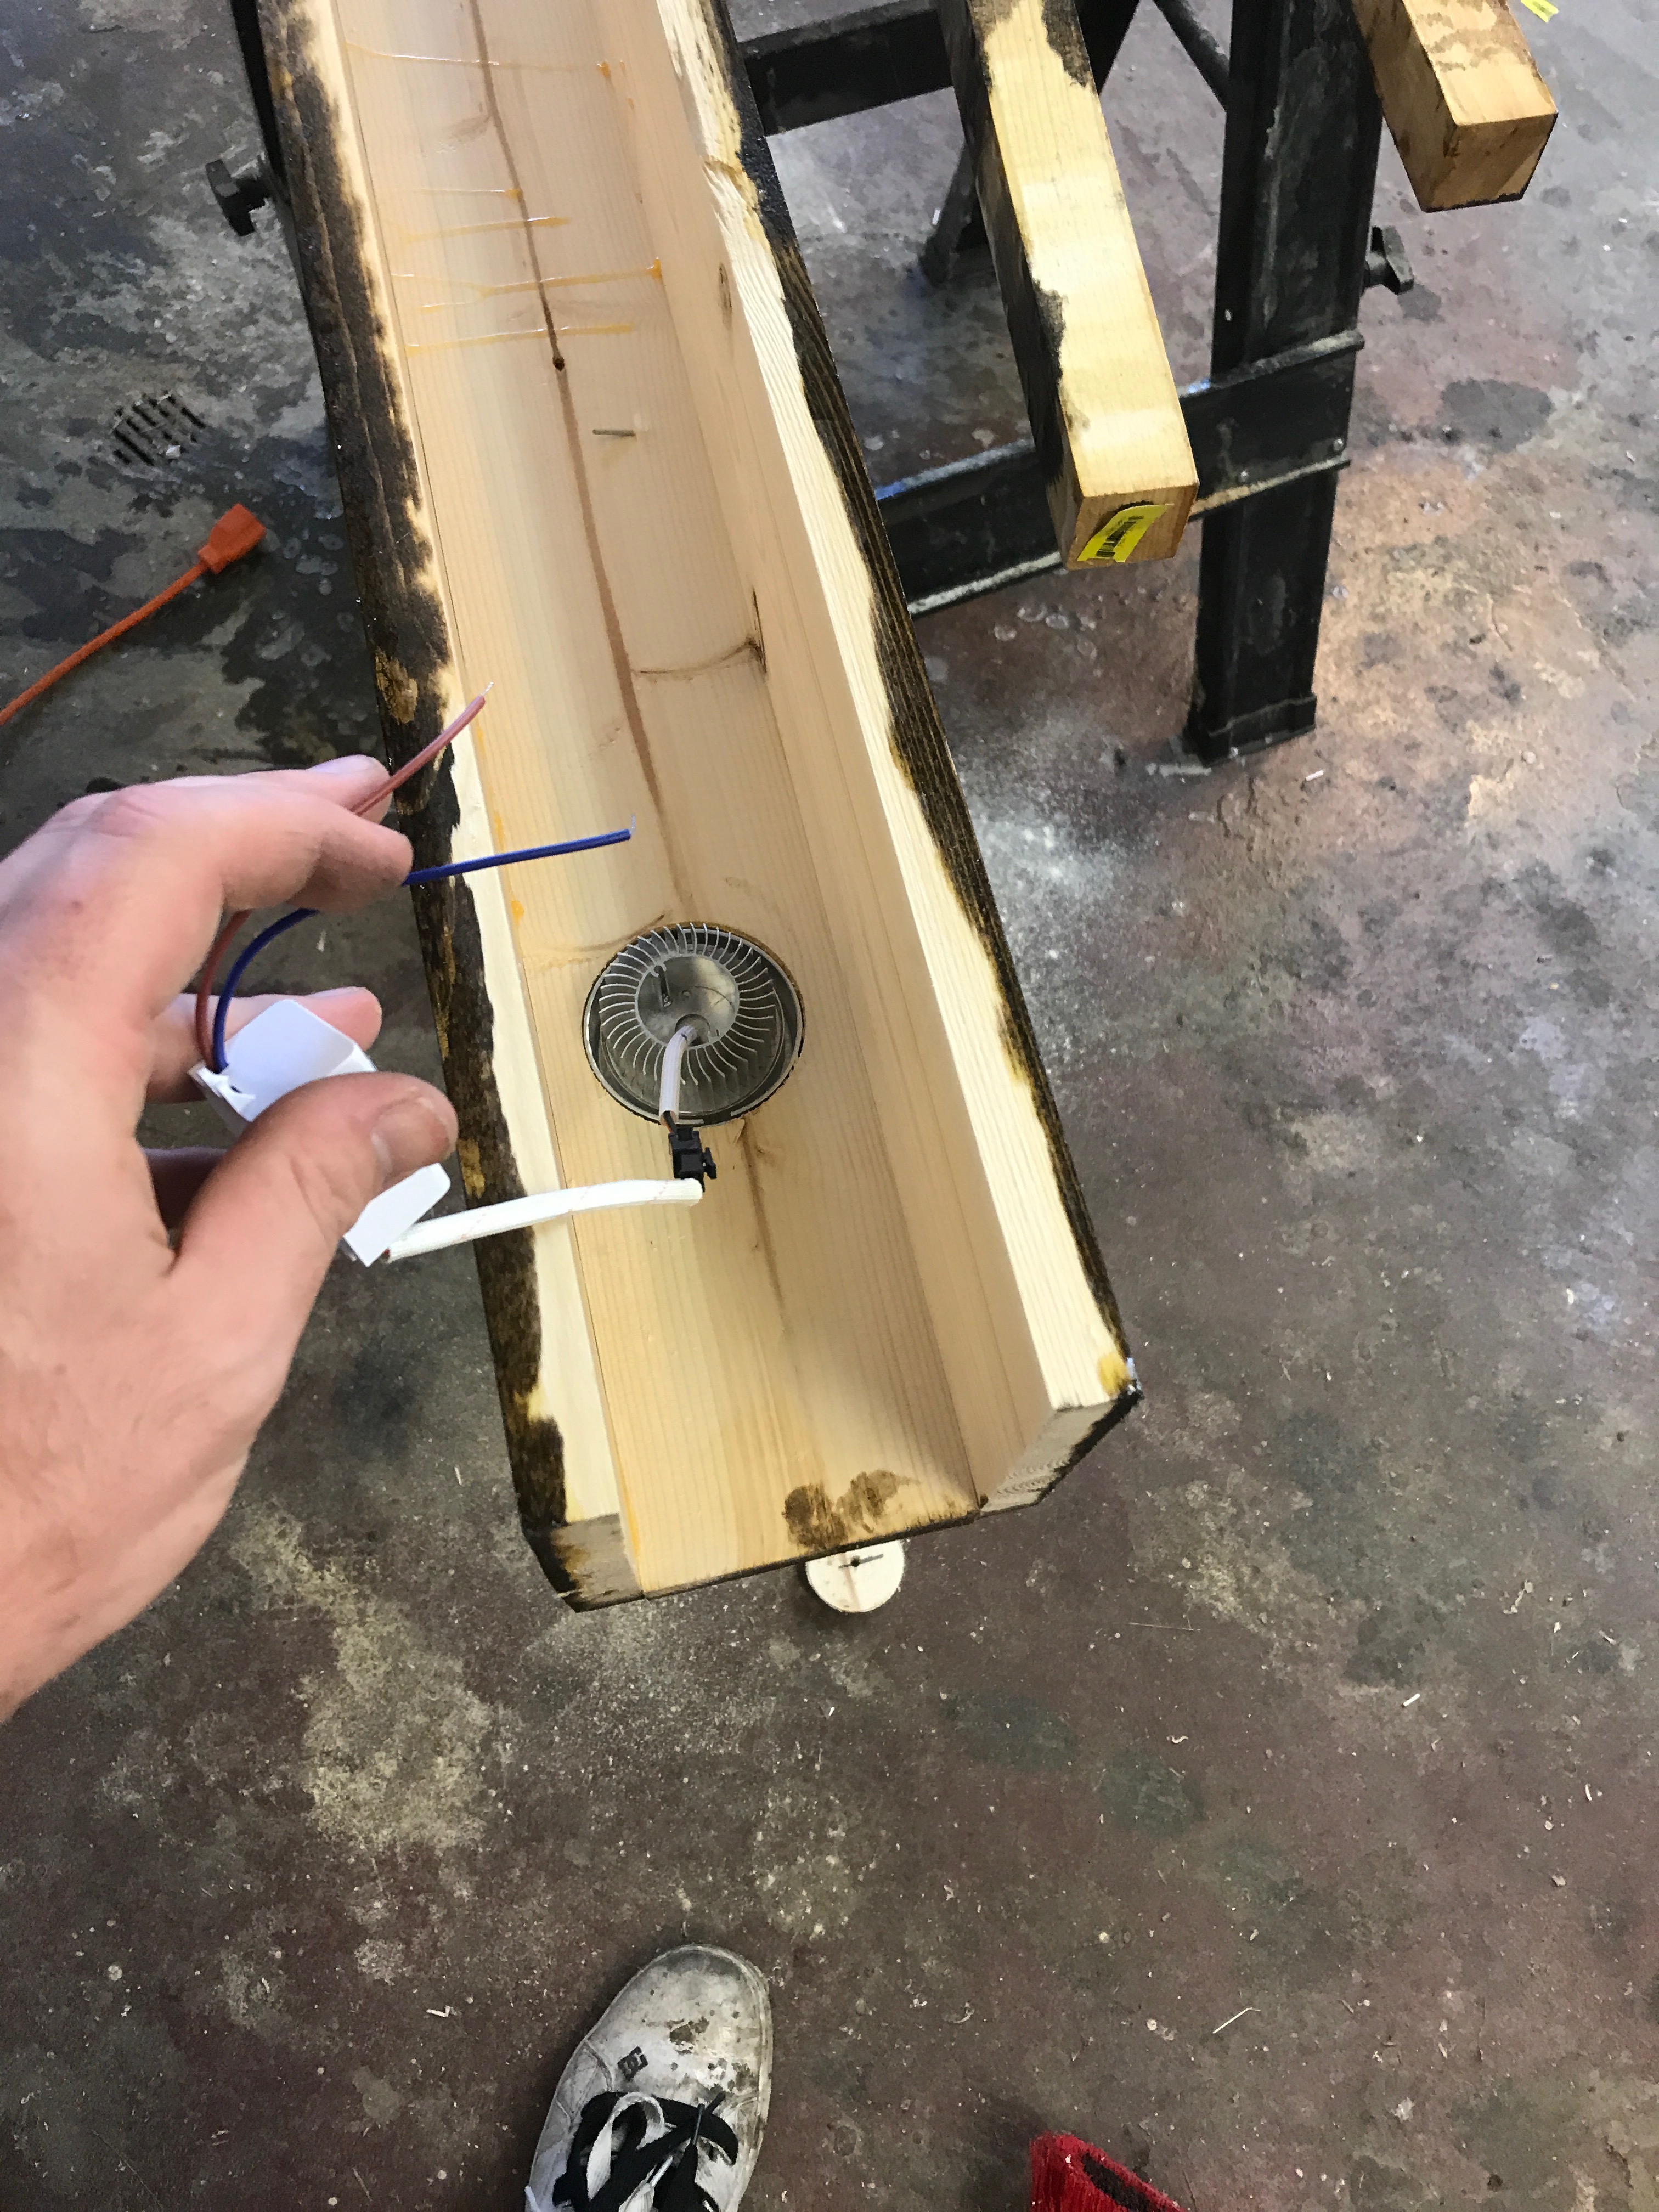
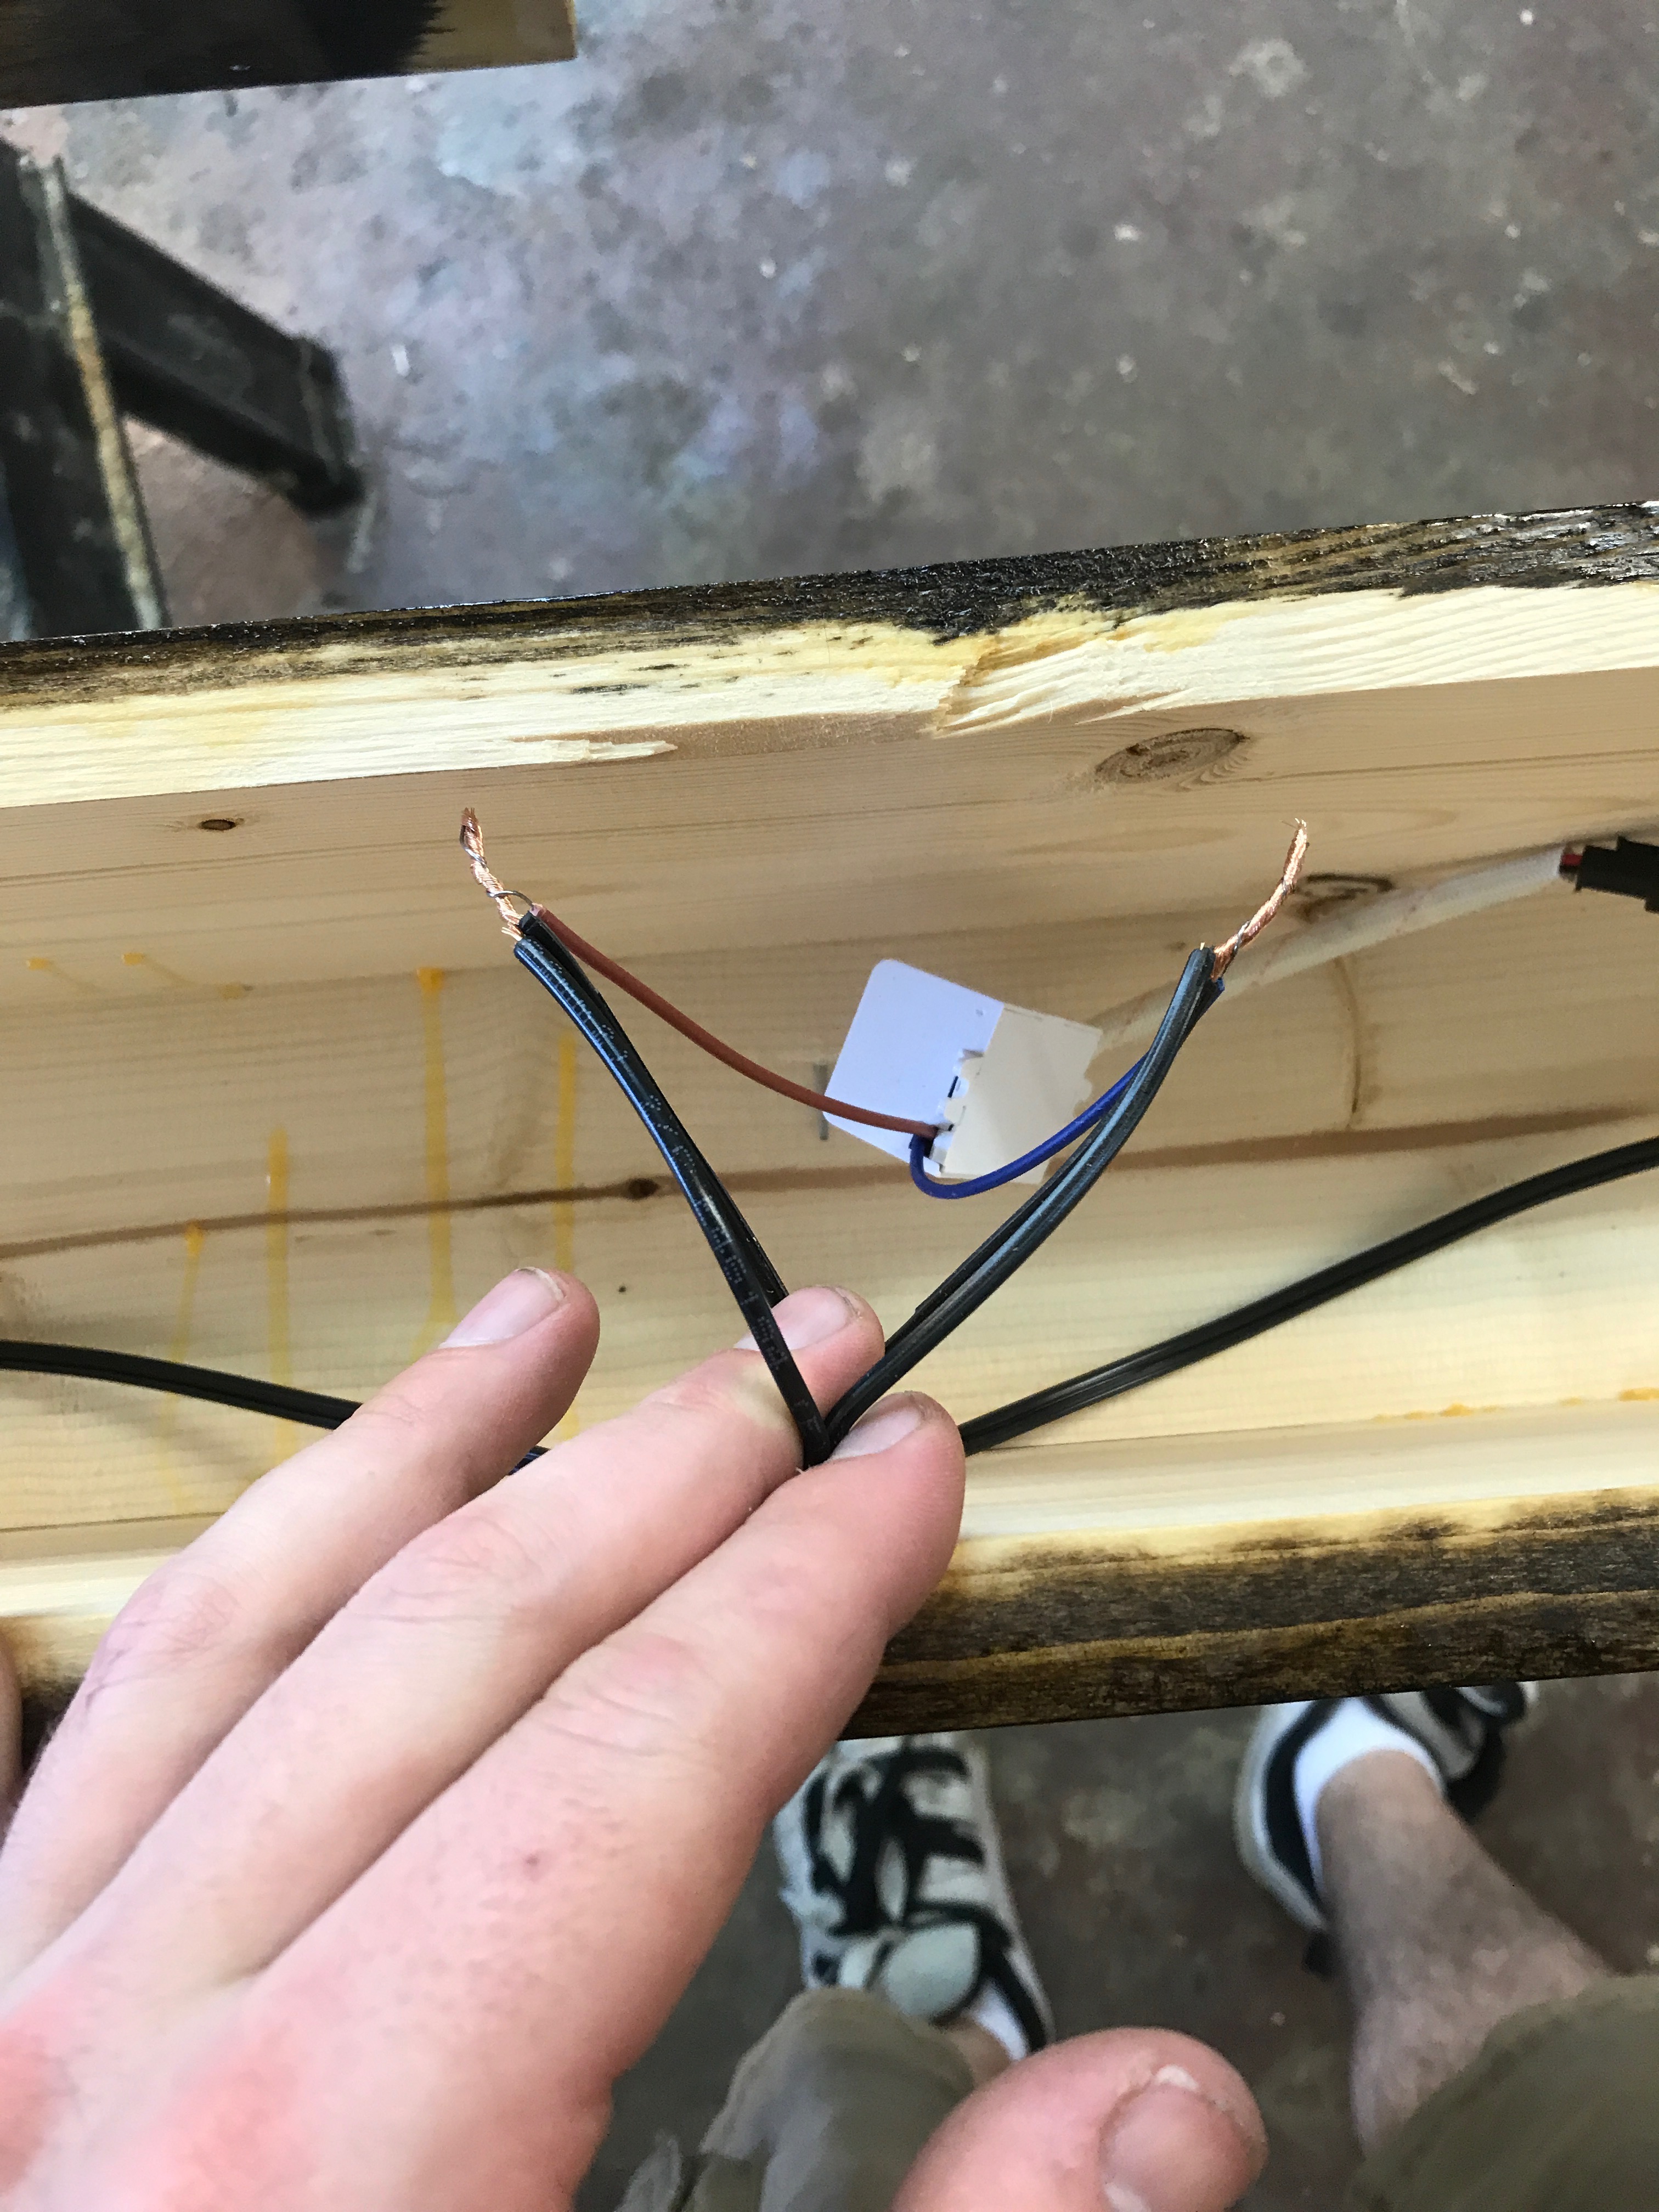
4 lights ready to be wired. This is how they come from Amazon, they have these little transformer boxes that give you 2 wires to be wired directly into a 110V plug - it doesn’t matter which wire is hot or neutral.
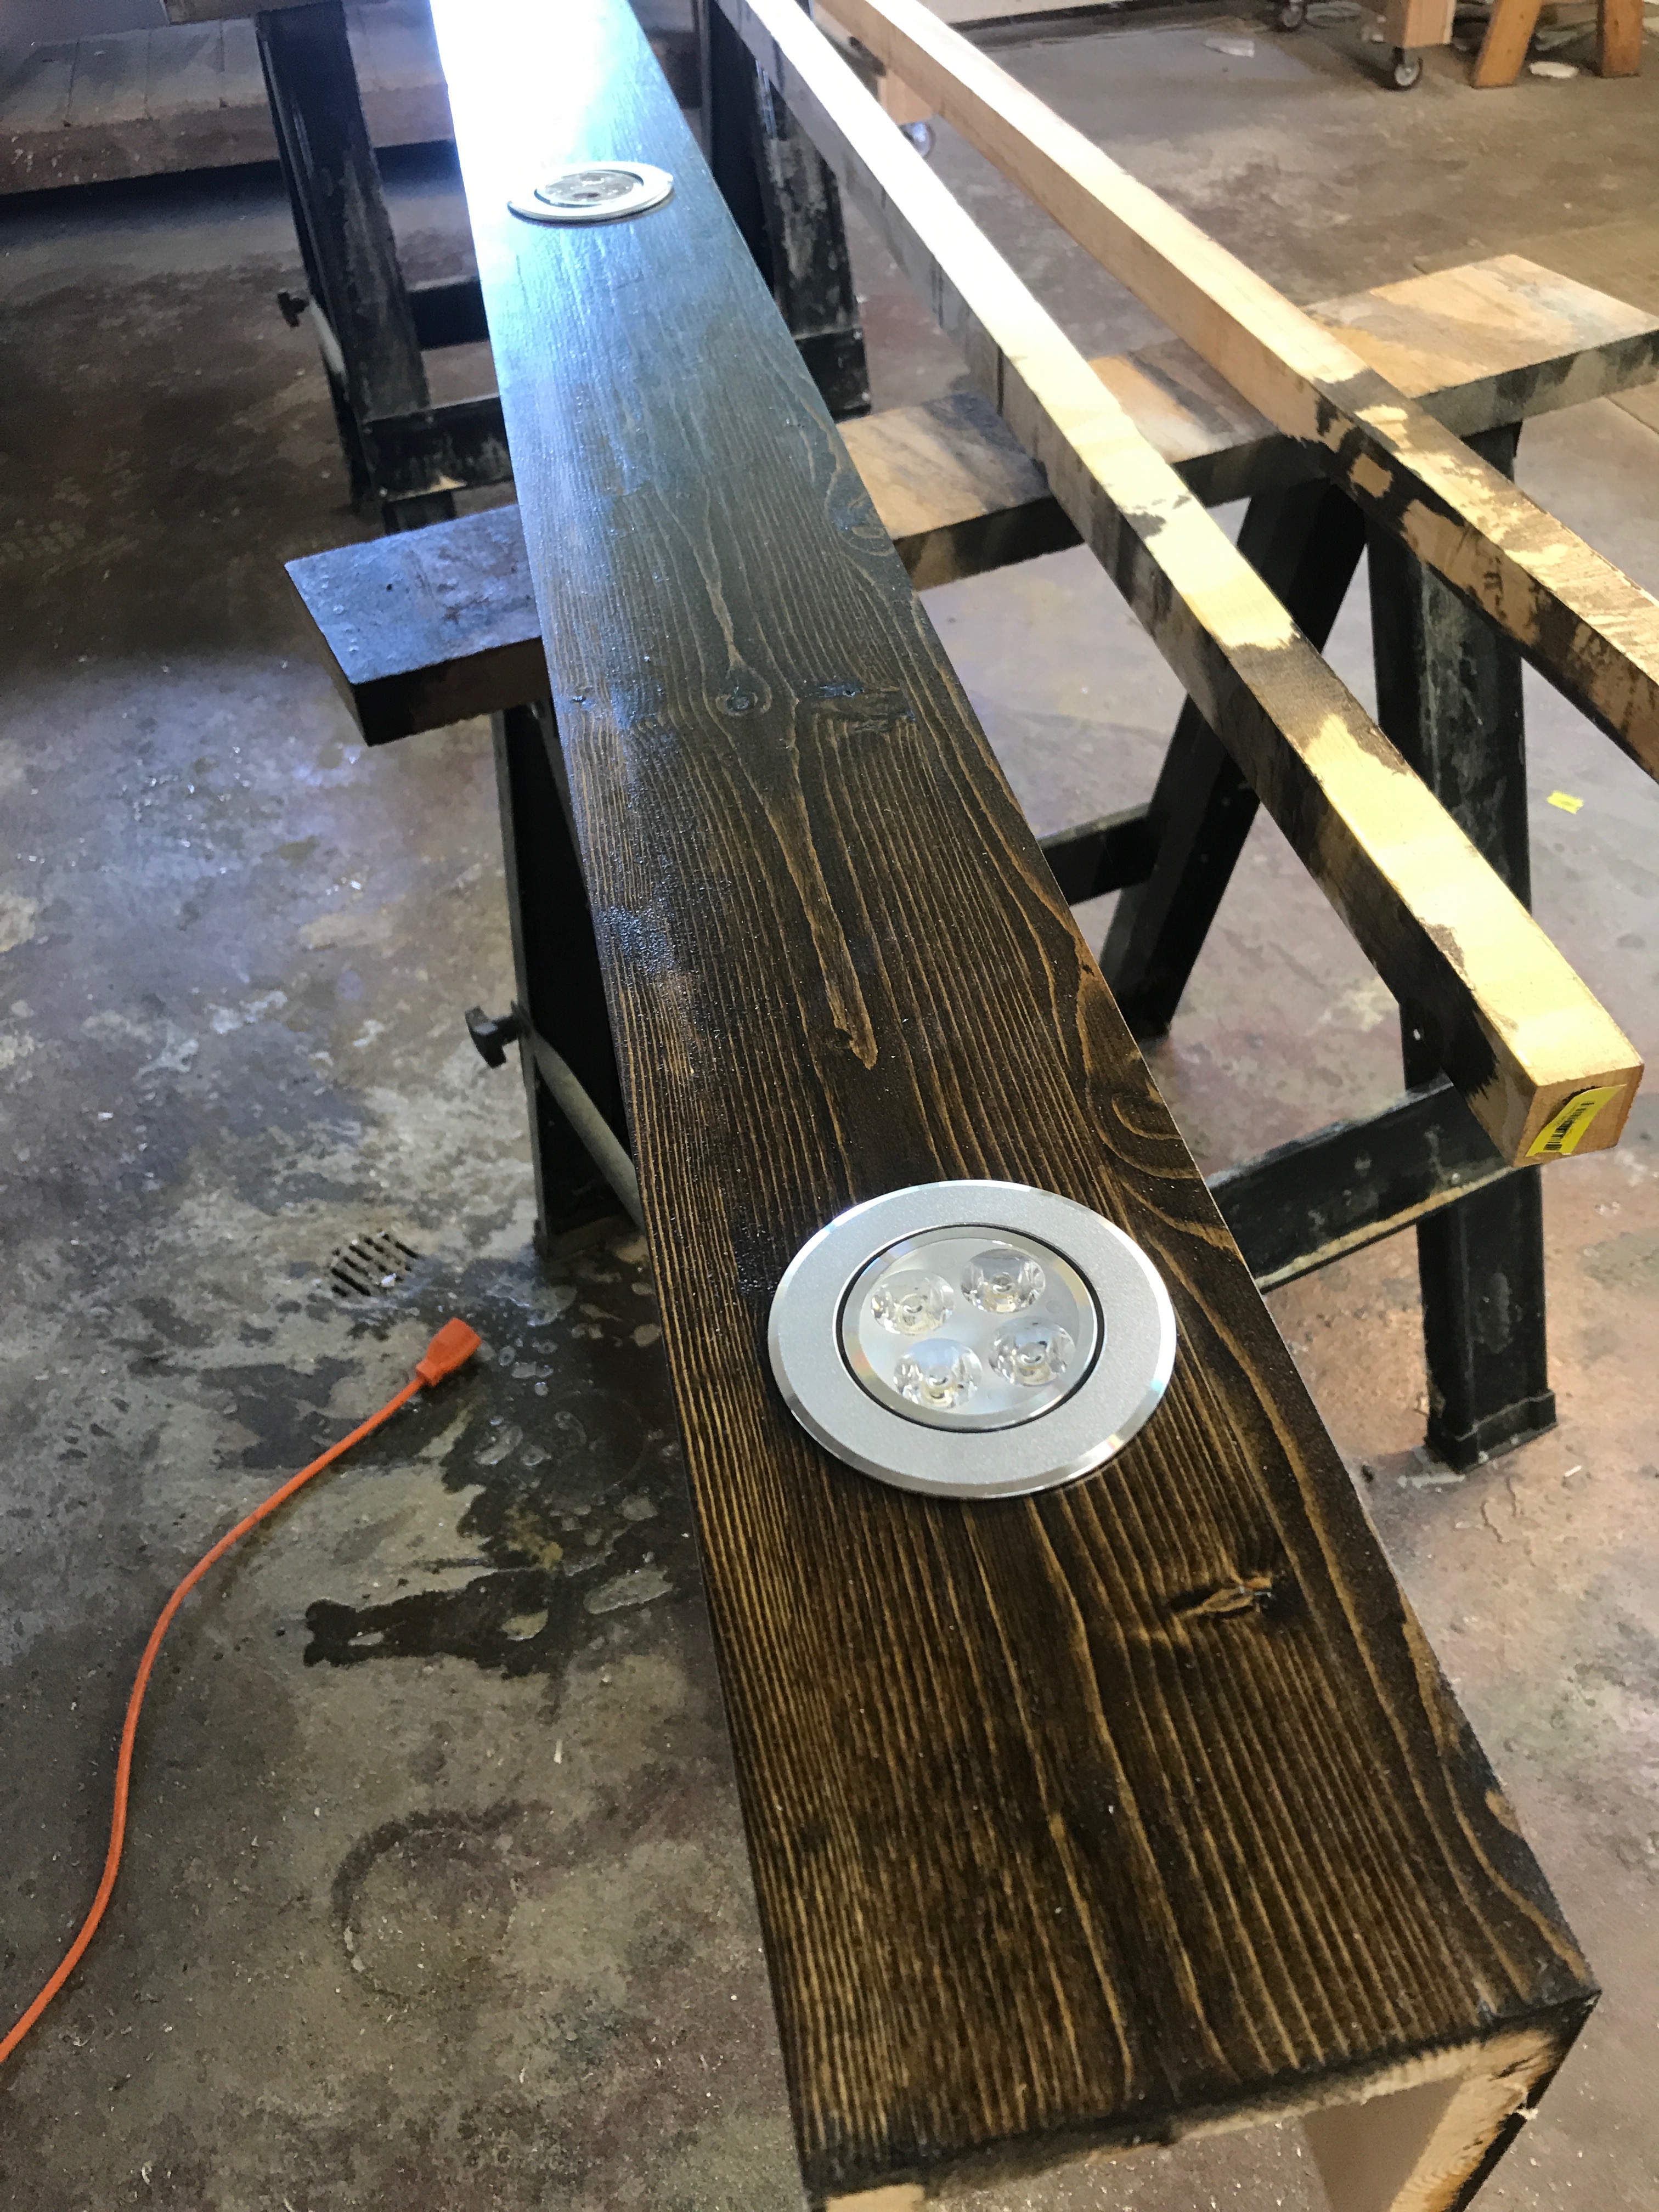
I made the holes just big enough, so the lights could be pushed through and would hold themselves in place by the pressure alone of the snug fit. This way, if the lights ever burn out, I can use a screw driver or something to pull out the light and replace it.
The 2 wires ready to be connected to power.
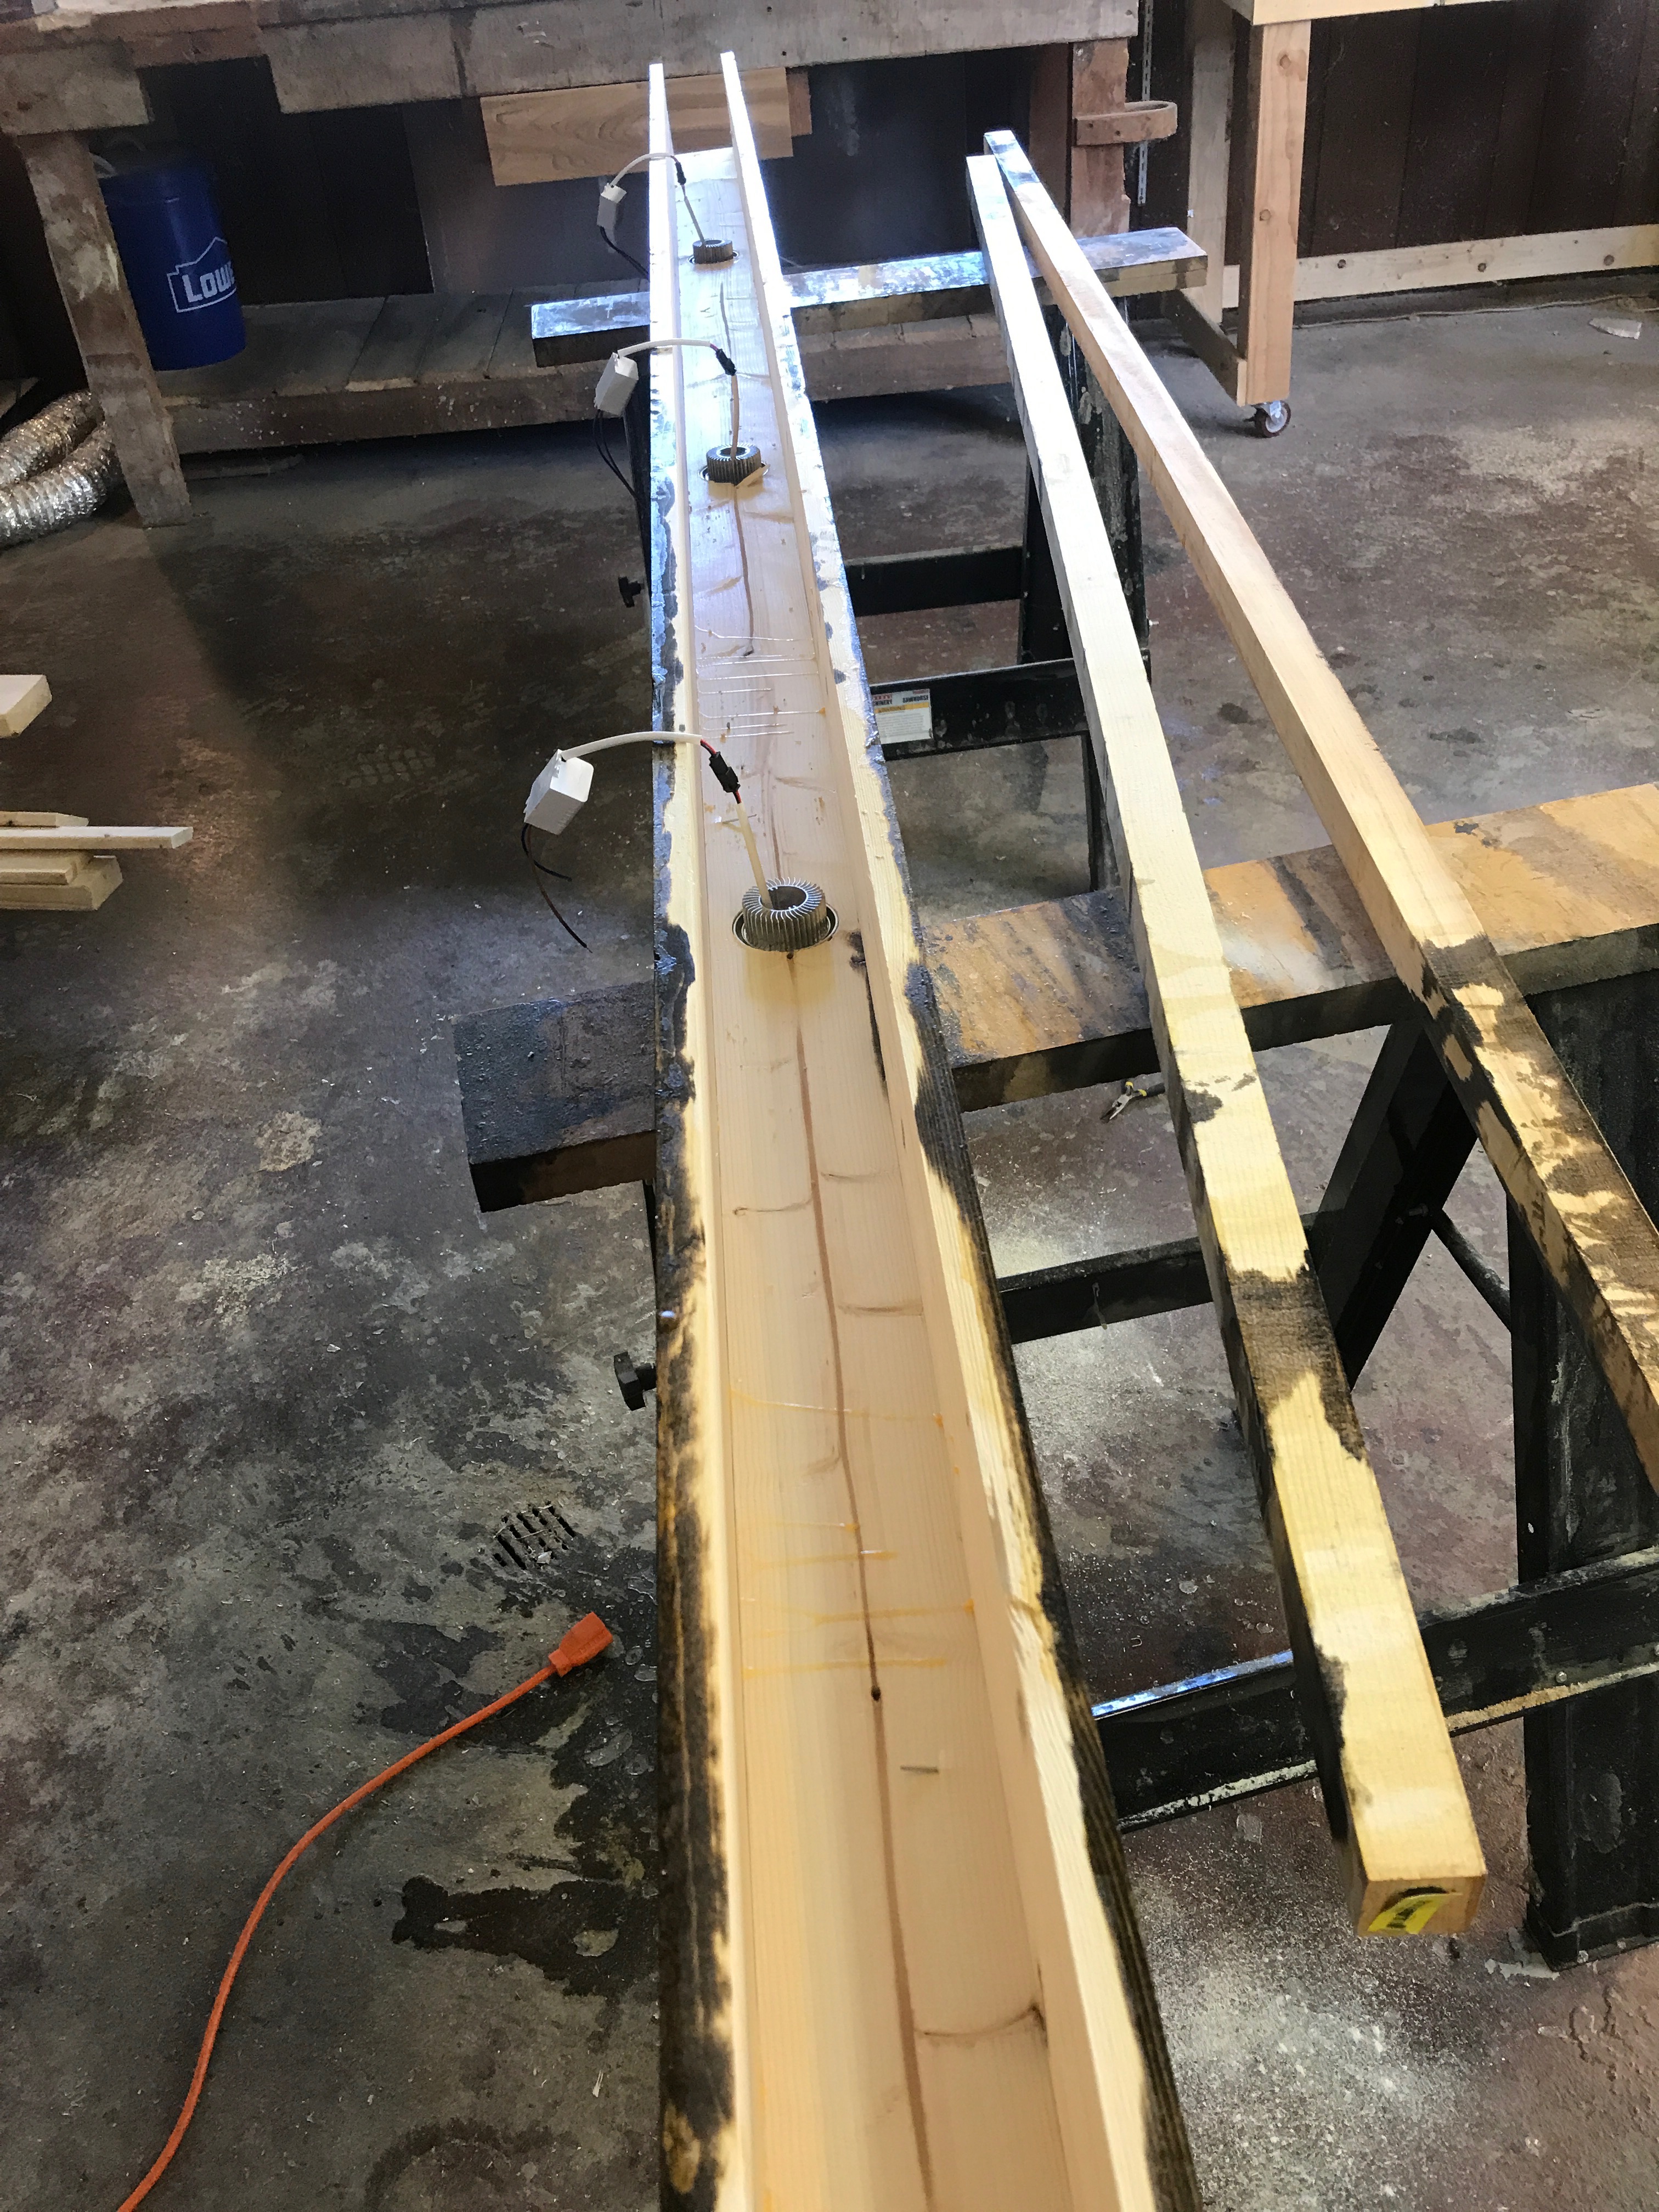
All 4 lights sitting in their holes, waiting to be wired.
To wire the lamps up, I treated each beam like its own “light”. What I mean by that is, each beam has a male outlet plug on one side, and a female adapter on the other. These beams are wired together in the same way that Christmas lights get wired together.
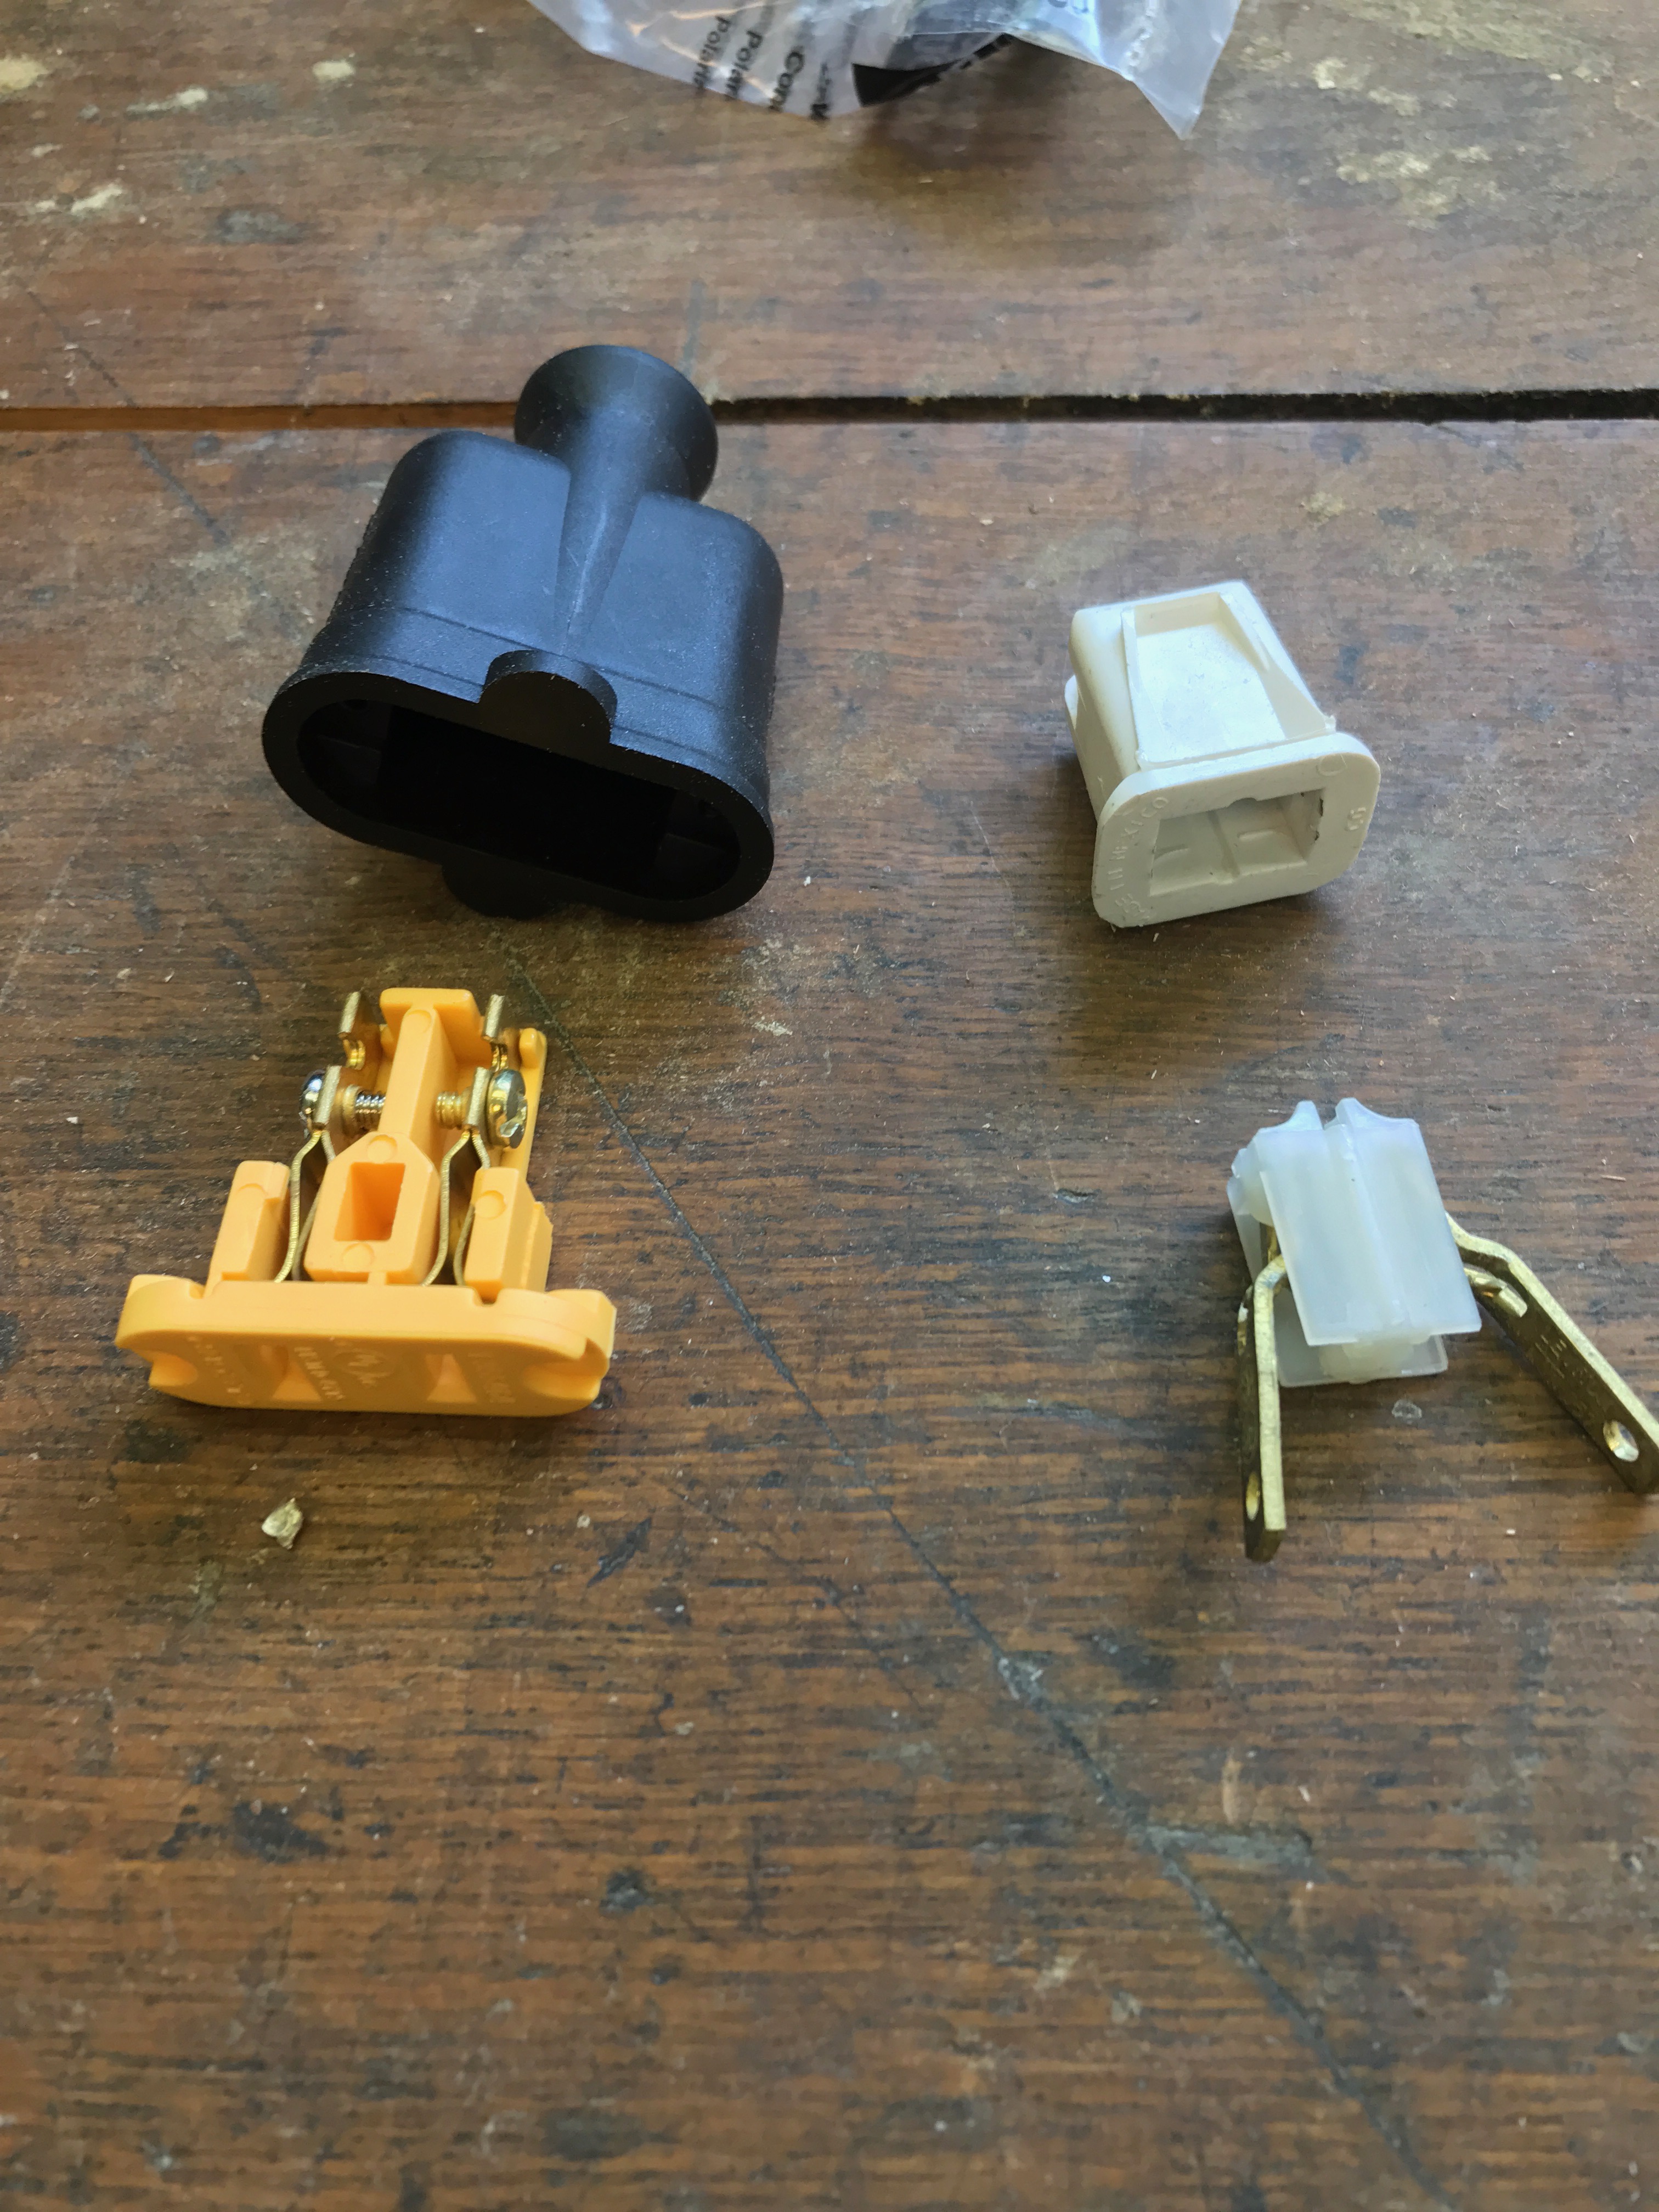
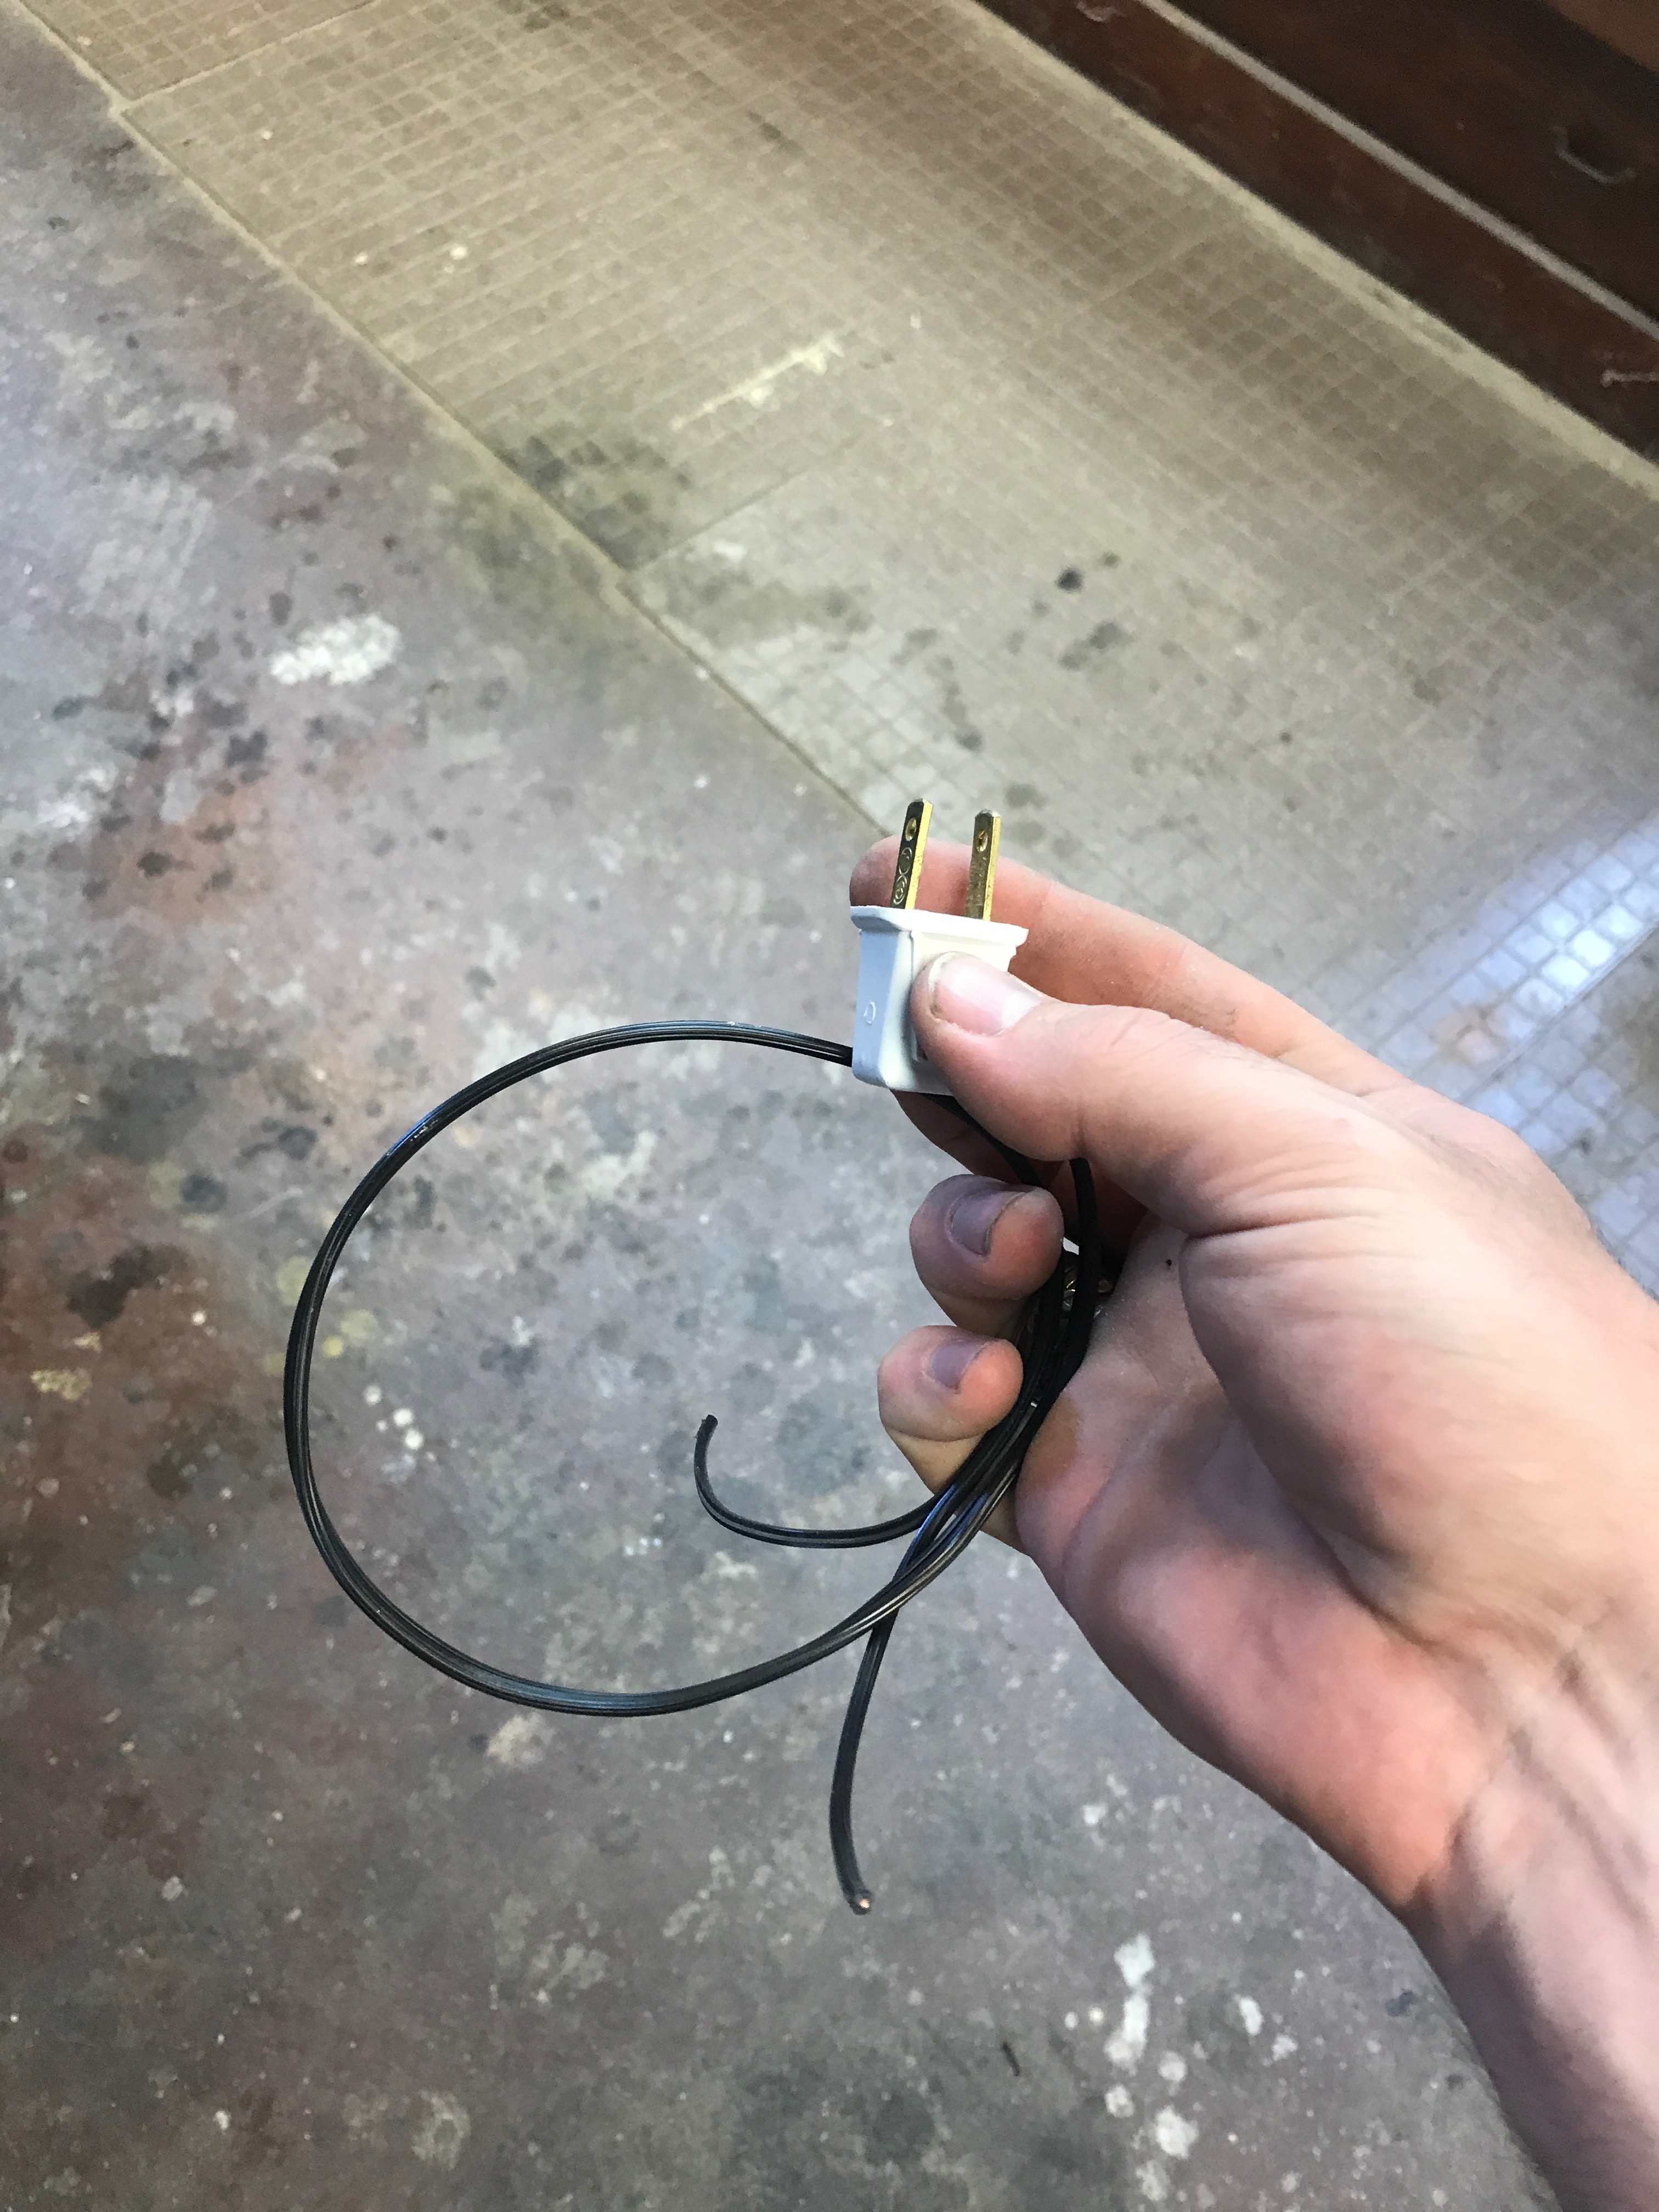
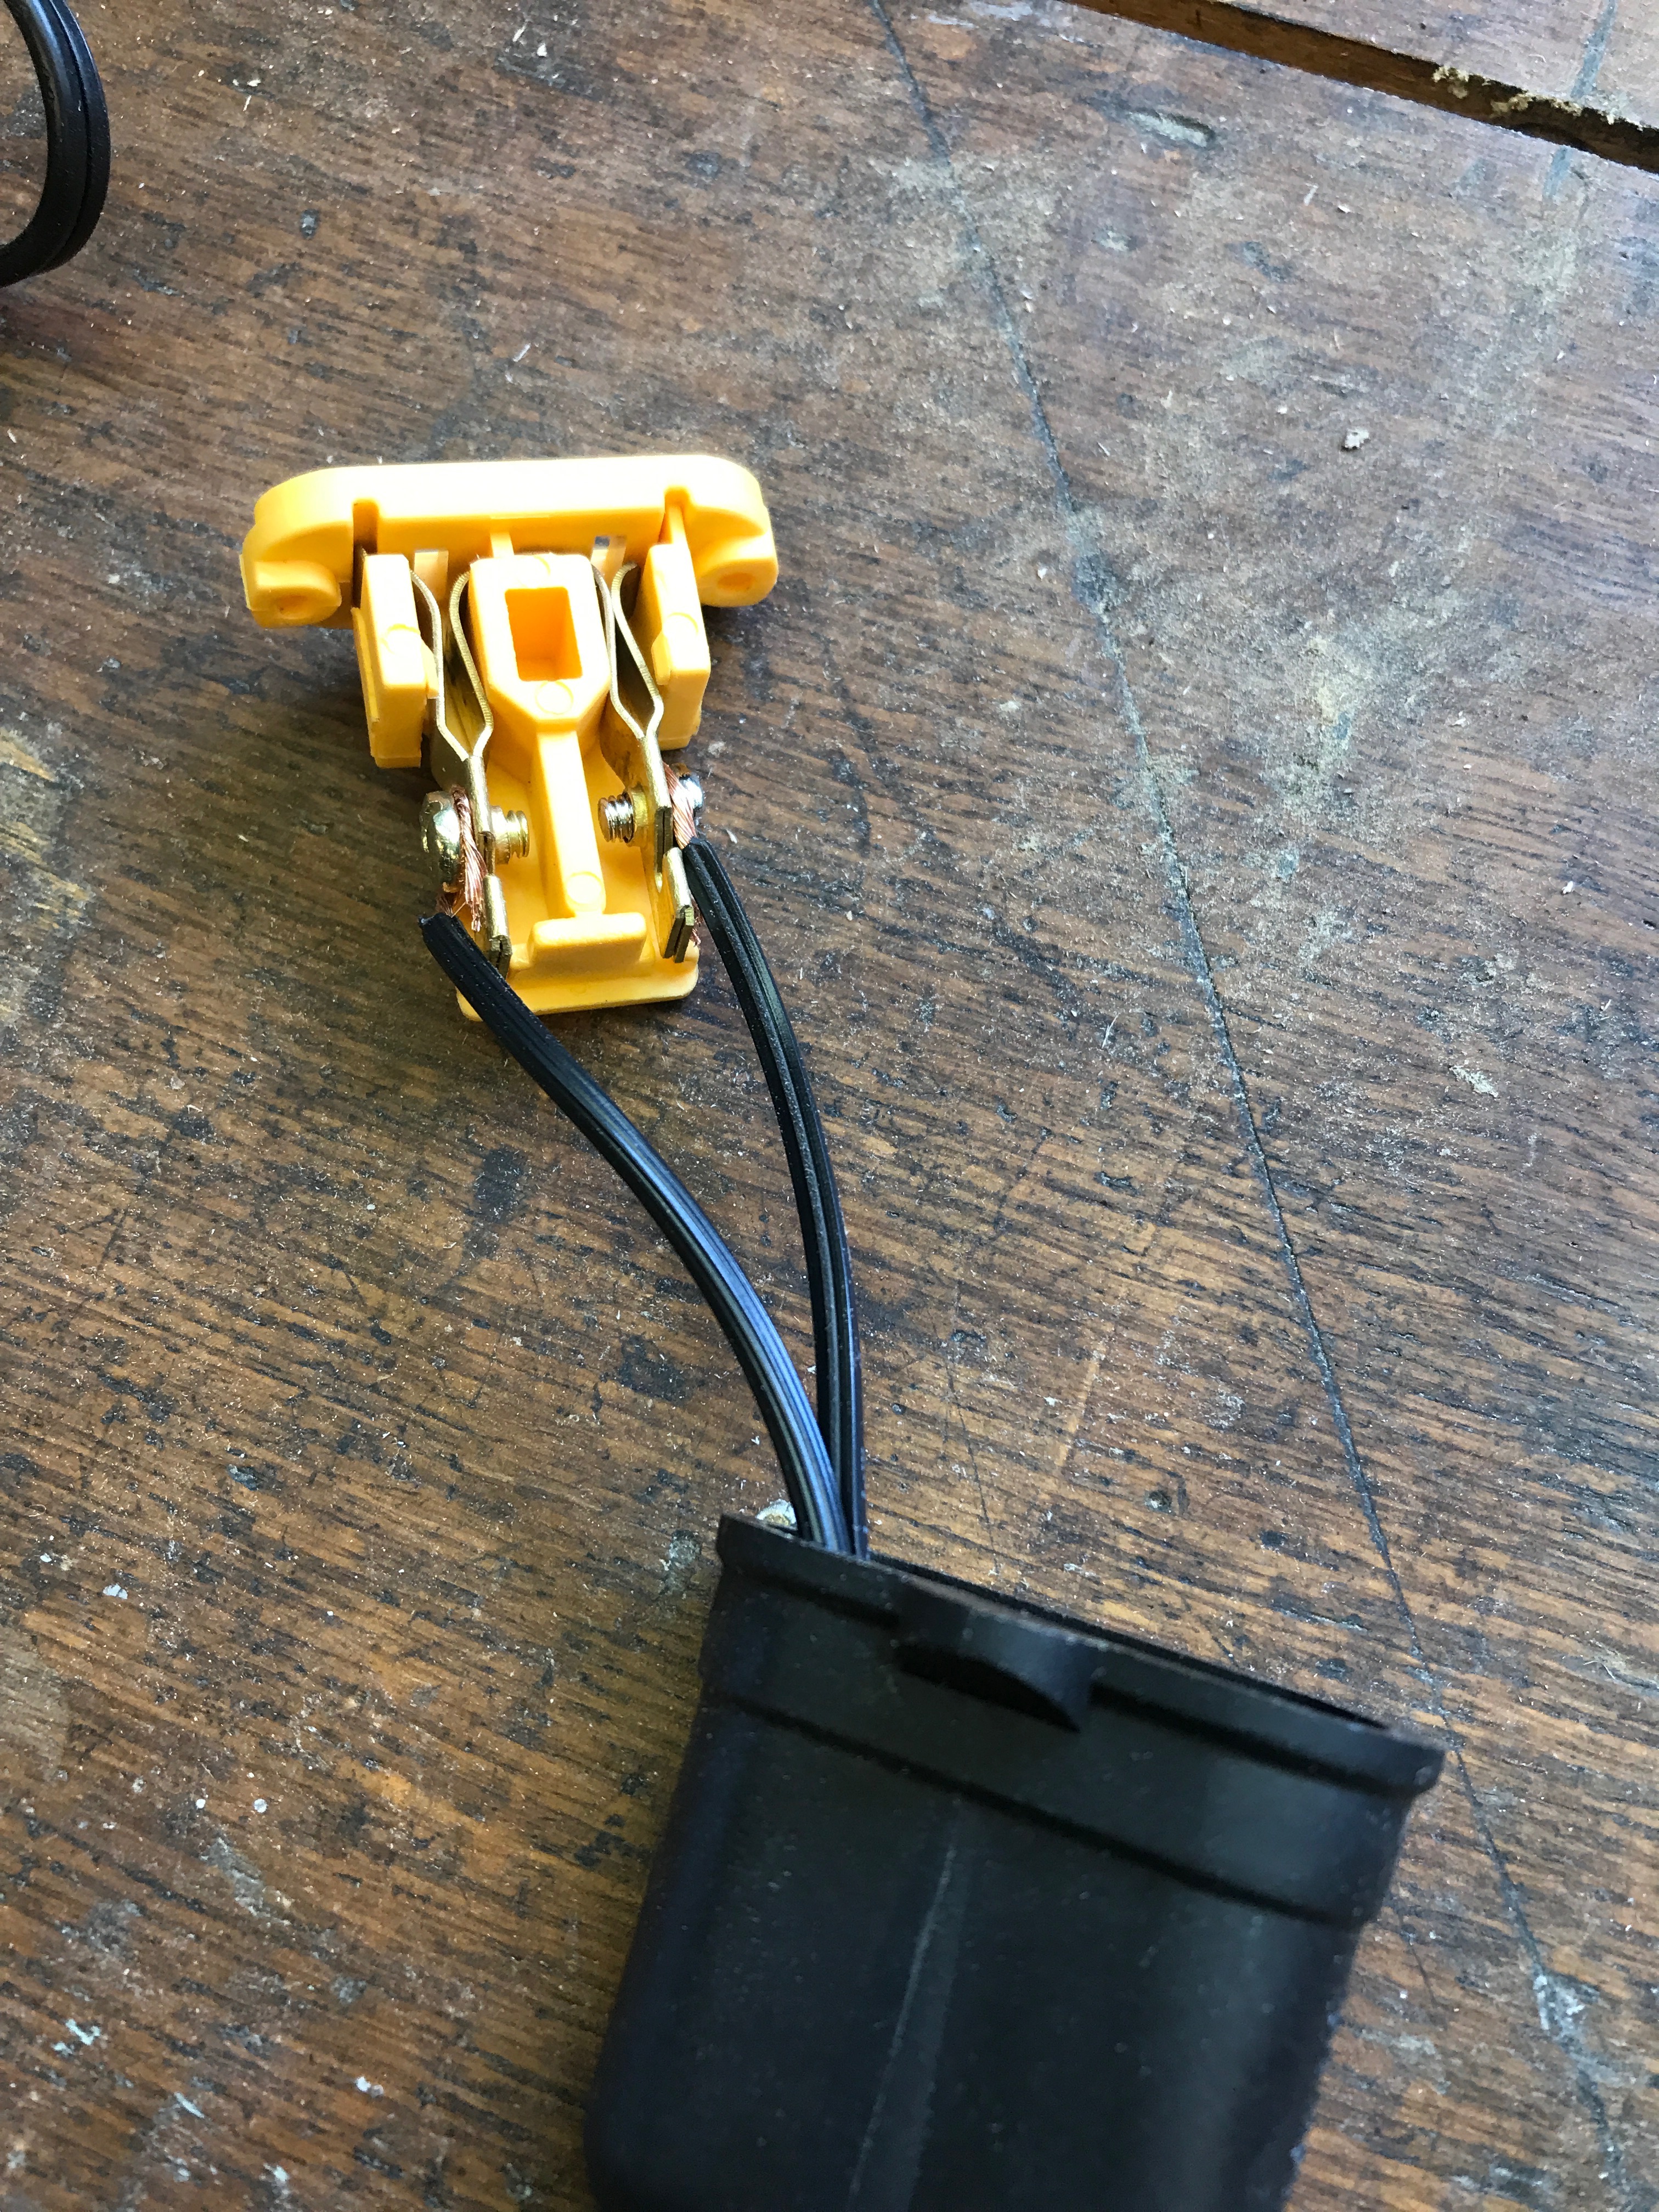
Wiring the male adapter.
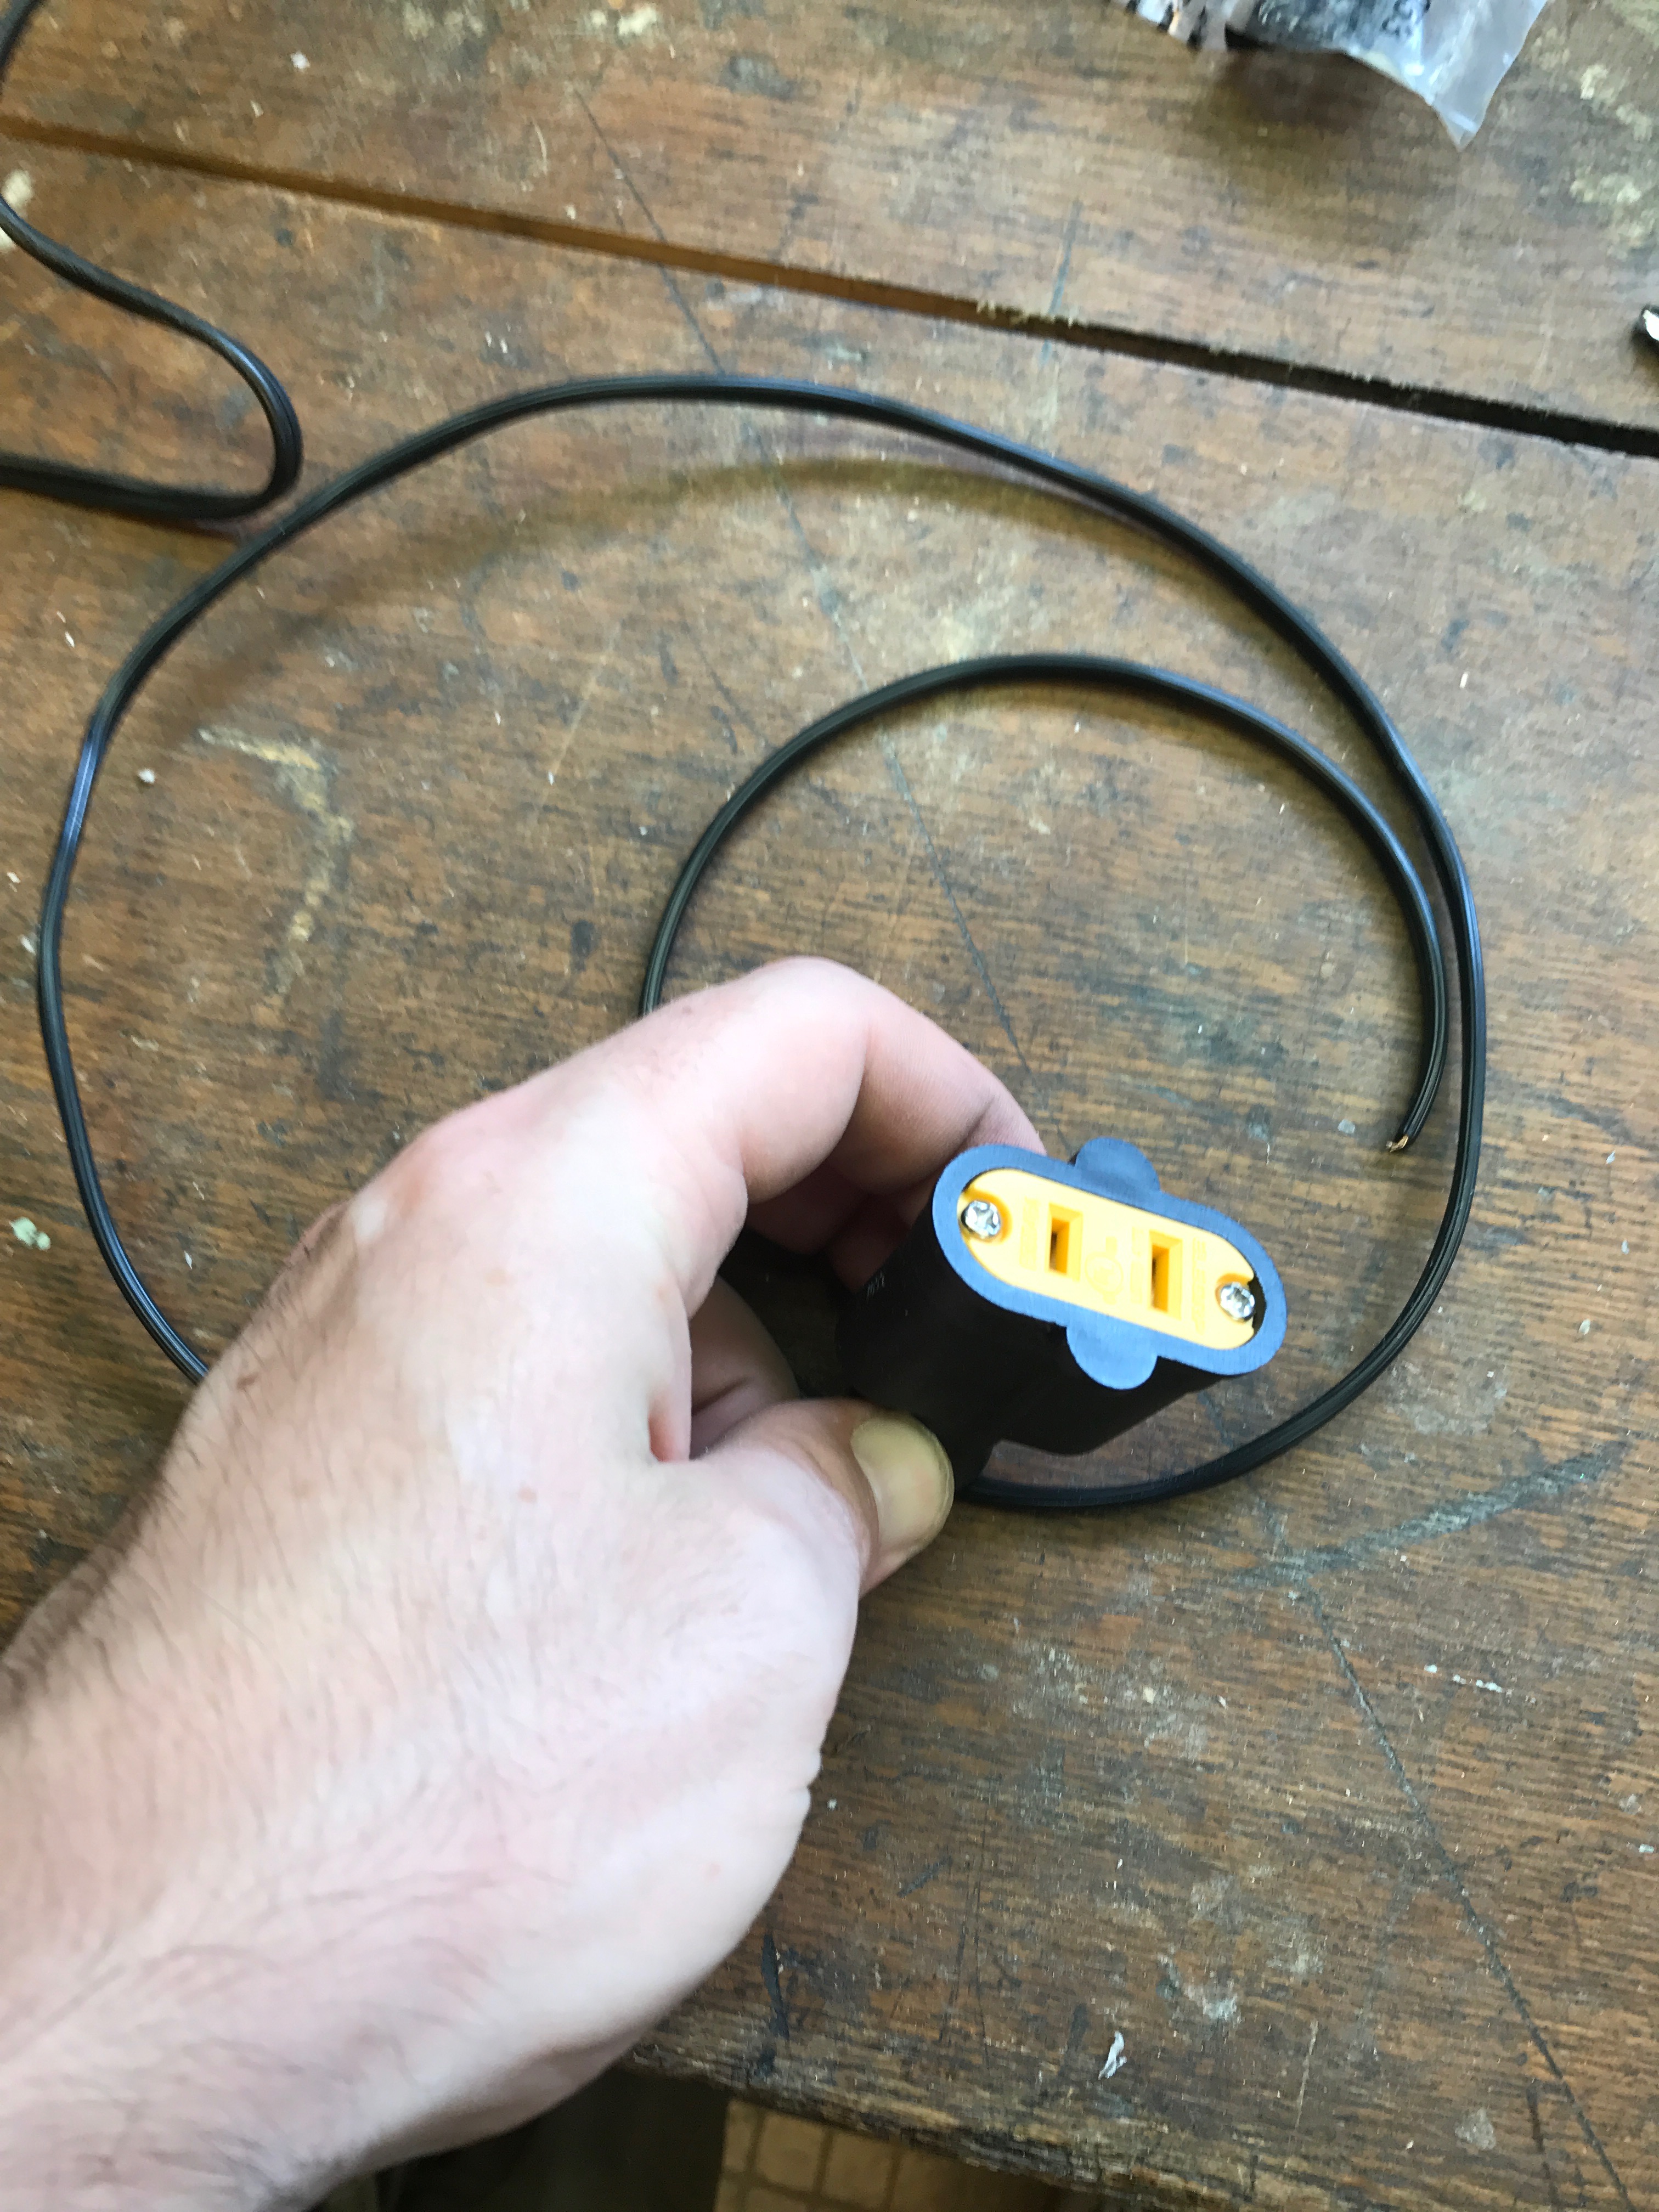
Wiring the female adapter.
The finished female adapter.
Twisting lamp wire to the LED wires to be soldered.
The whole beam wired up this way.

The joints are soldered together, and then heat shrink tubes are used to insulate the connection.

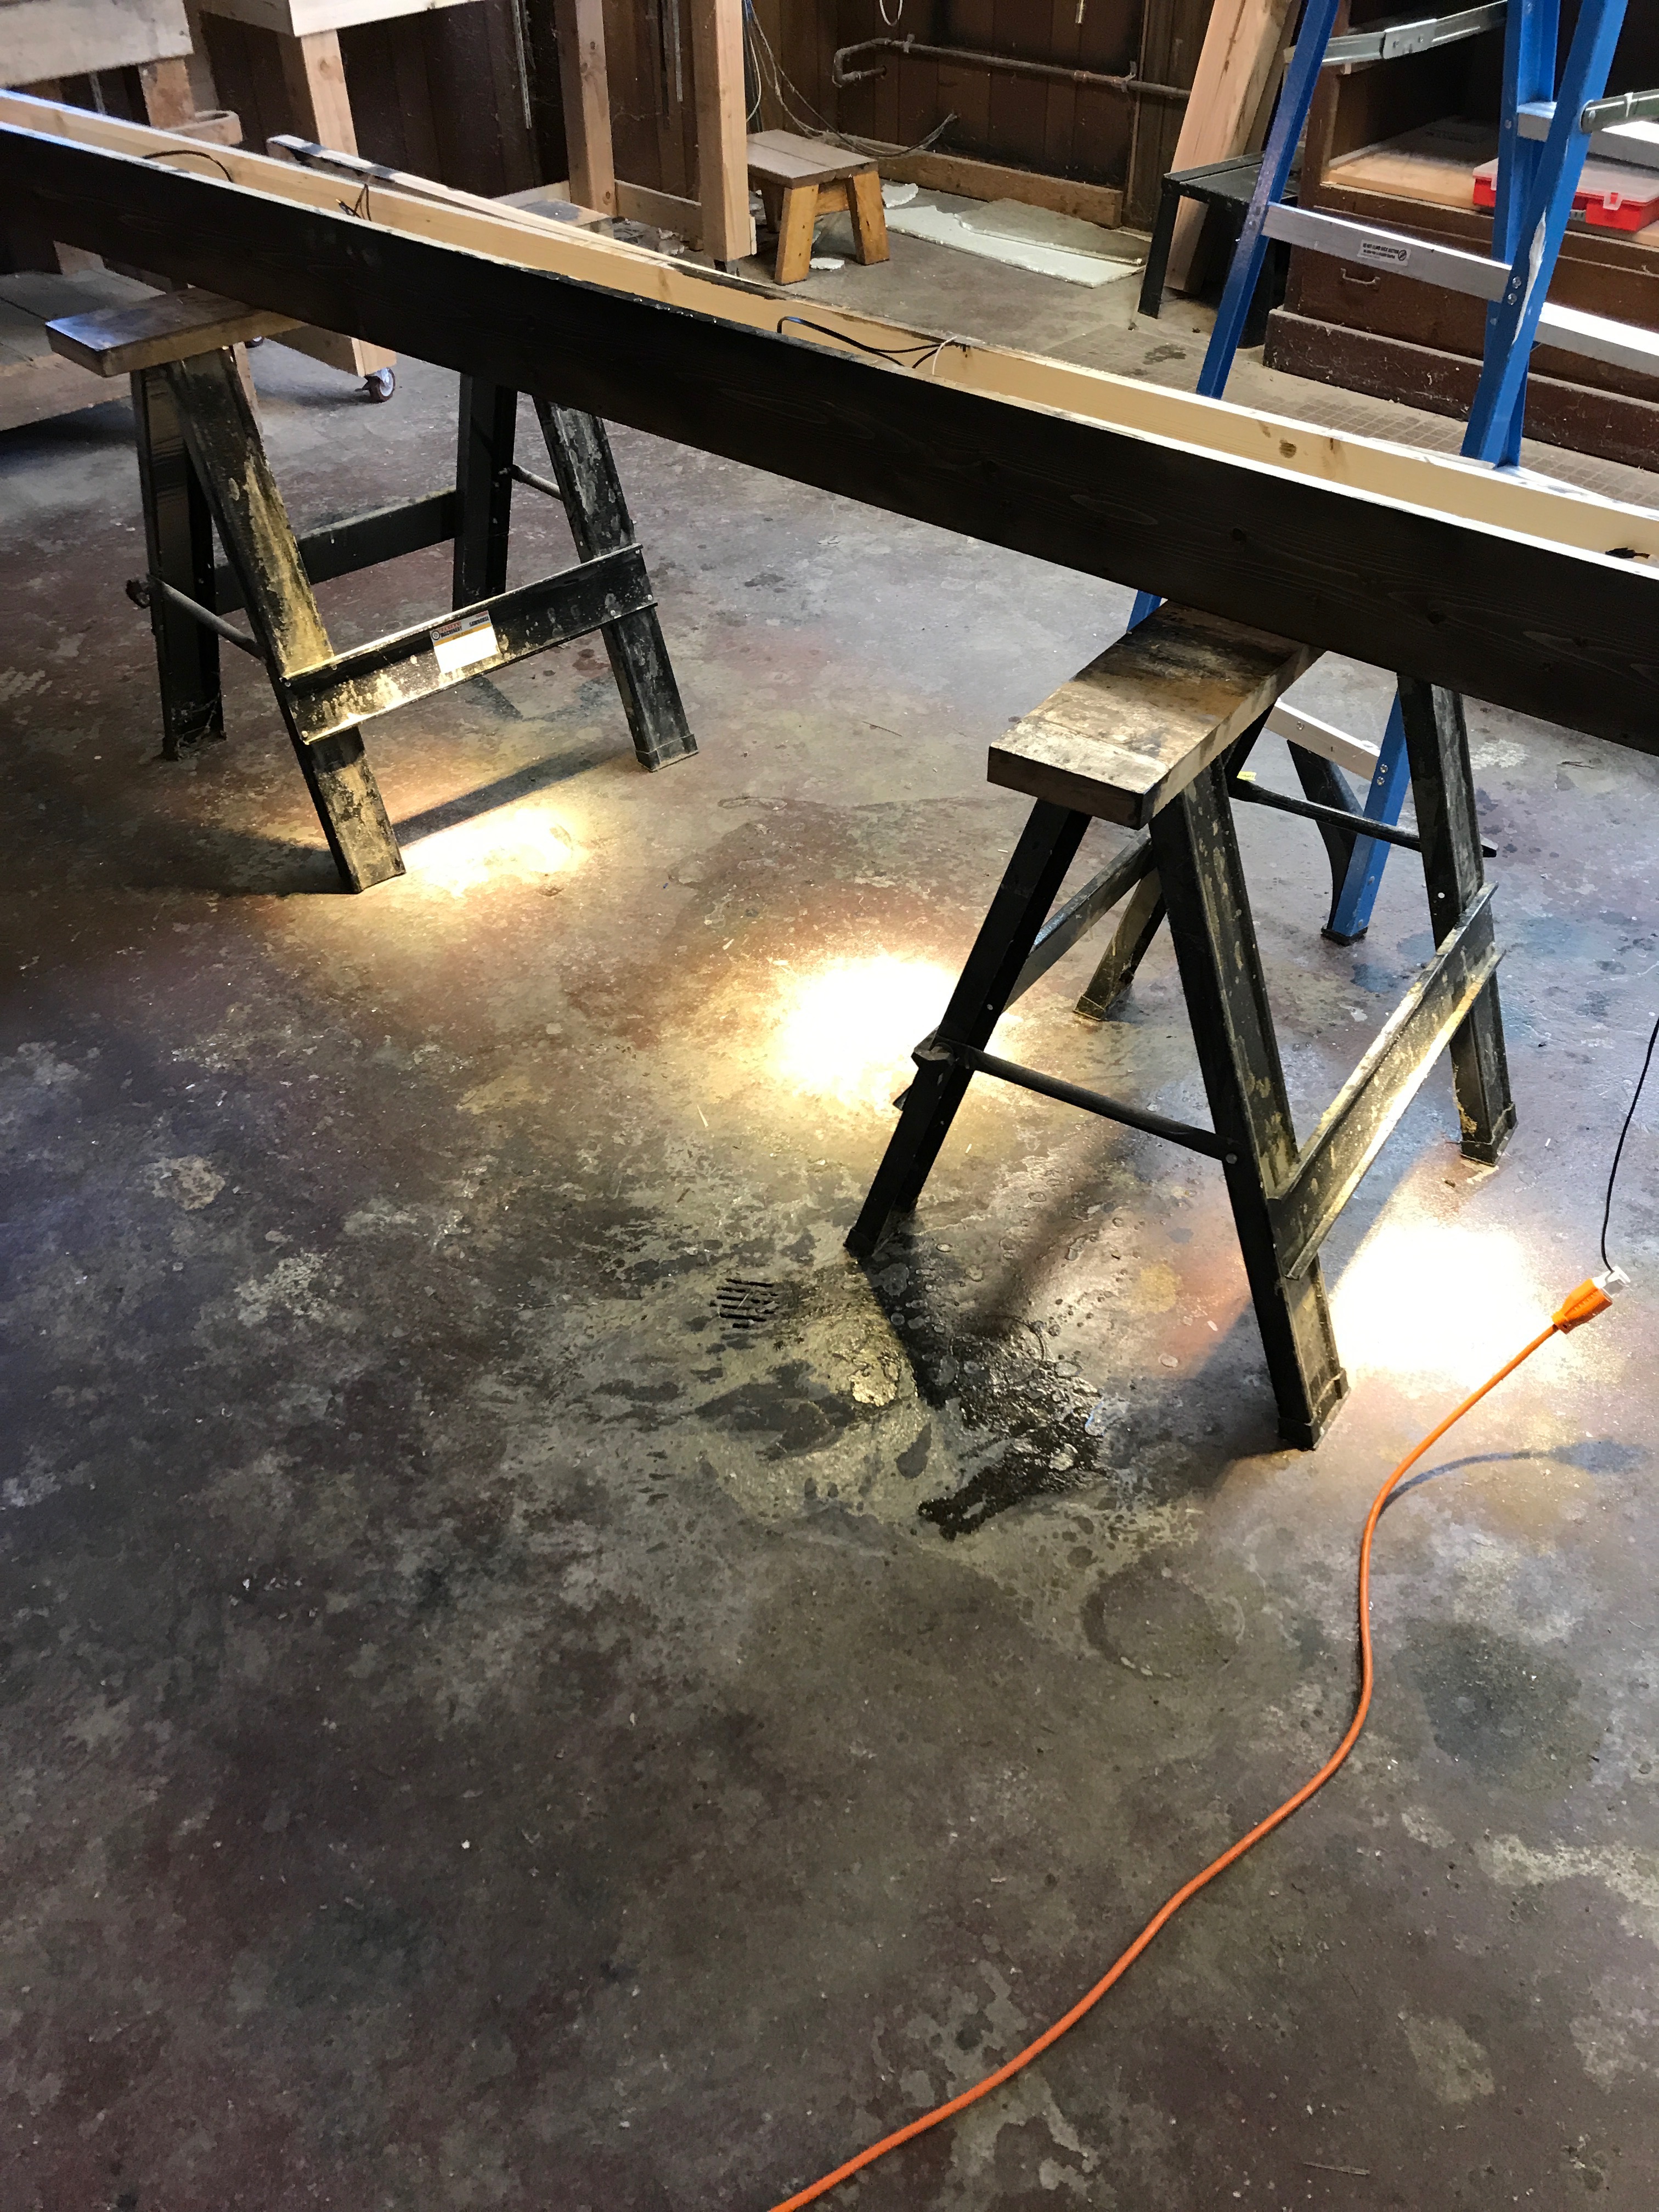
Getting the second beam ready to install!

Another angle of the beam - I got my buddy D’Arcy to help me put this beam into place and secure it.
The second beam is secured!
To cover the joints on the beams where they but up to each other, I bought these metal strips from Home Depot.
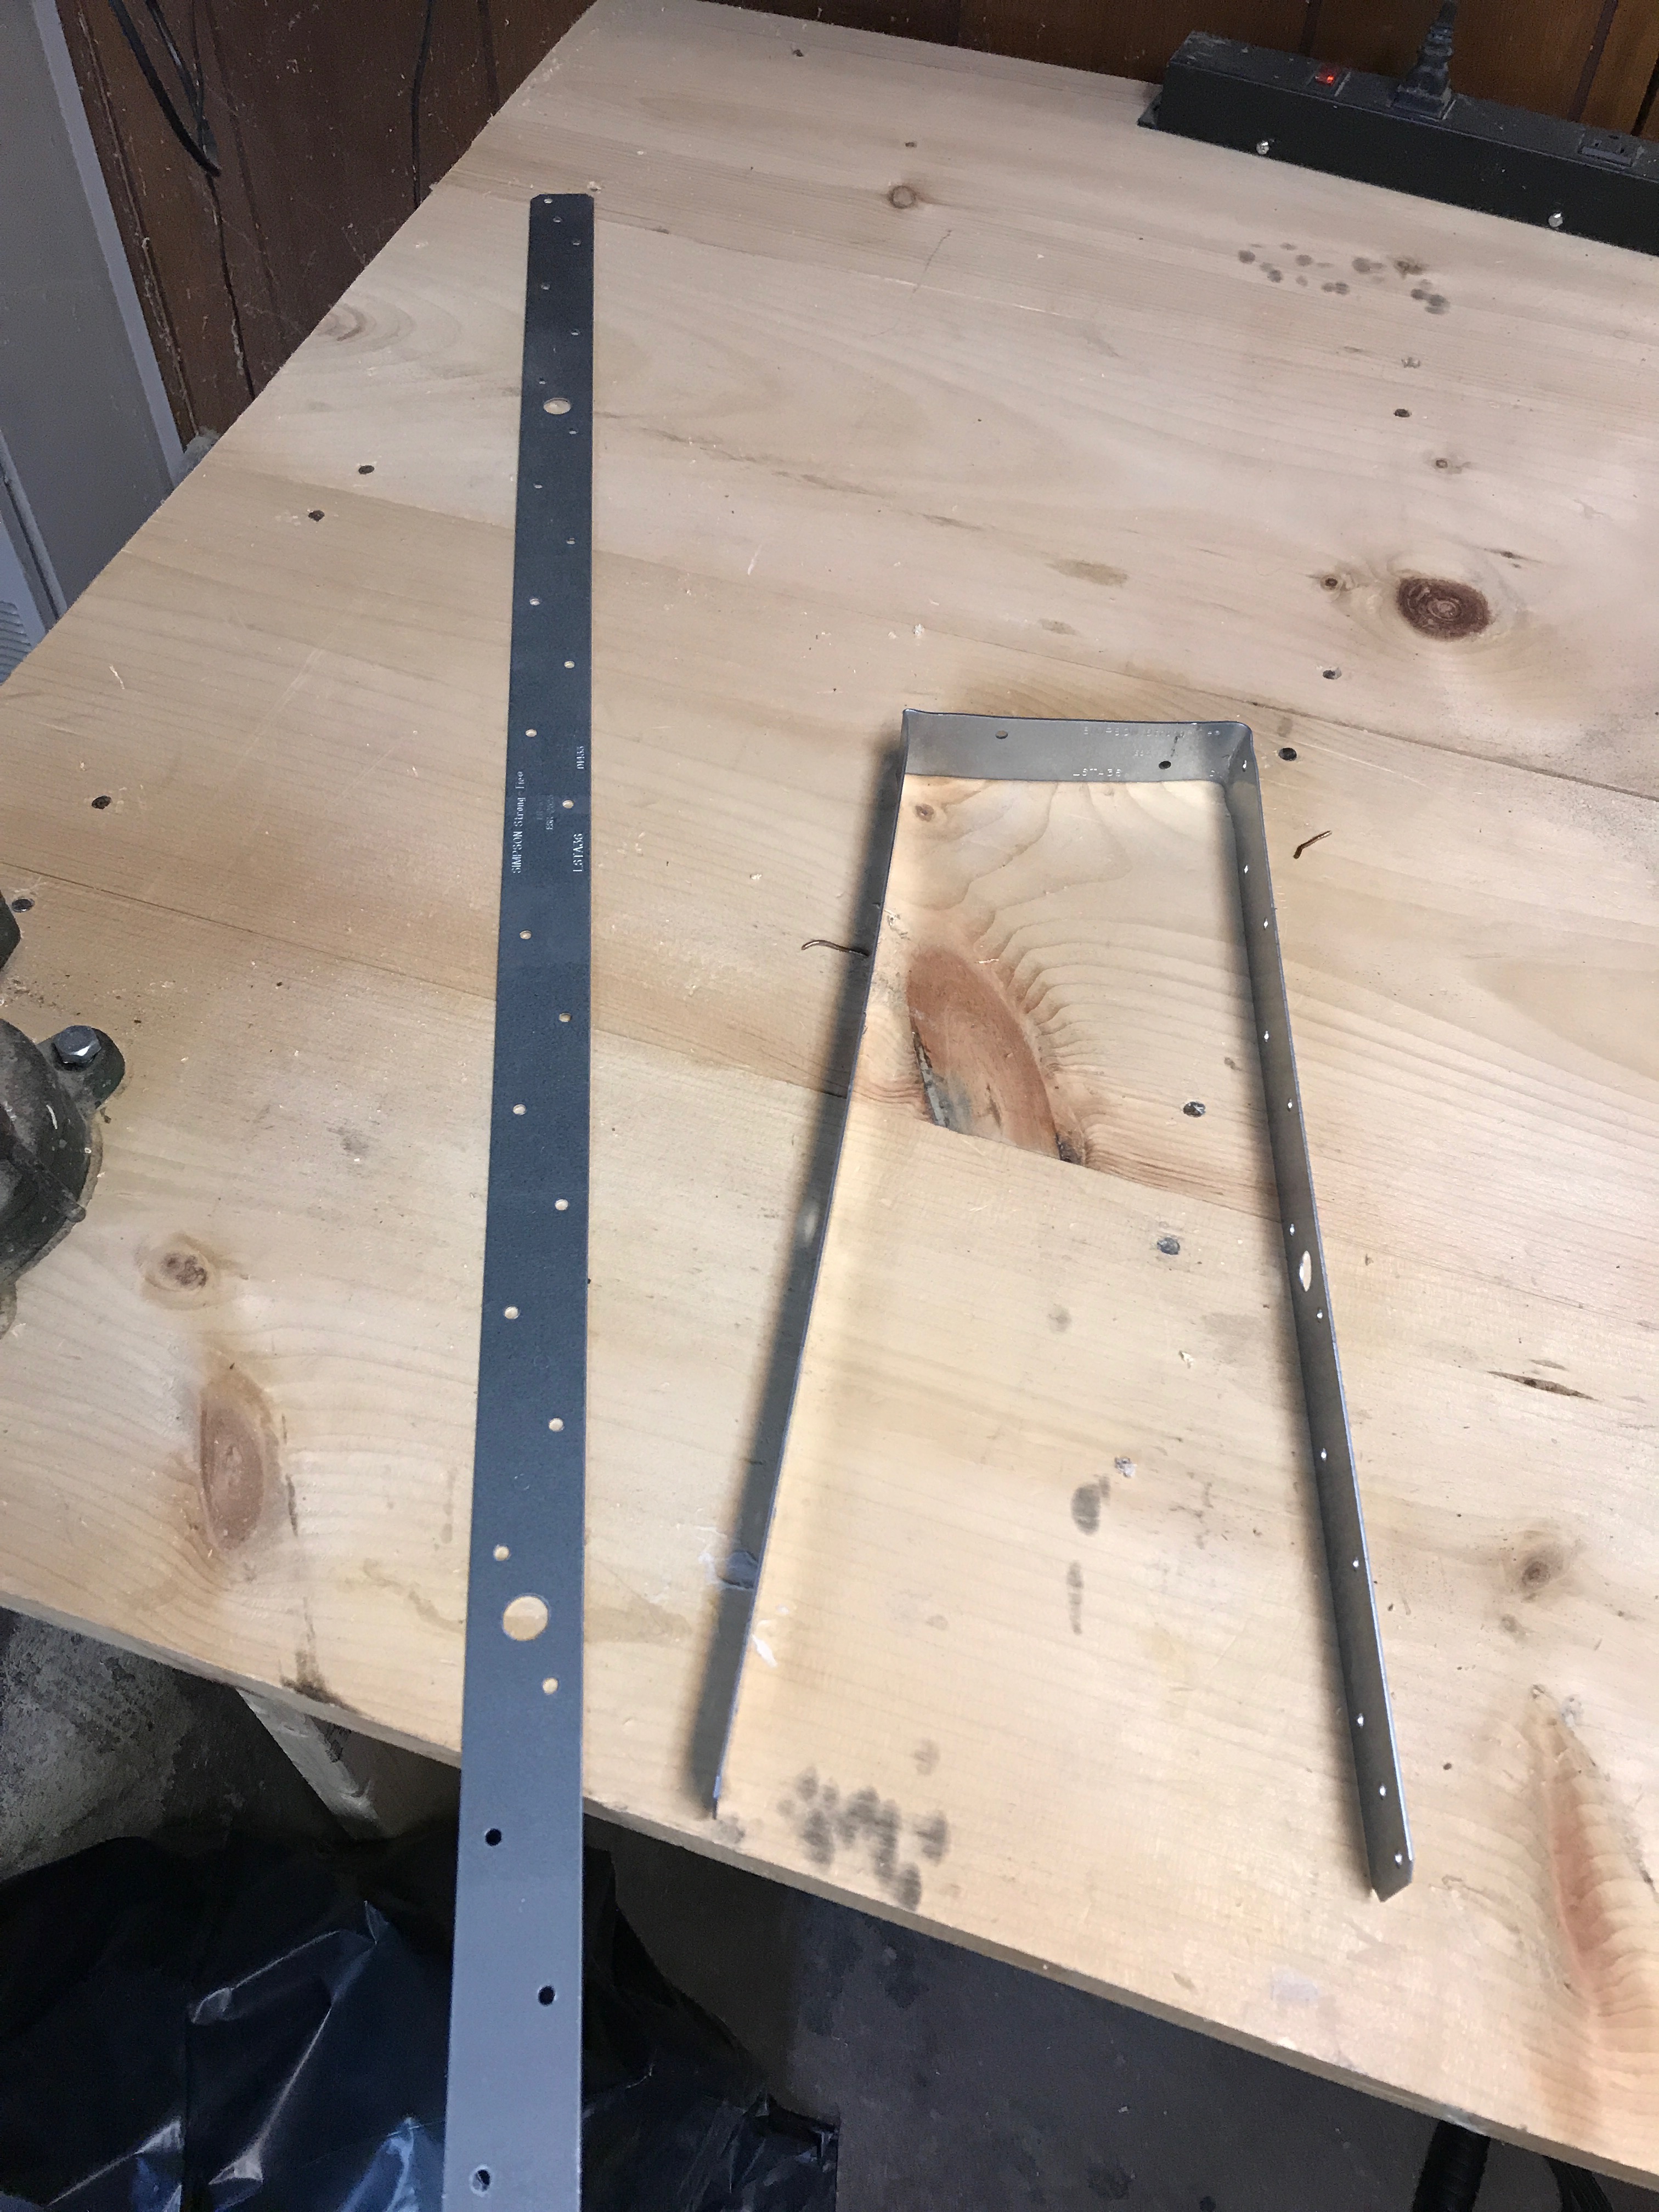
I used some excess beam that I had chopped off to bend the metal. Using a vice and a mallet was largely how the bends were made.

Both pieces created, bent, and cut to size. I don’t have any final pictures, but I spray painted them using a Hammered Bronze spraypaint to better match the style of the beams.

All 3 beams installed (without the metal straps).
Close up of where 2 beams meet.
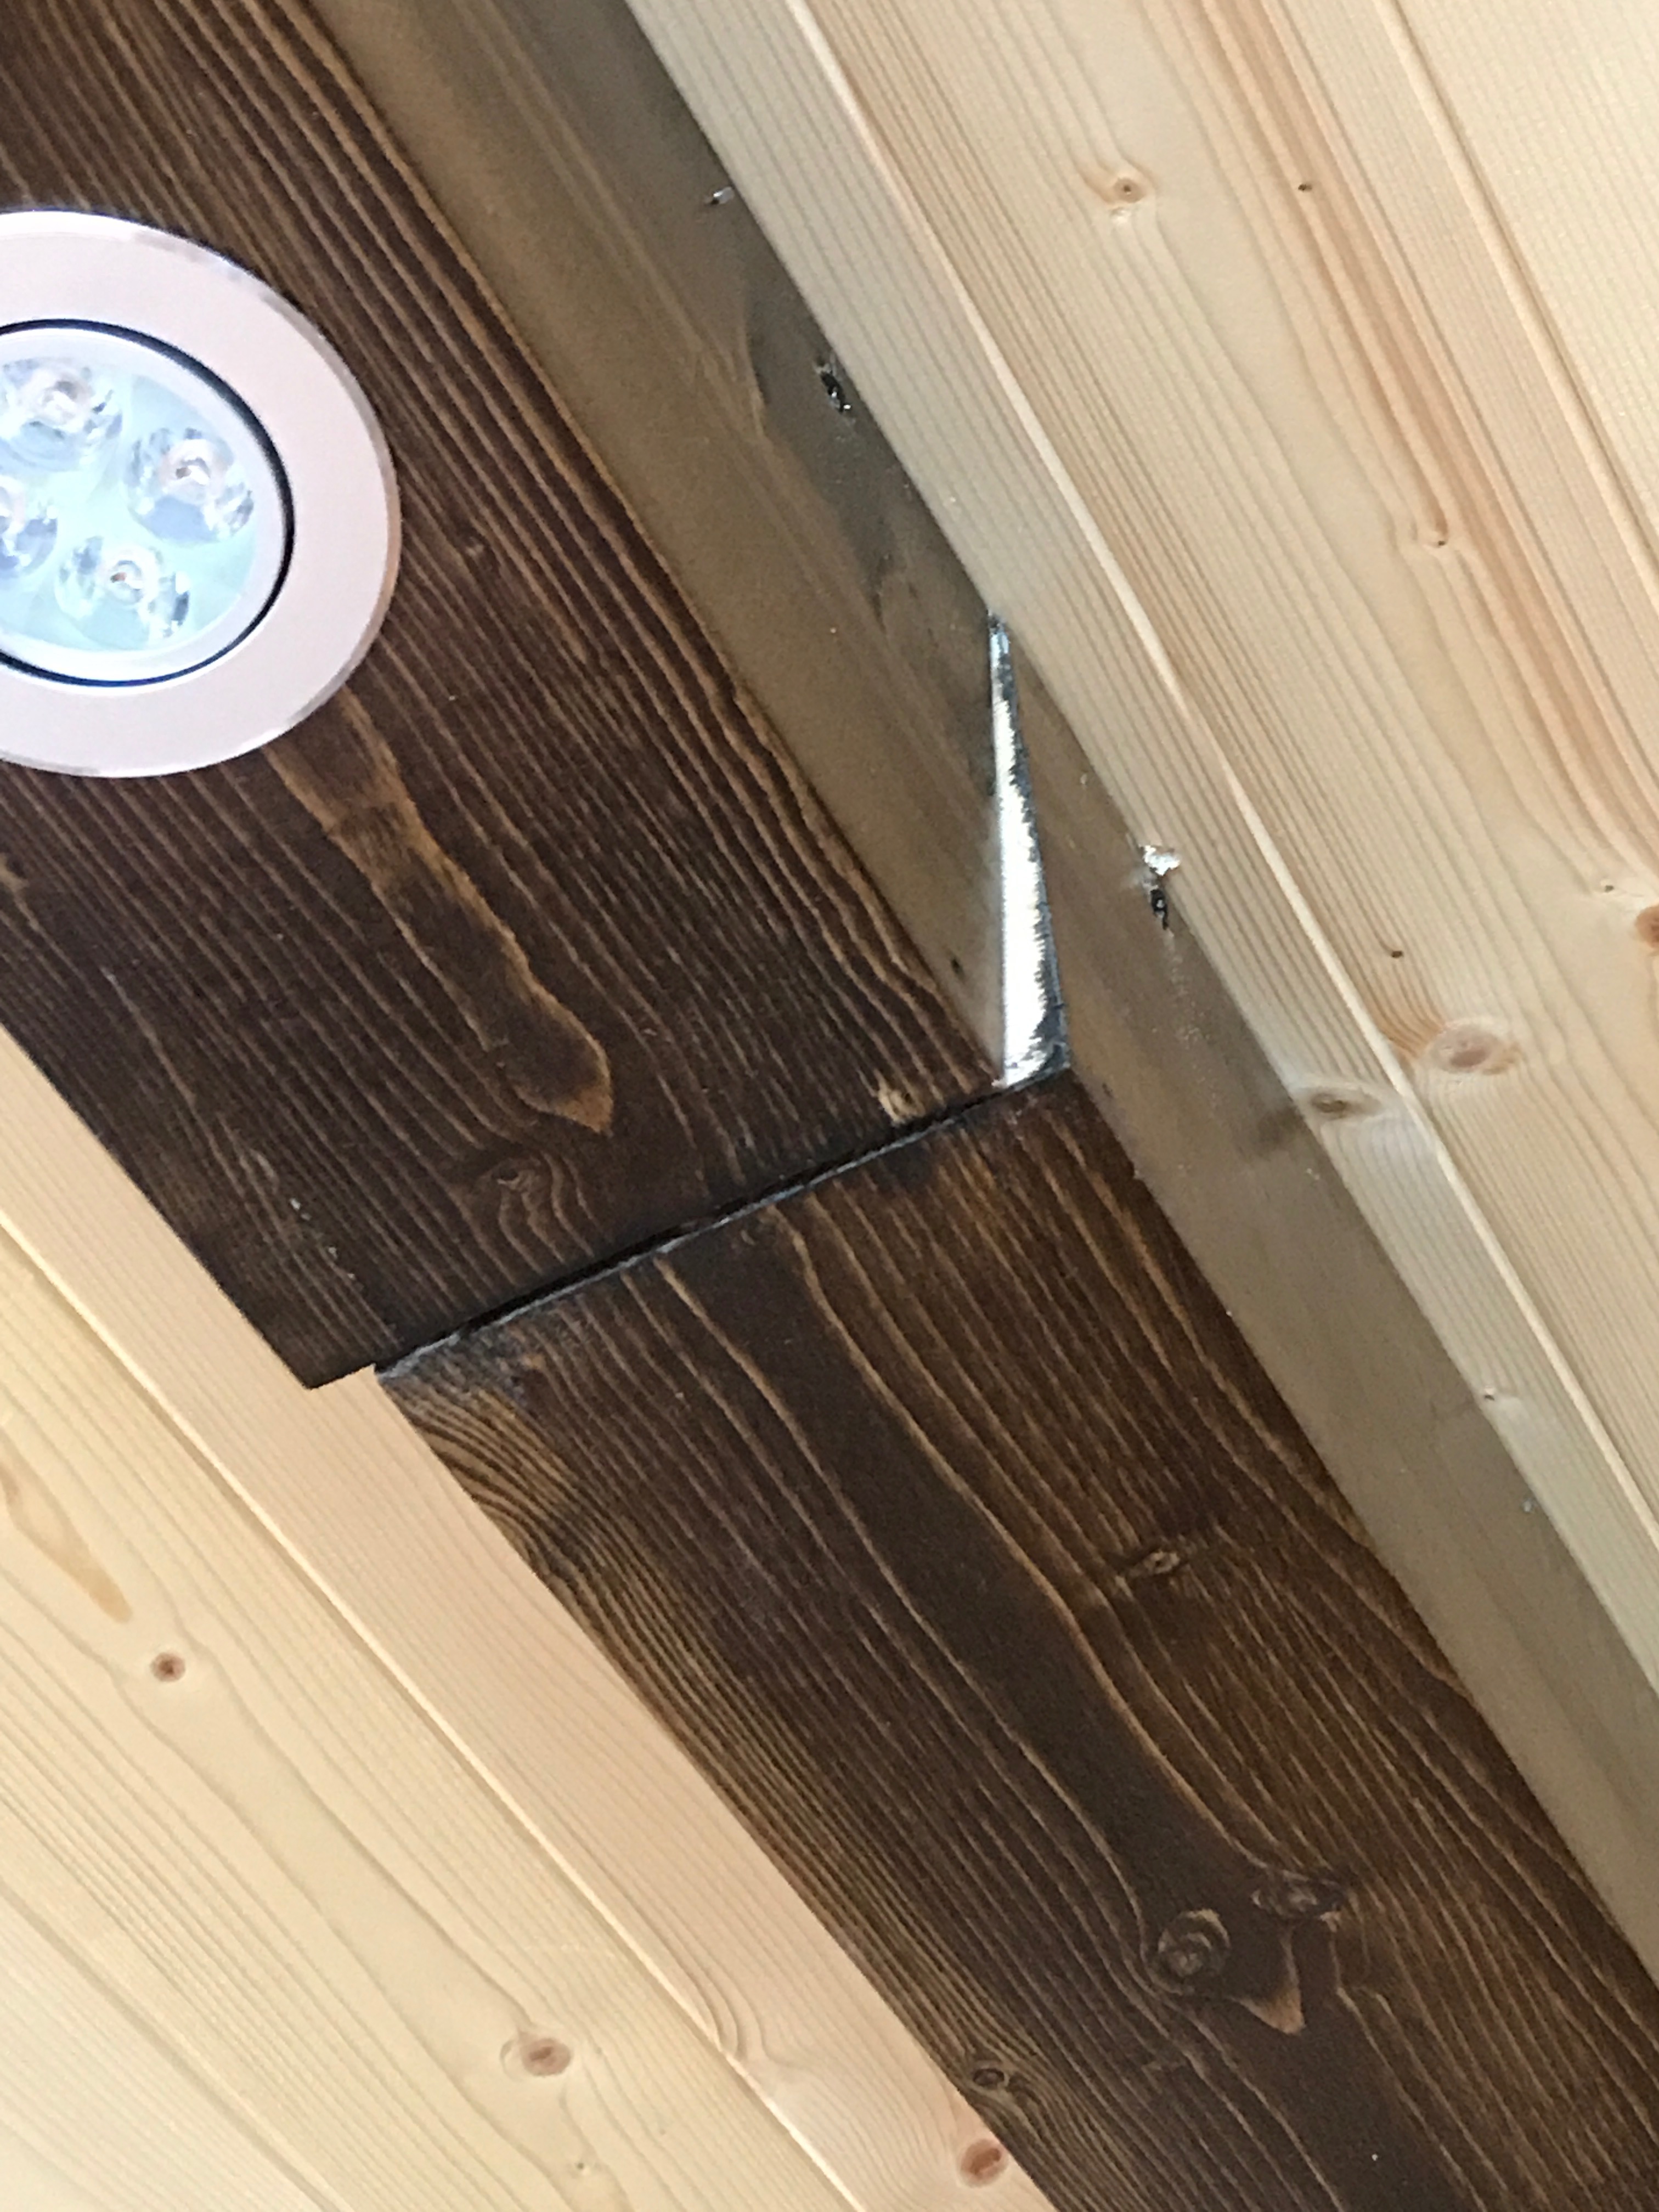
Covered with a strap!
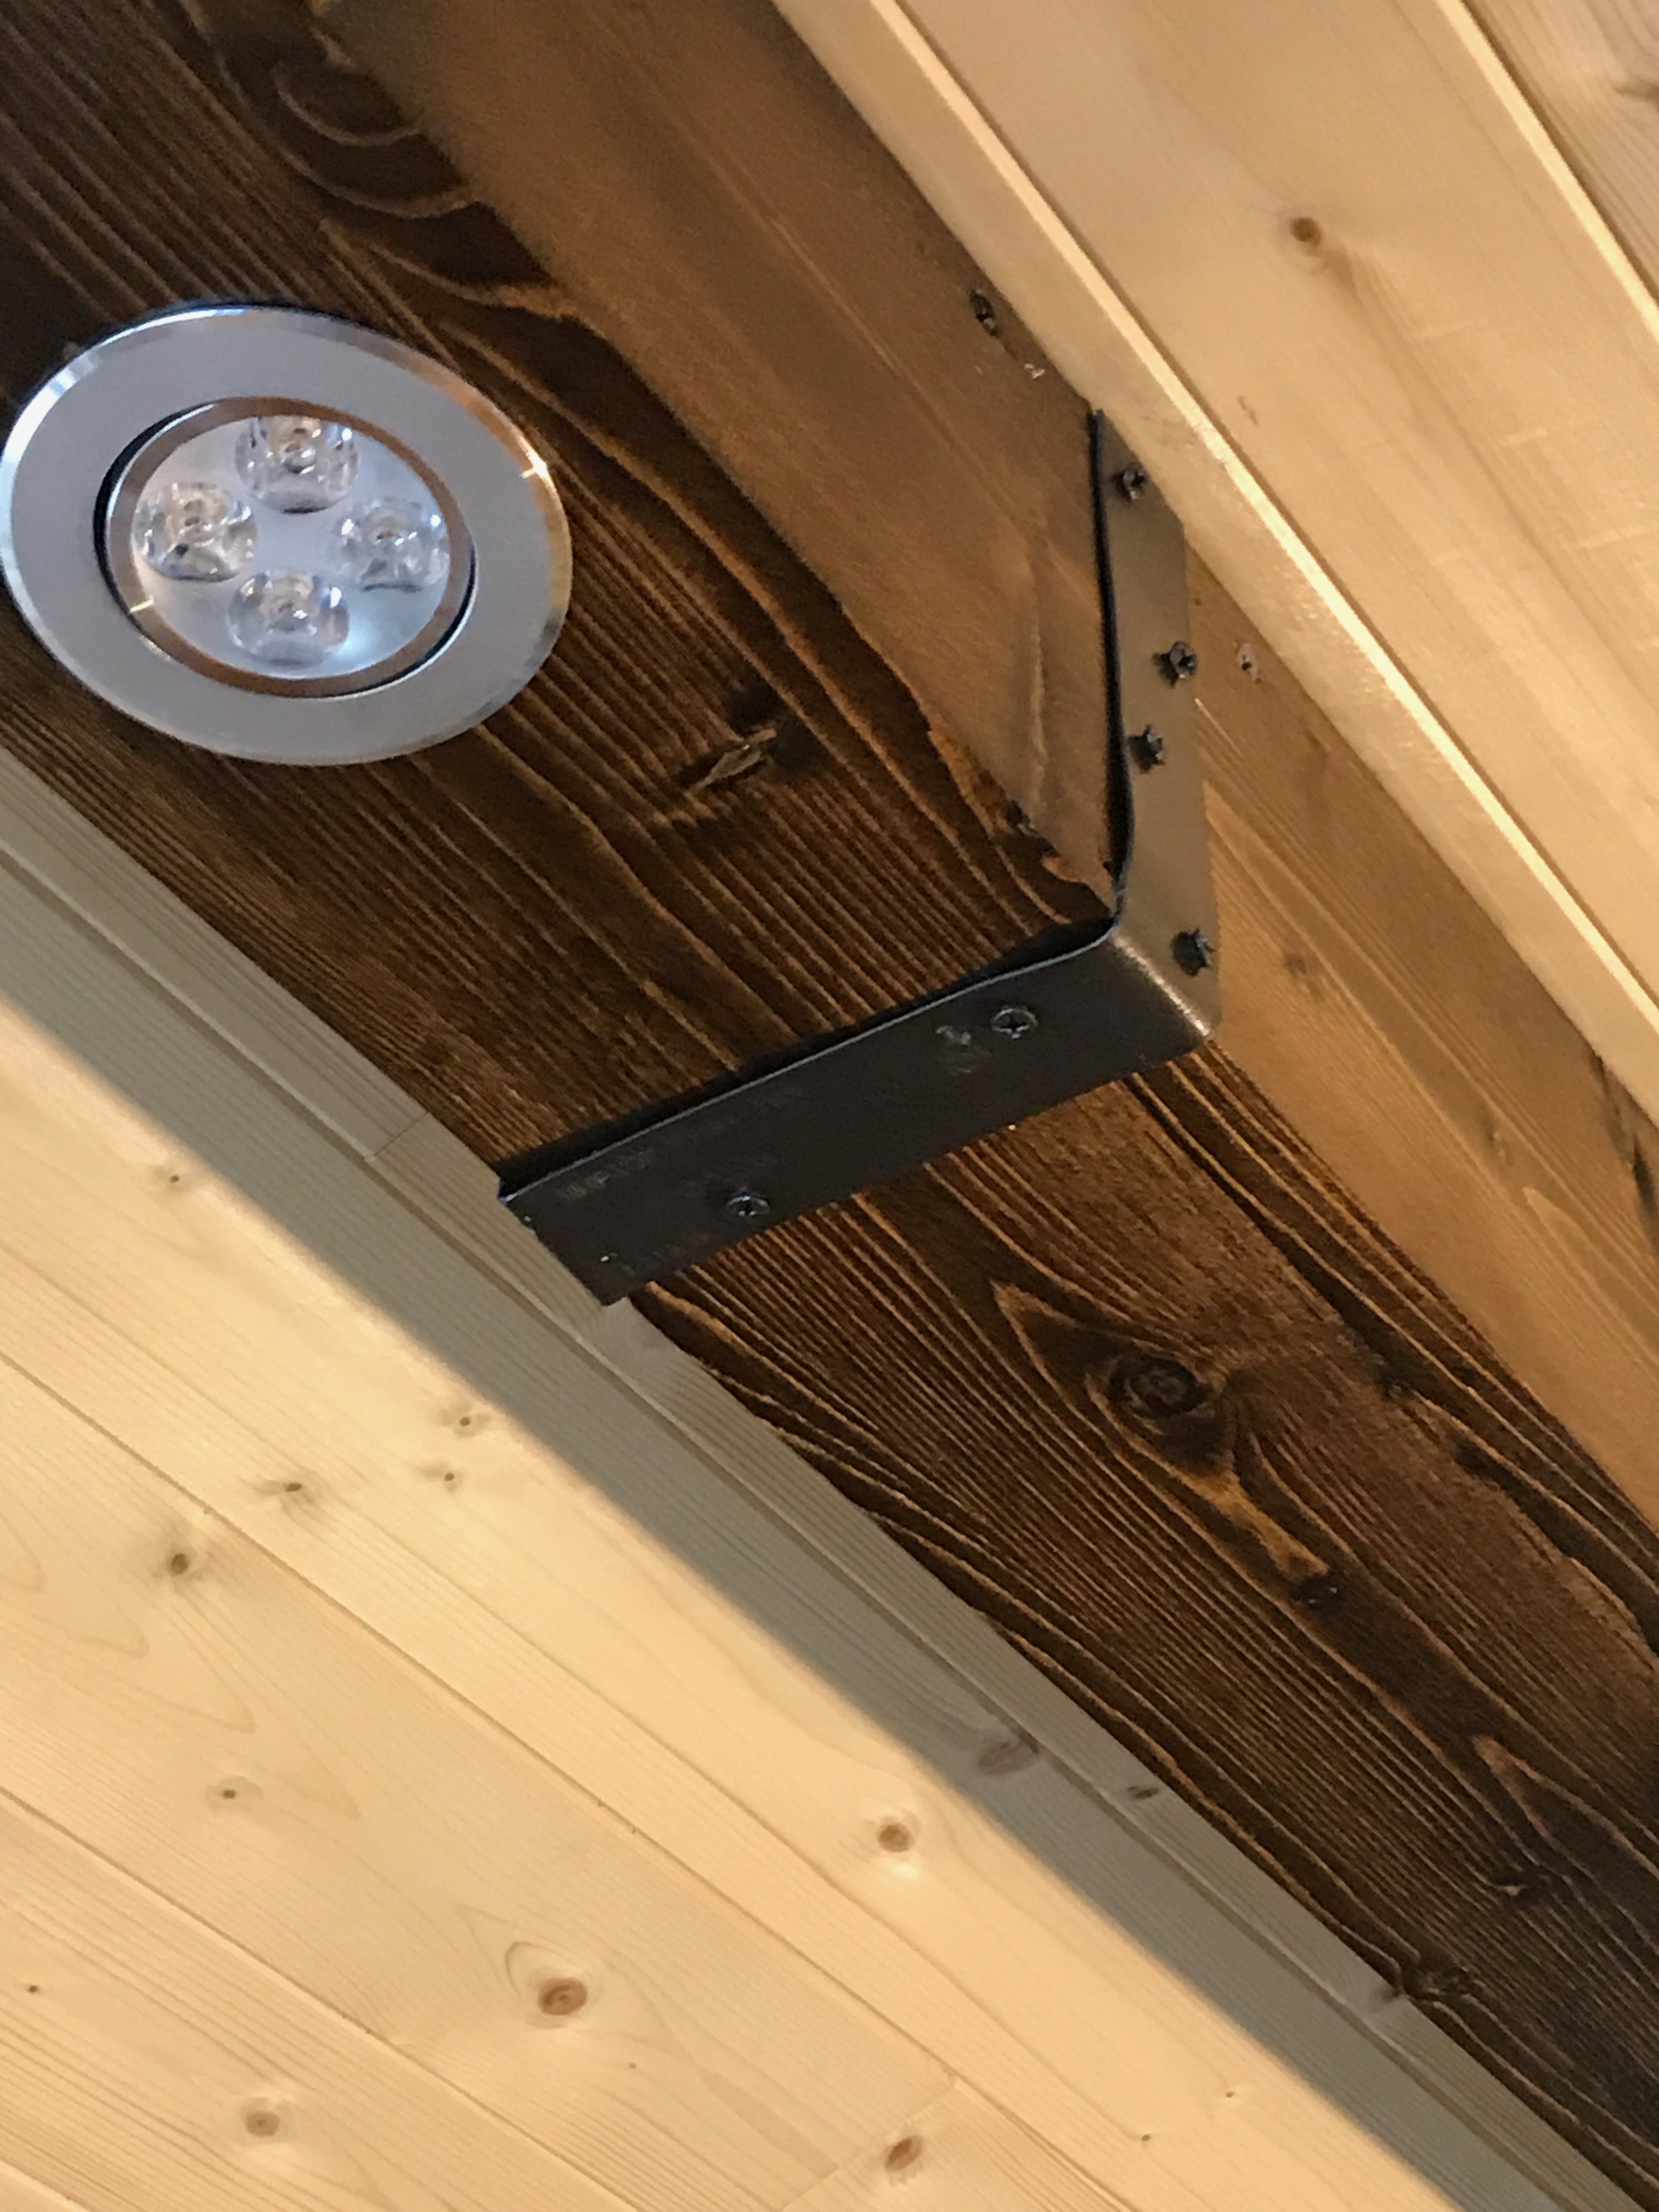
The other strap installed.

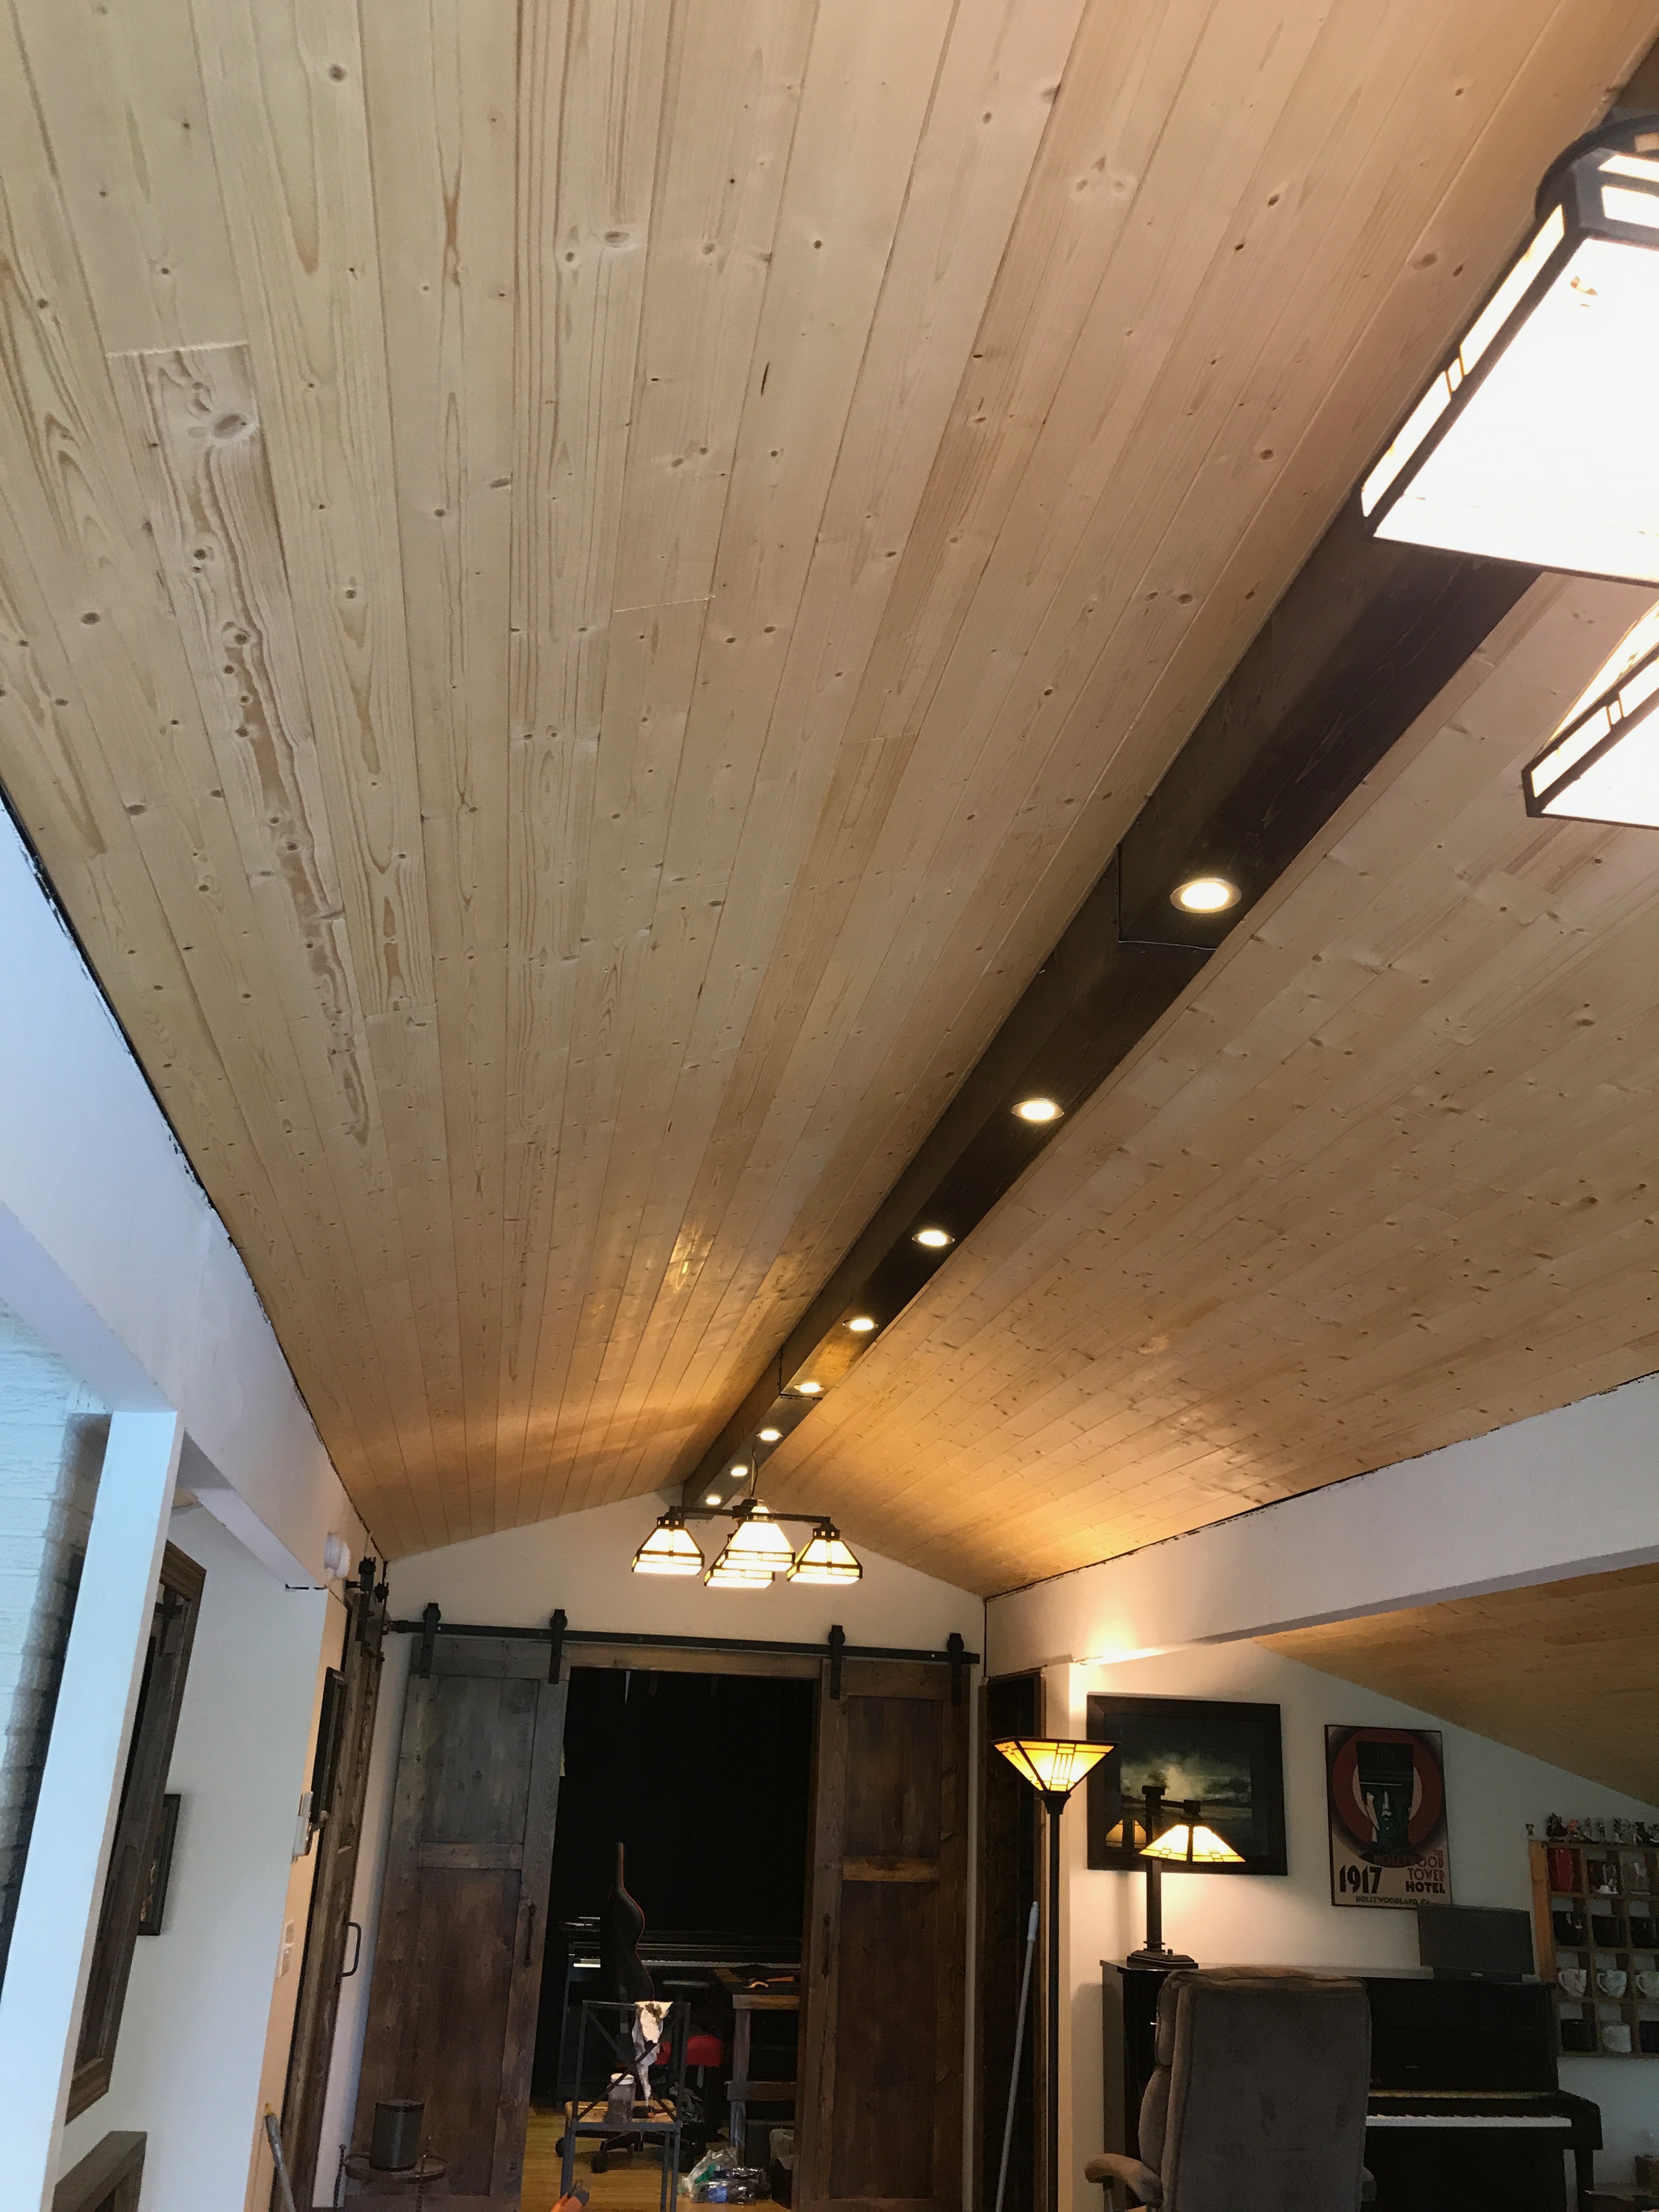
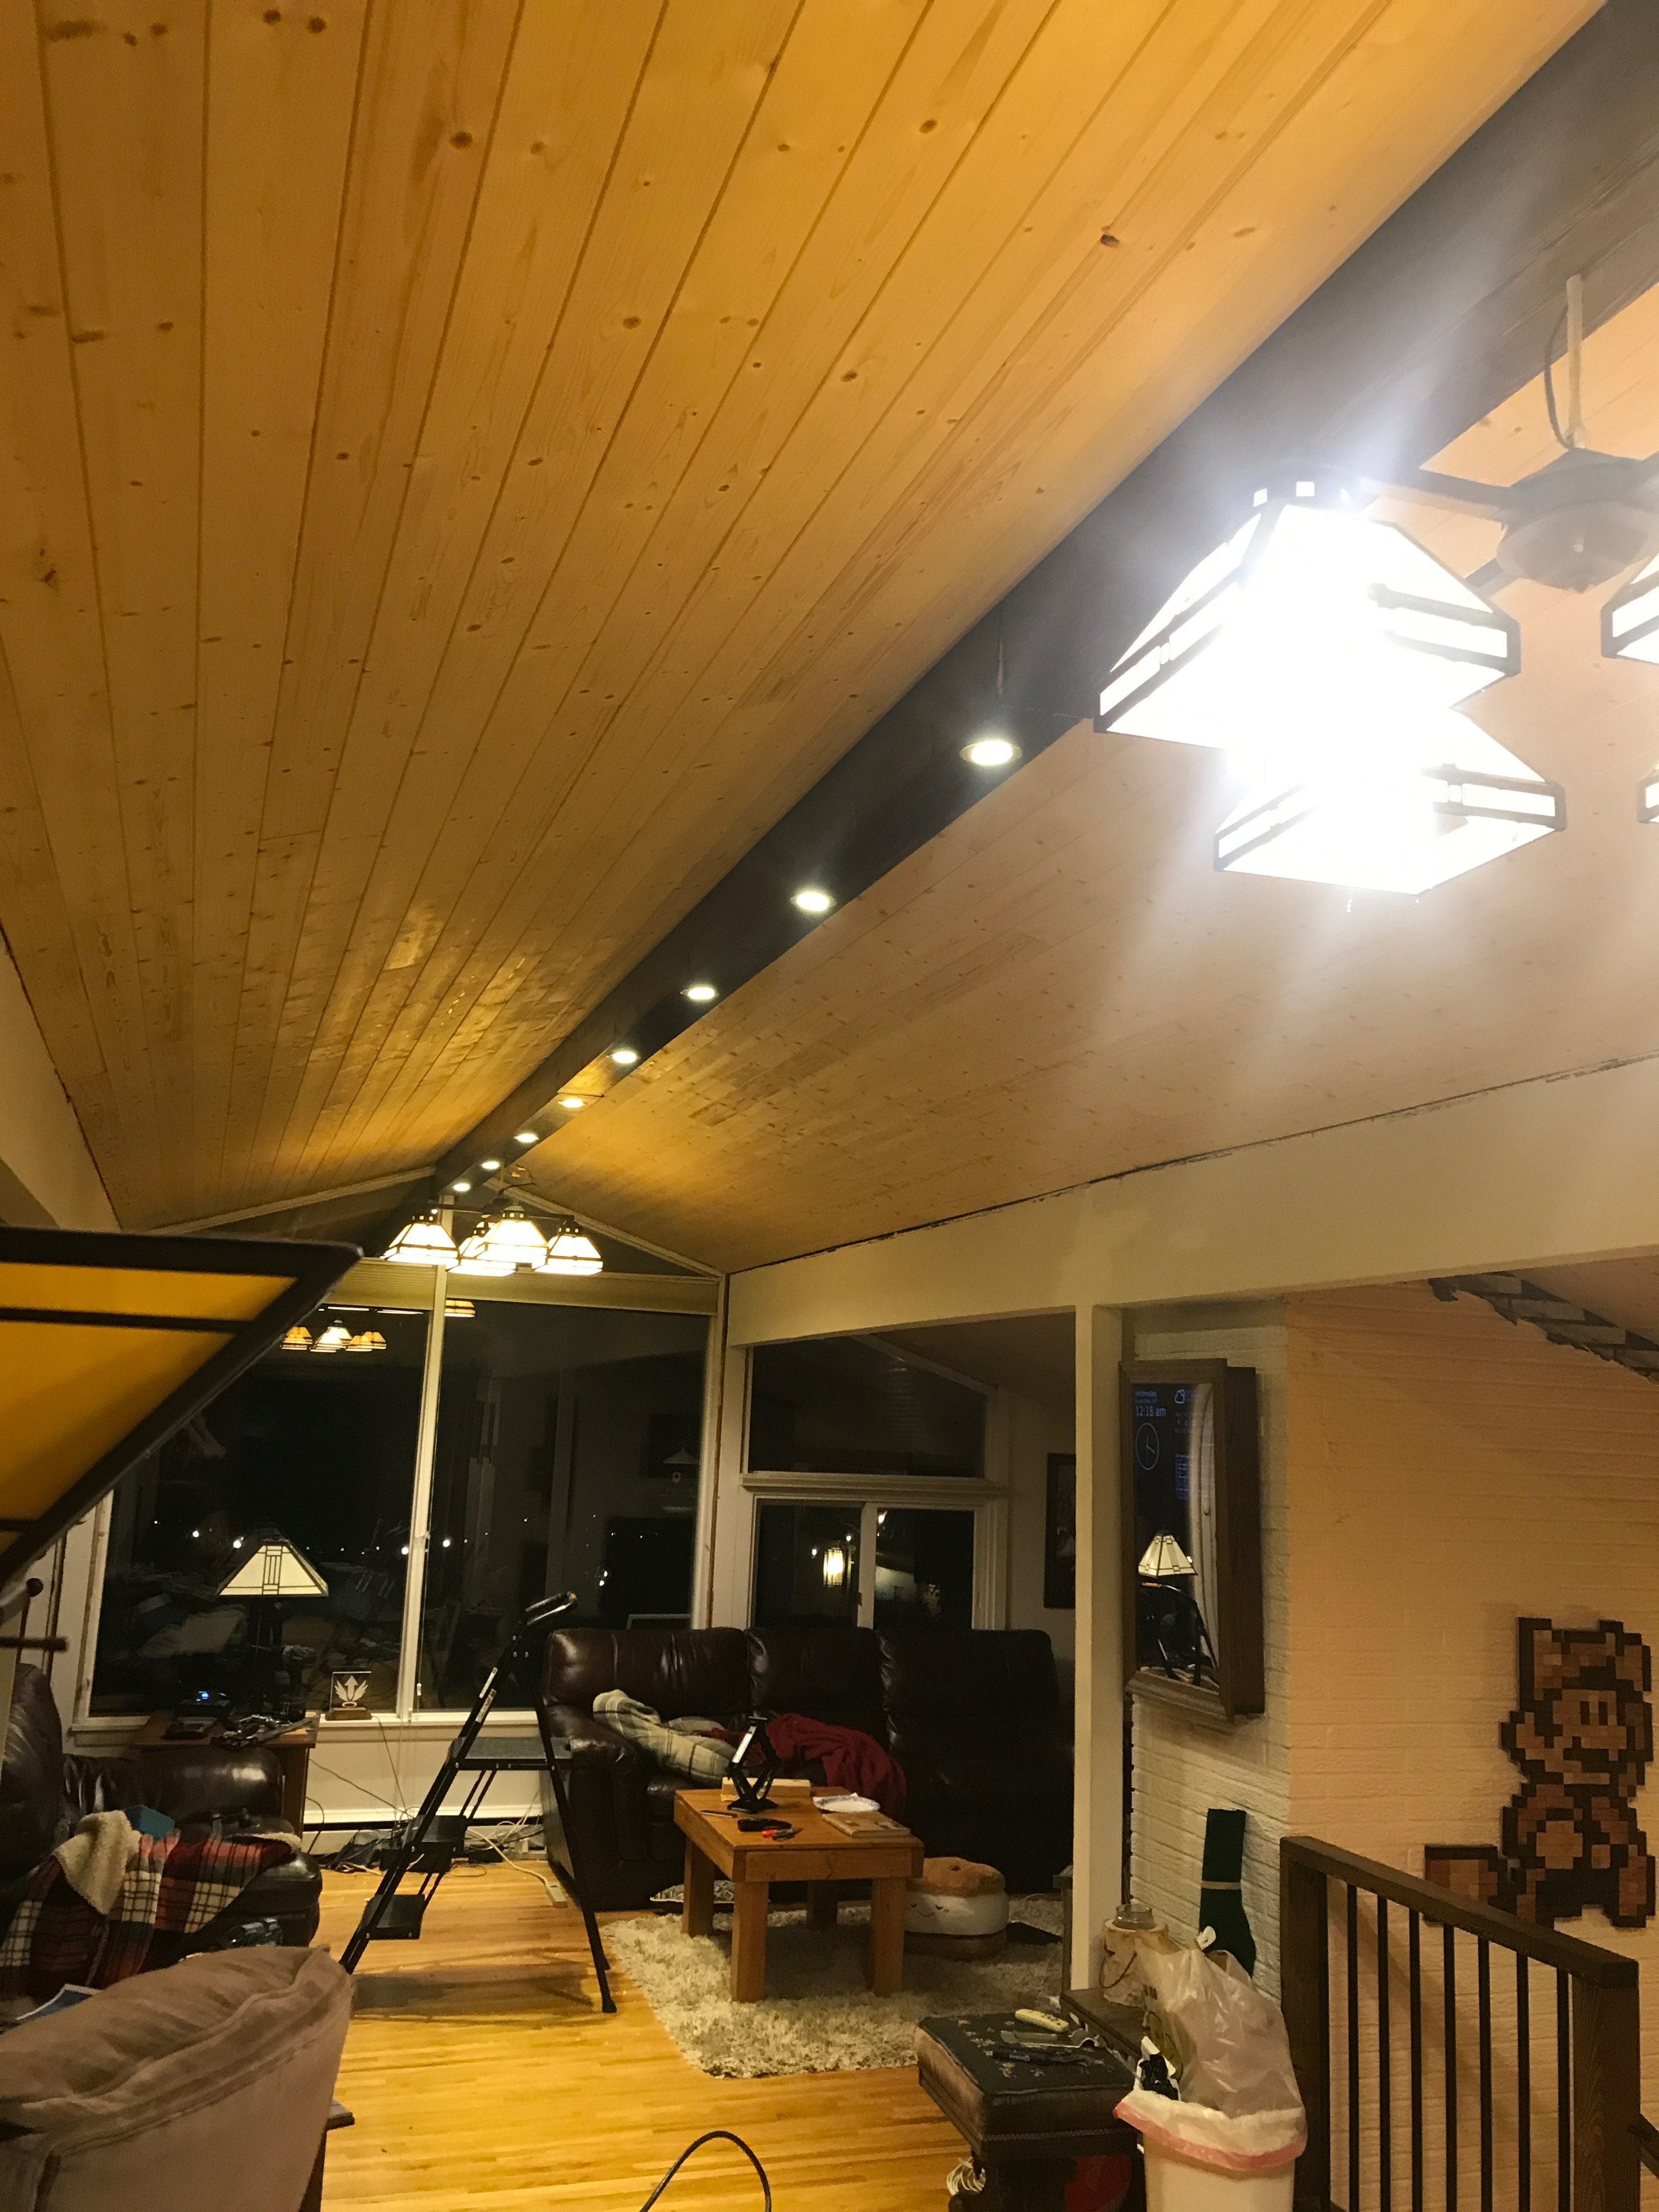
Finished shot - the chandeliers and beam lights can be controlled separately.
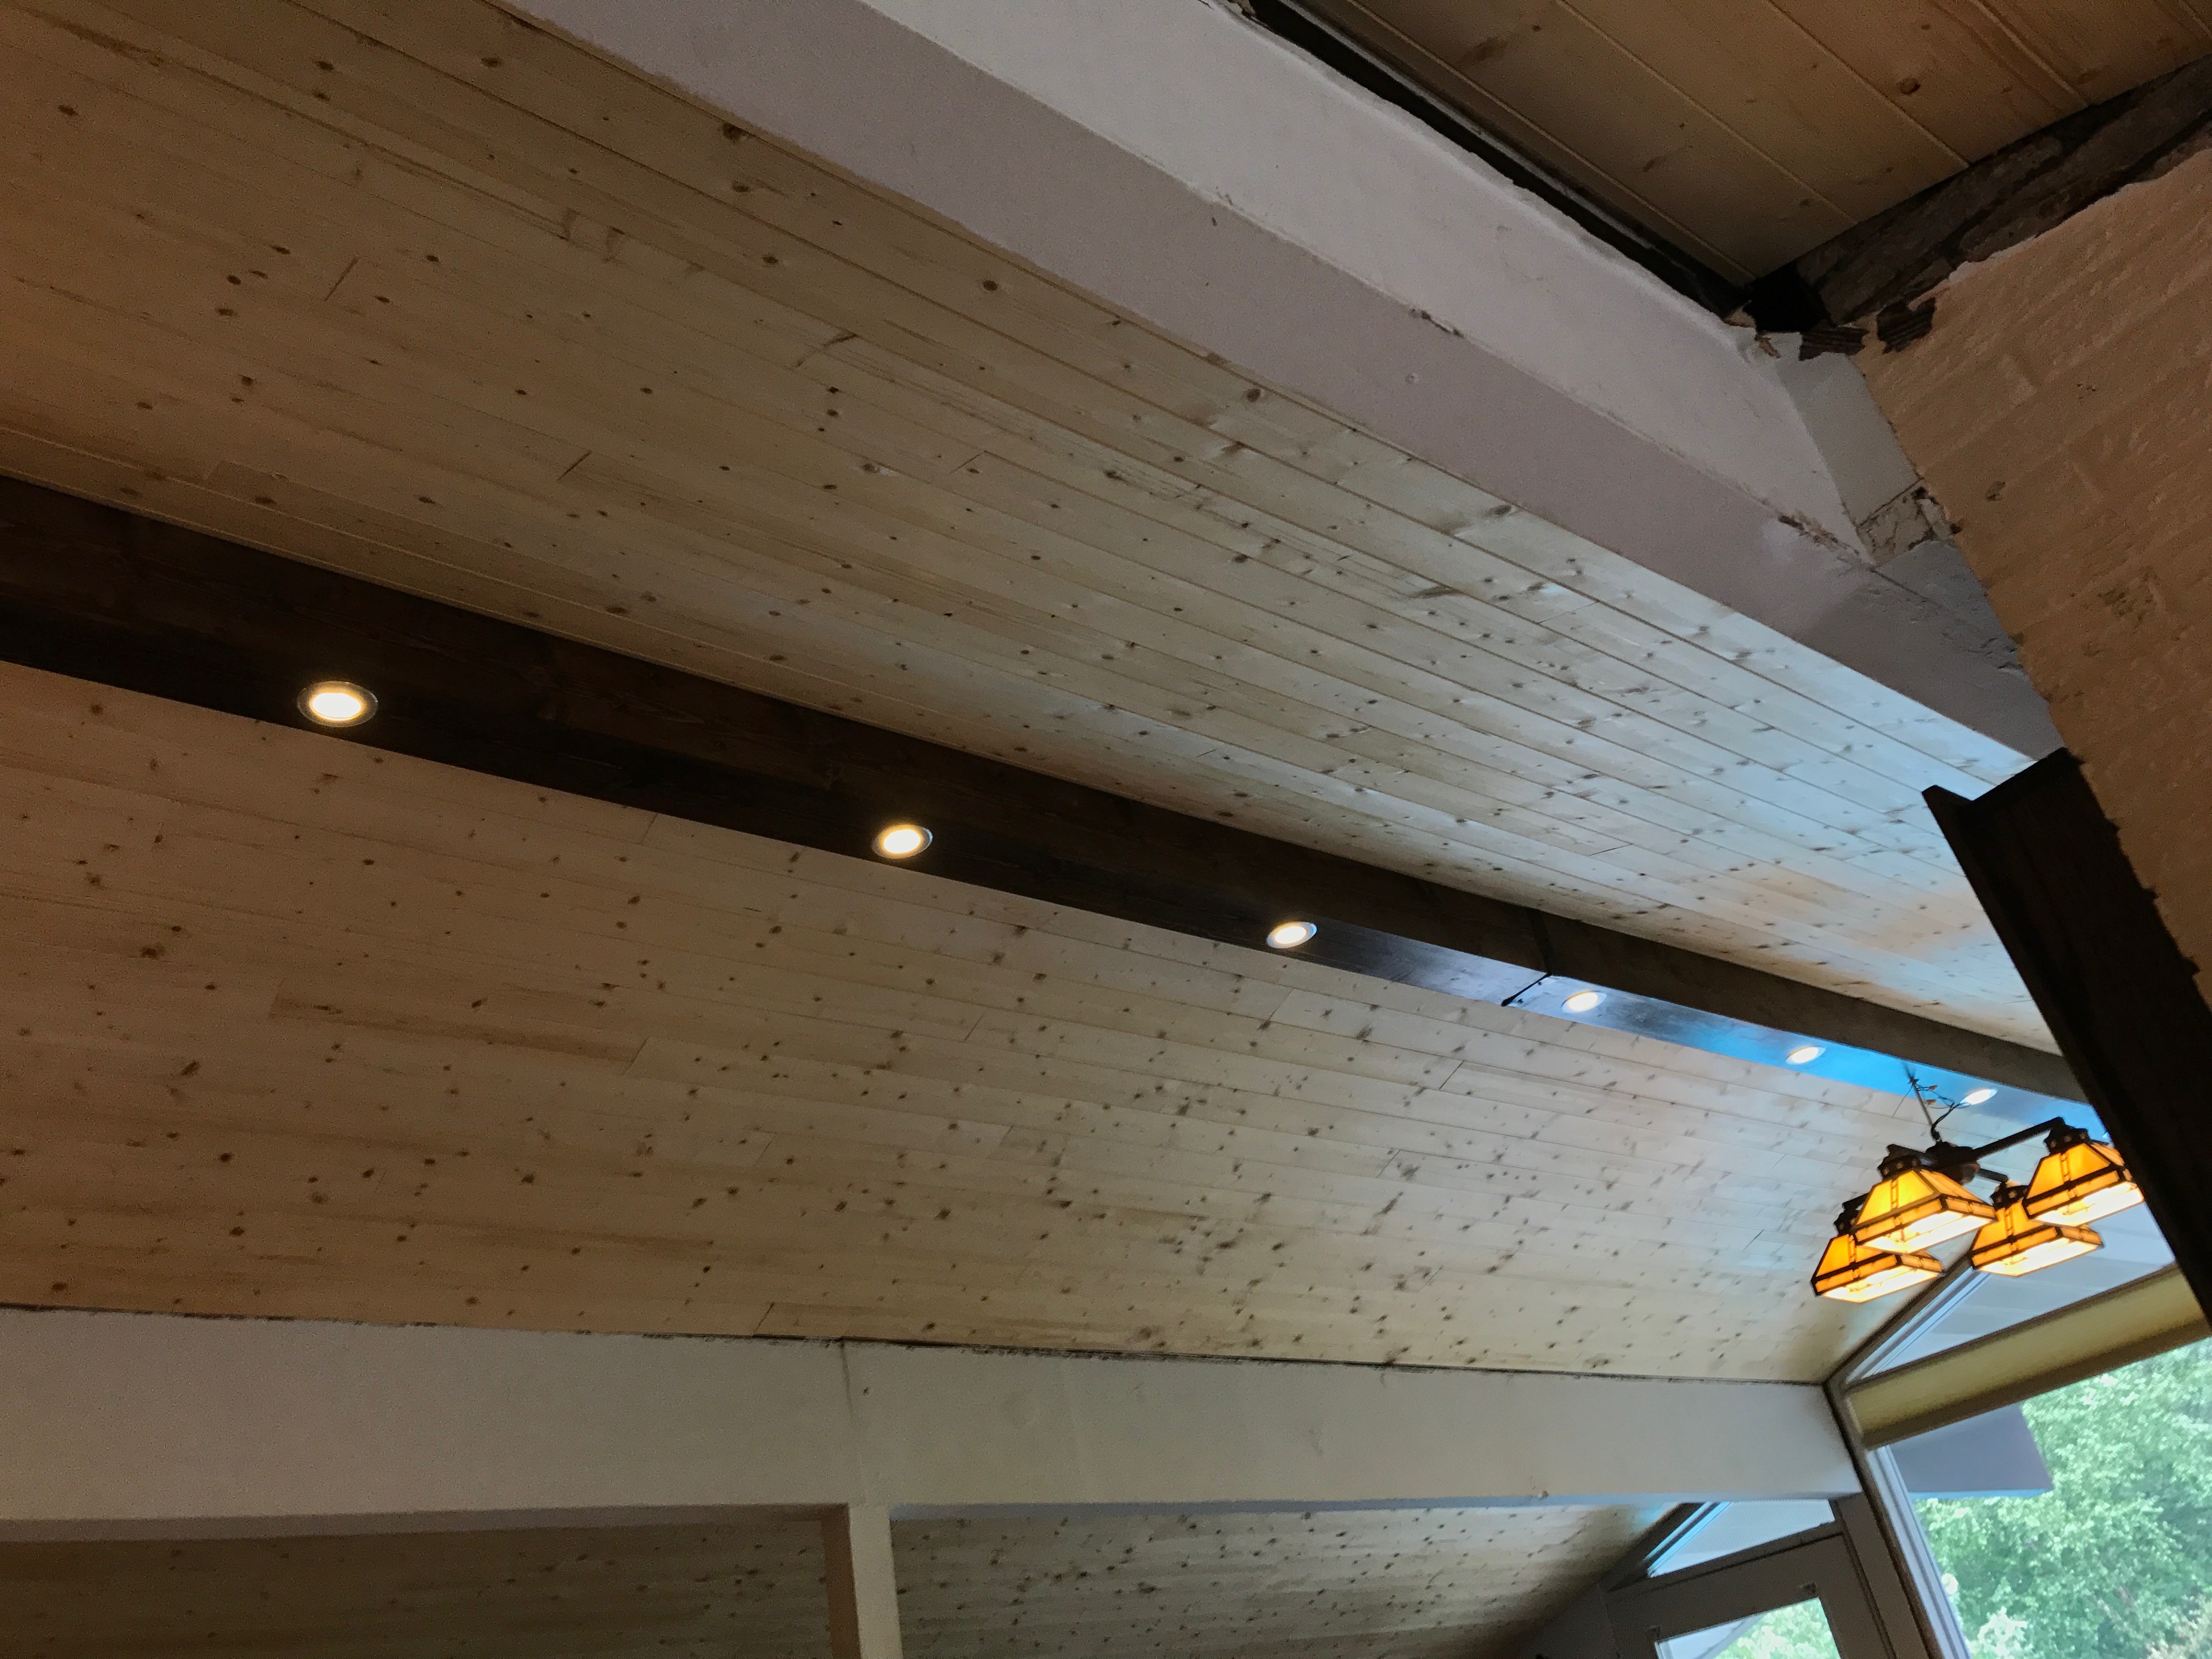
Another finished shot.