Pump It Up Pad Refurbishment and Upgrade
Posted by Dave Eddy on Feb 06 2020 - tags: diyIn 2018 I created my own DIY Pump It Up Pad Platform With Bars - it was a combination of Precision Dance Pads and a platform with bars I created myself. This setup was… decent at best. I wanted the full arcade experience, and knew that nothing was going to satisfy that except for the real arcade pads.
Luckily for me, my friend Kate added me to a buy/sell/trade Facebook group for arcade rhythm games, and within the first week there was a post for used Pump It Up pads for sale about 8 hours away from my house. I jumped on that opportunity immediately!
Spoiler: Scroll down to see videos of the pads in action!
Getting the Pads
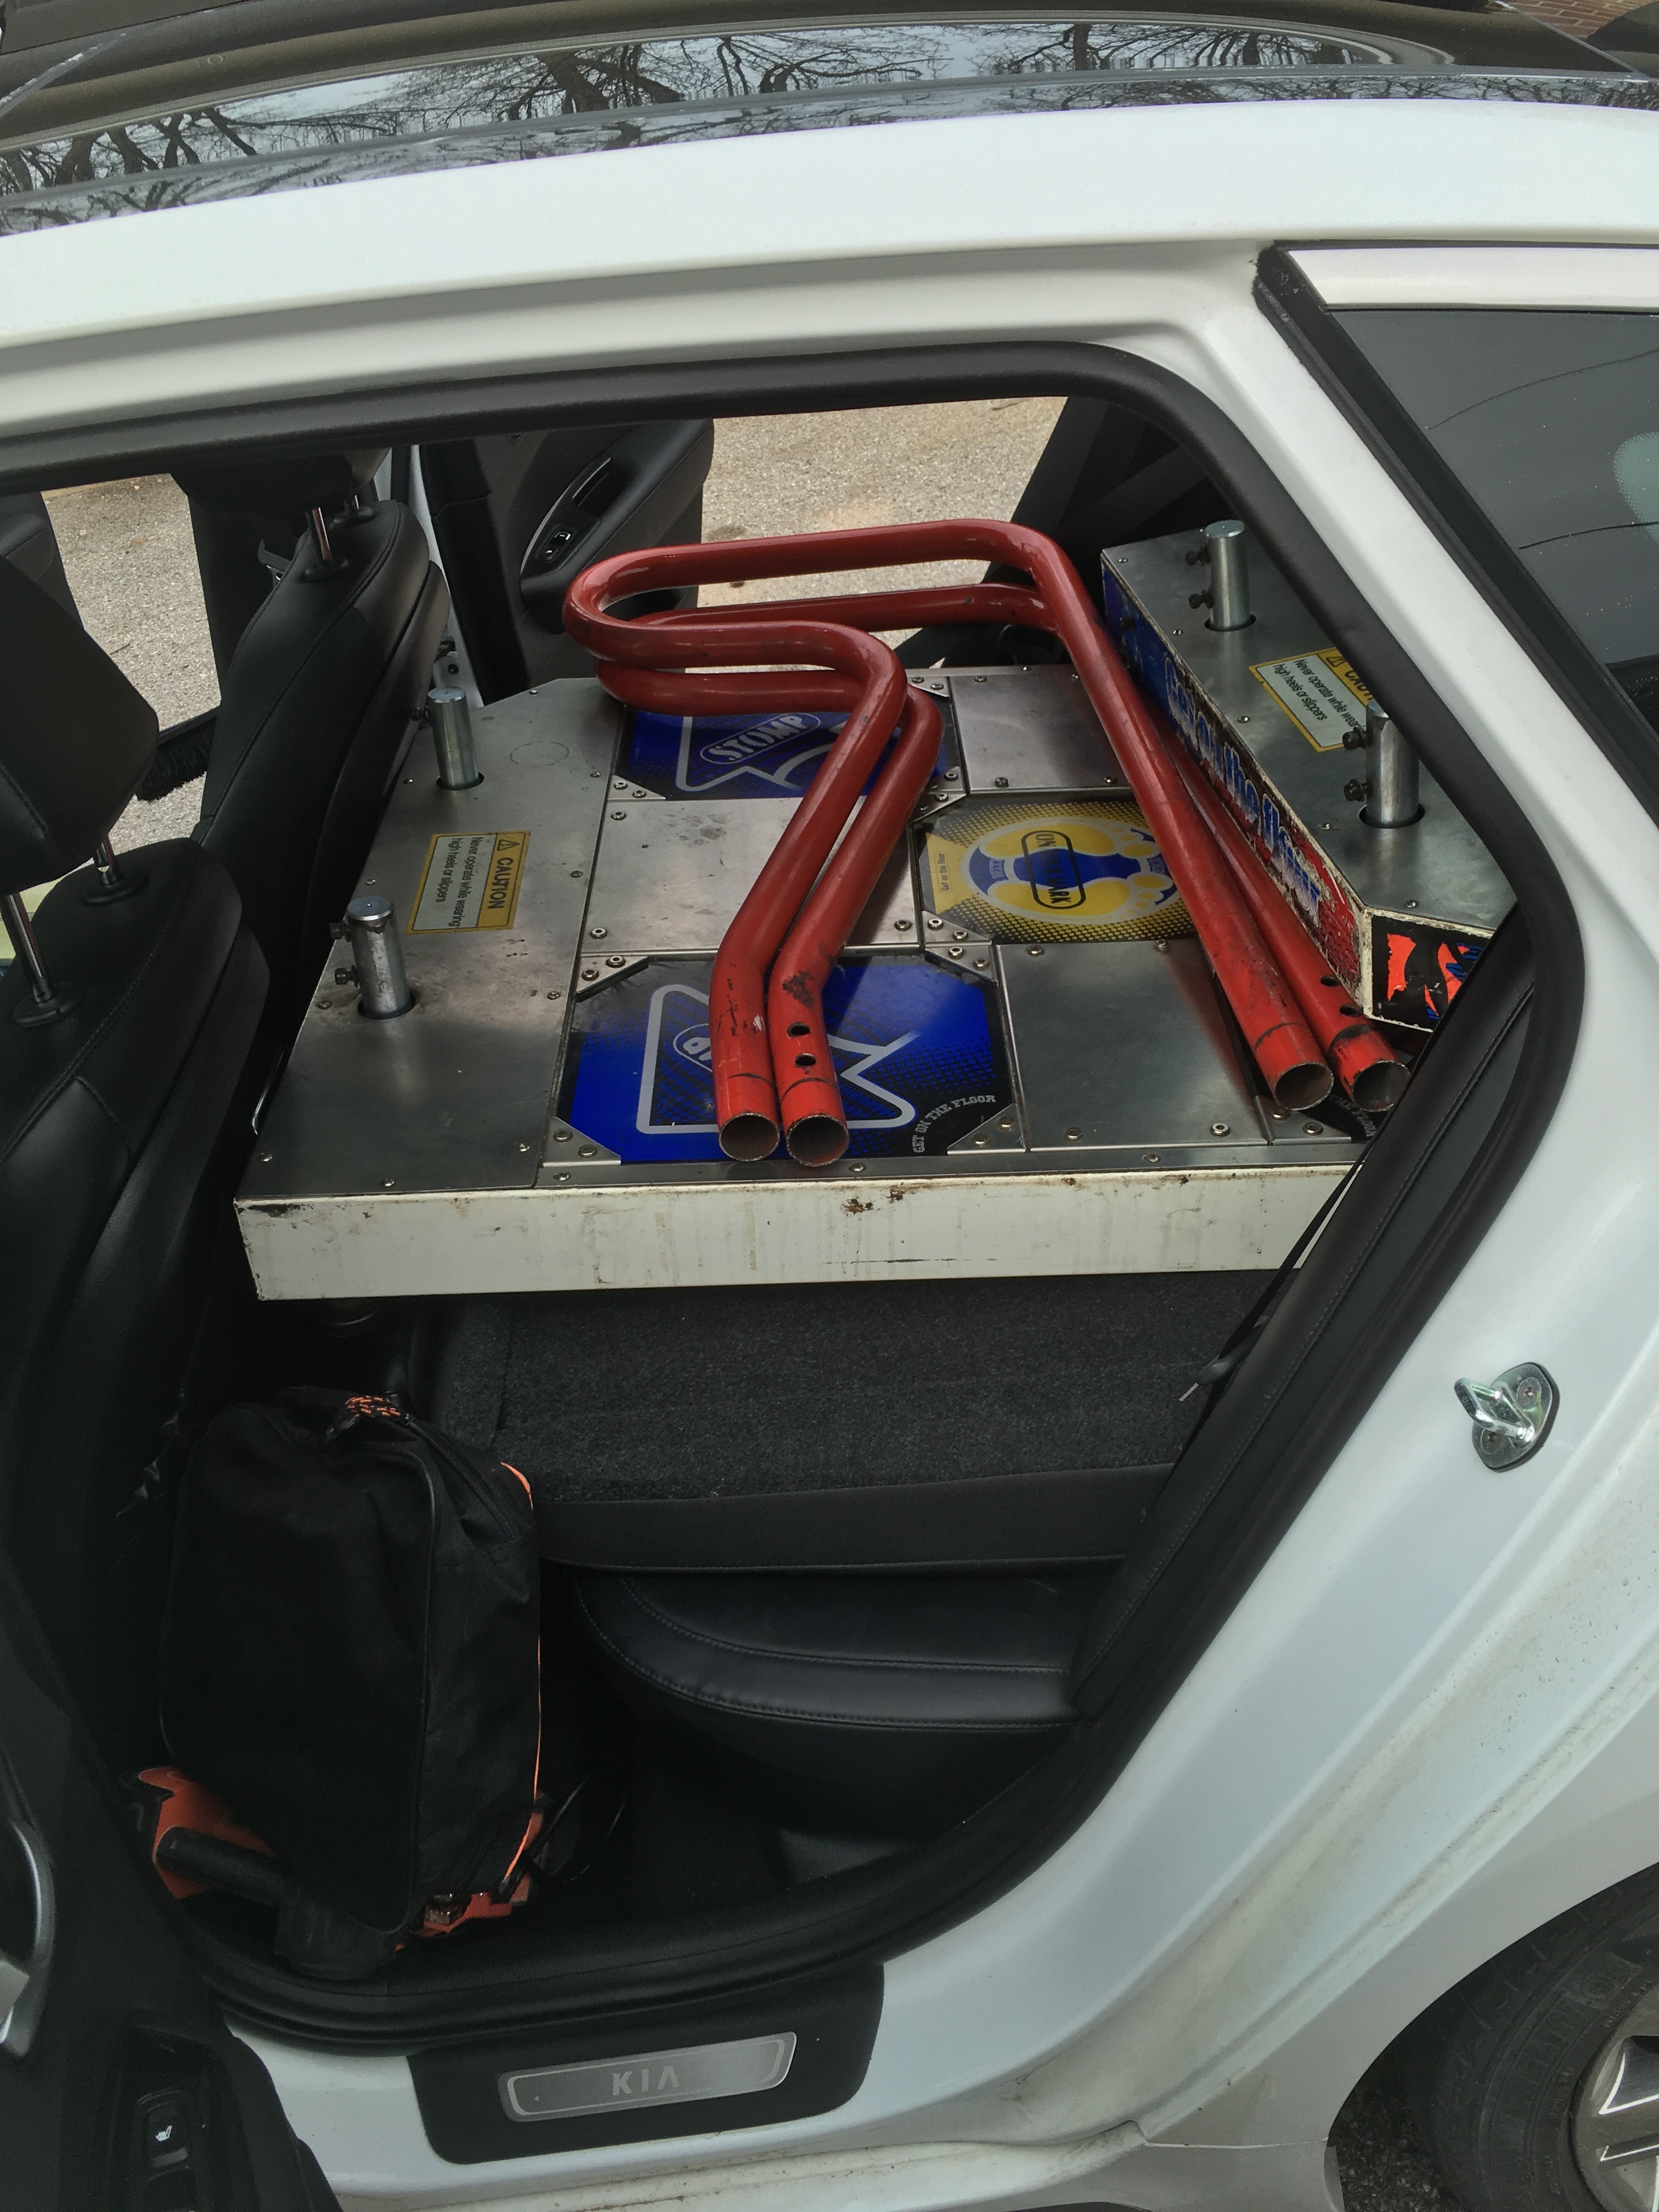
I woke up early on a Sunday, got in my (relatively small) car, and drove 8 hours from New York to Maryland. I picked up the pads from the seller, barely got them loaded into my car, and drove 8 hours back home. It was a crazy day but I managed to stop once on the way there, and once on the way back at Sheetz so it was a good day :).
These pads originated from a PIU Zero machine in Ontario, Canada.
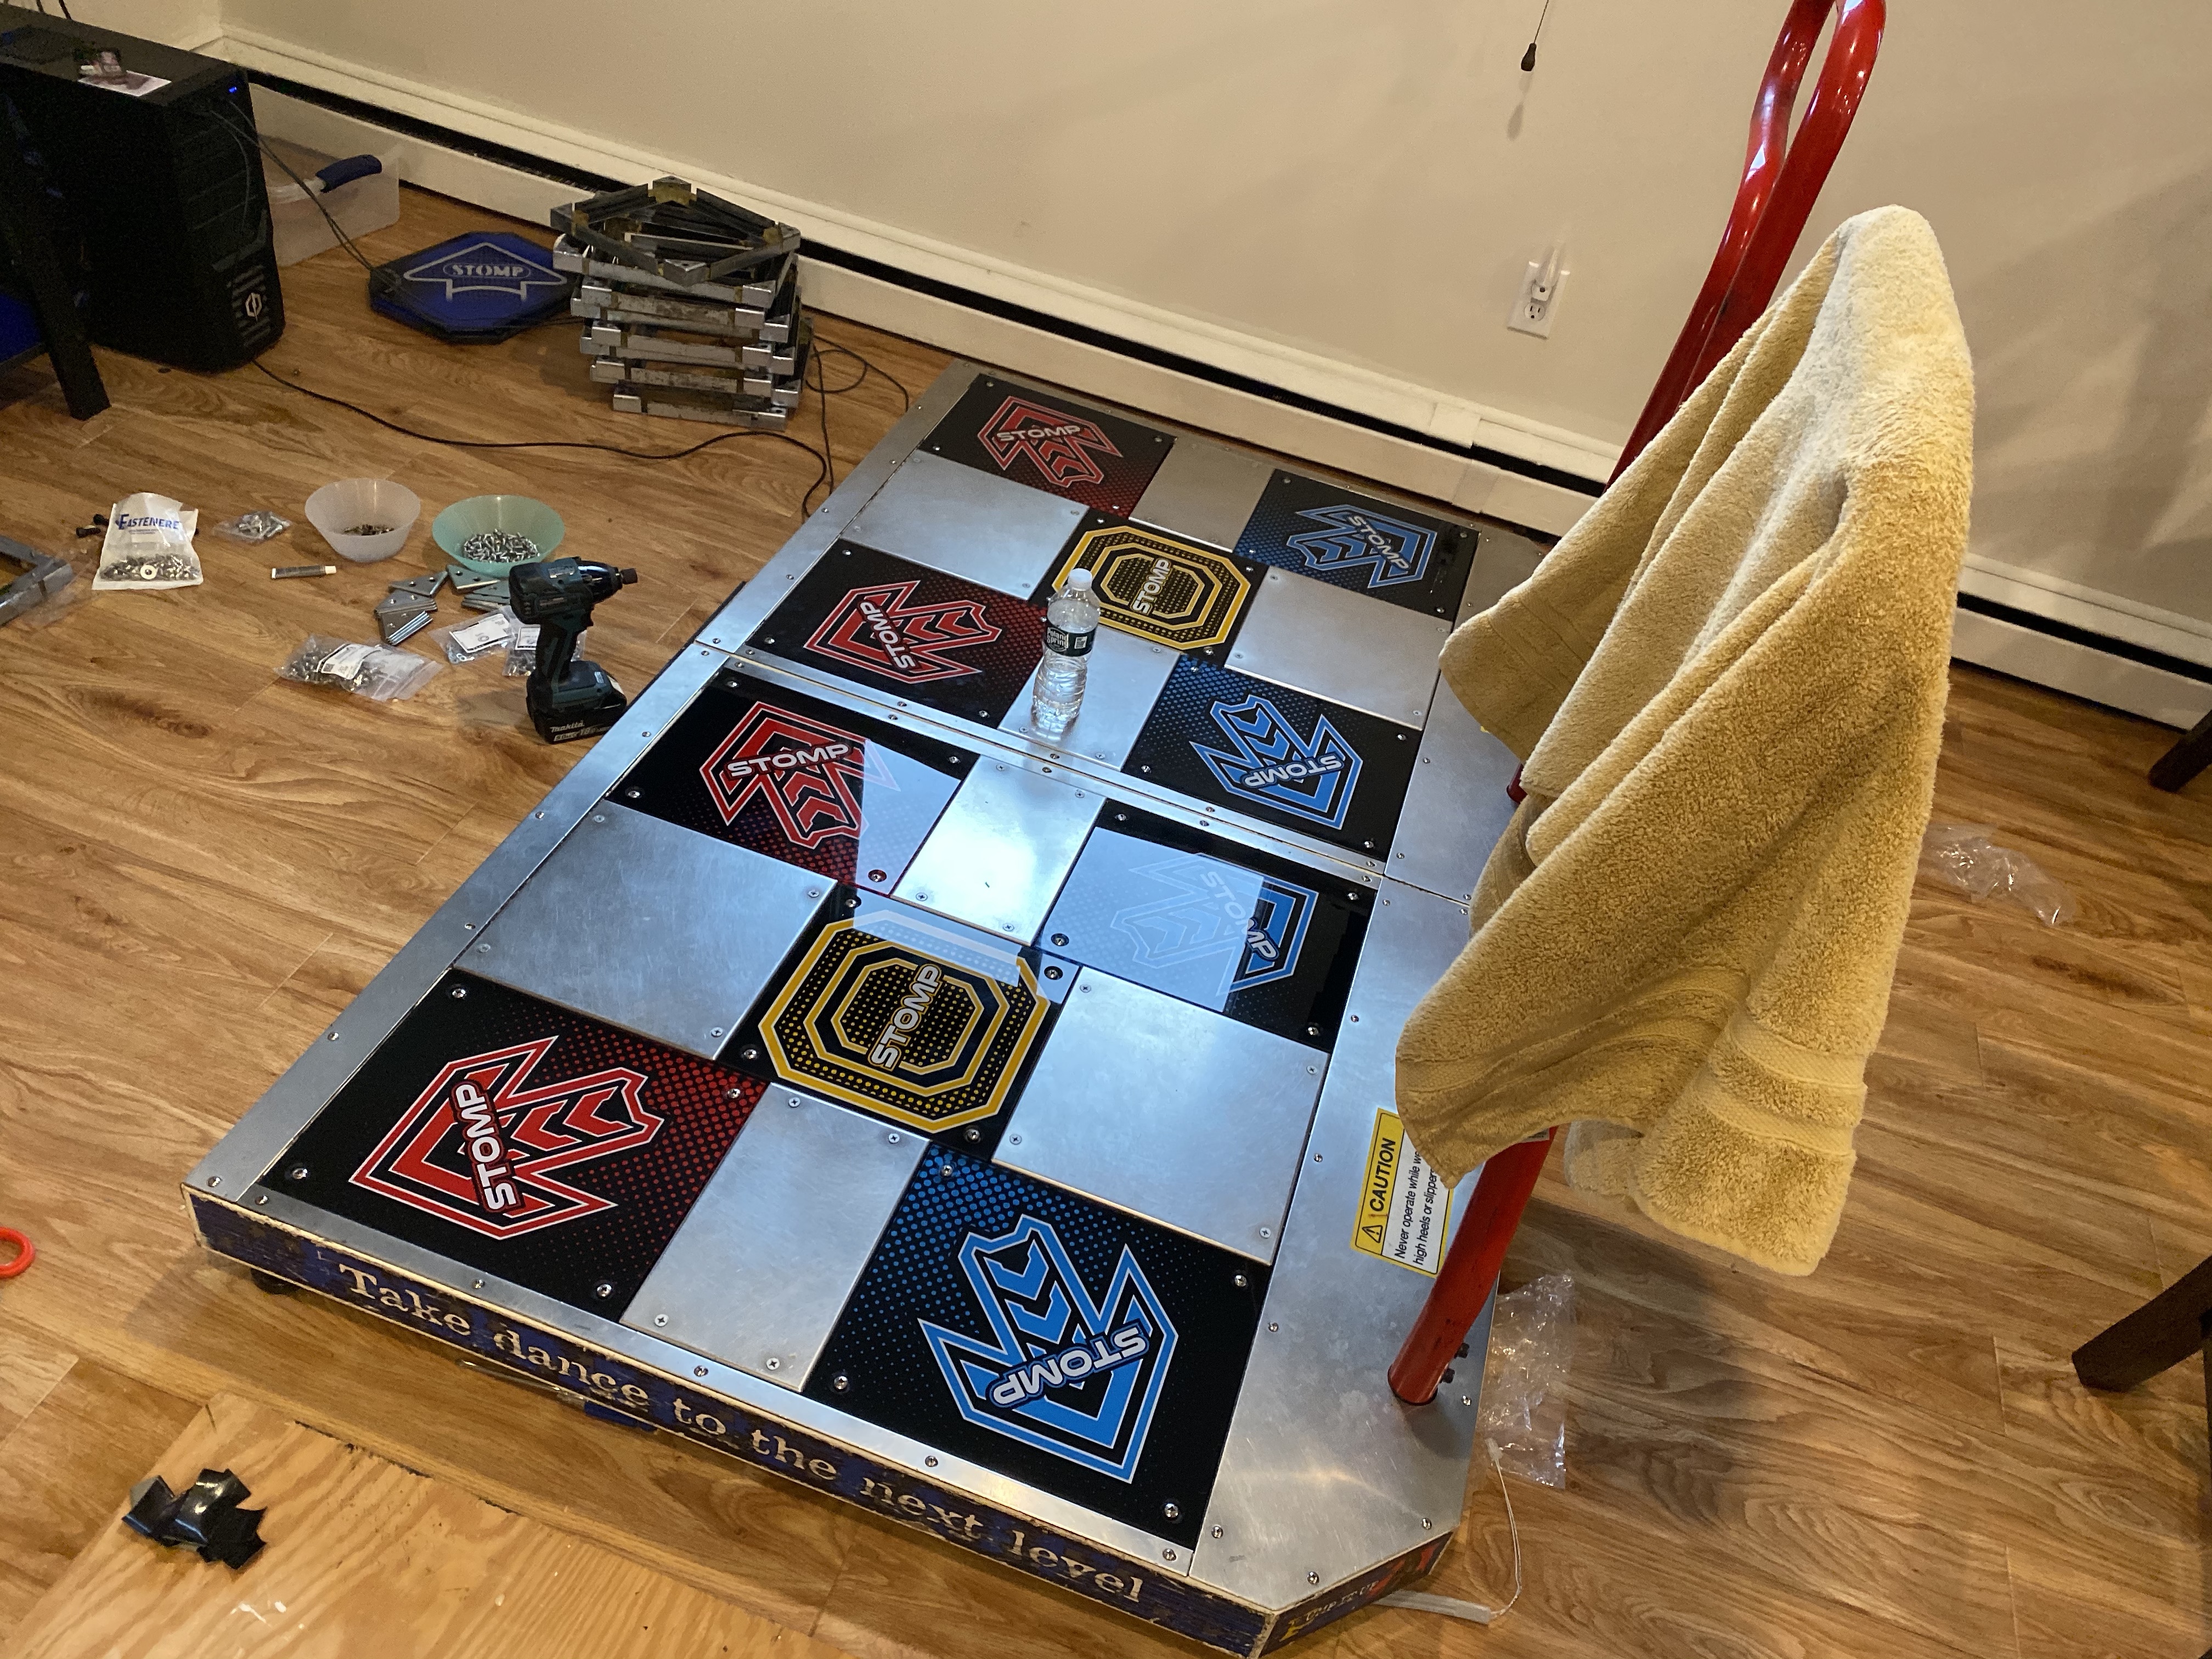
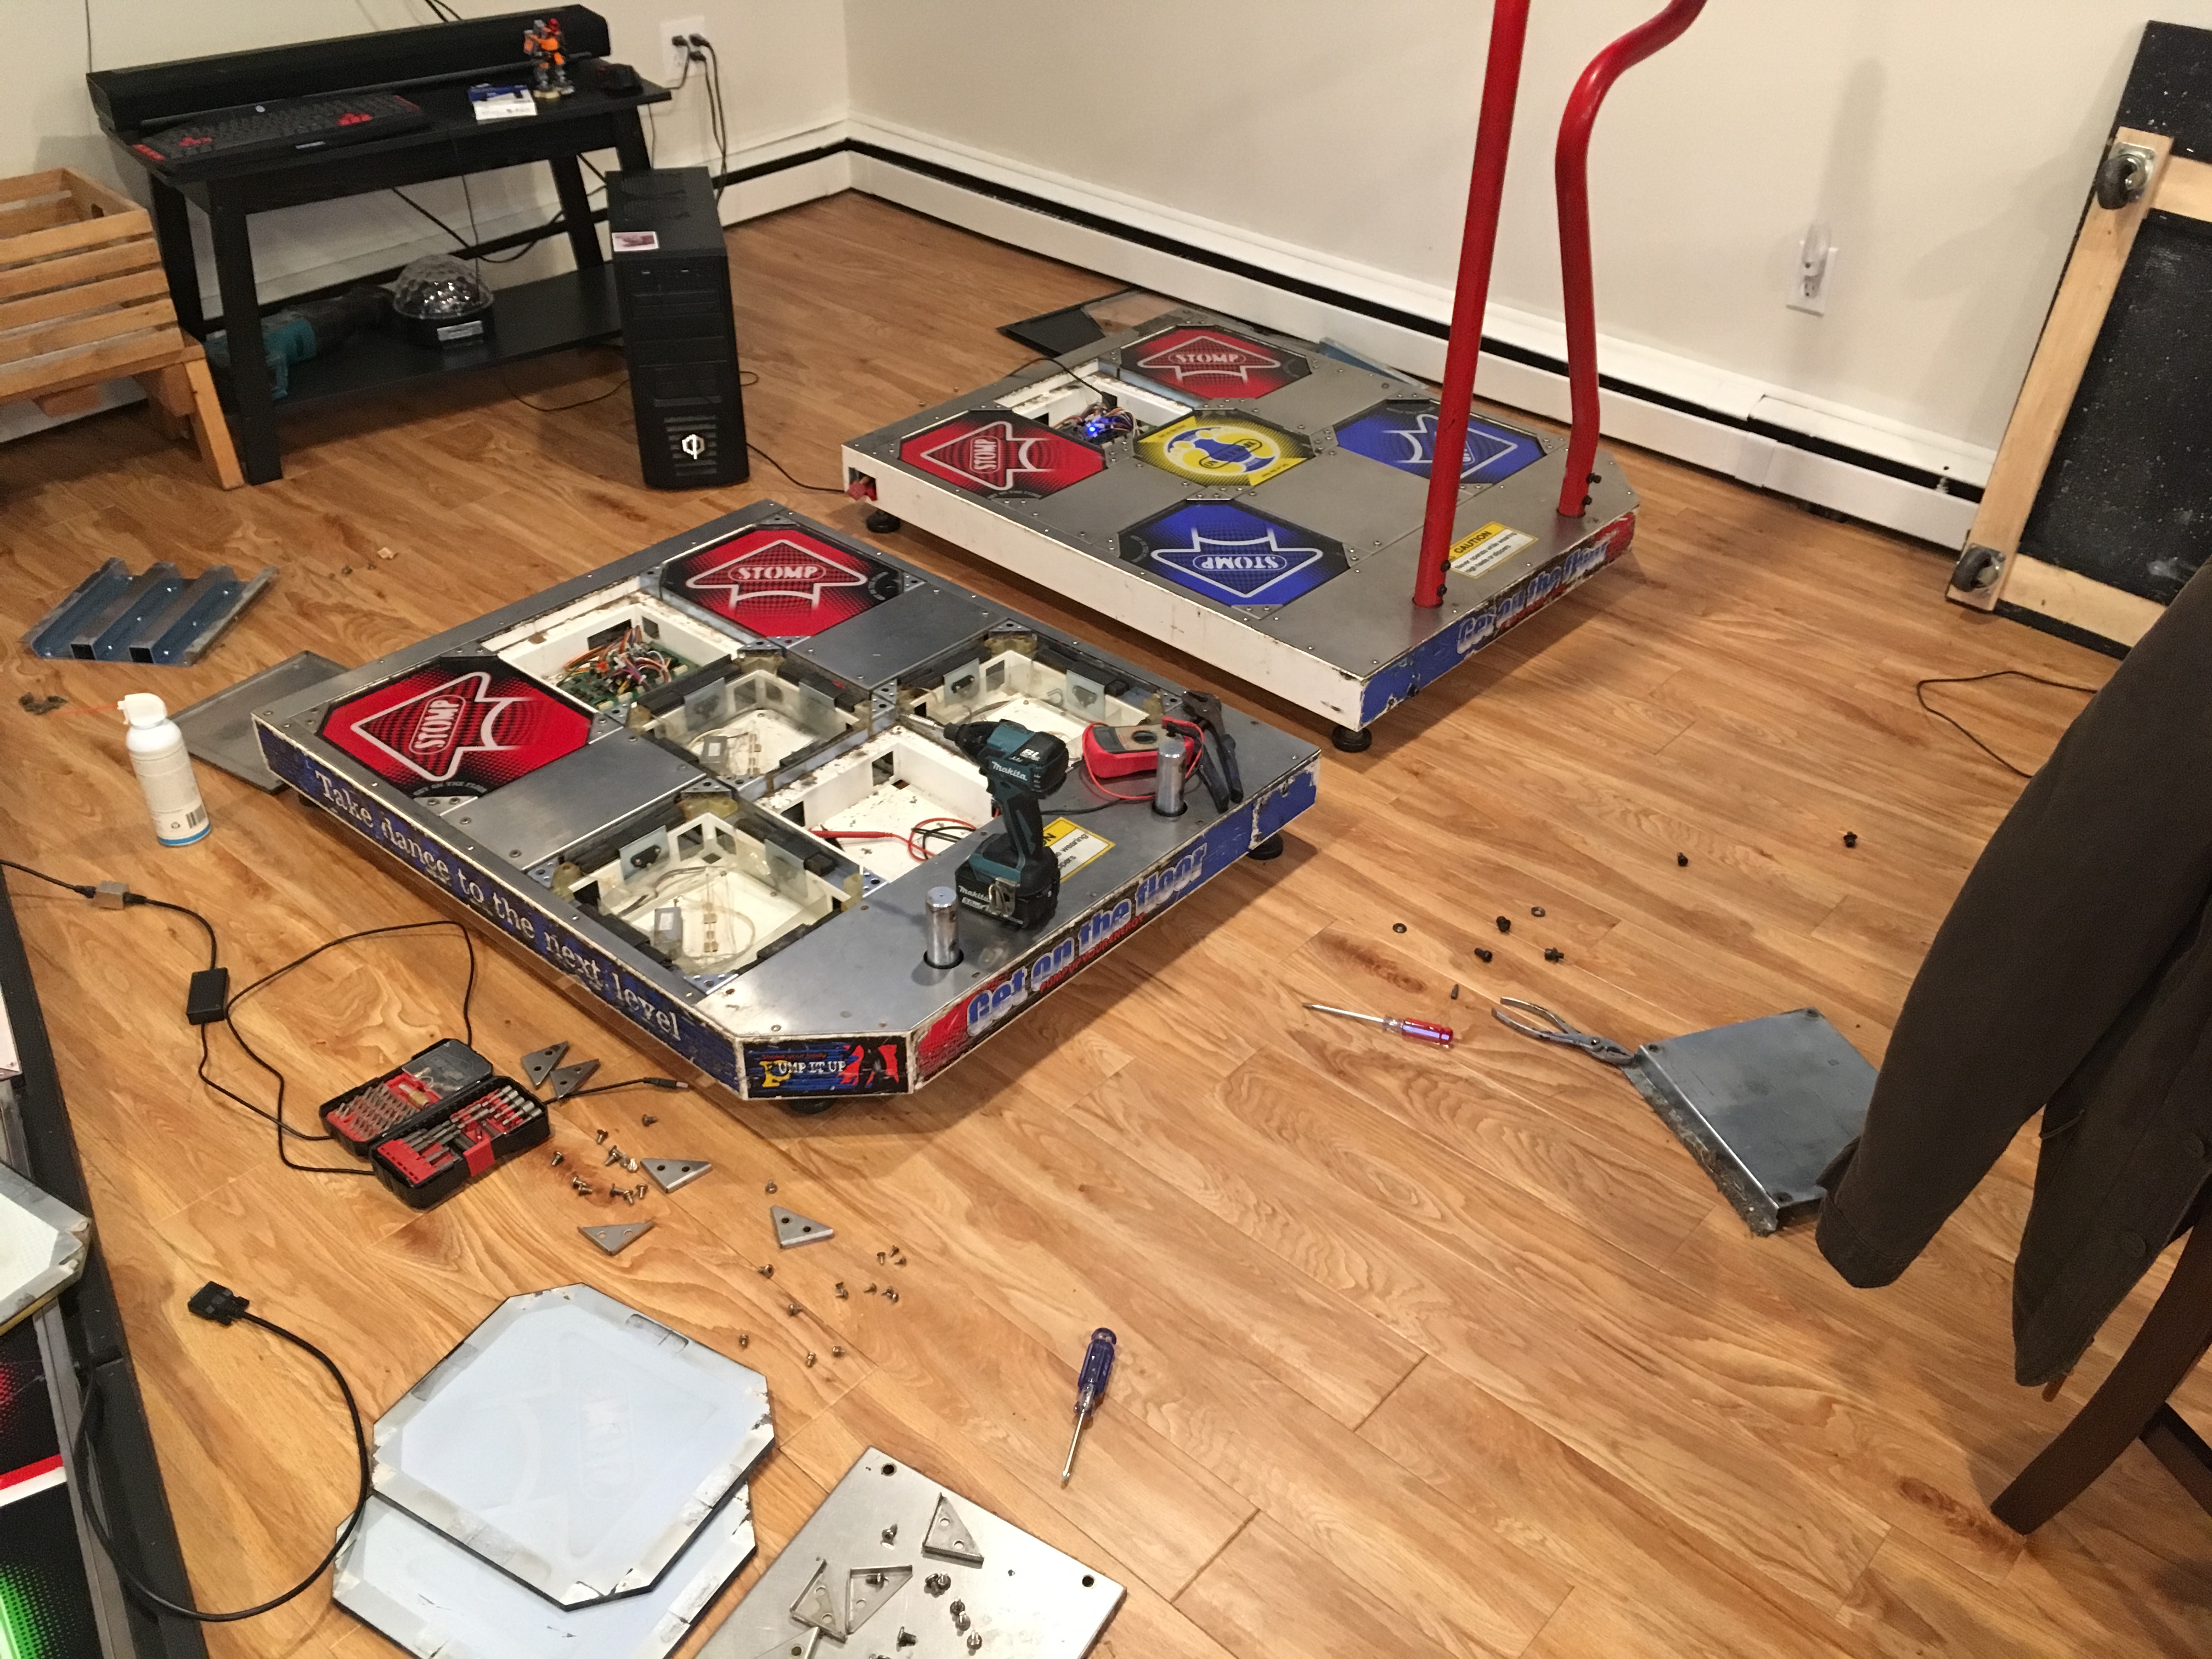
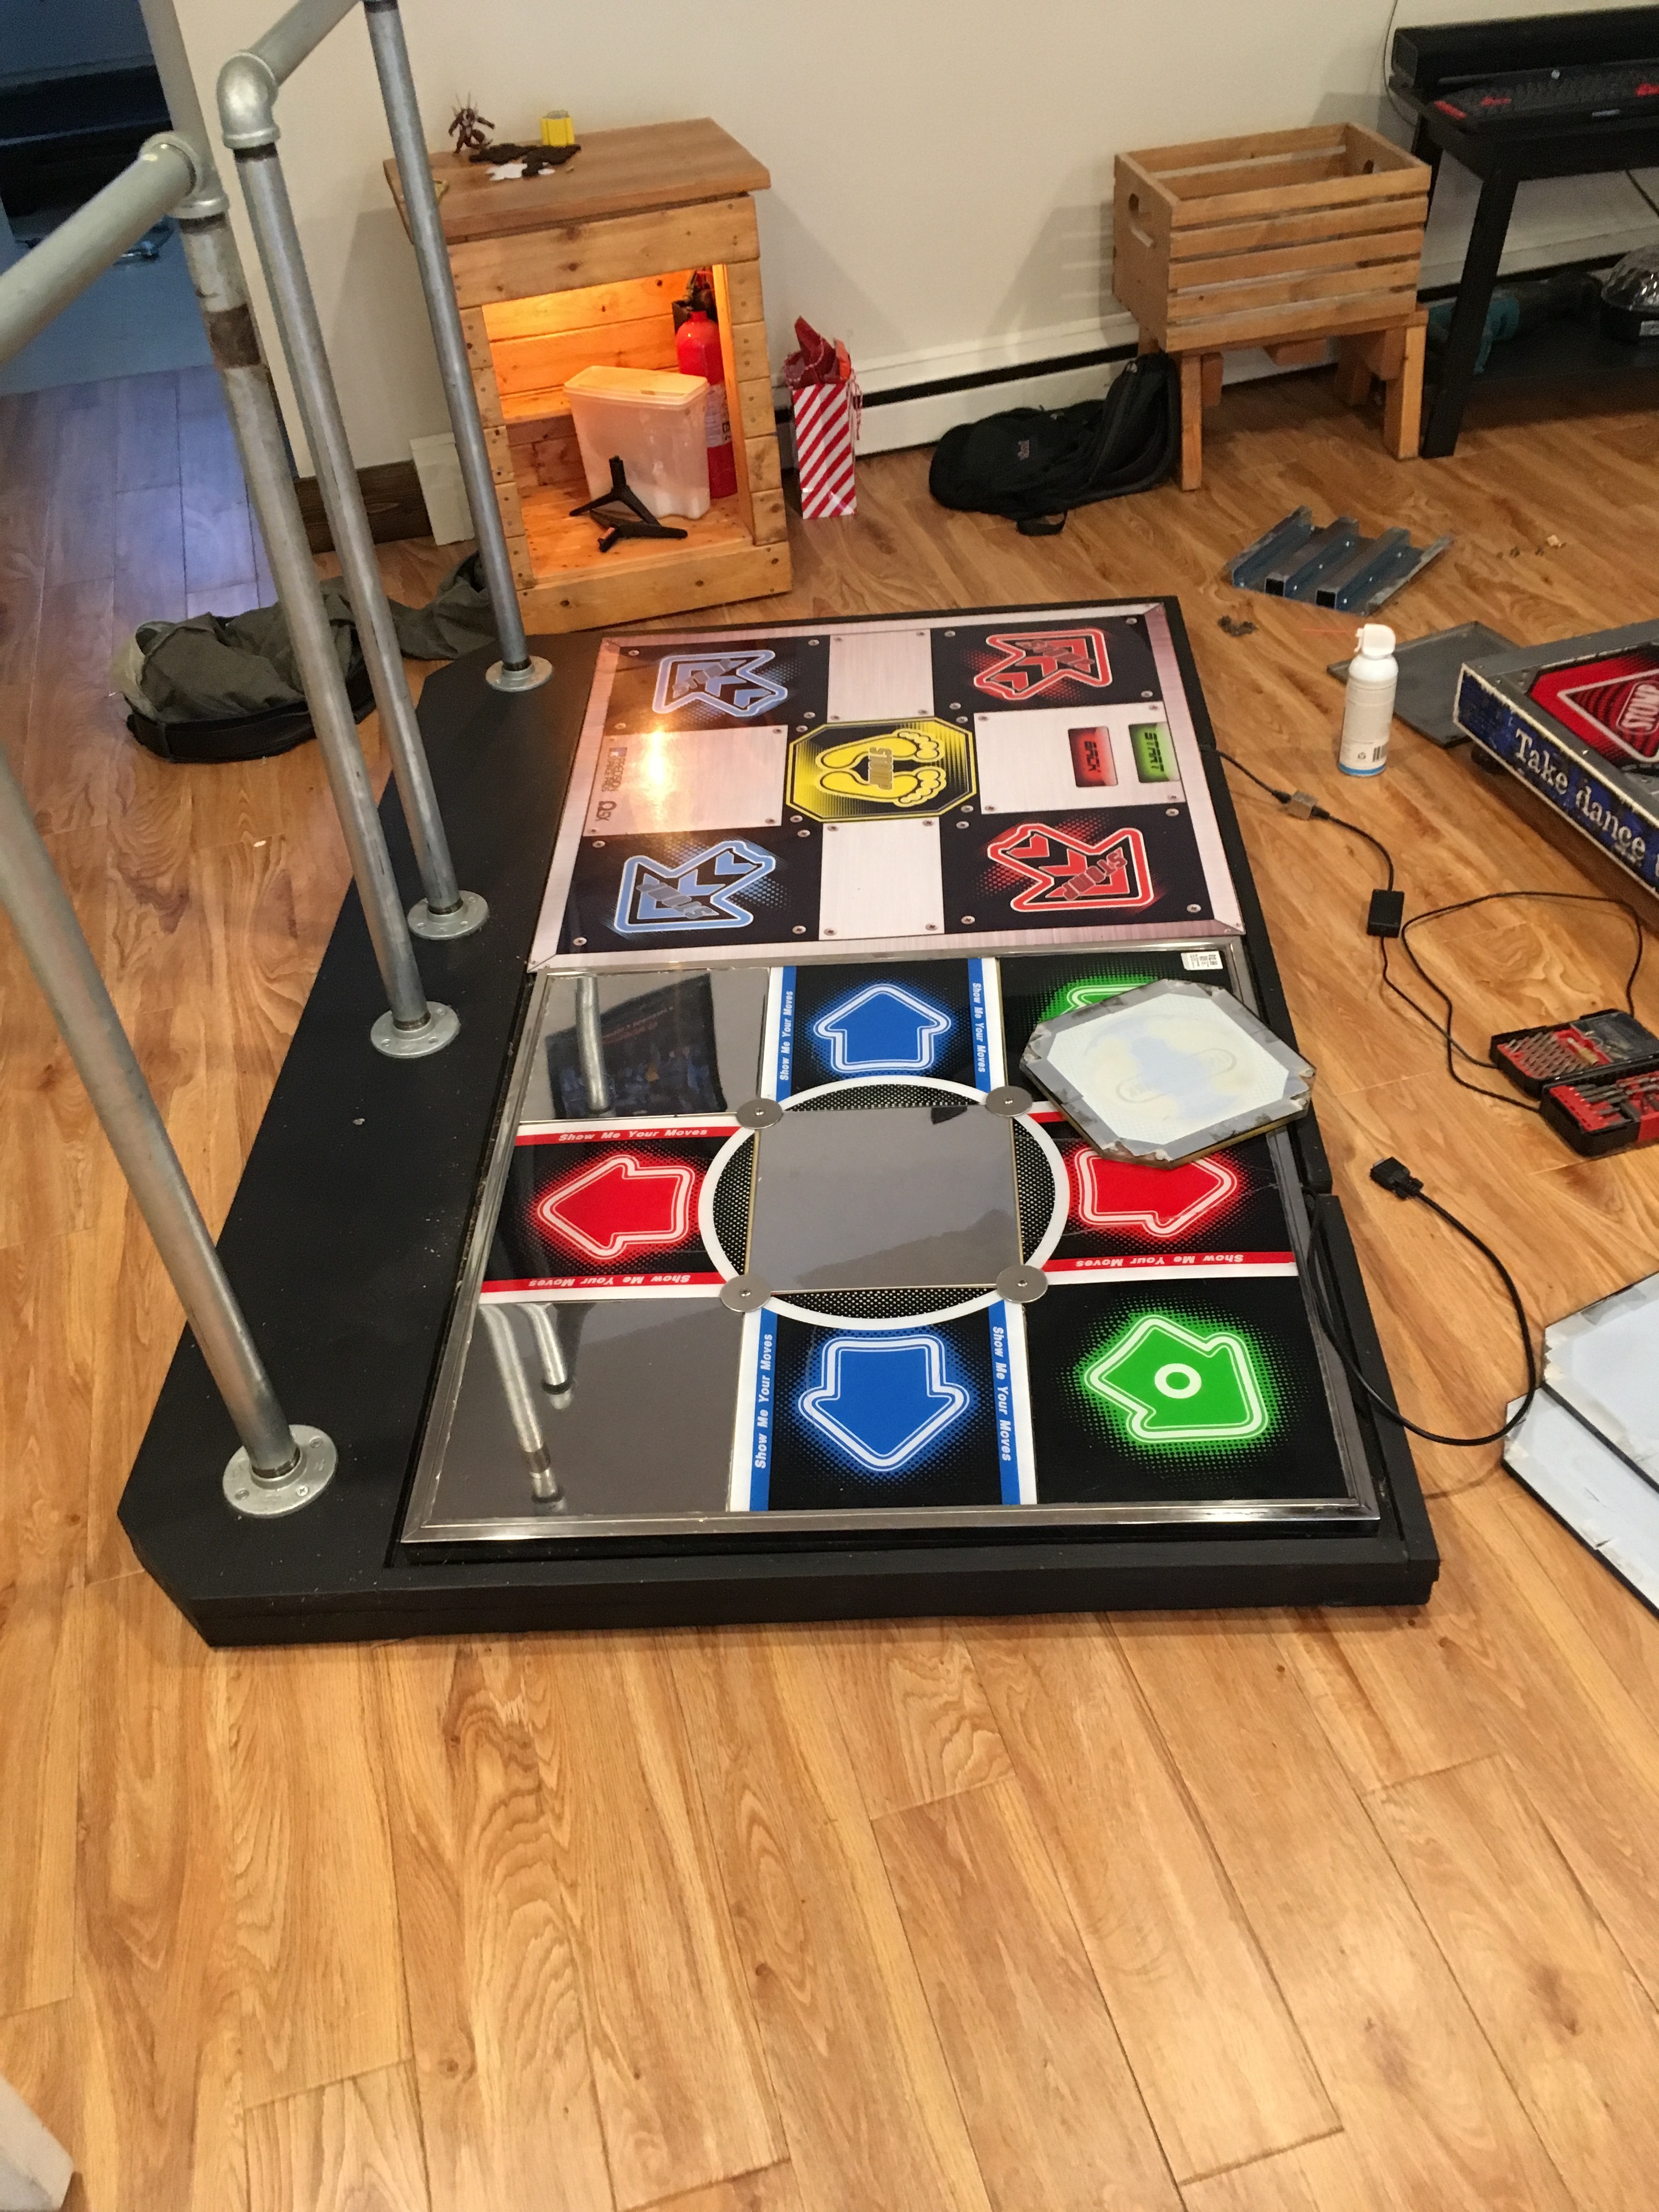
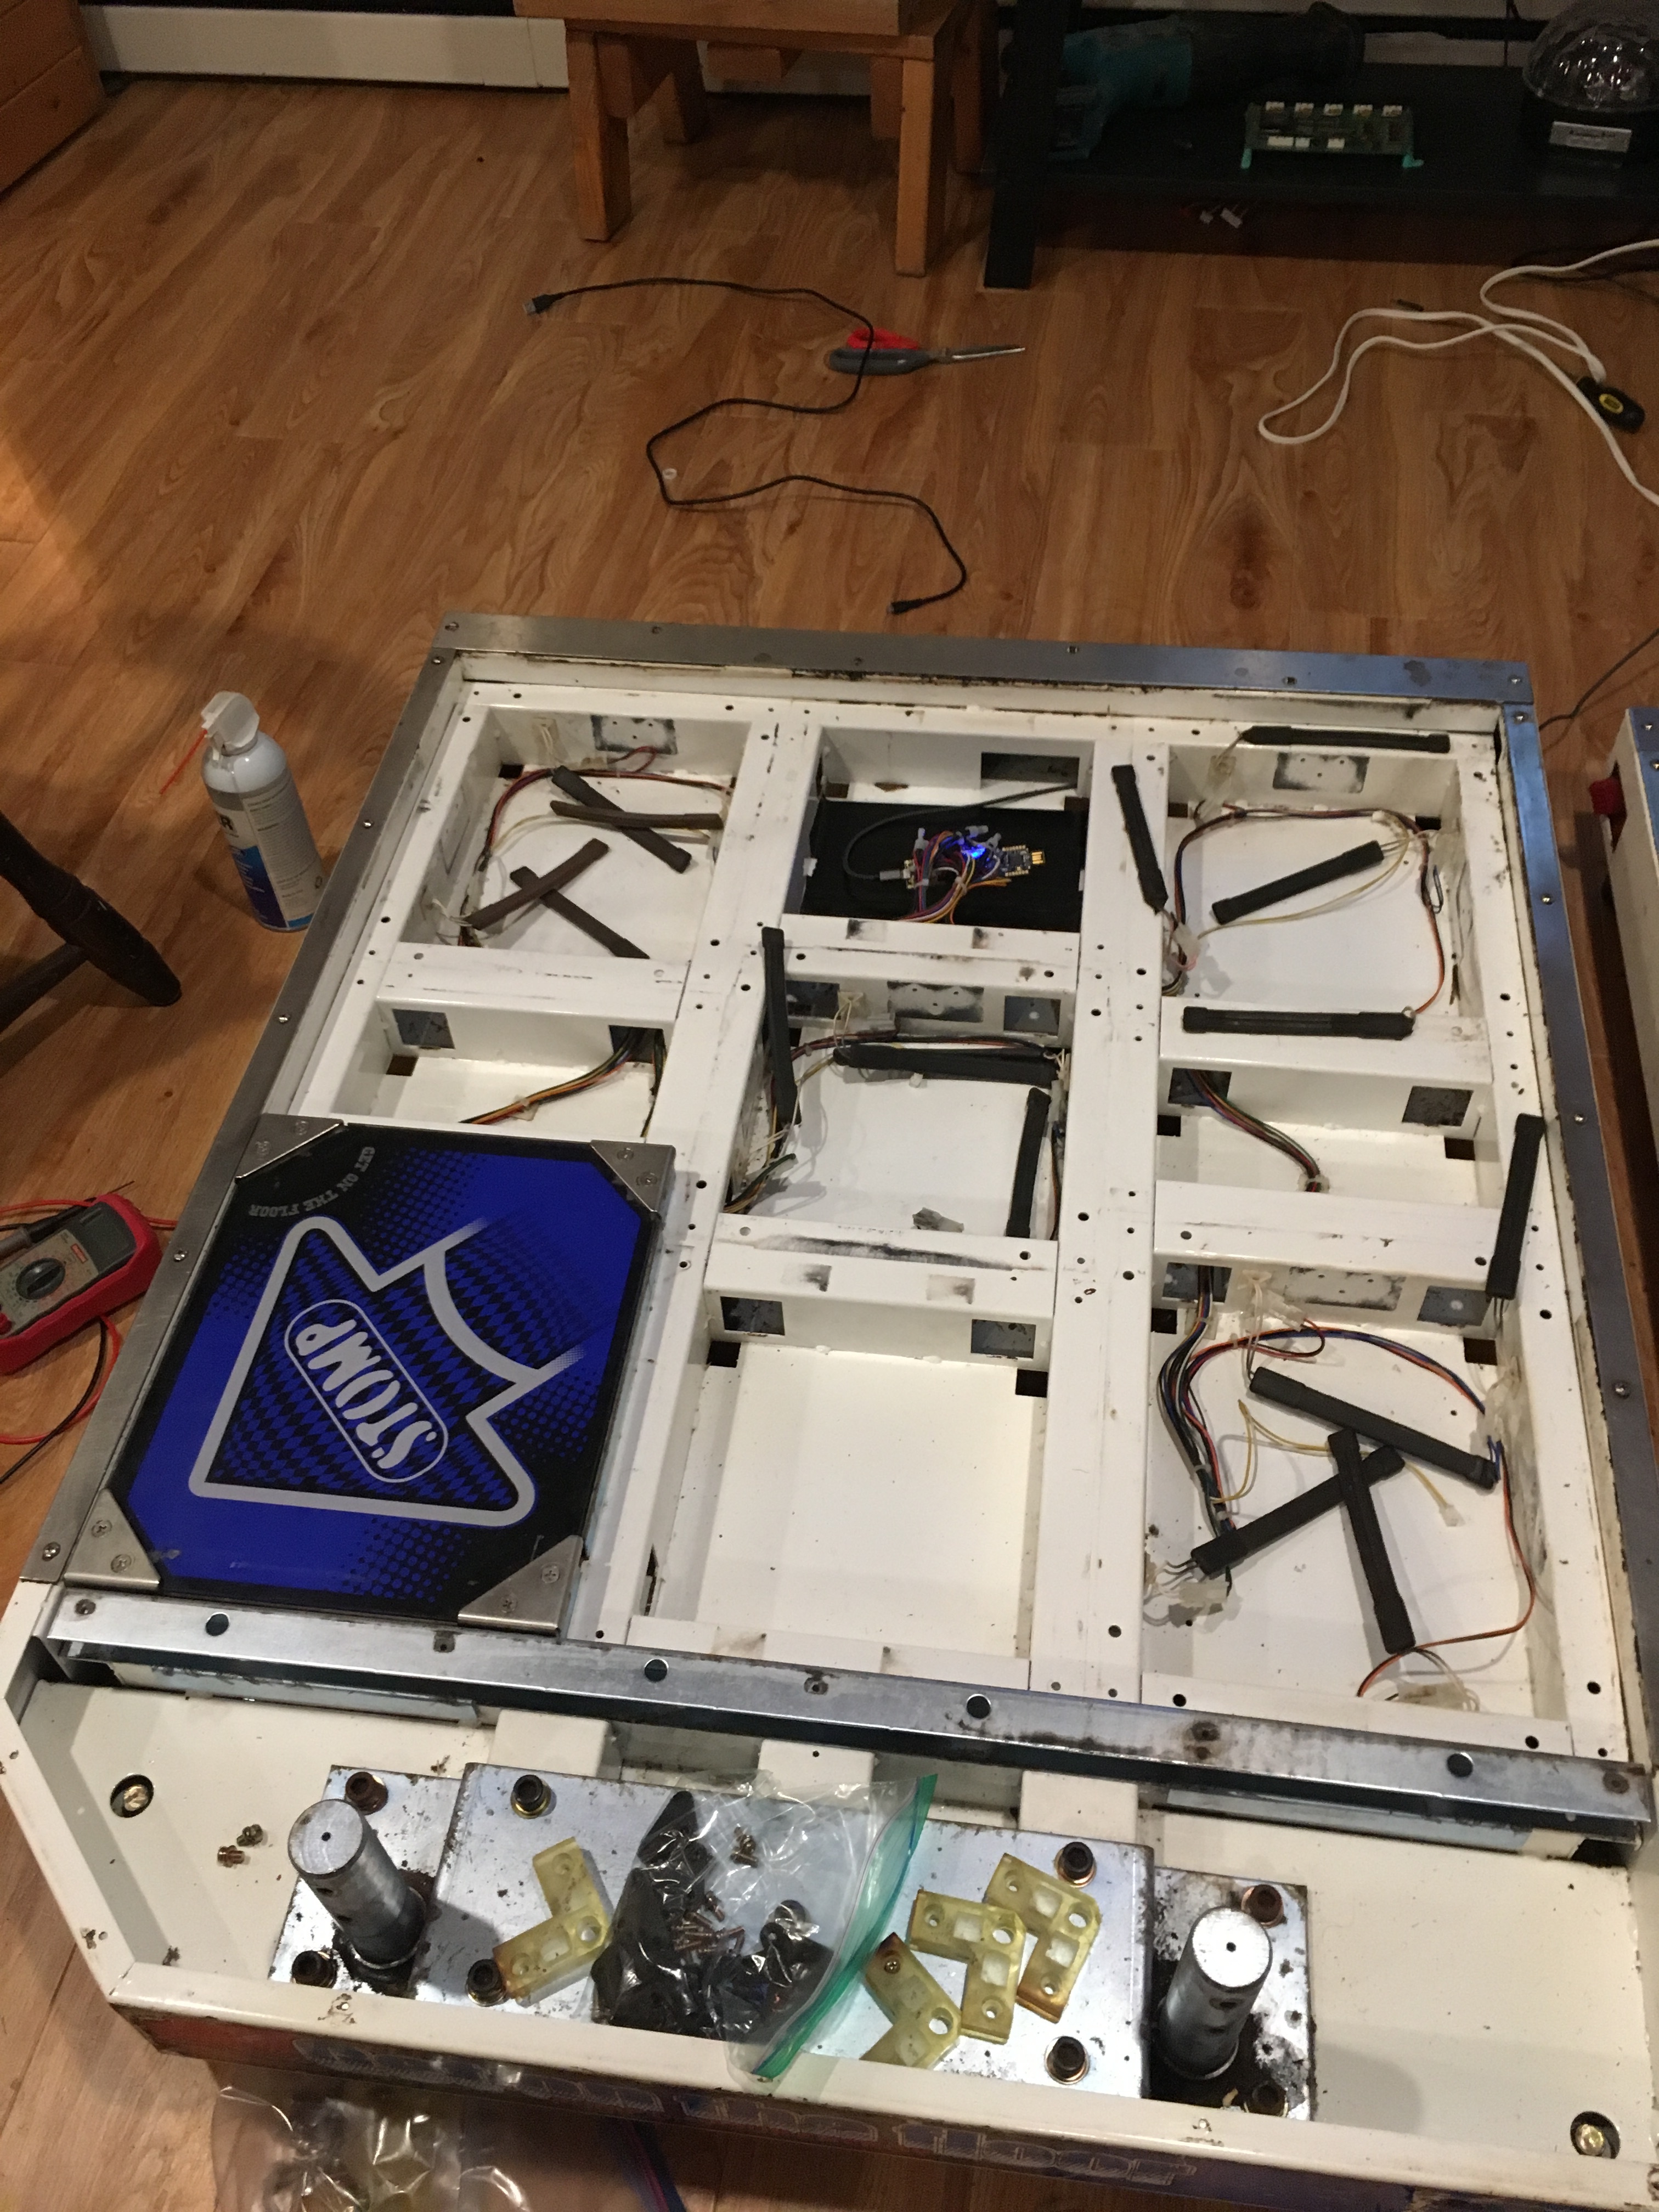
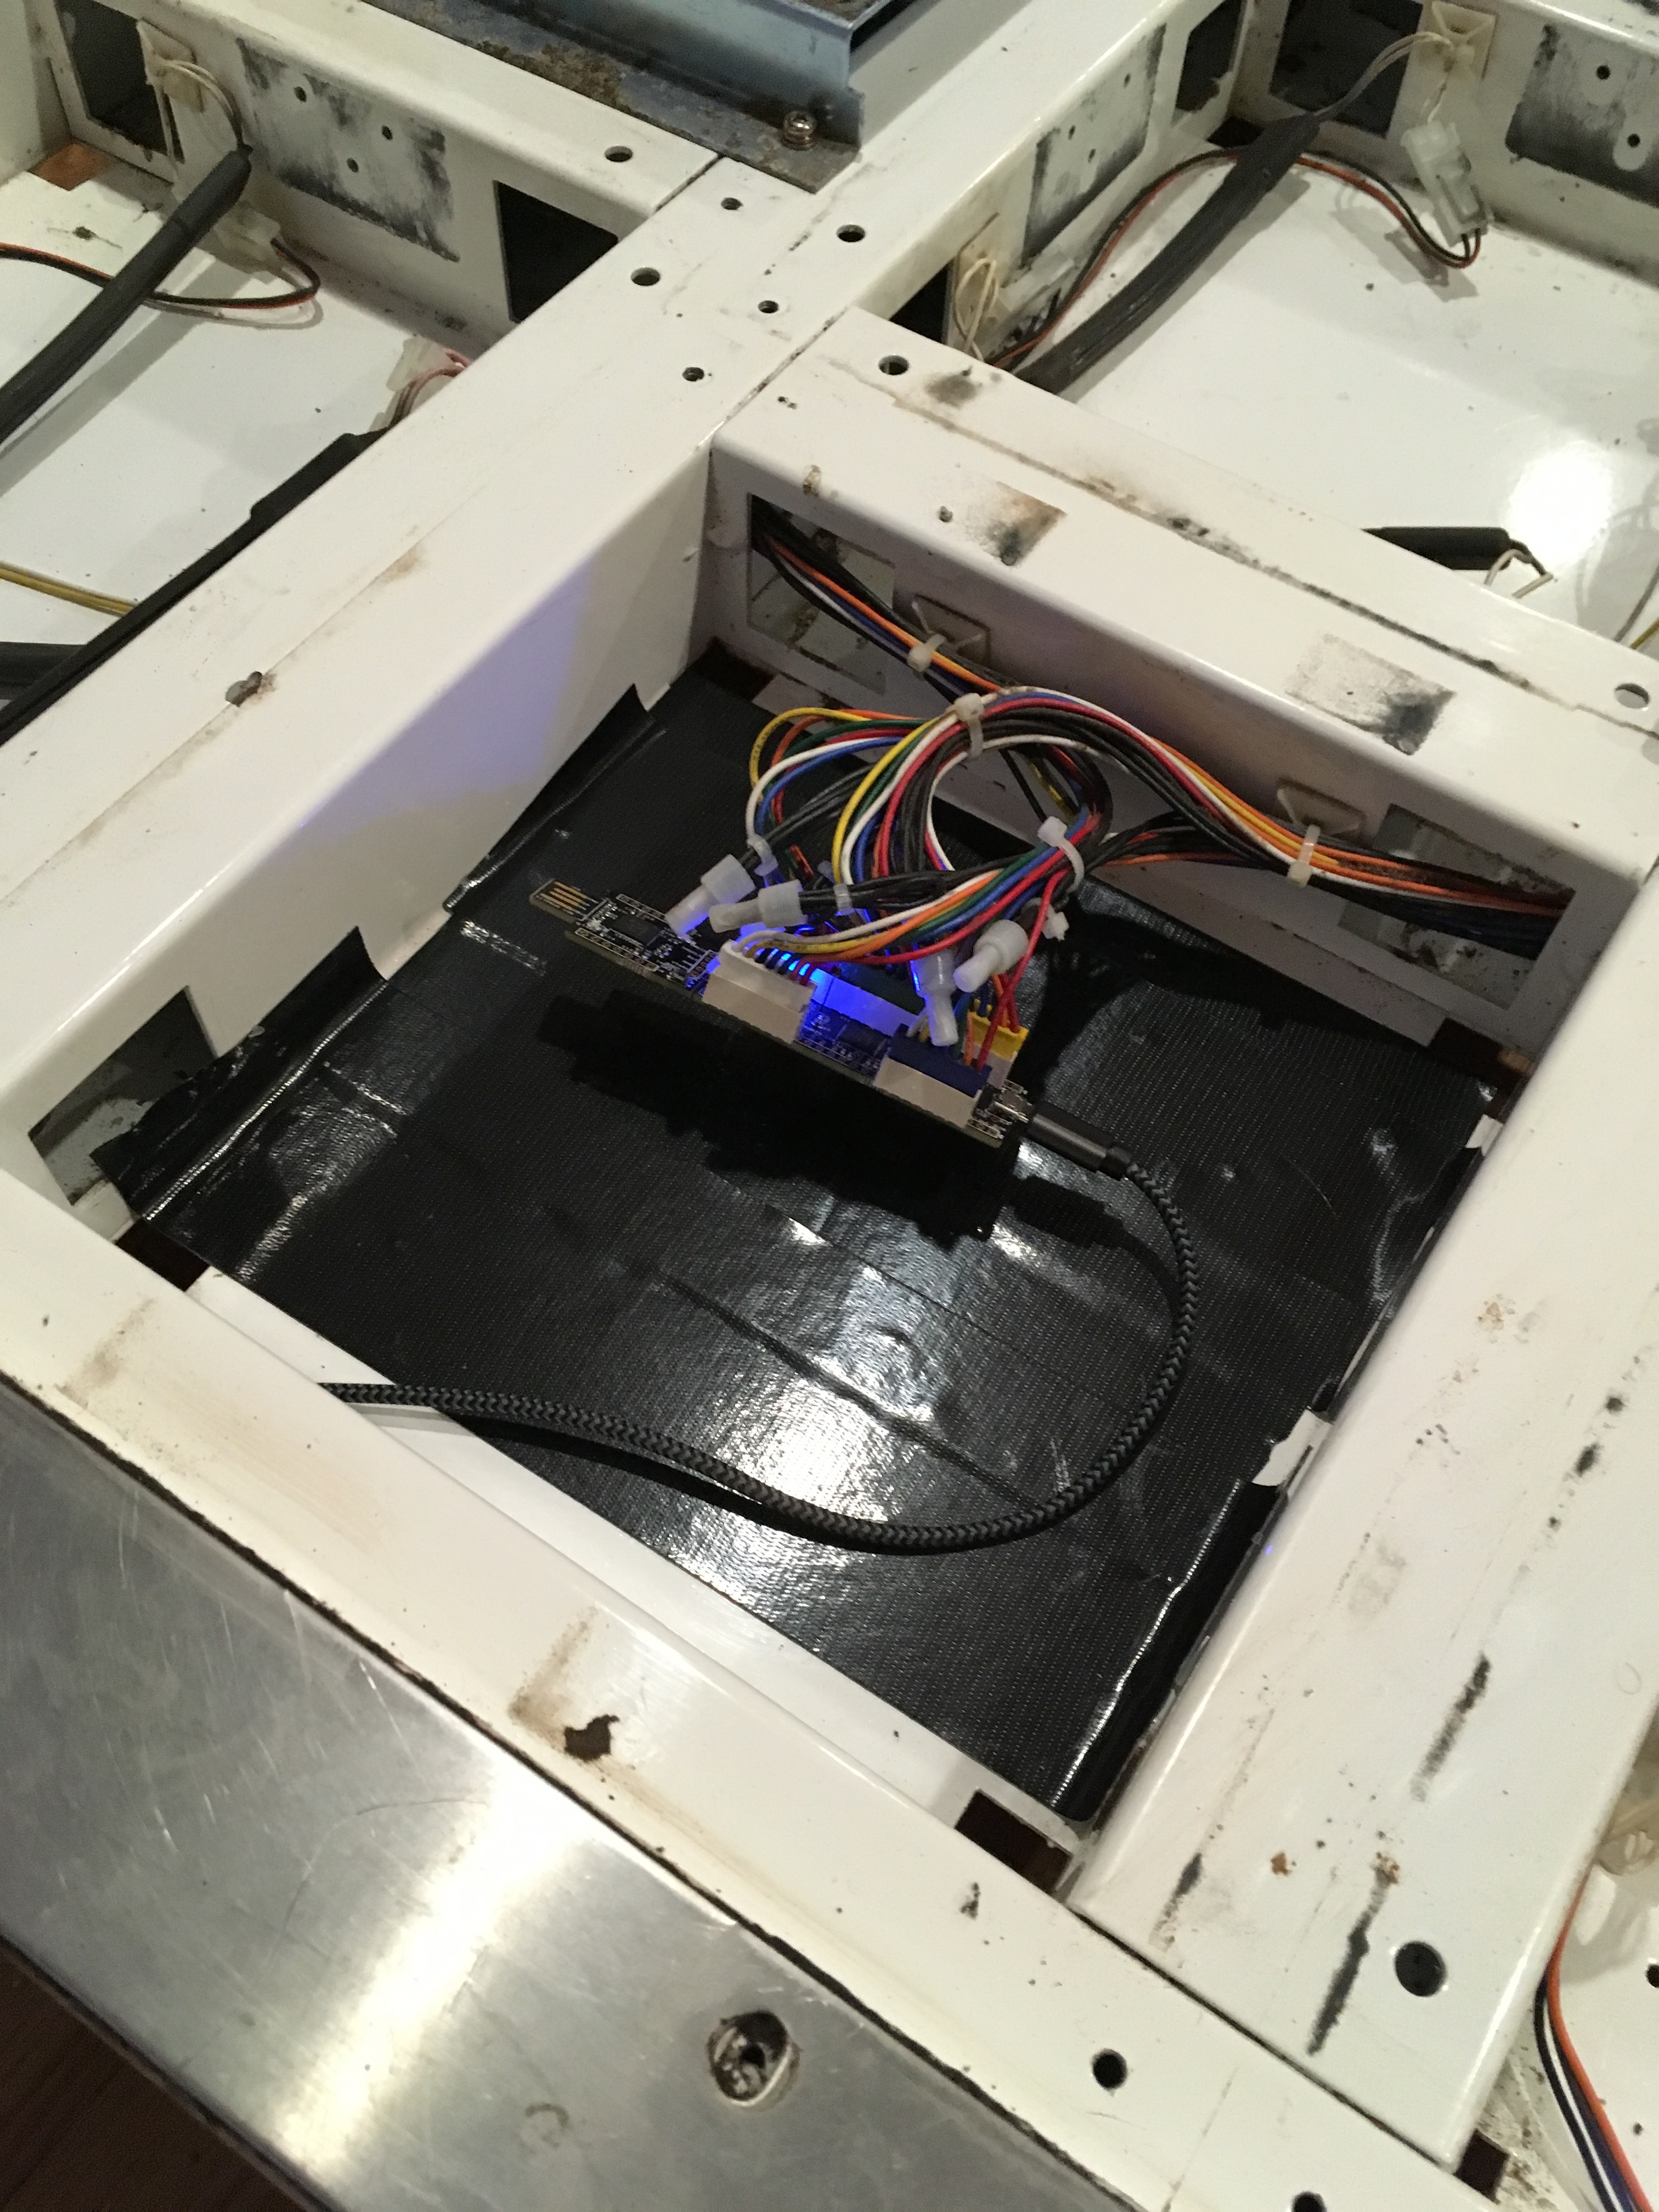
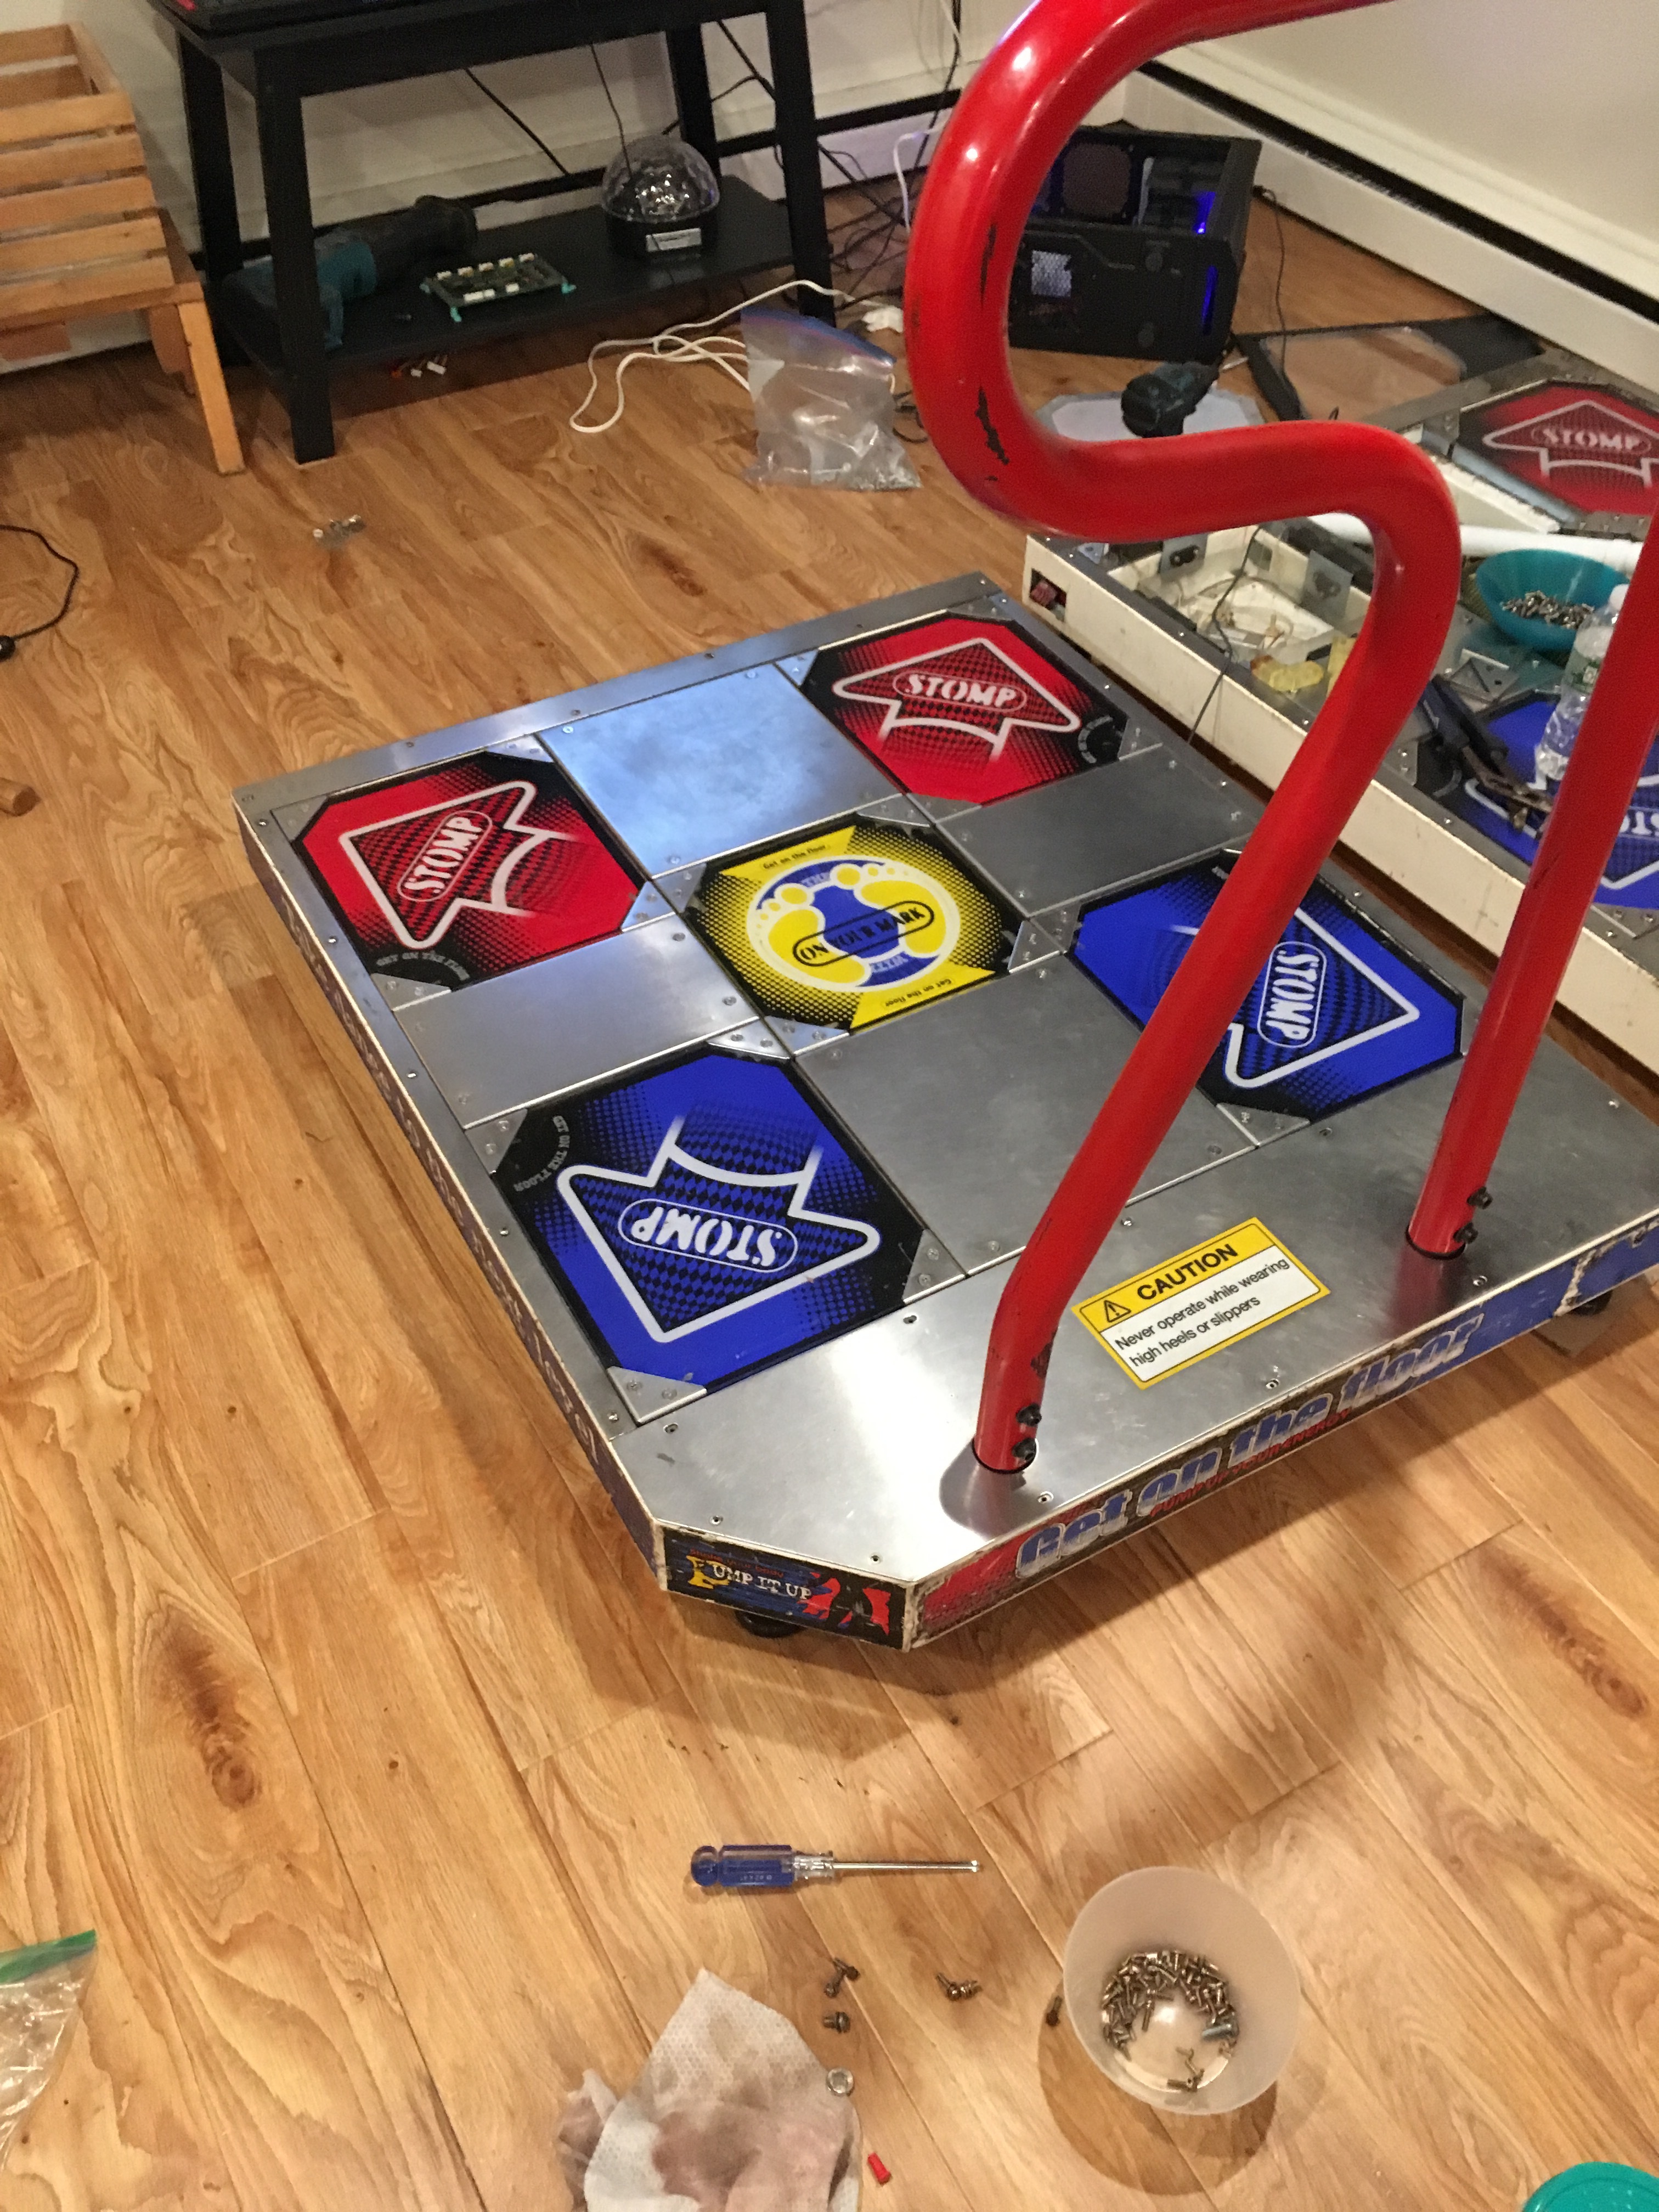
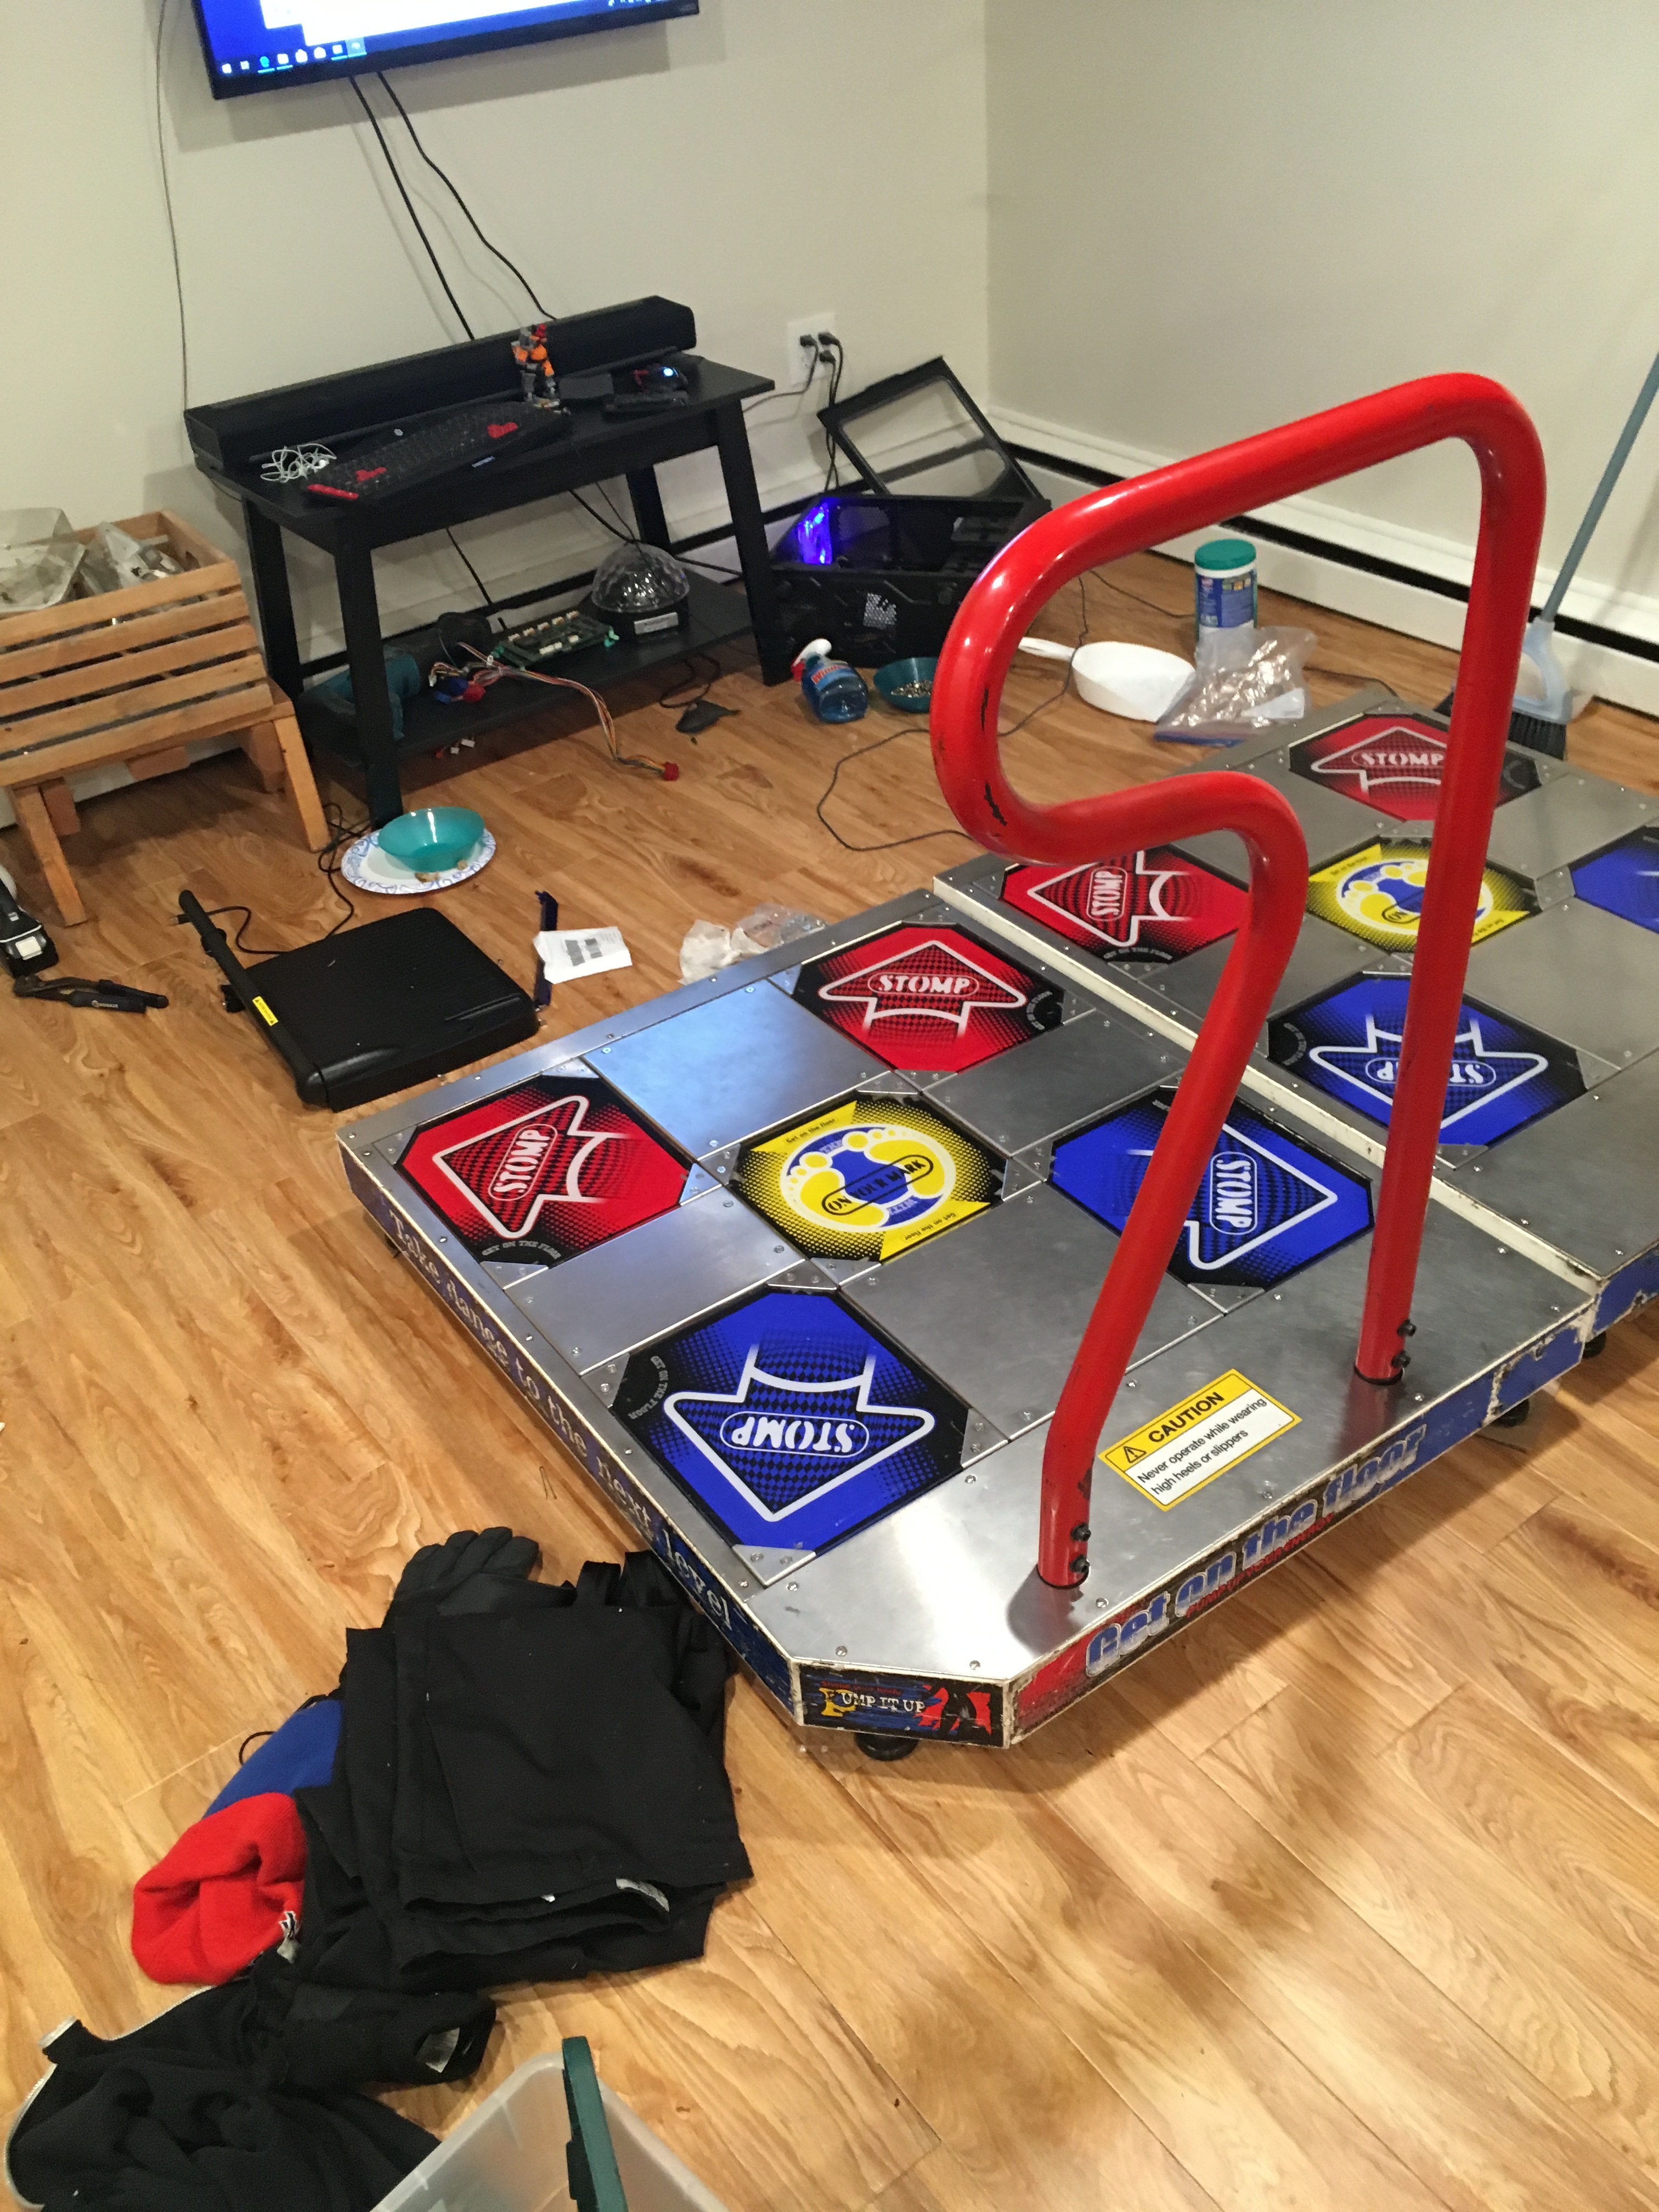
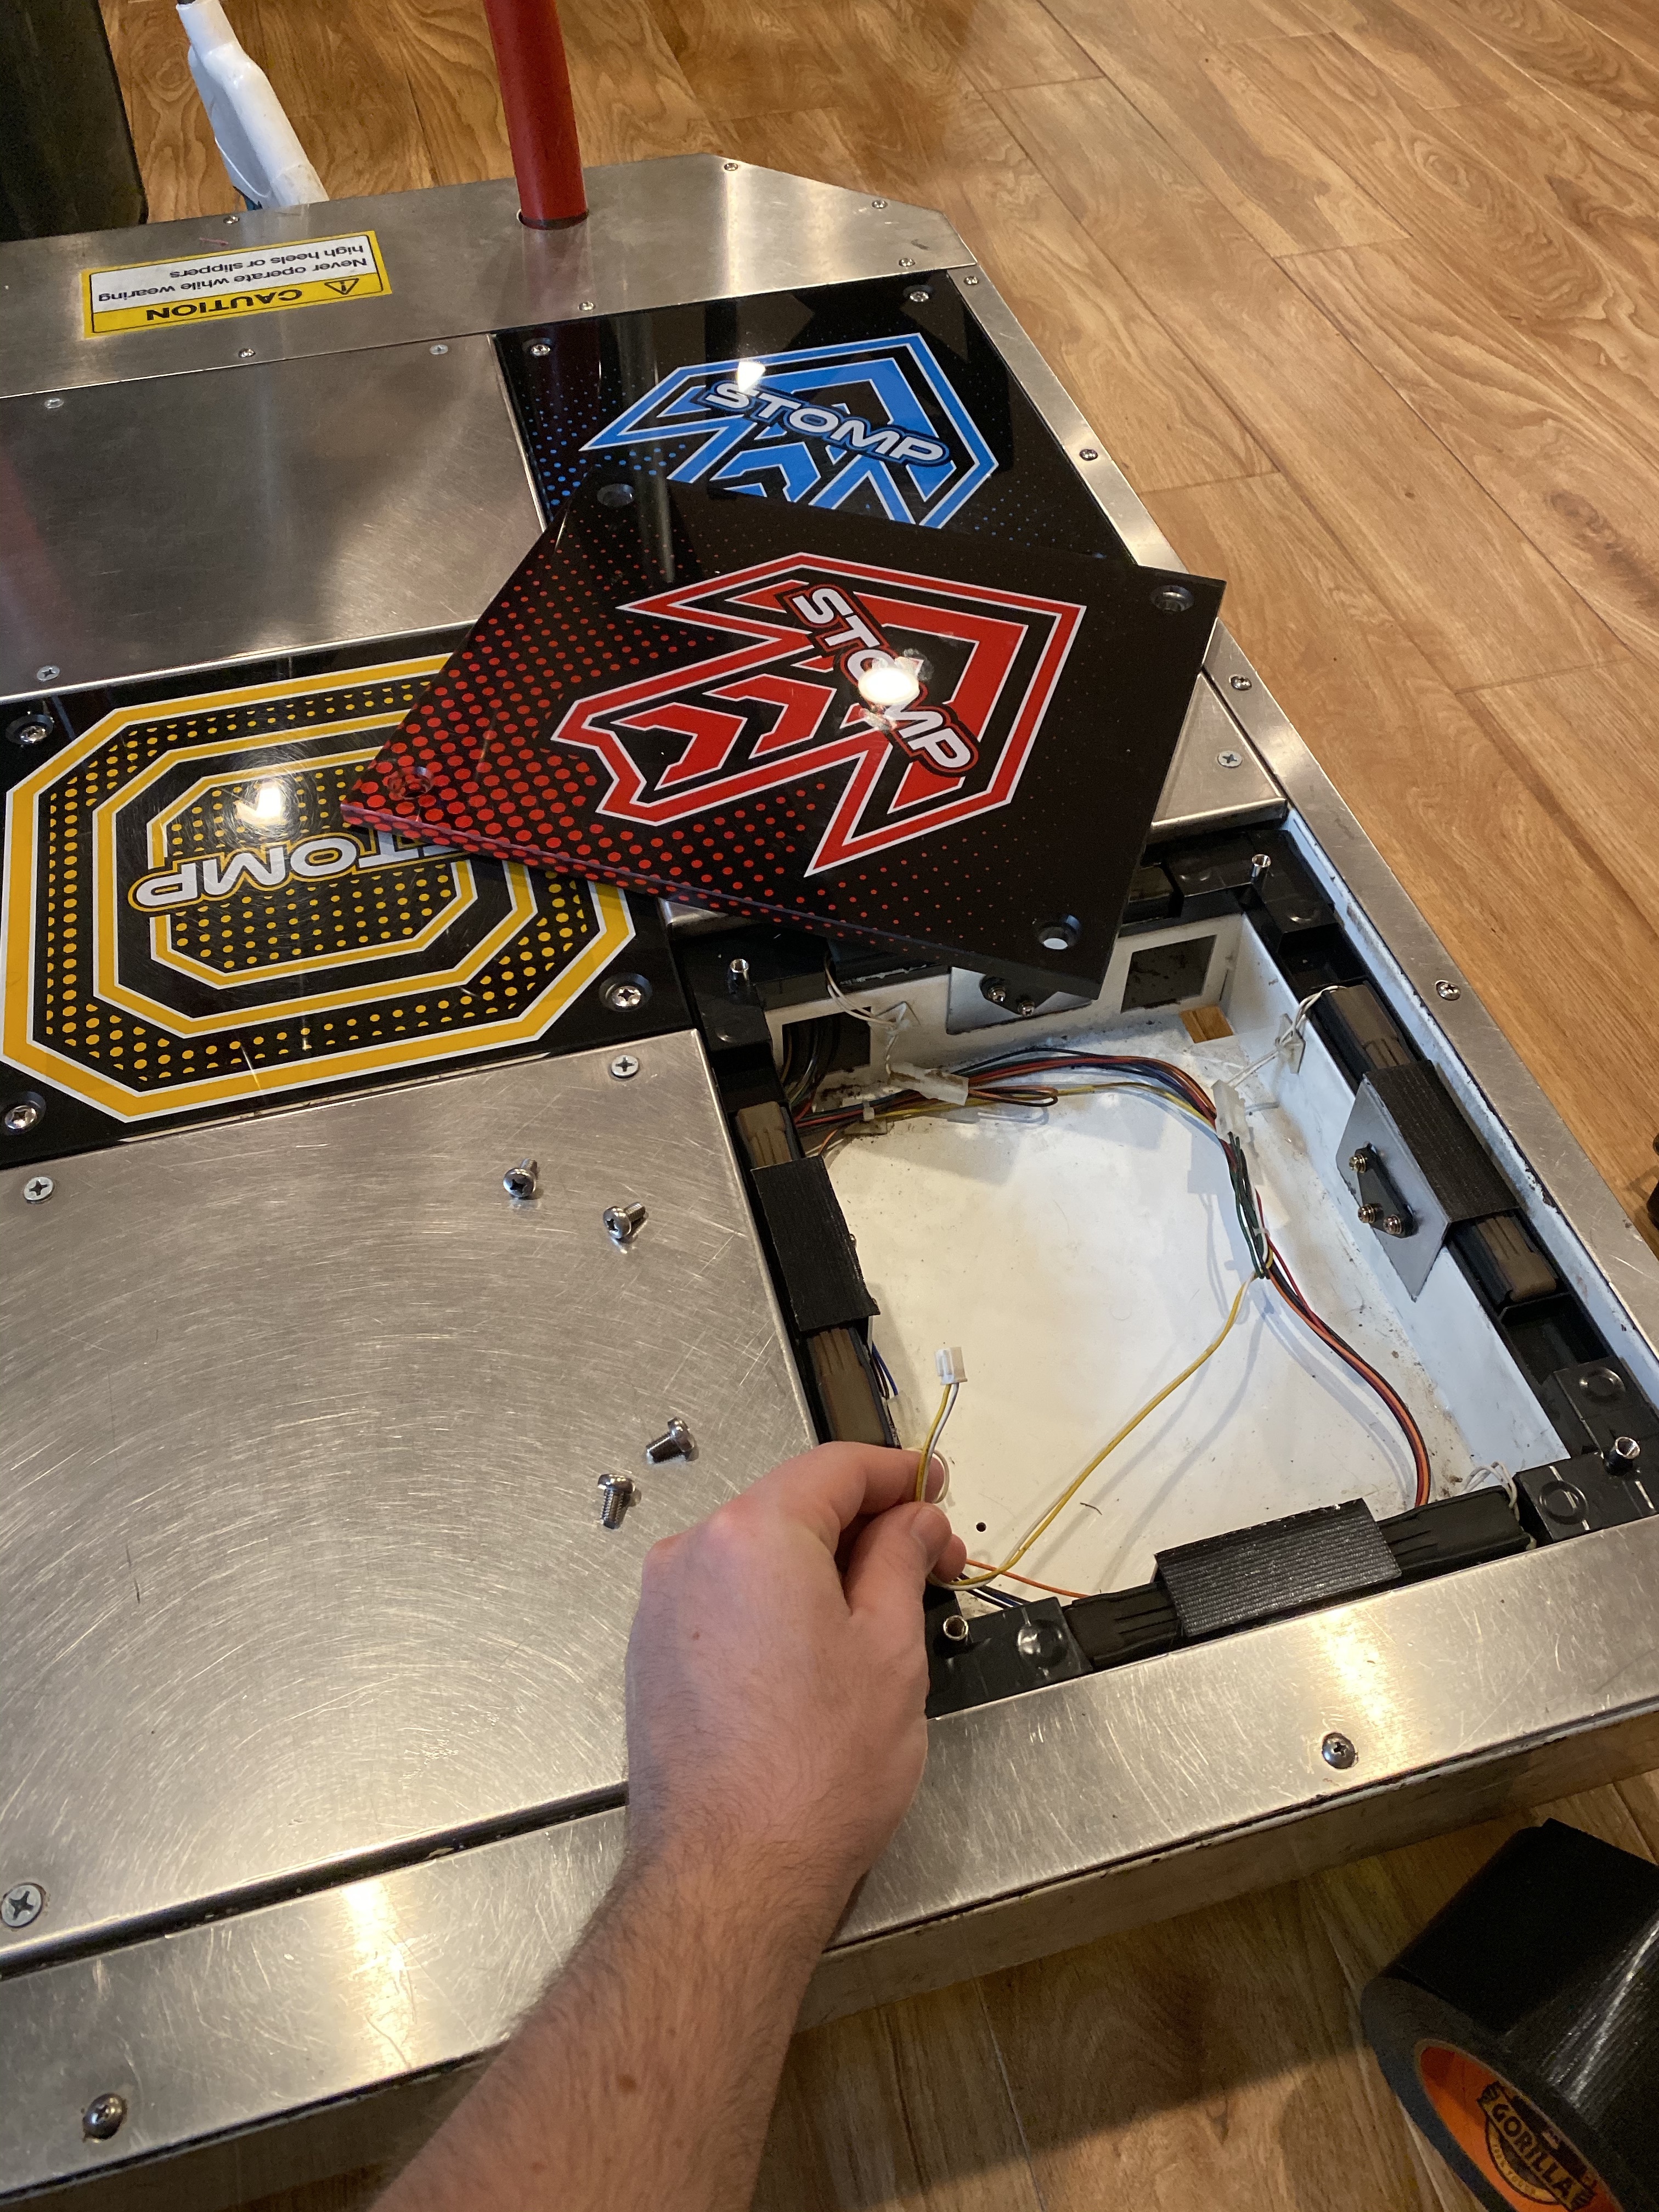
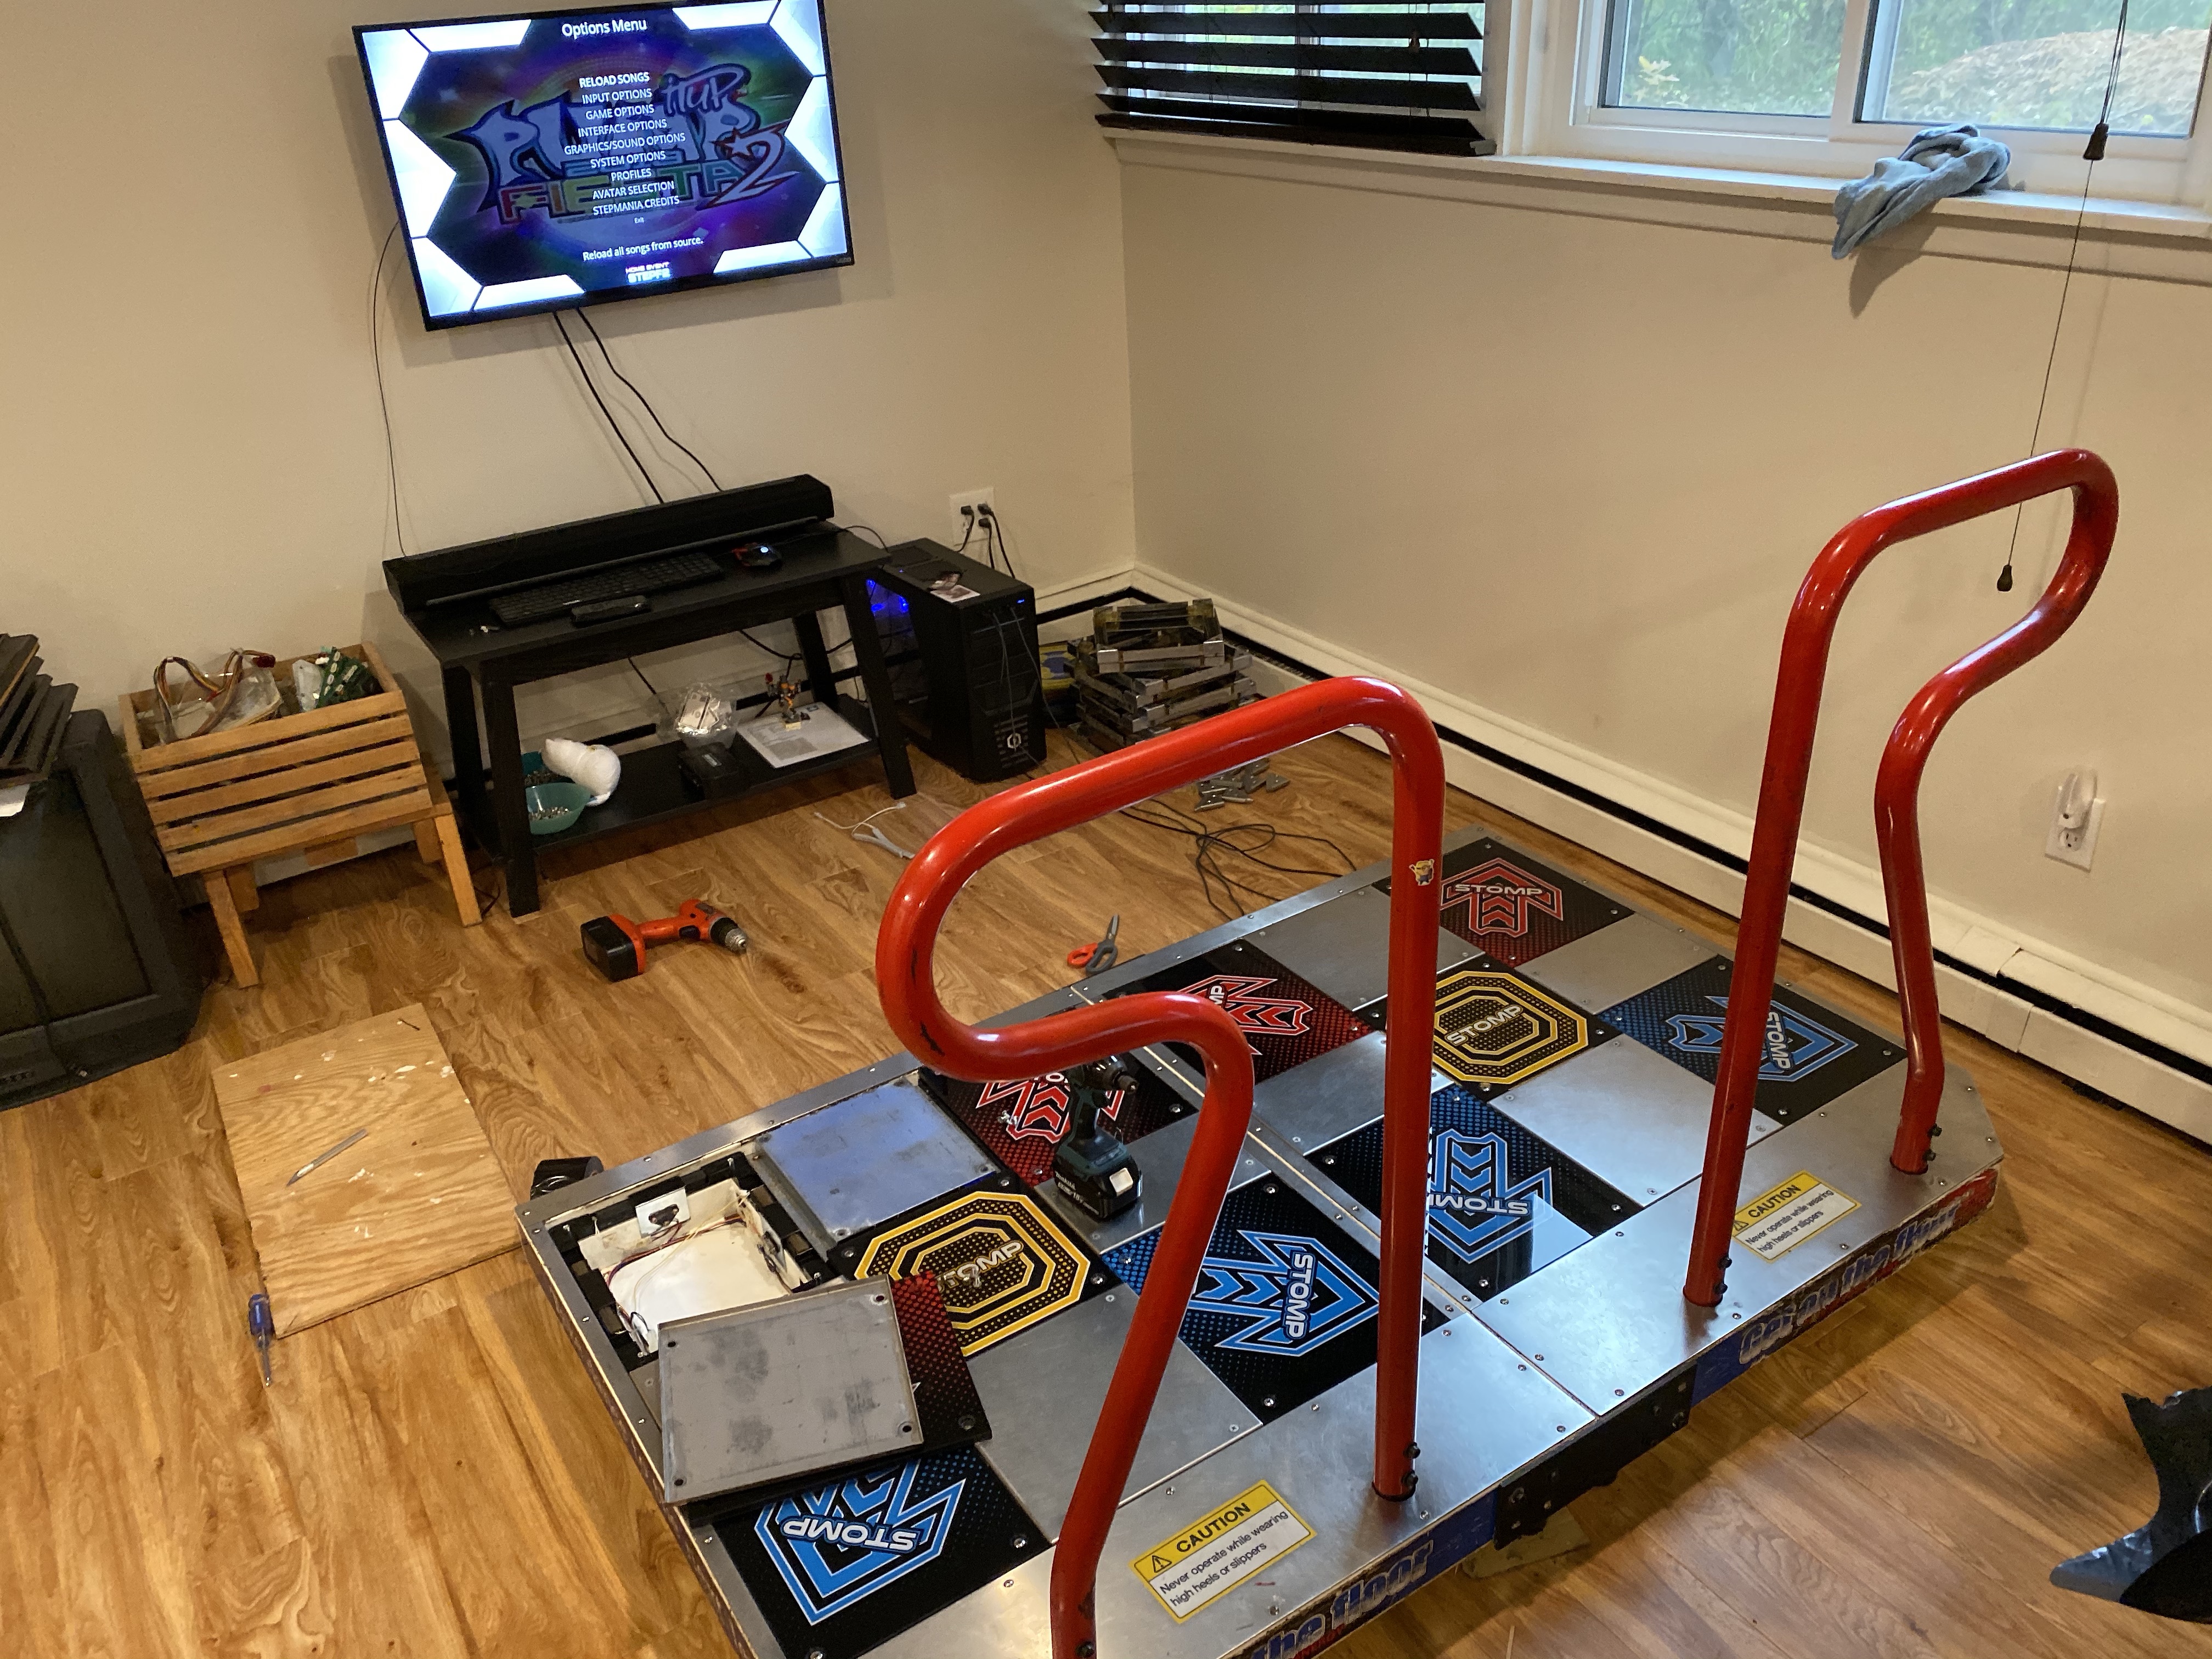
The pads inside my house ready to be connected to the computer with StepF2. In order to do this I had remove the top most panel to swap out the existing PCB with the BARR.io adapter.
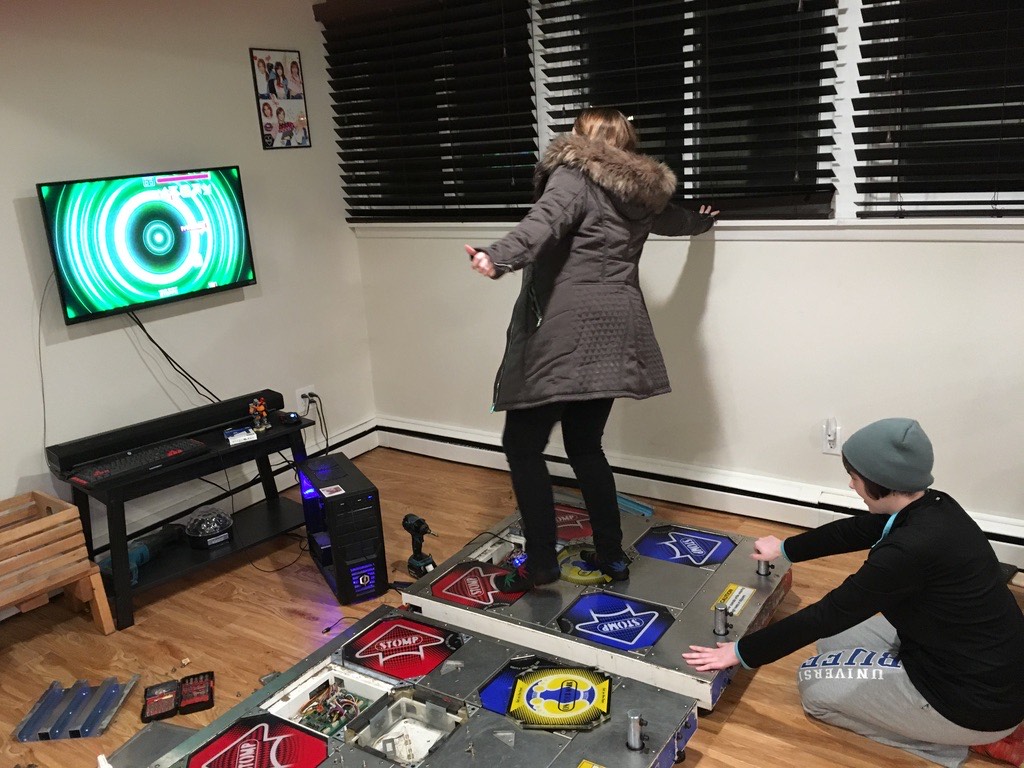
Jess and Kate testing out the pads! They were not structurally sound at the time of testing :p.
I added the bar to the right pad. I also started doing some basic cleanup beneath the panels - the pads were really dirty.
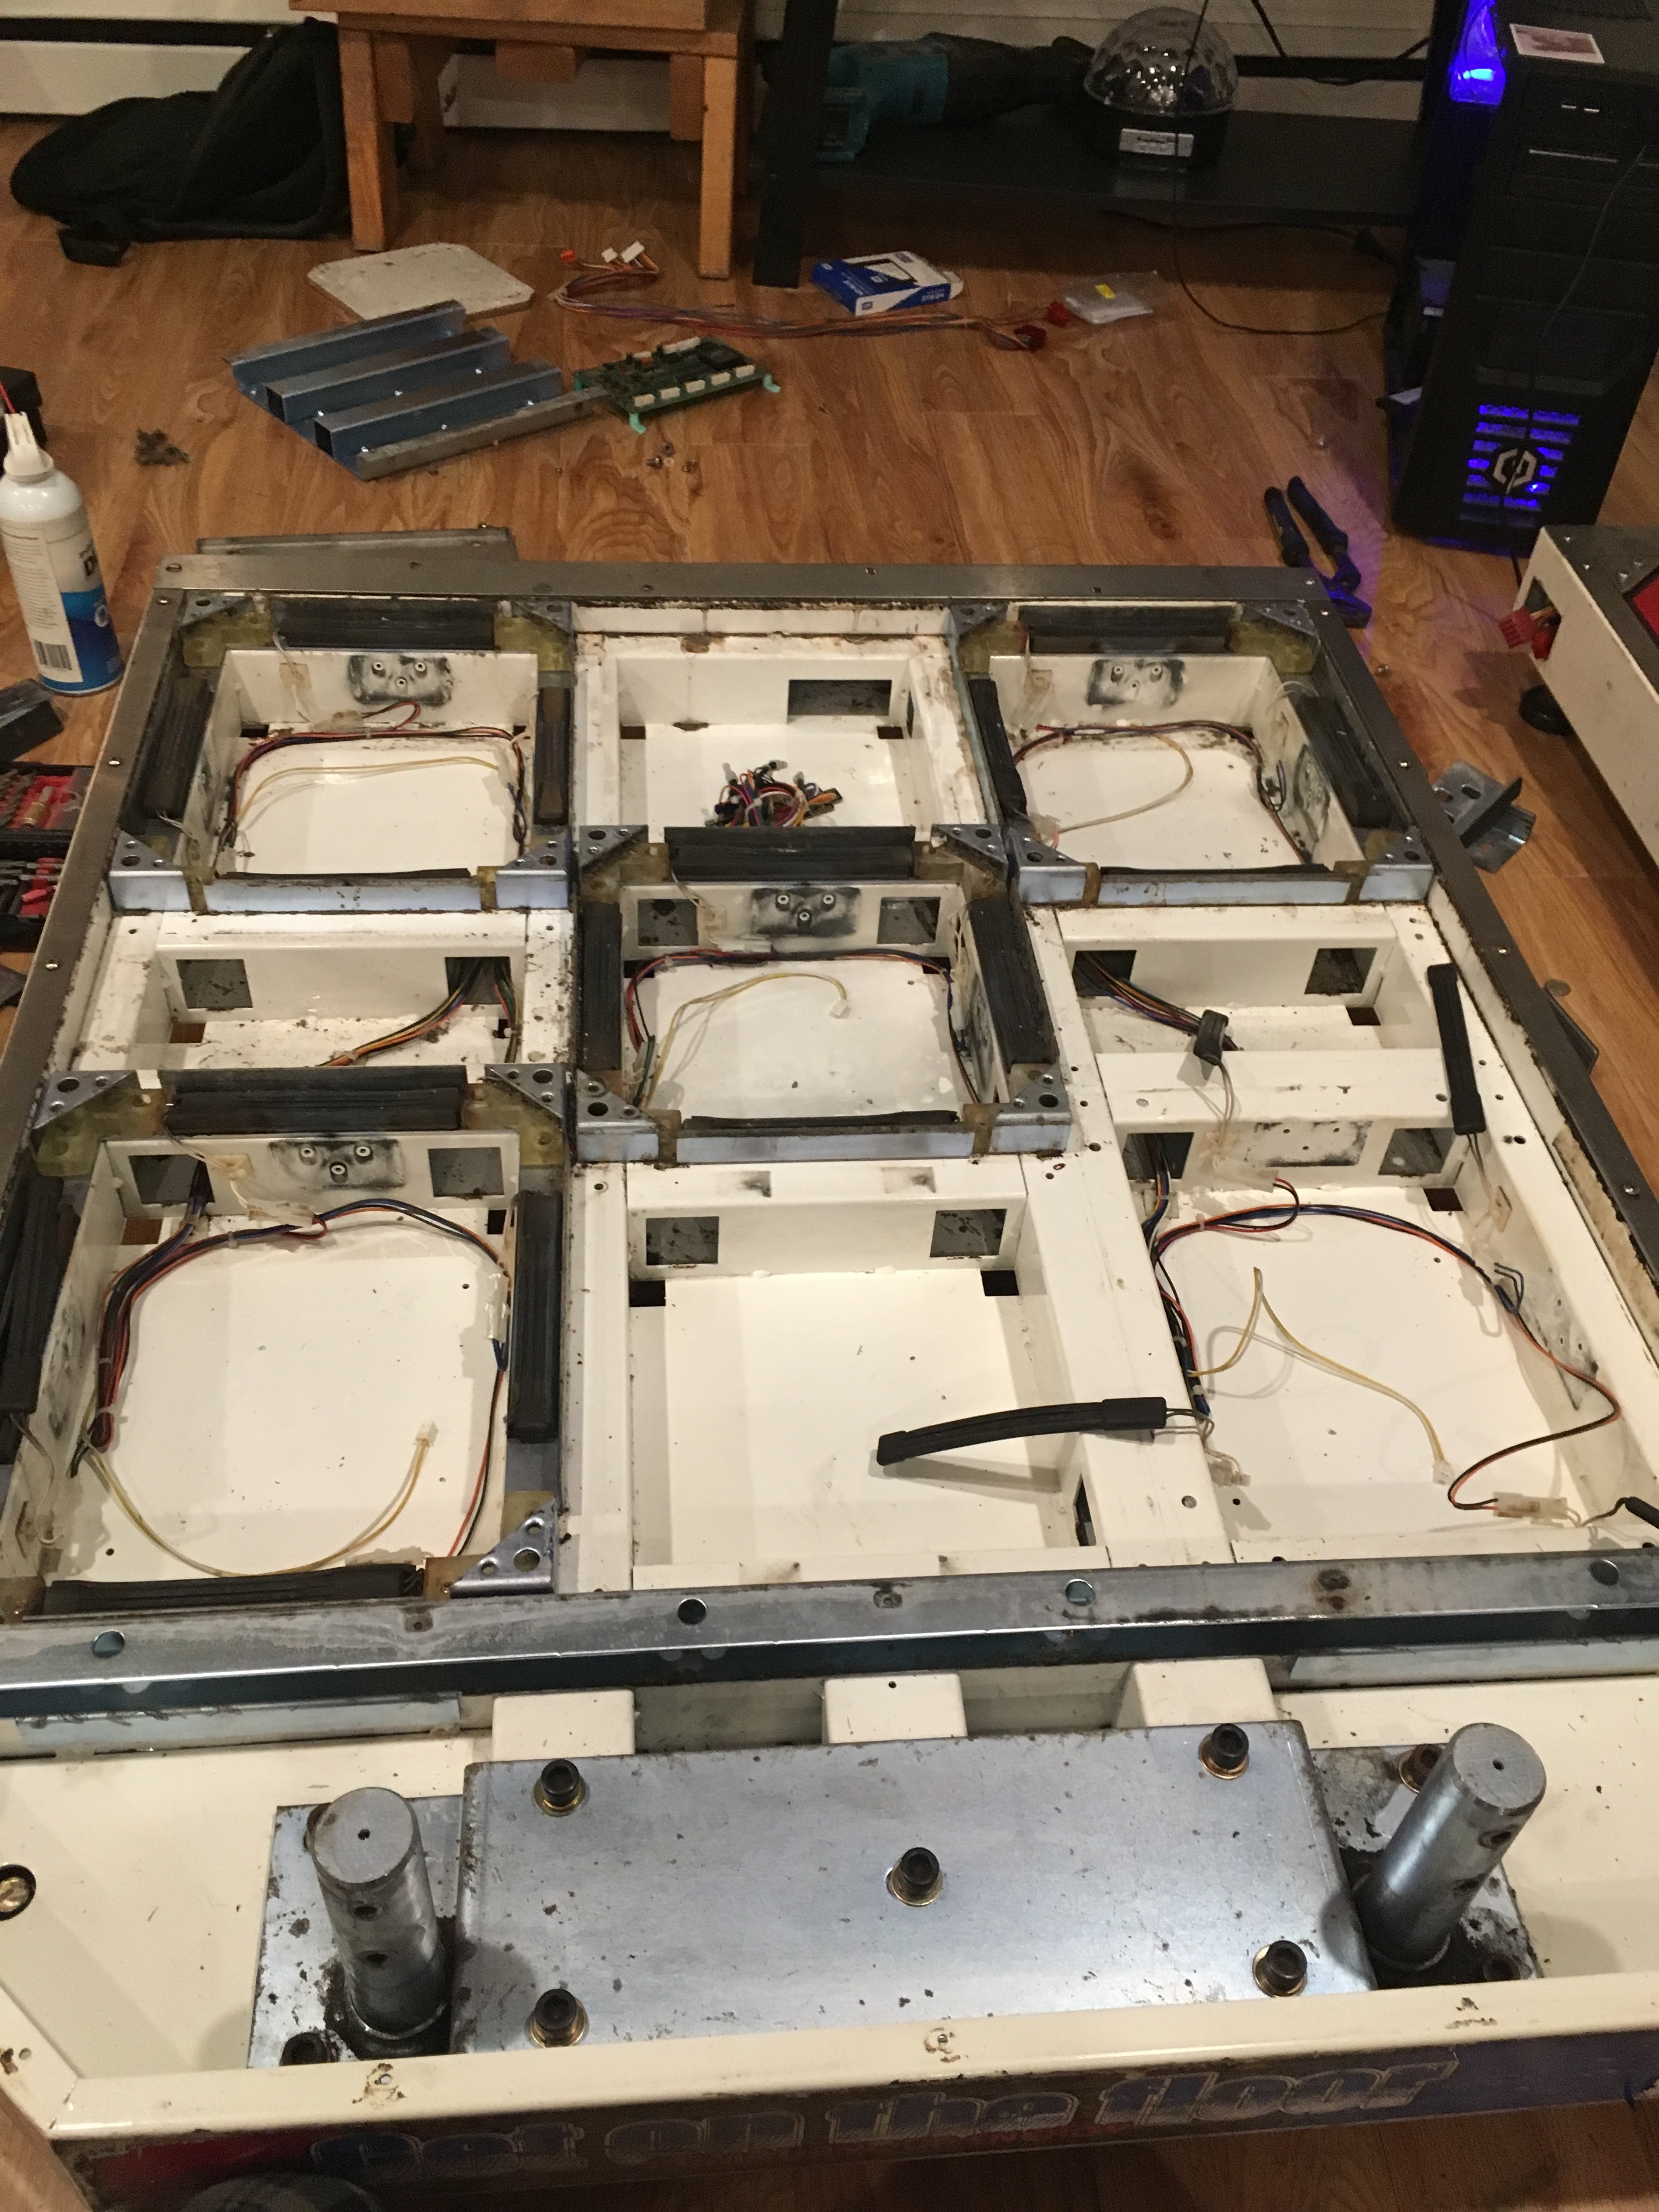
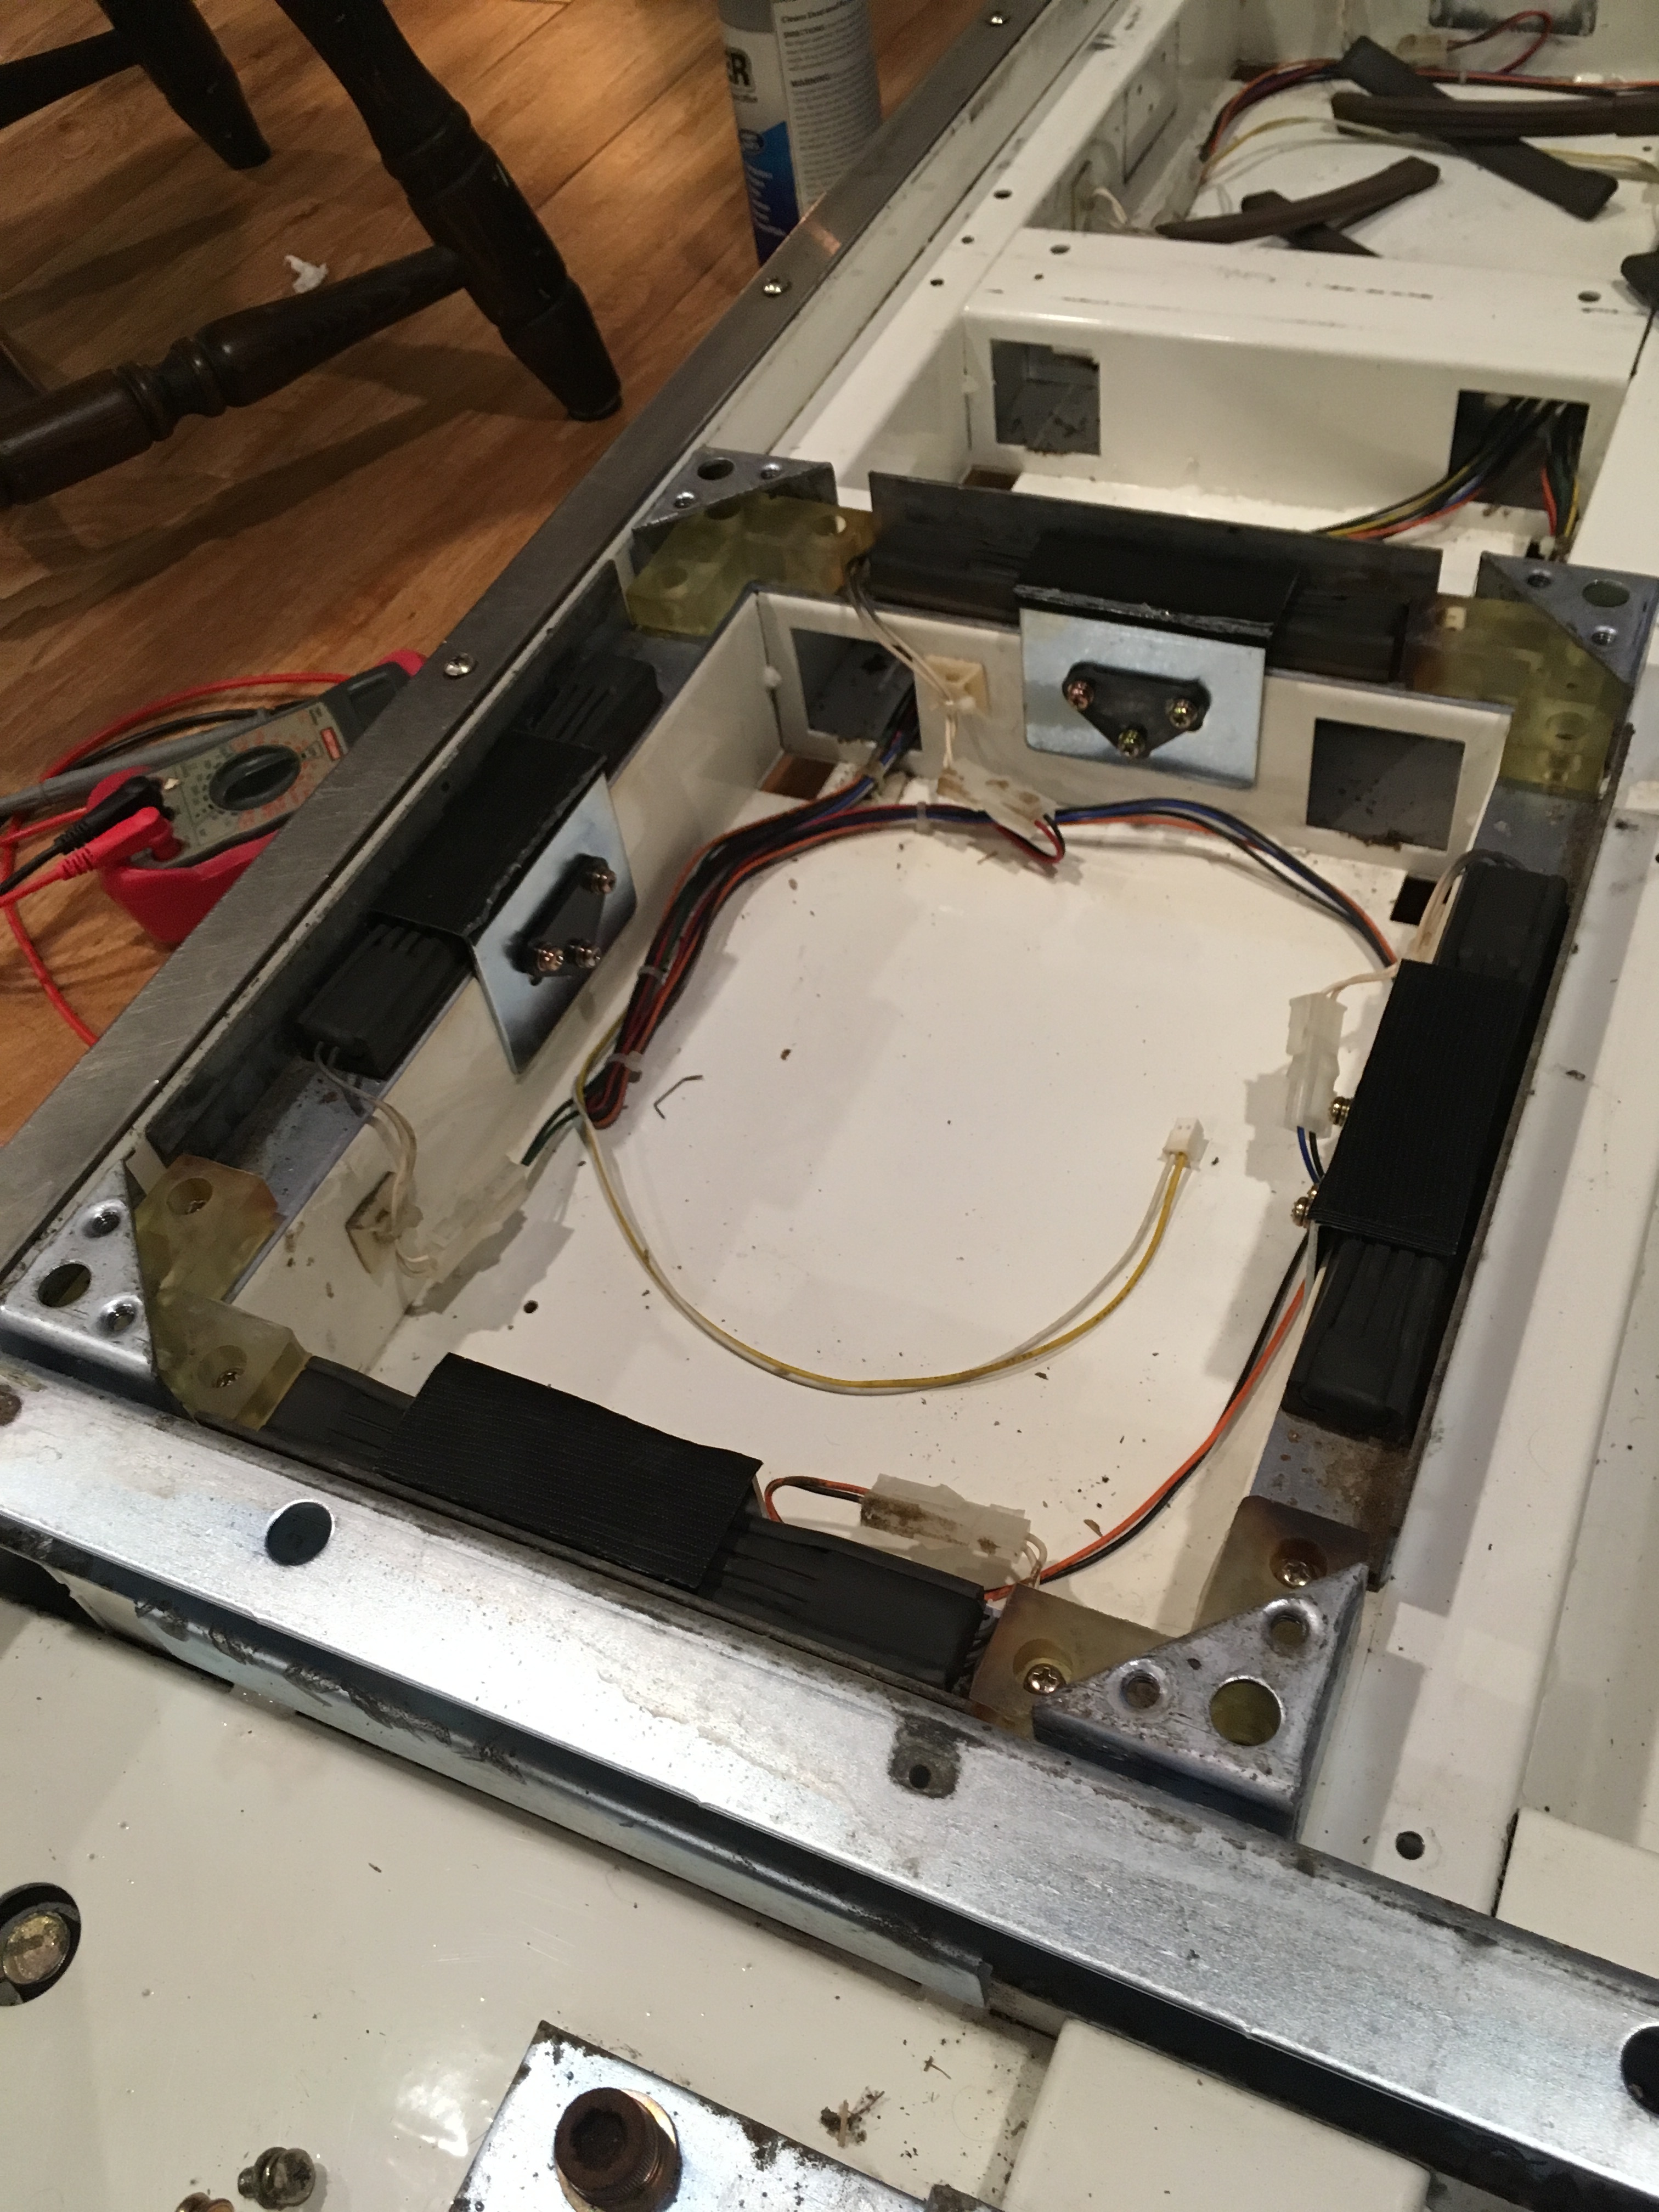
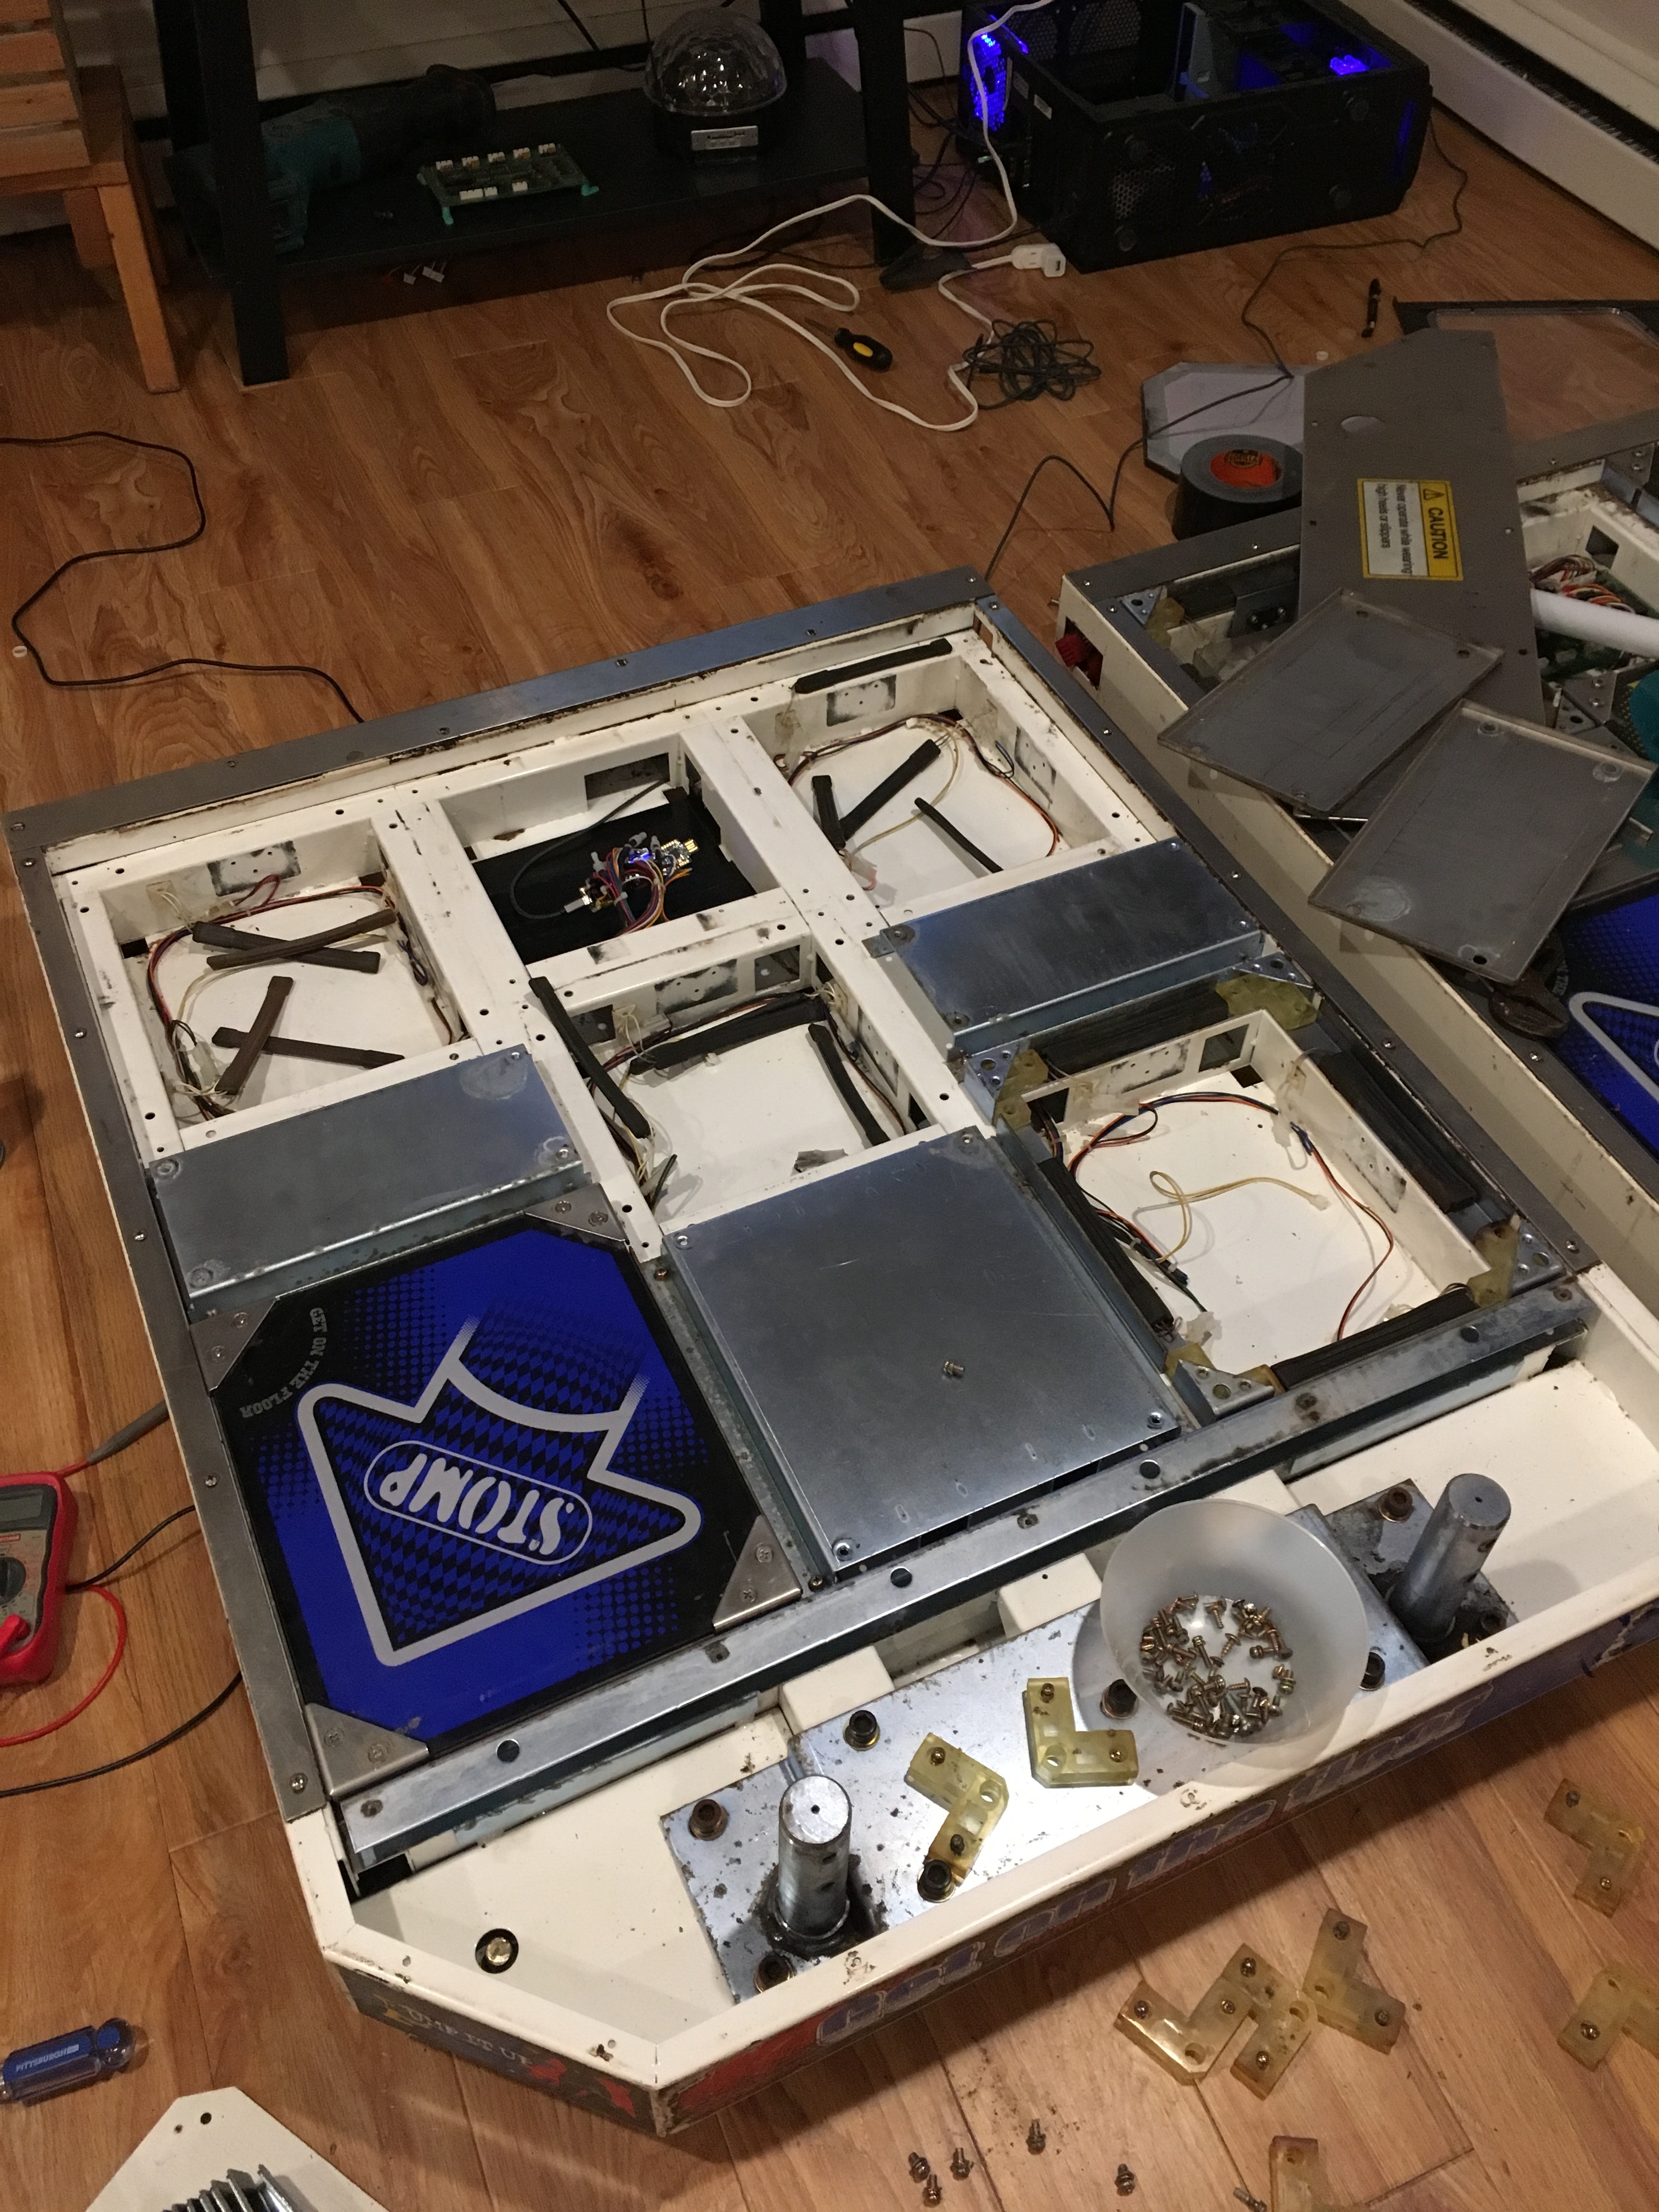
The left pad with all of the panels removed. I went through and gutted the entire pad to clean it and wipe it all down.
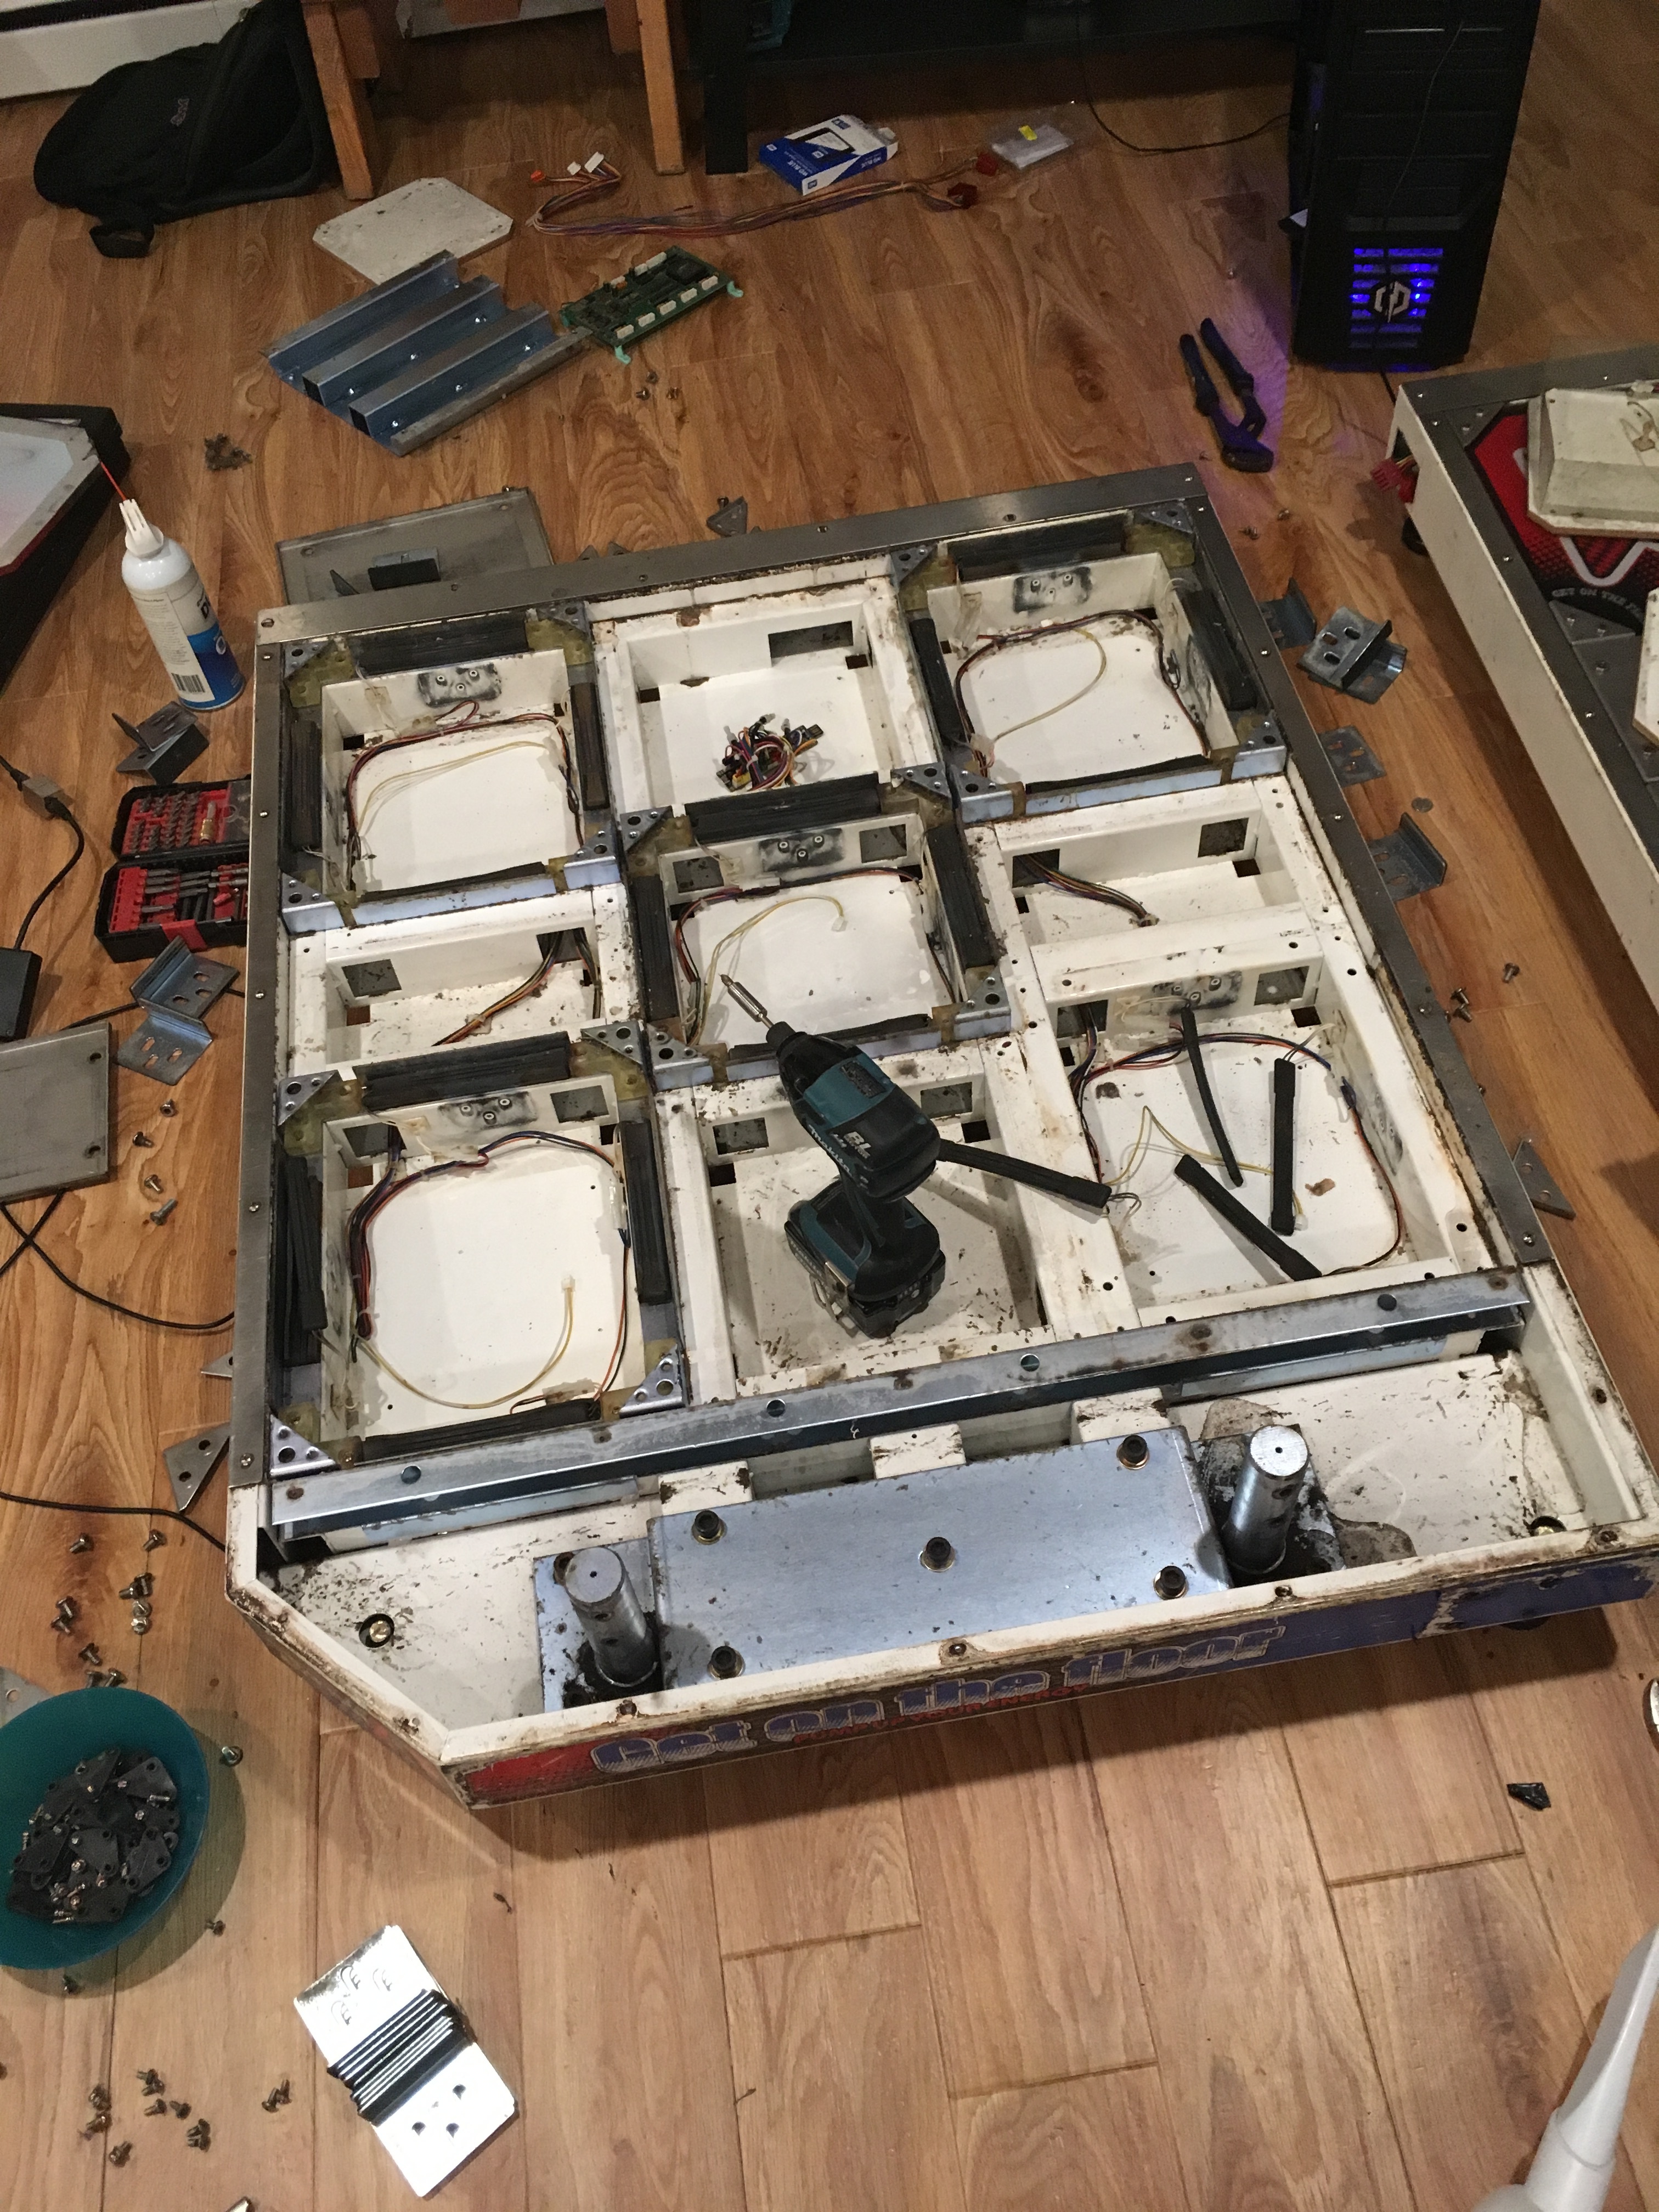
Another angle of the pad close-up.
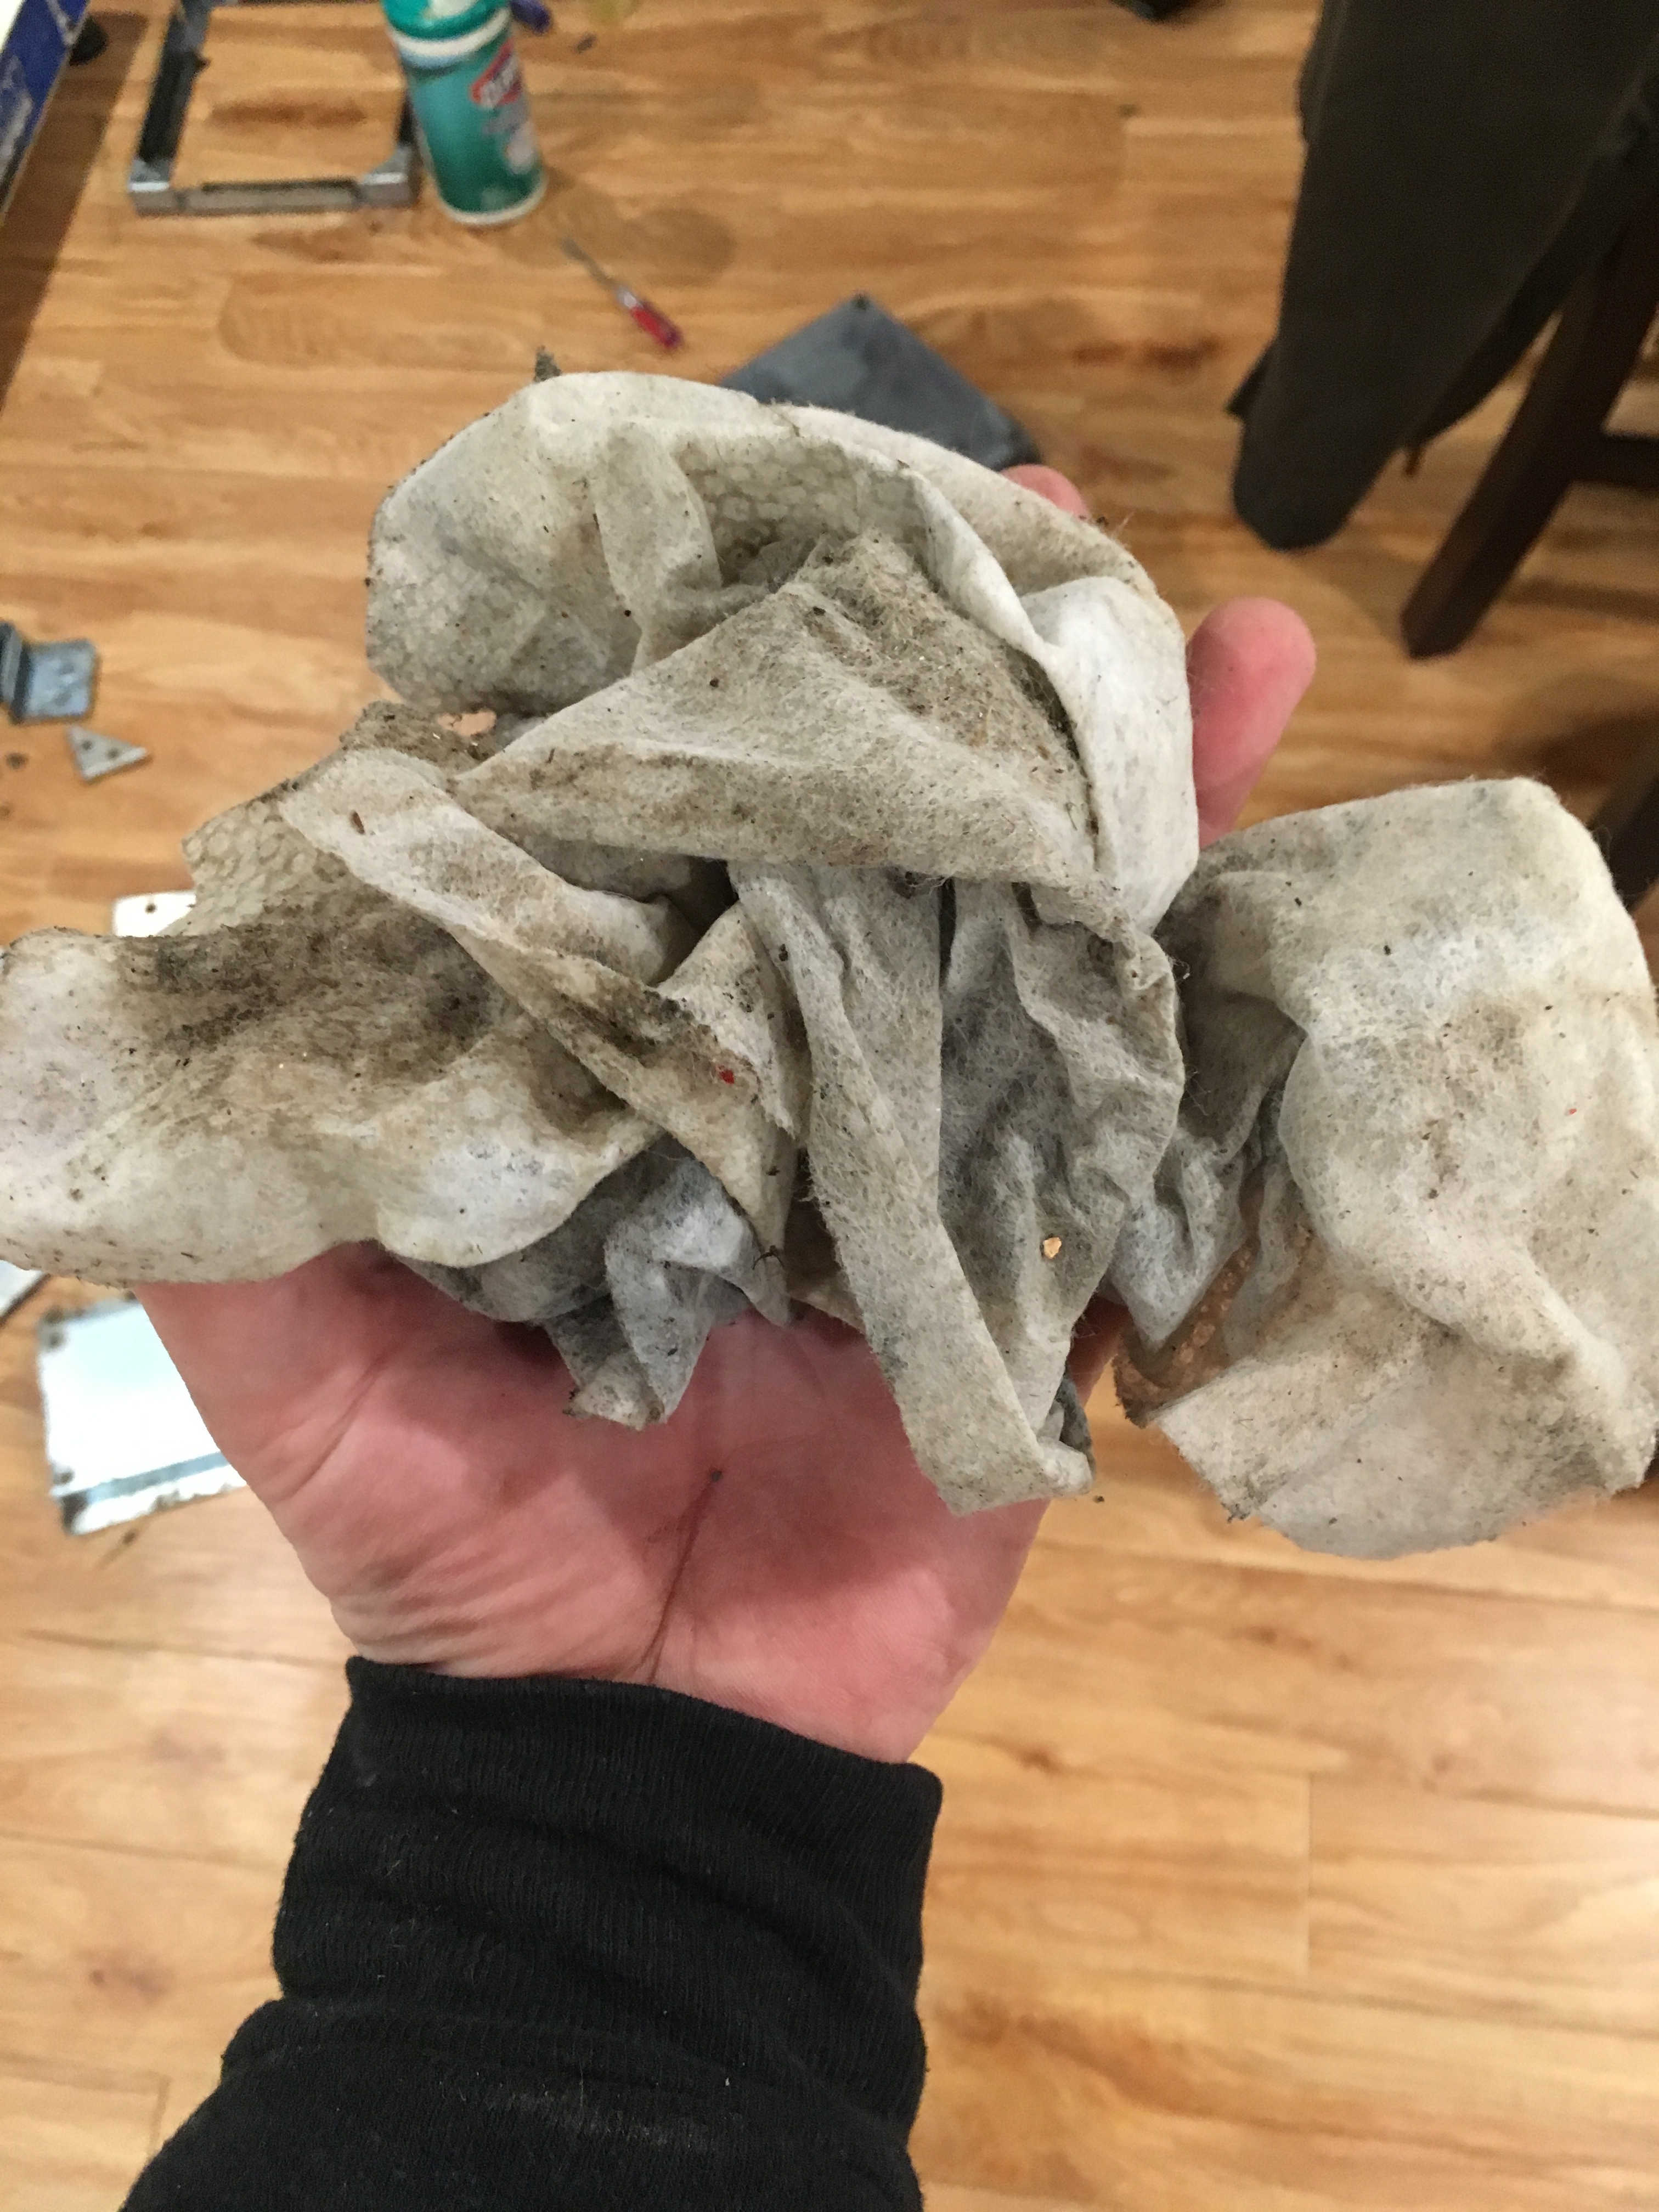
I went through a lot of paper towels and lysol wipes cleaning this pad. It was insane how much dirt and other stuff managed to get in there during its time at the arcade.
Moving the old set of pads out of the way.
Reassembling the pads now that they are cleaned up.
Pad Refurbishing
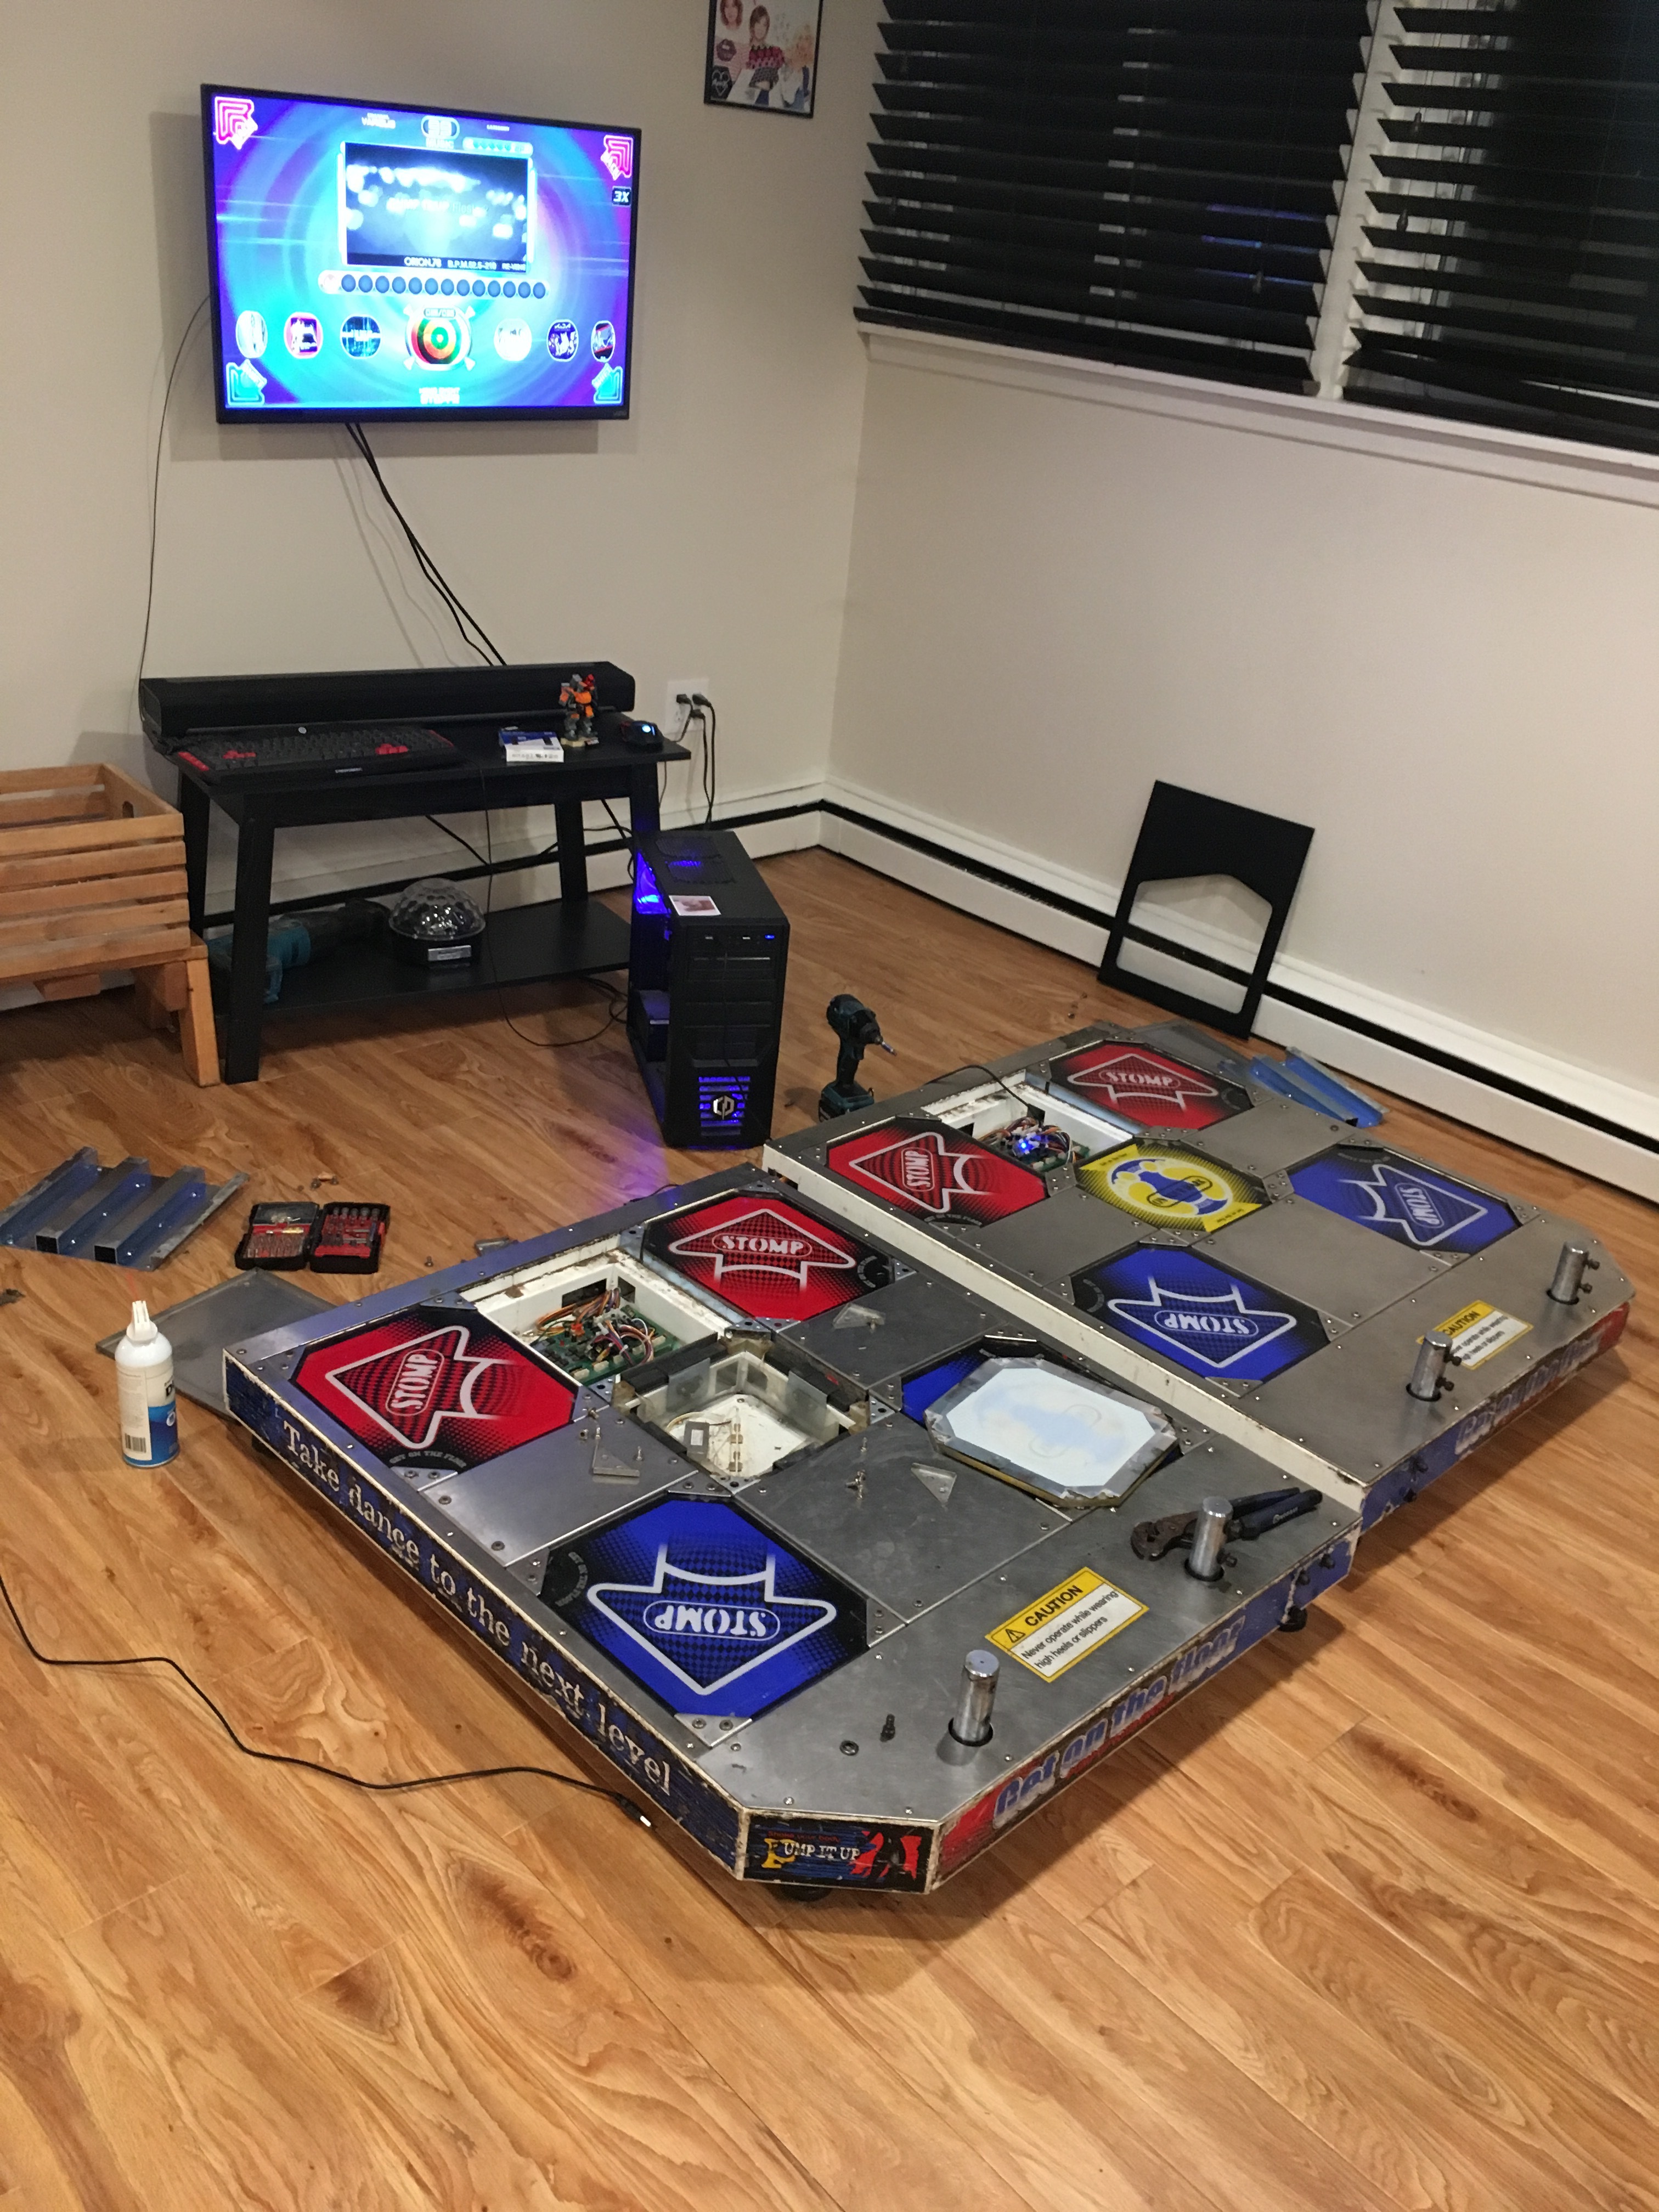
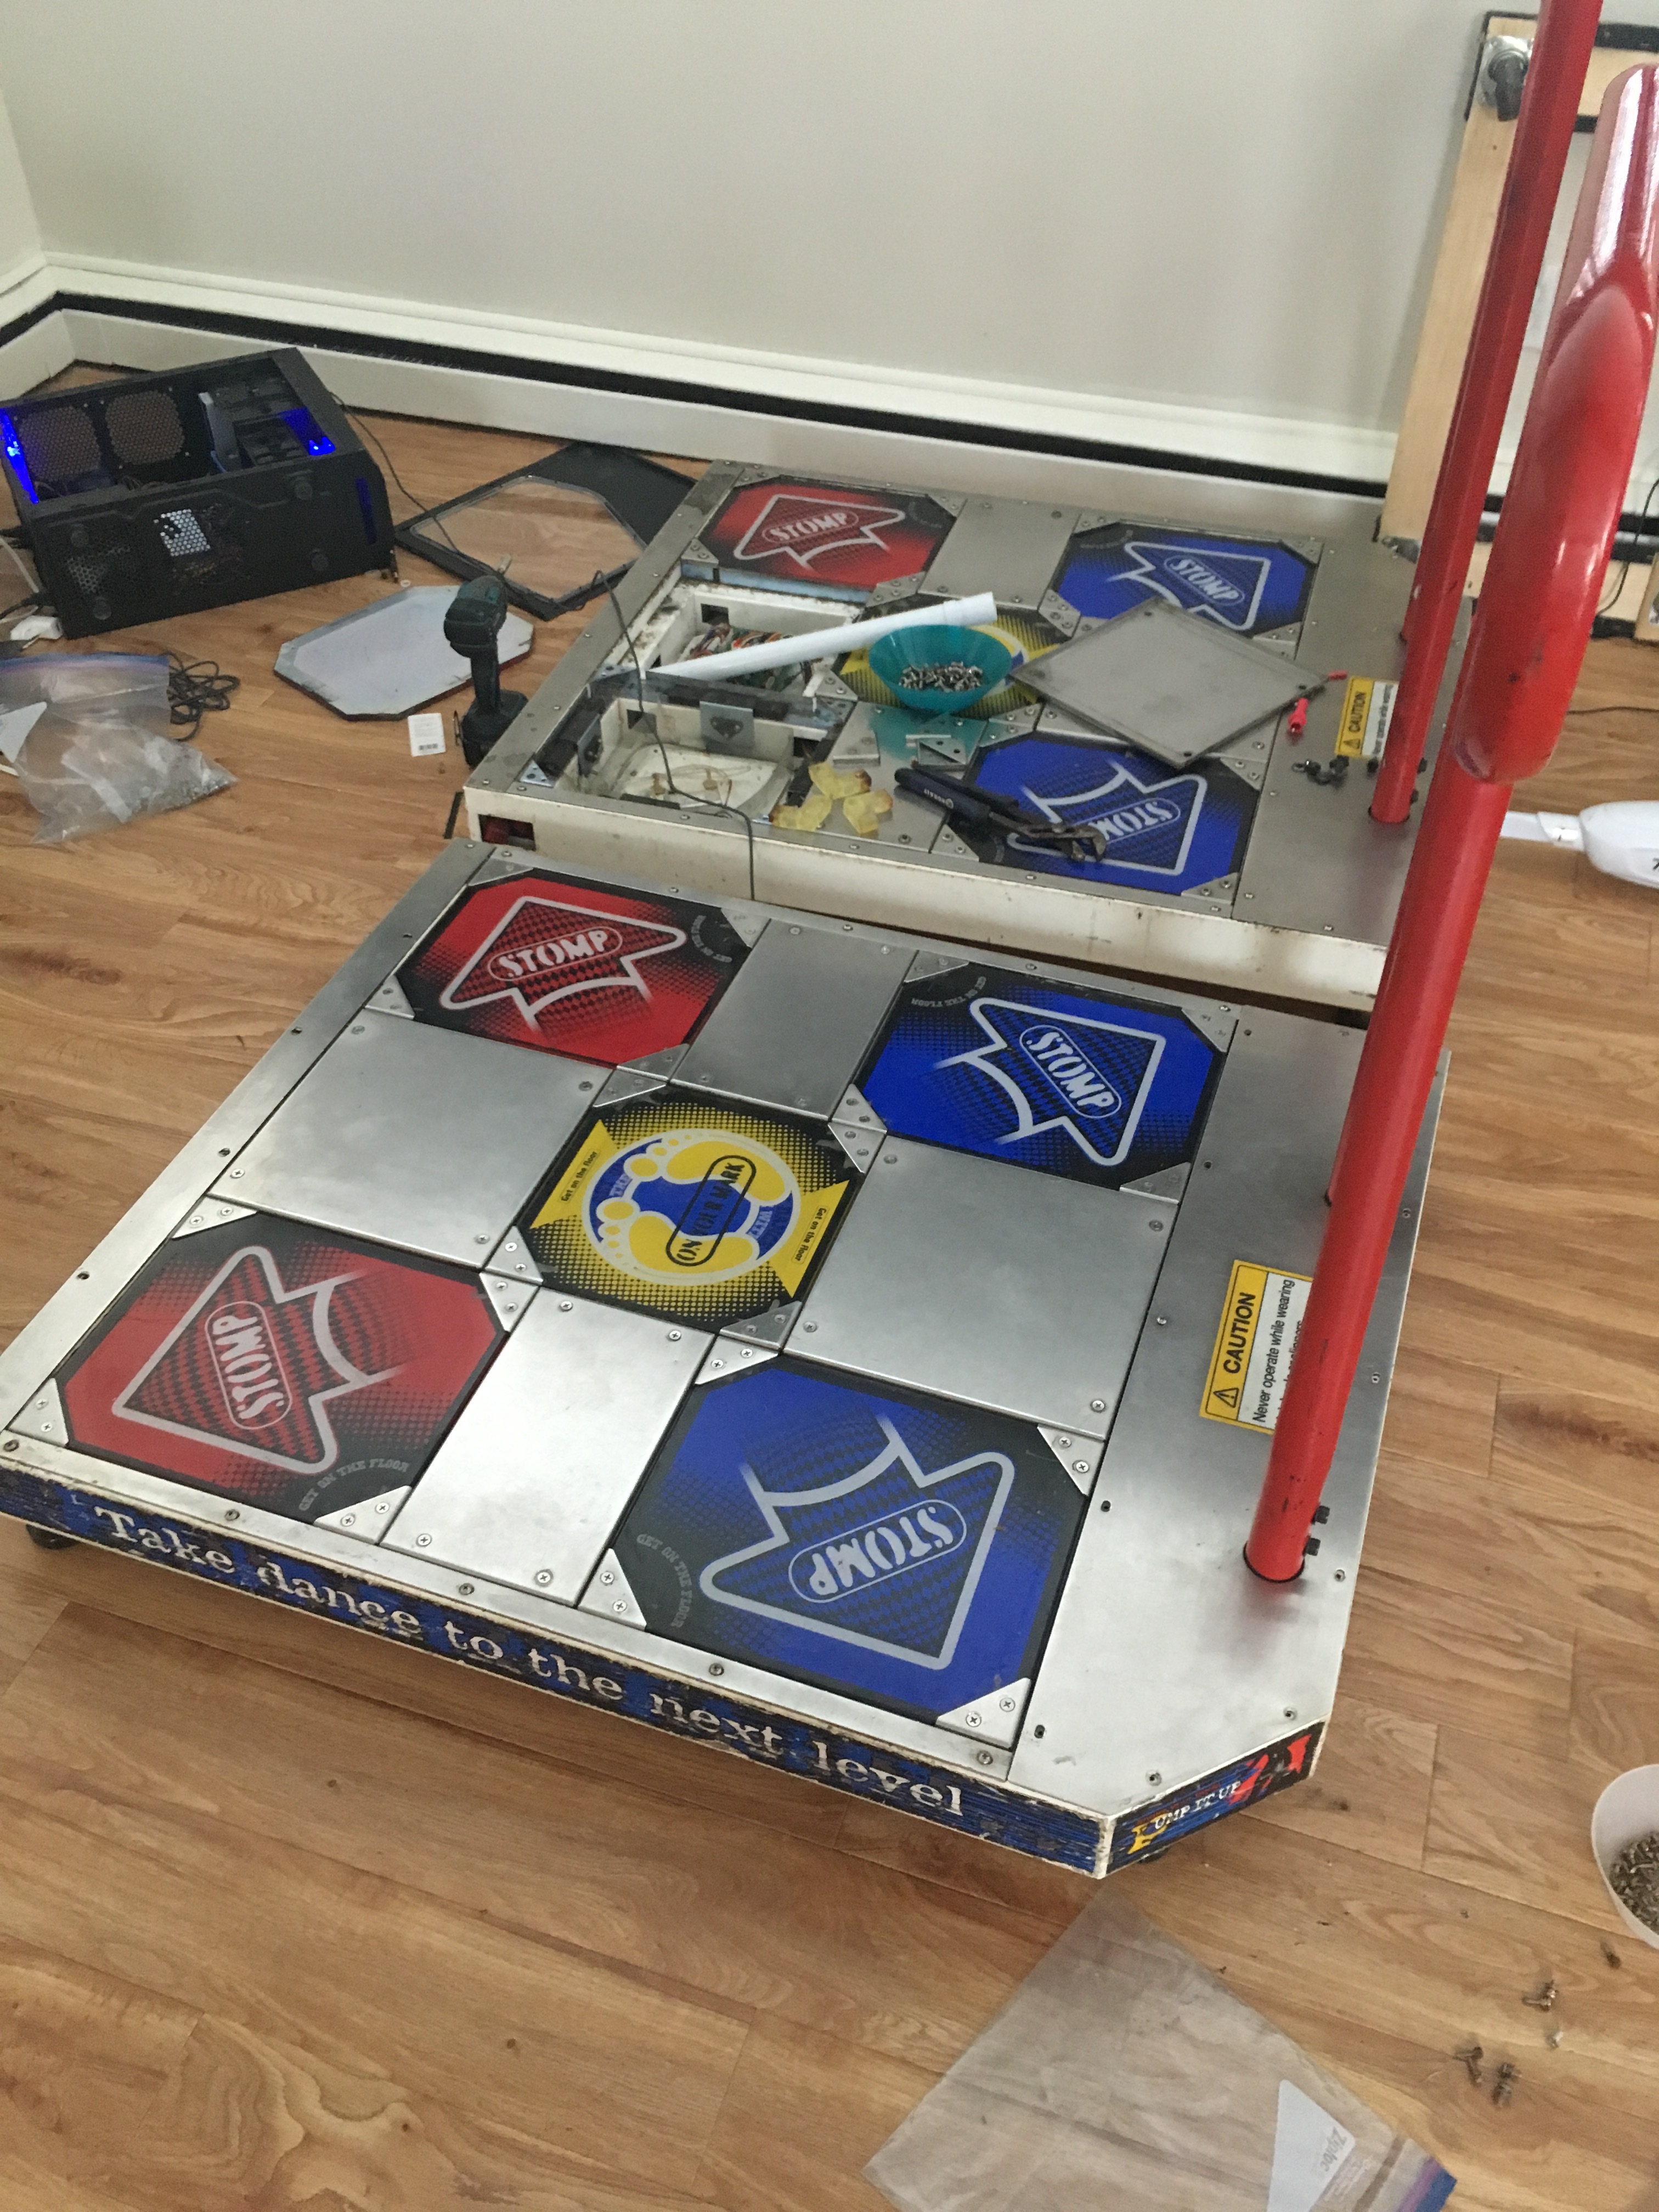
At this point, the pads have been cleaned and the USB adapters have been installed, and the pads all work! However, they have a lot of issues. Some of the panels are more responsive than others, and some just really need to be stomped on to register a click.
I followed the advice in this video. Using this I:
- Replaced the metal bracket pads with Gorilla tape. The existing pads had absolutely no give to them.
- Countersunk the metal corner brackets so the screws wouldn’t protrude and catch your feet.
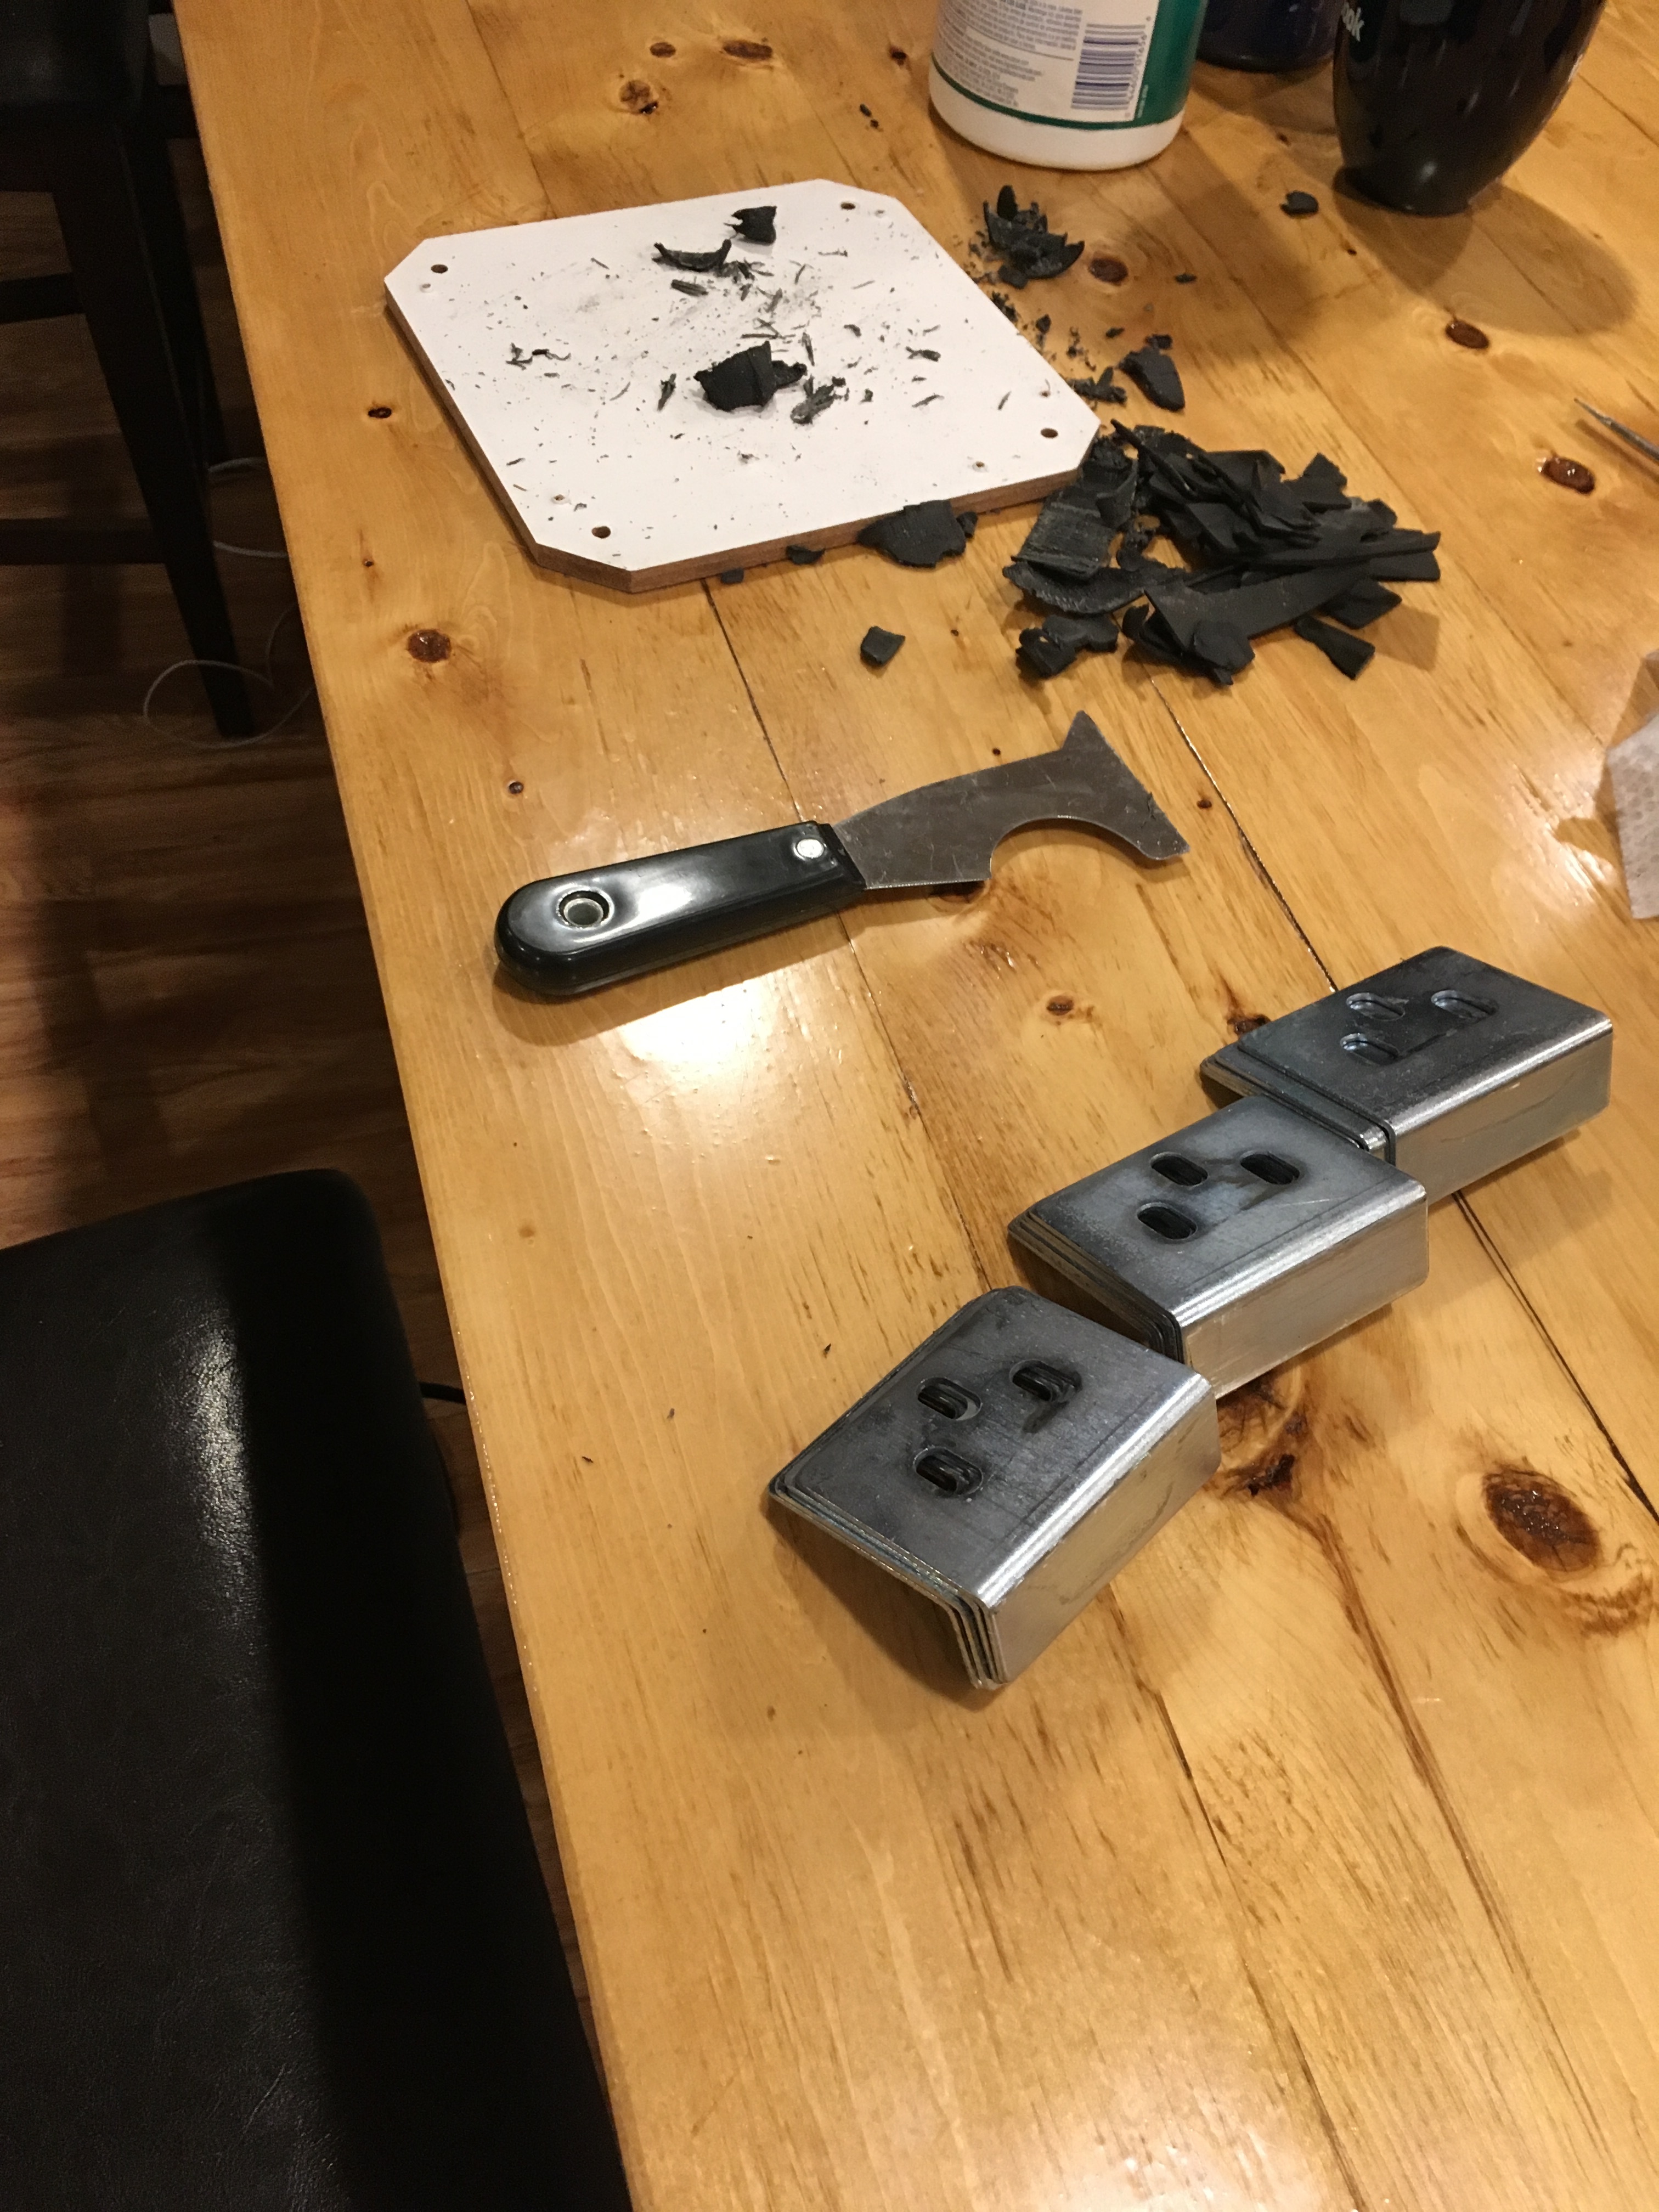
Metal Bracket Padding
The existing metal brackets with the worn out pads.
Scraping off the existing padding.
It took a long time but I eventually got all of them clean.
Using Gorilla tape to add new life to the padding on the metal brackets. I would try to keep the brackets in groups of 5 to make them easier to cut.

I used an exacto knife to cut them into the groups of 5, and then I would put the groups of 5 back onto Gorilla tape until there were about 7 layers of tape. From there, I would use the knife to cut them one-by-one.
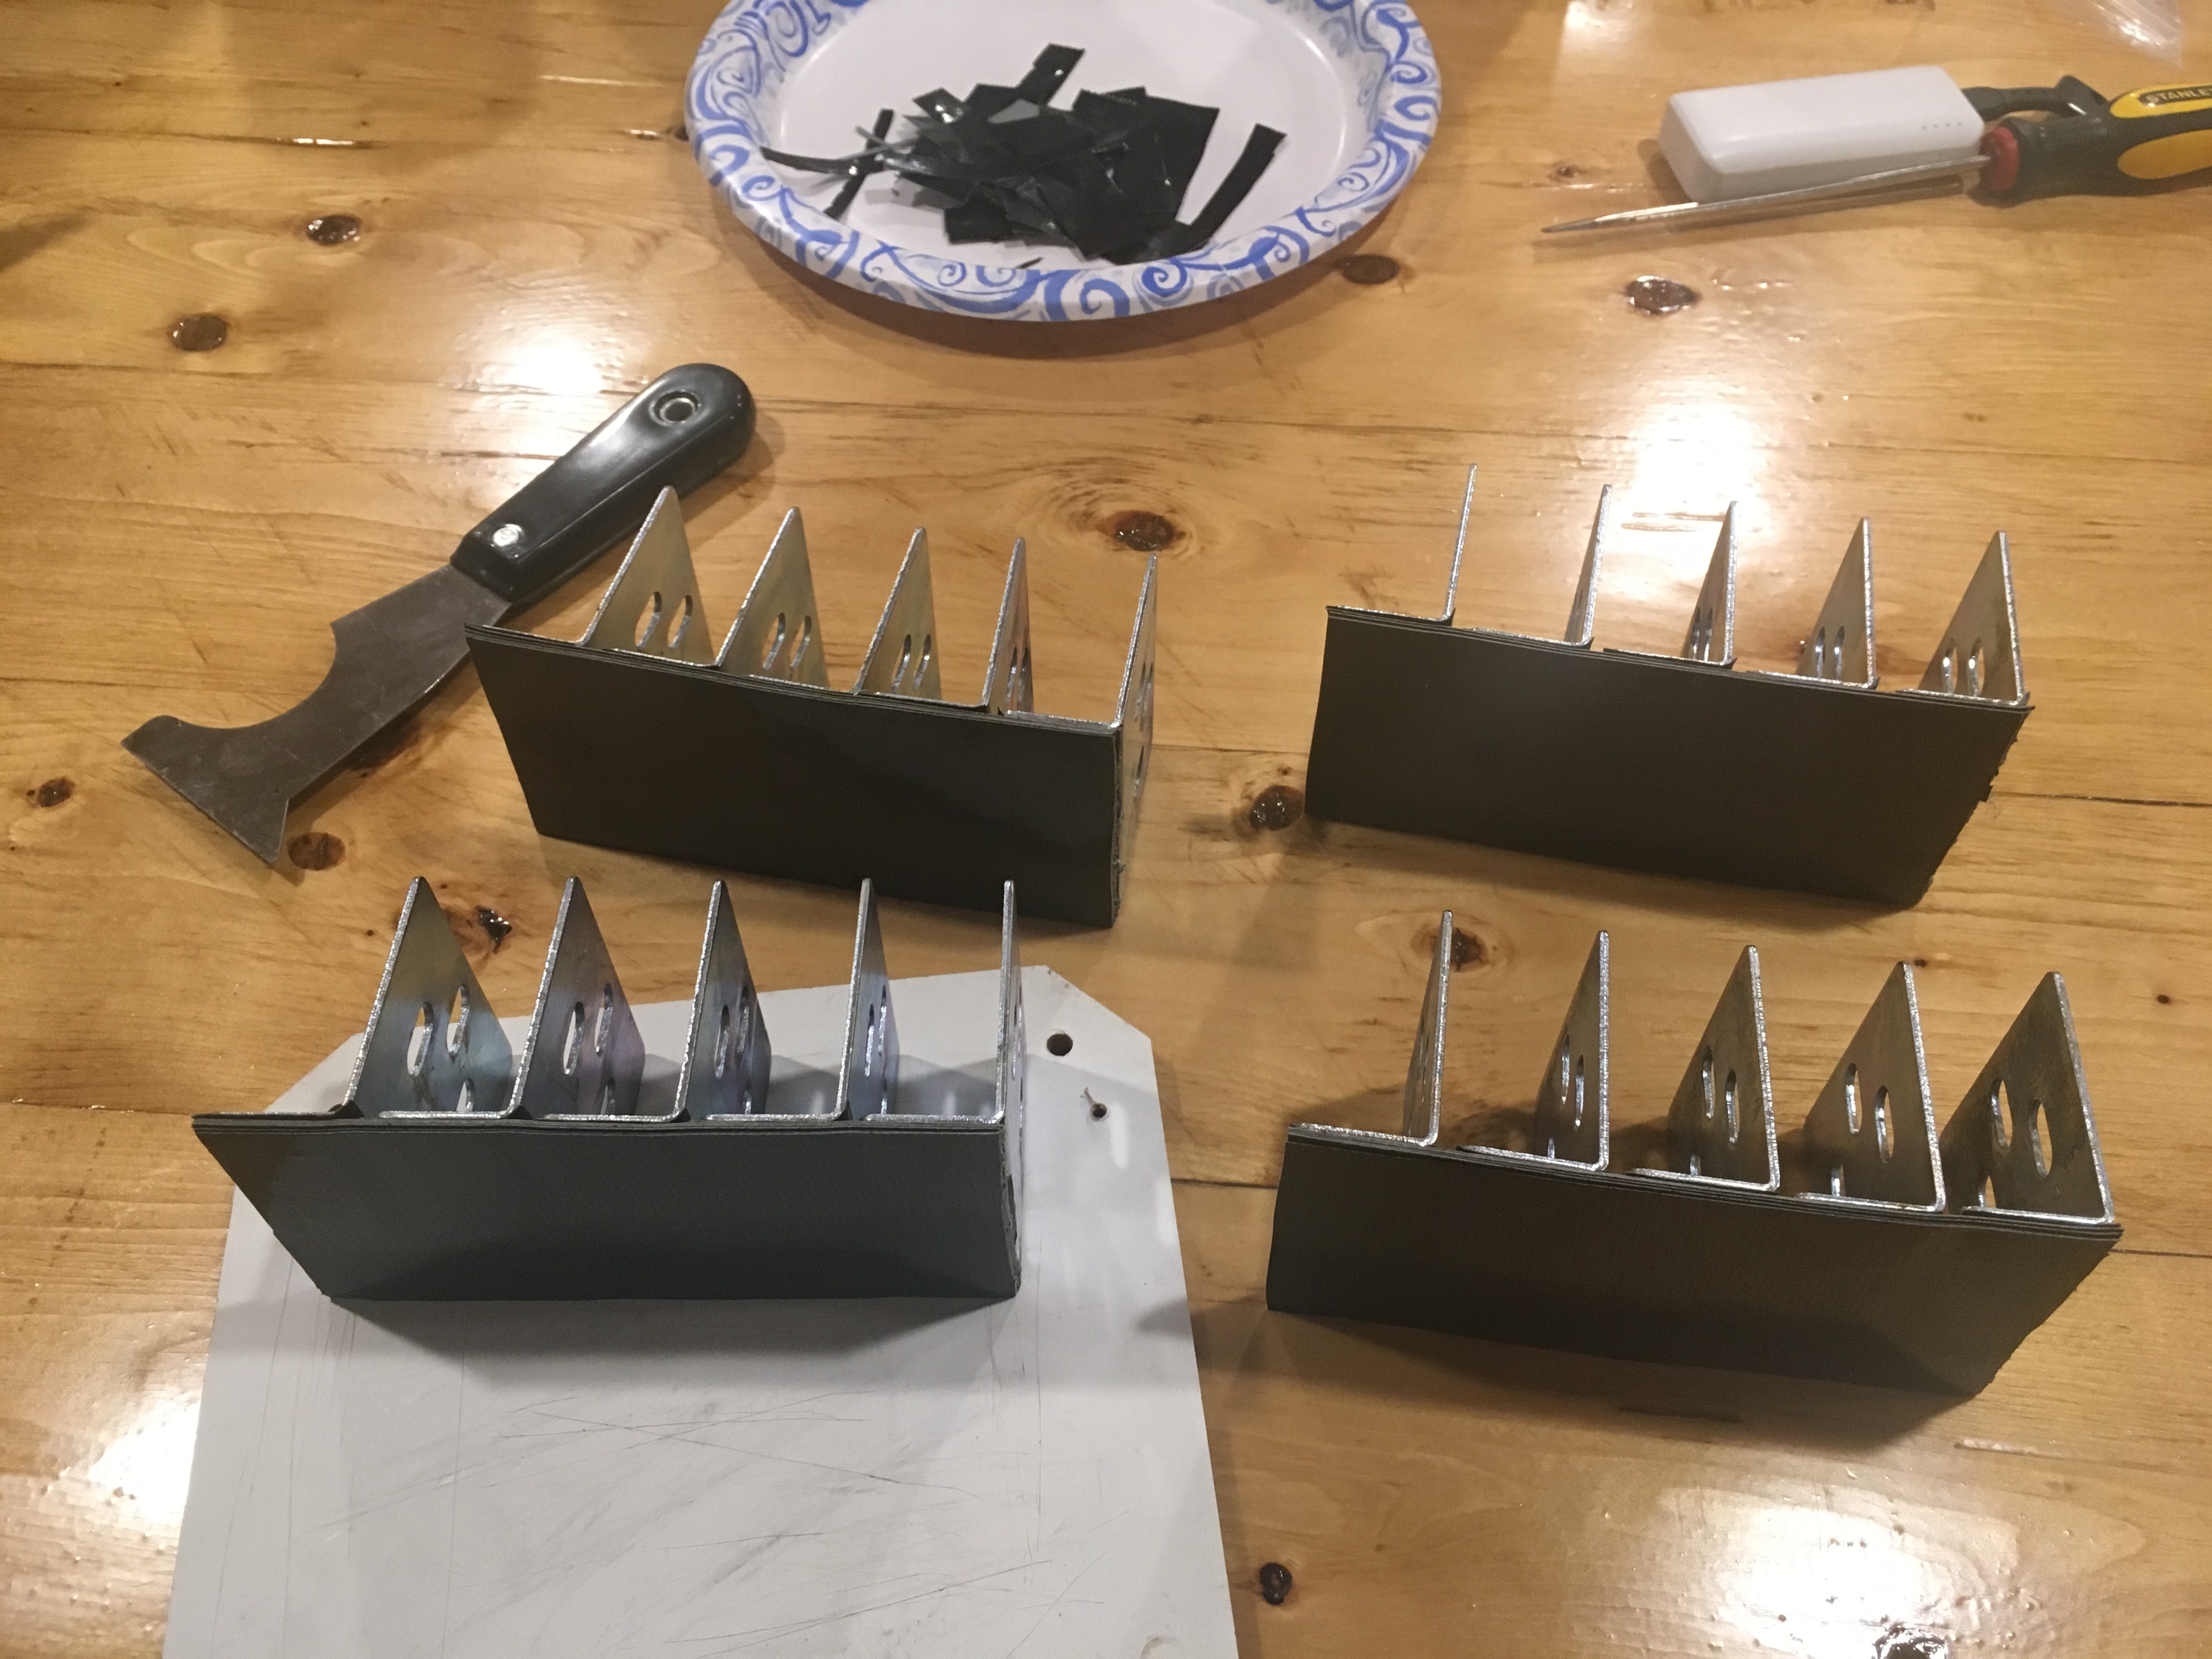
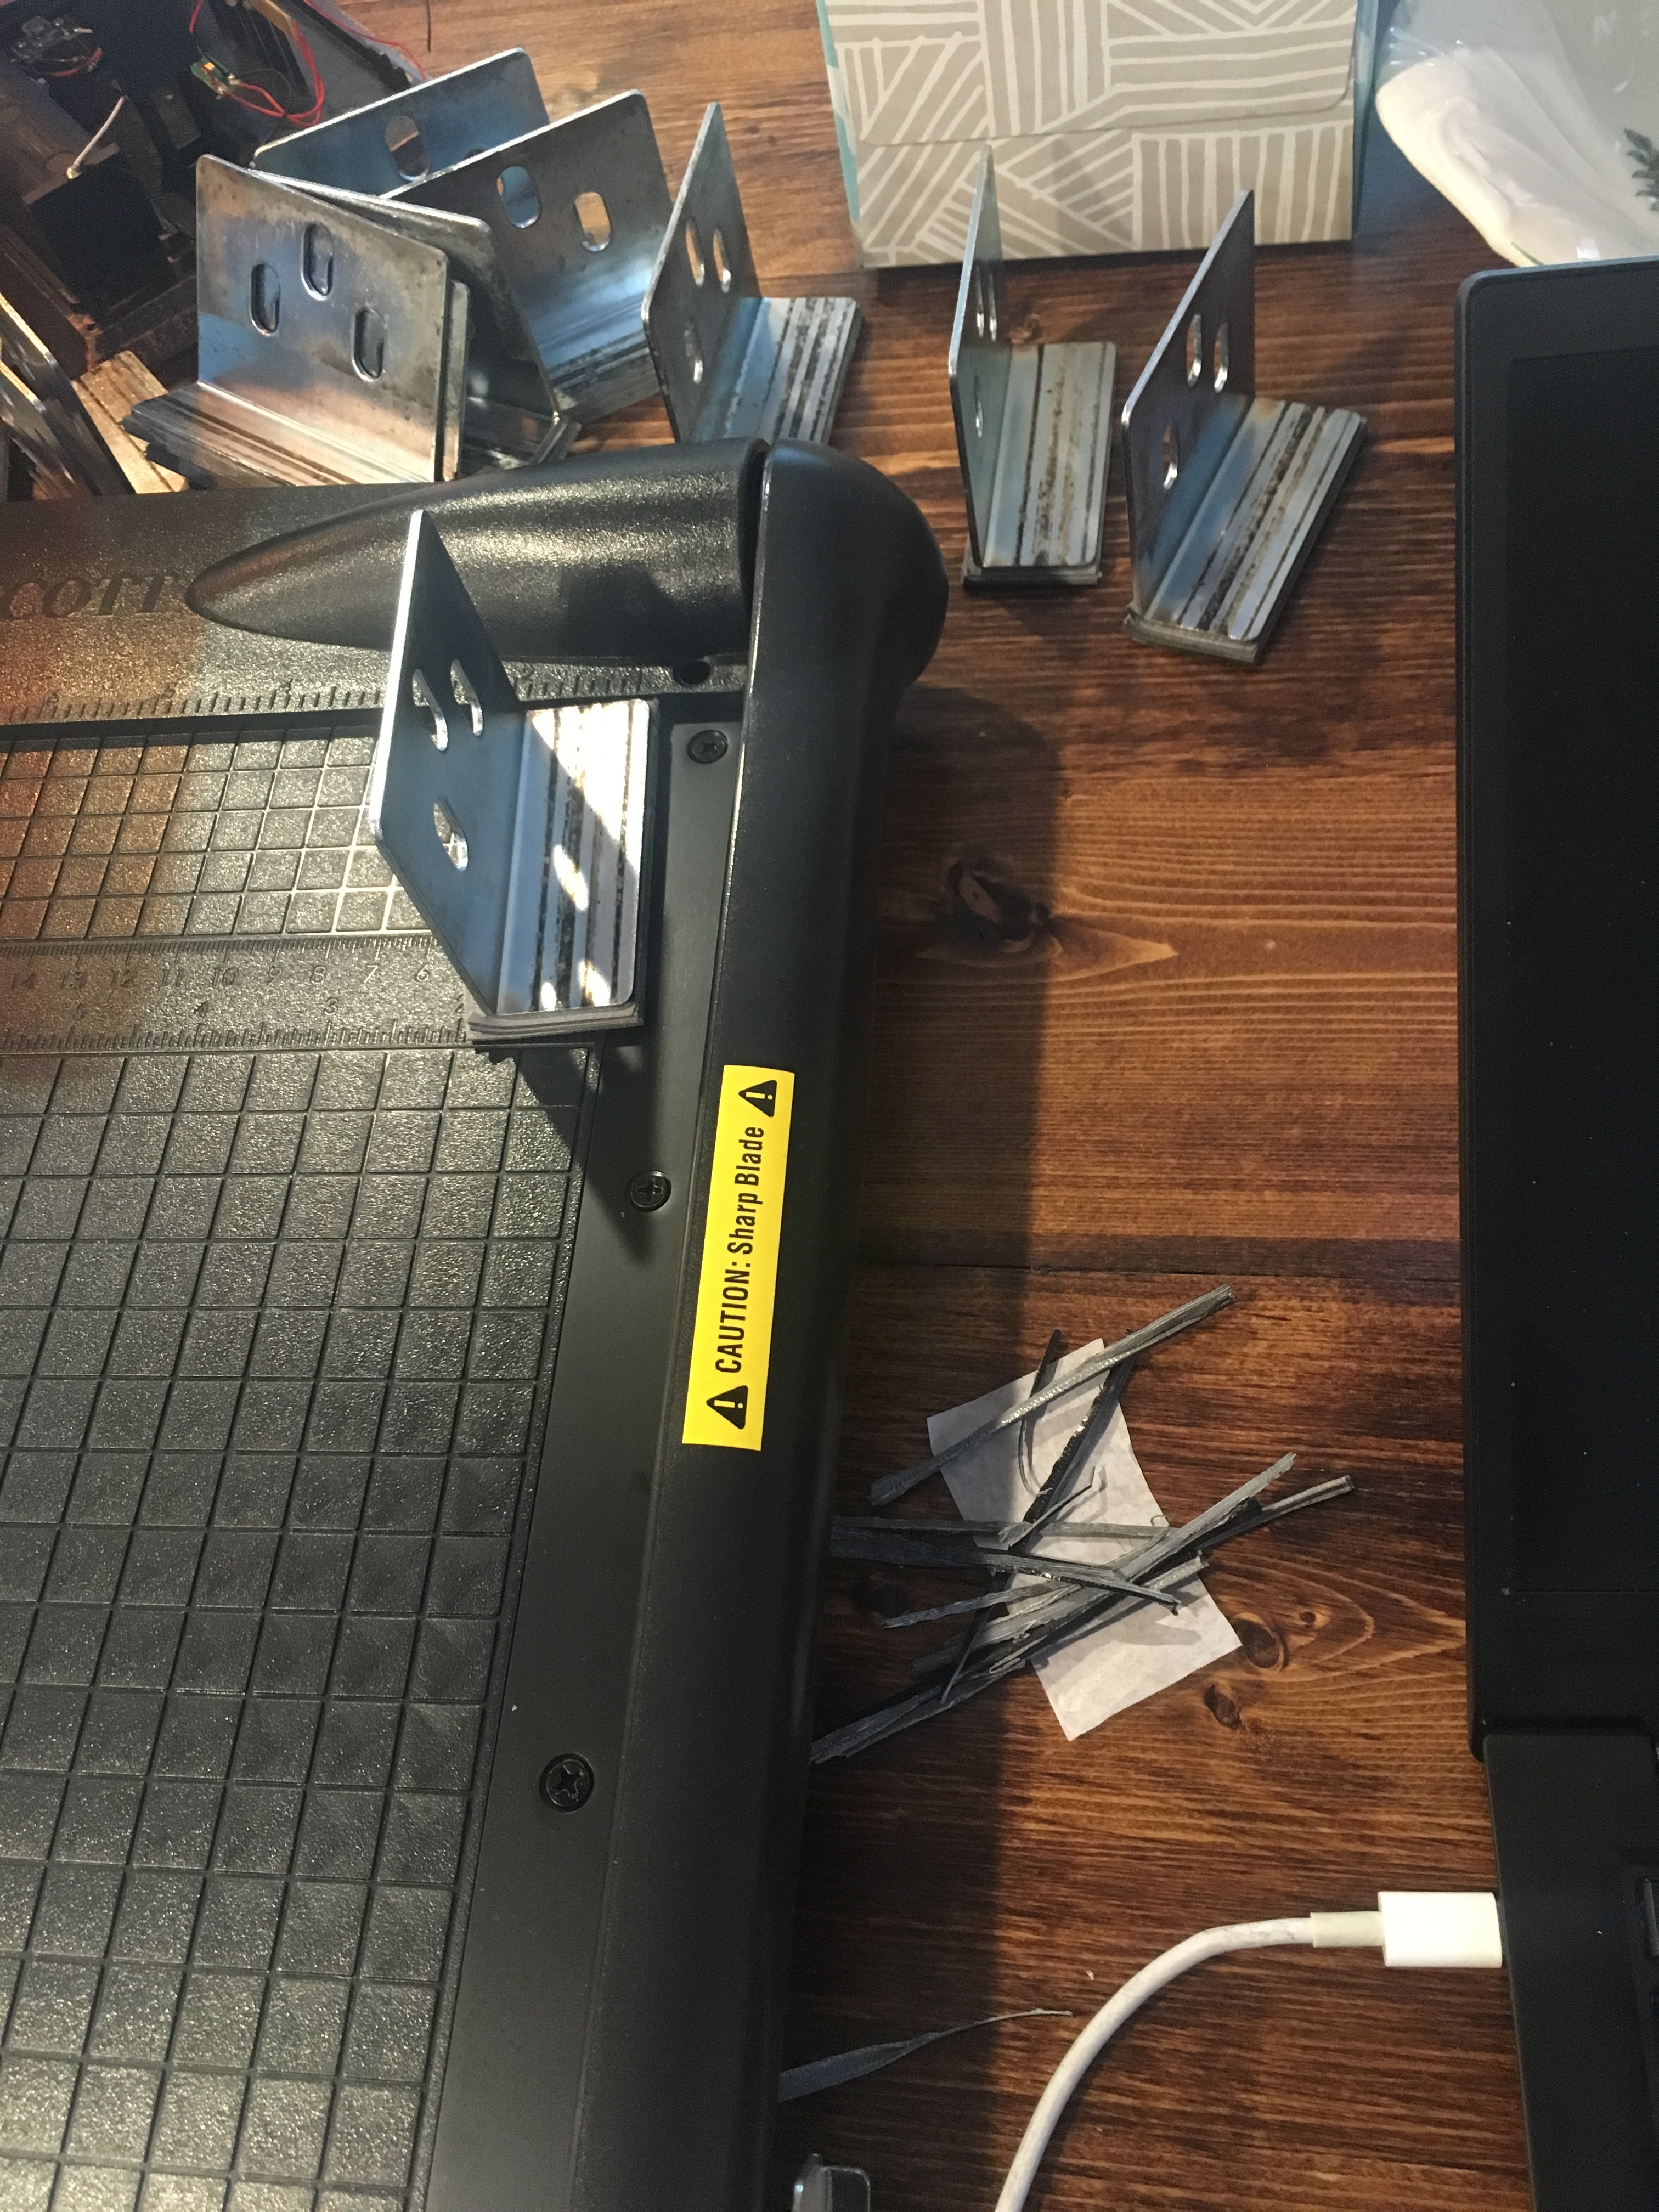
I used this paper cutter thing to cut off any excess tape from the brackets.
Reassembling the panels with the newly padded metal brackets.
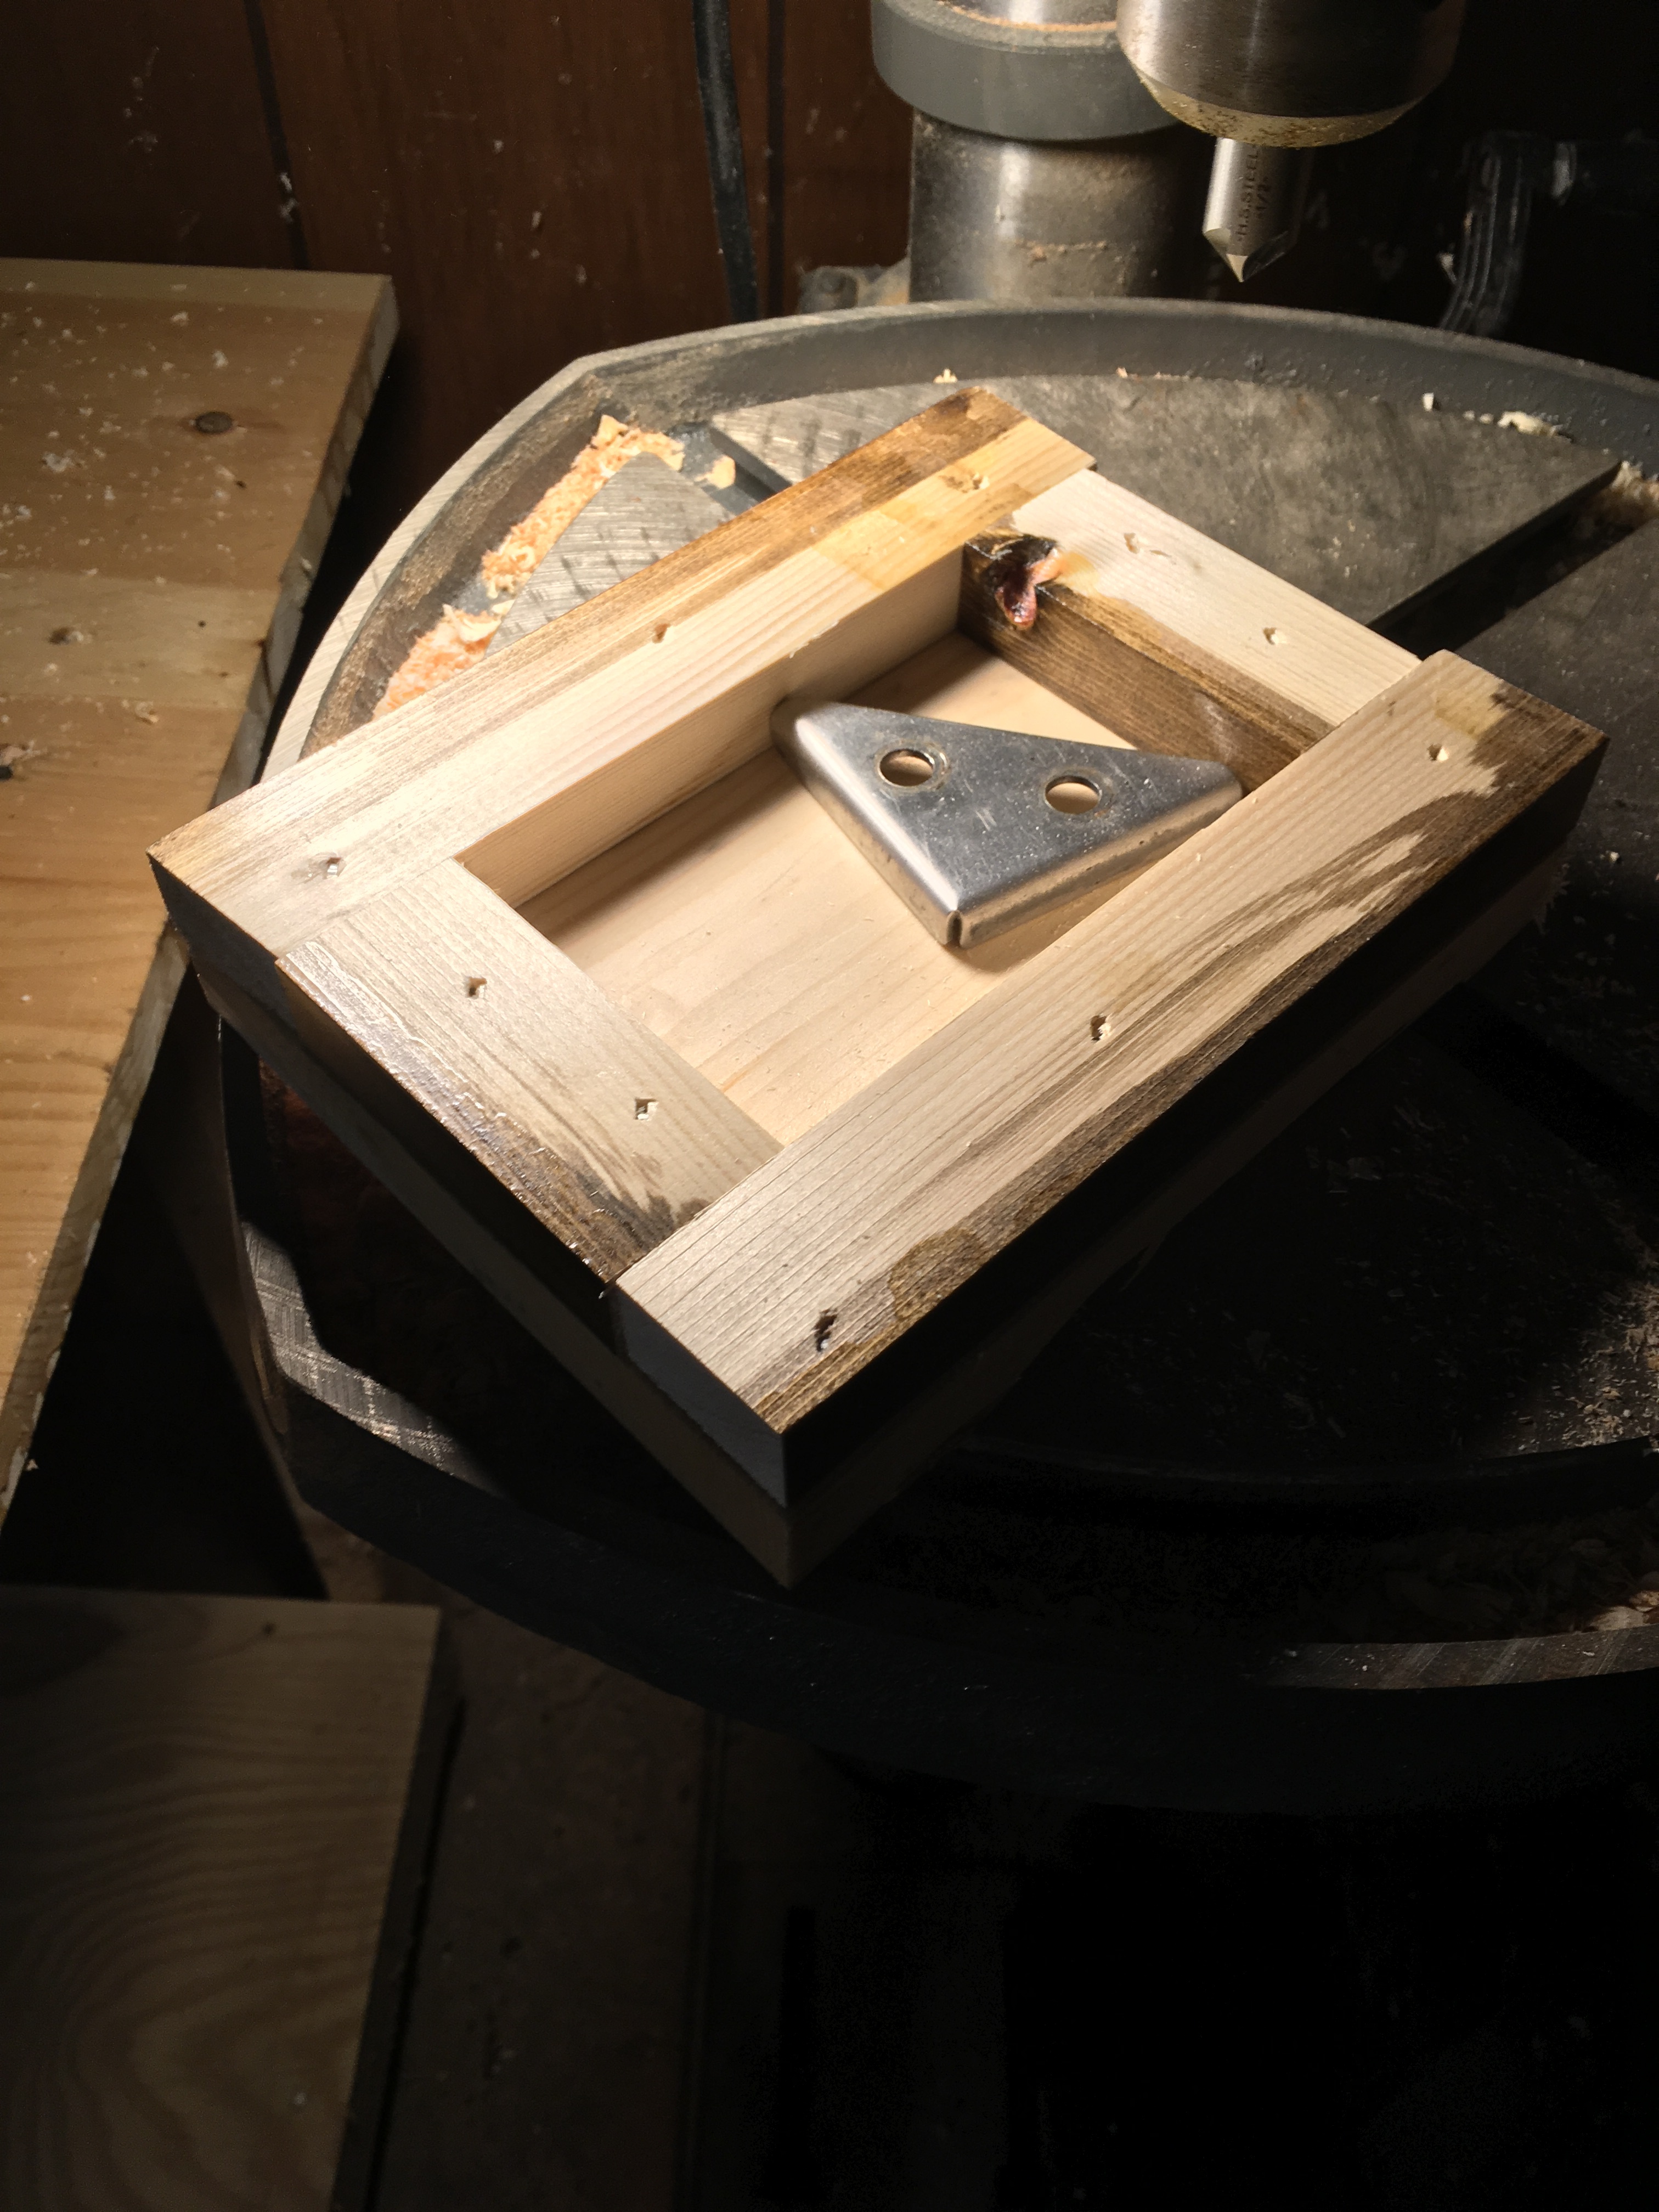
Countersinking Corner Brackets
The next step in refurbishing was to countersink the metal corner brackets. This will make it so the screws sit flush with the pads.
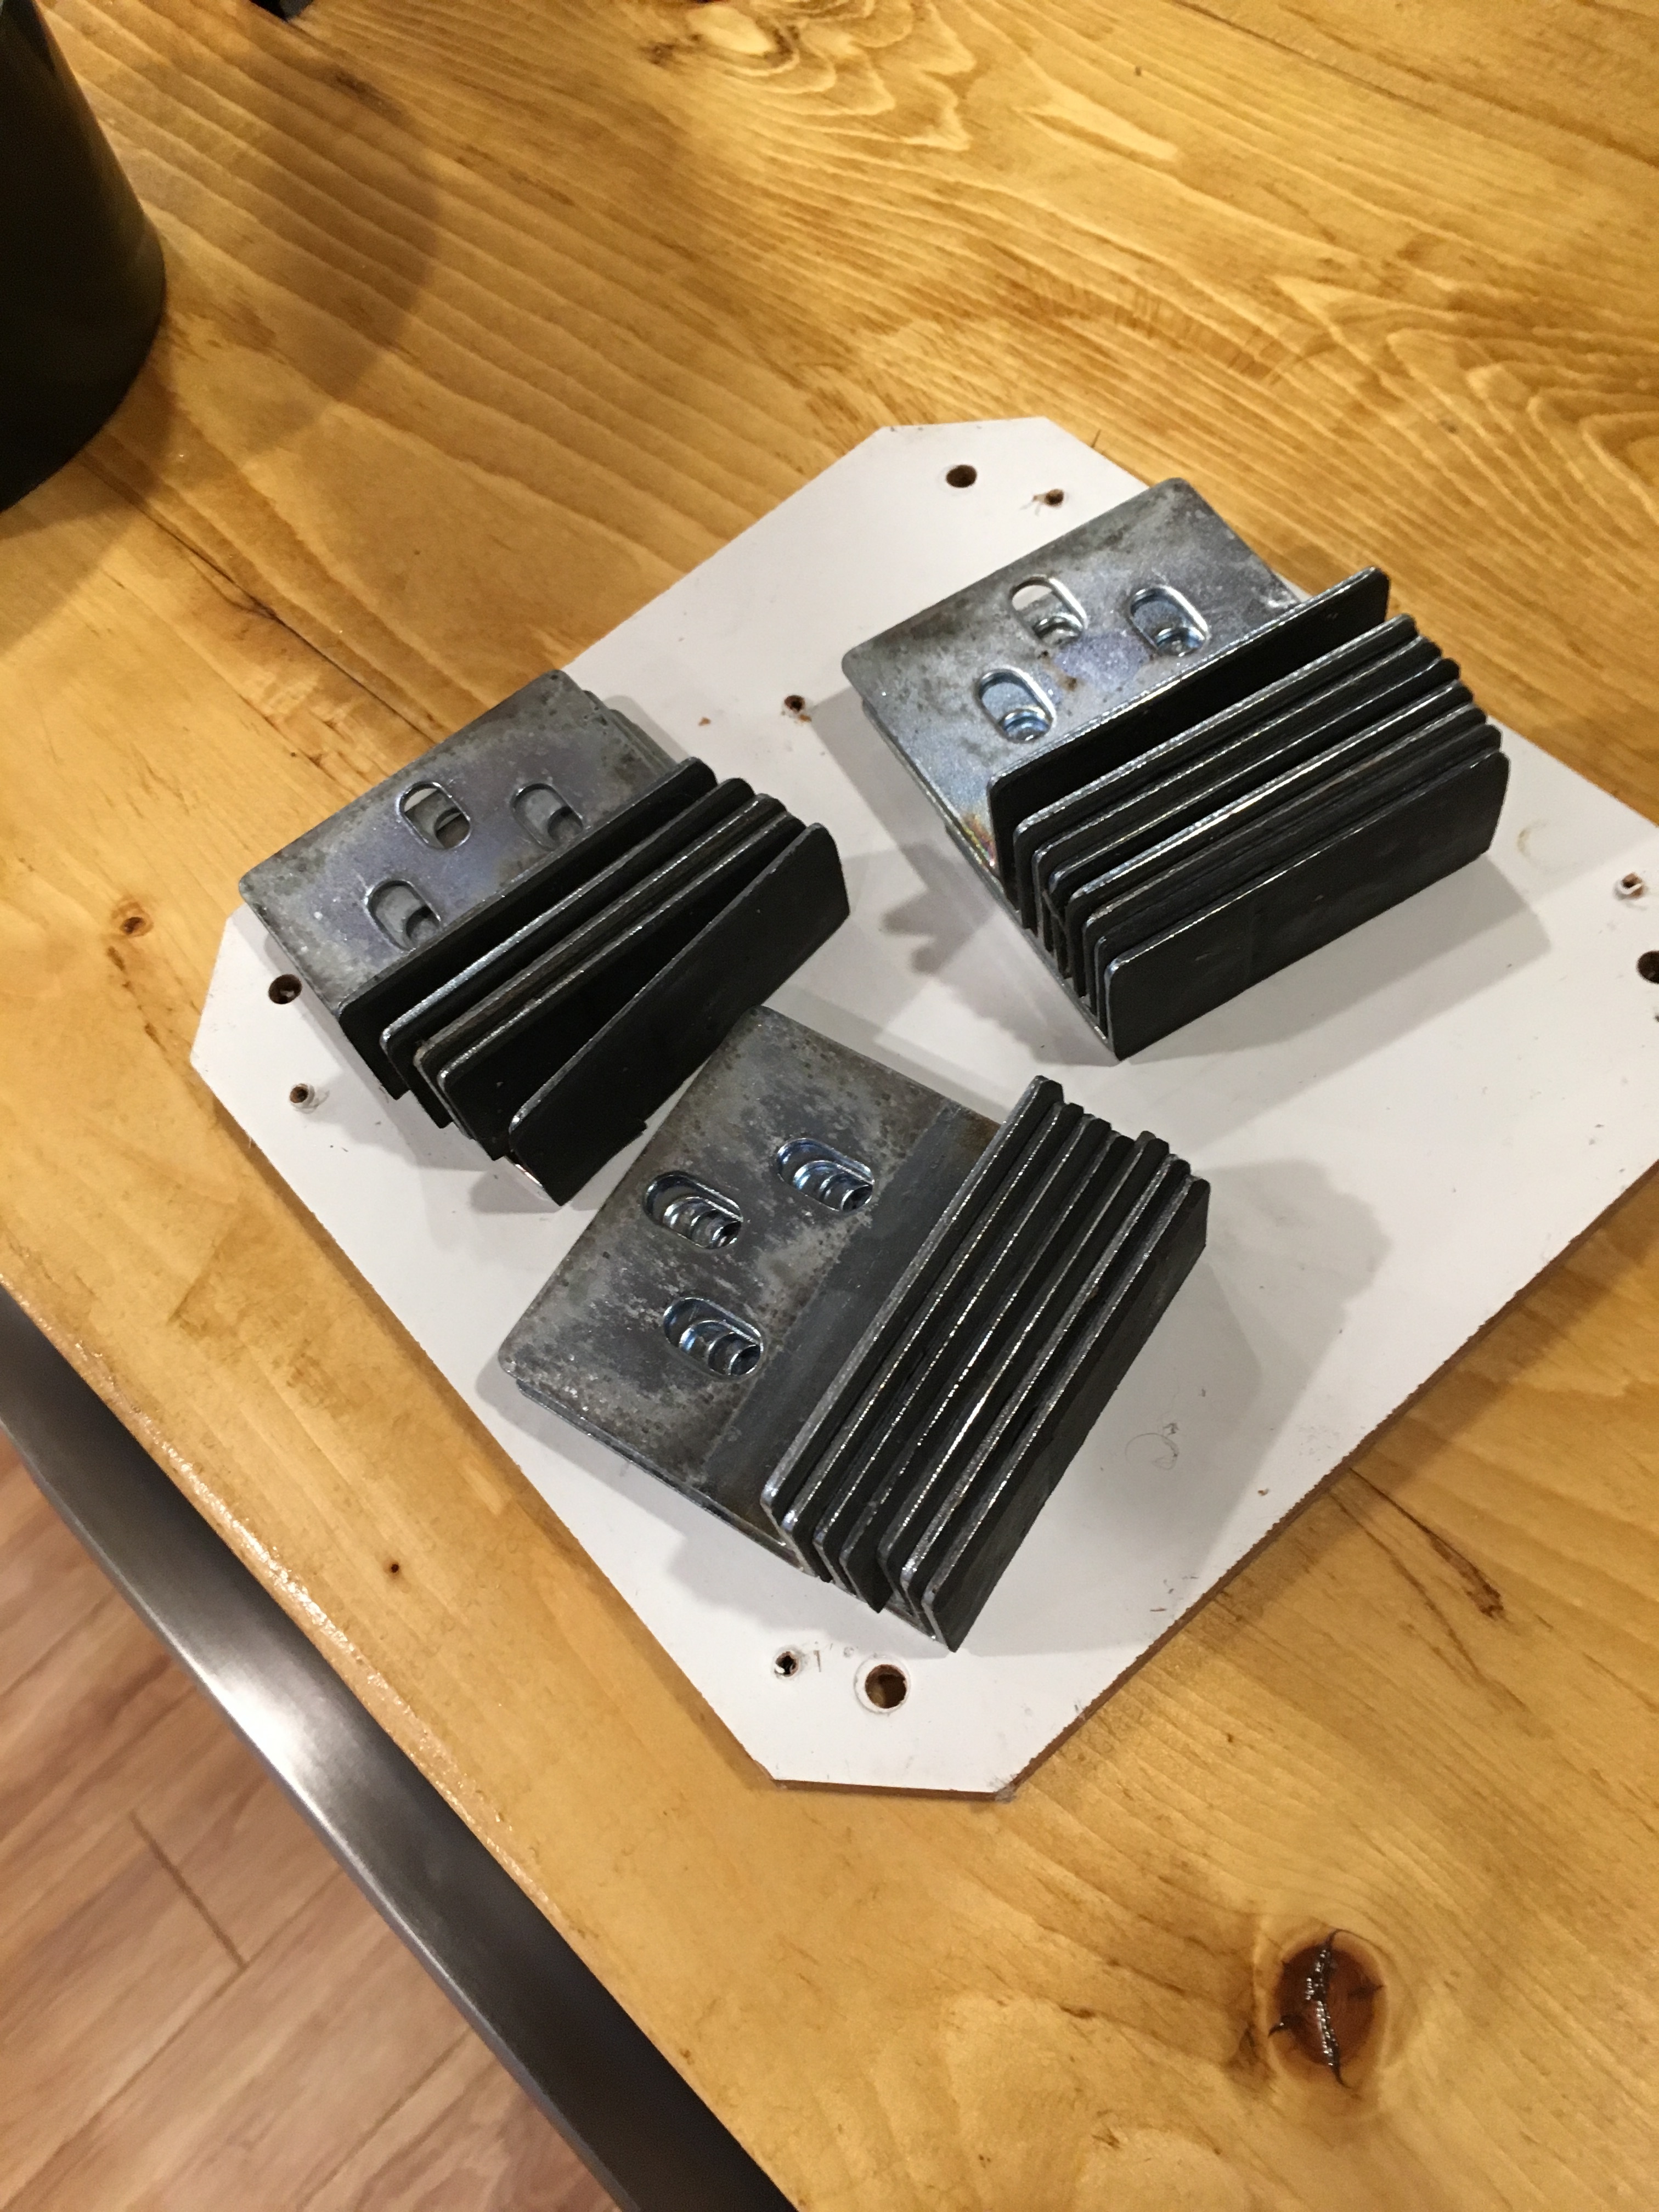
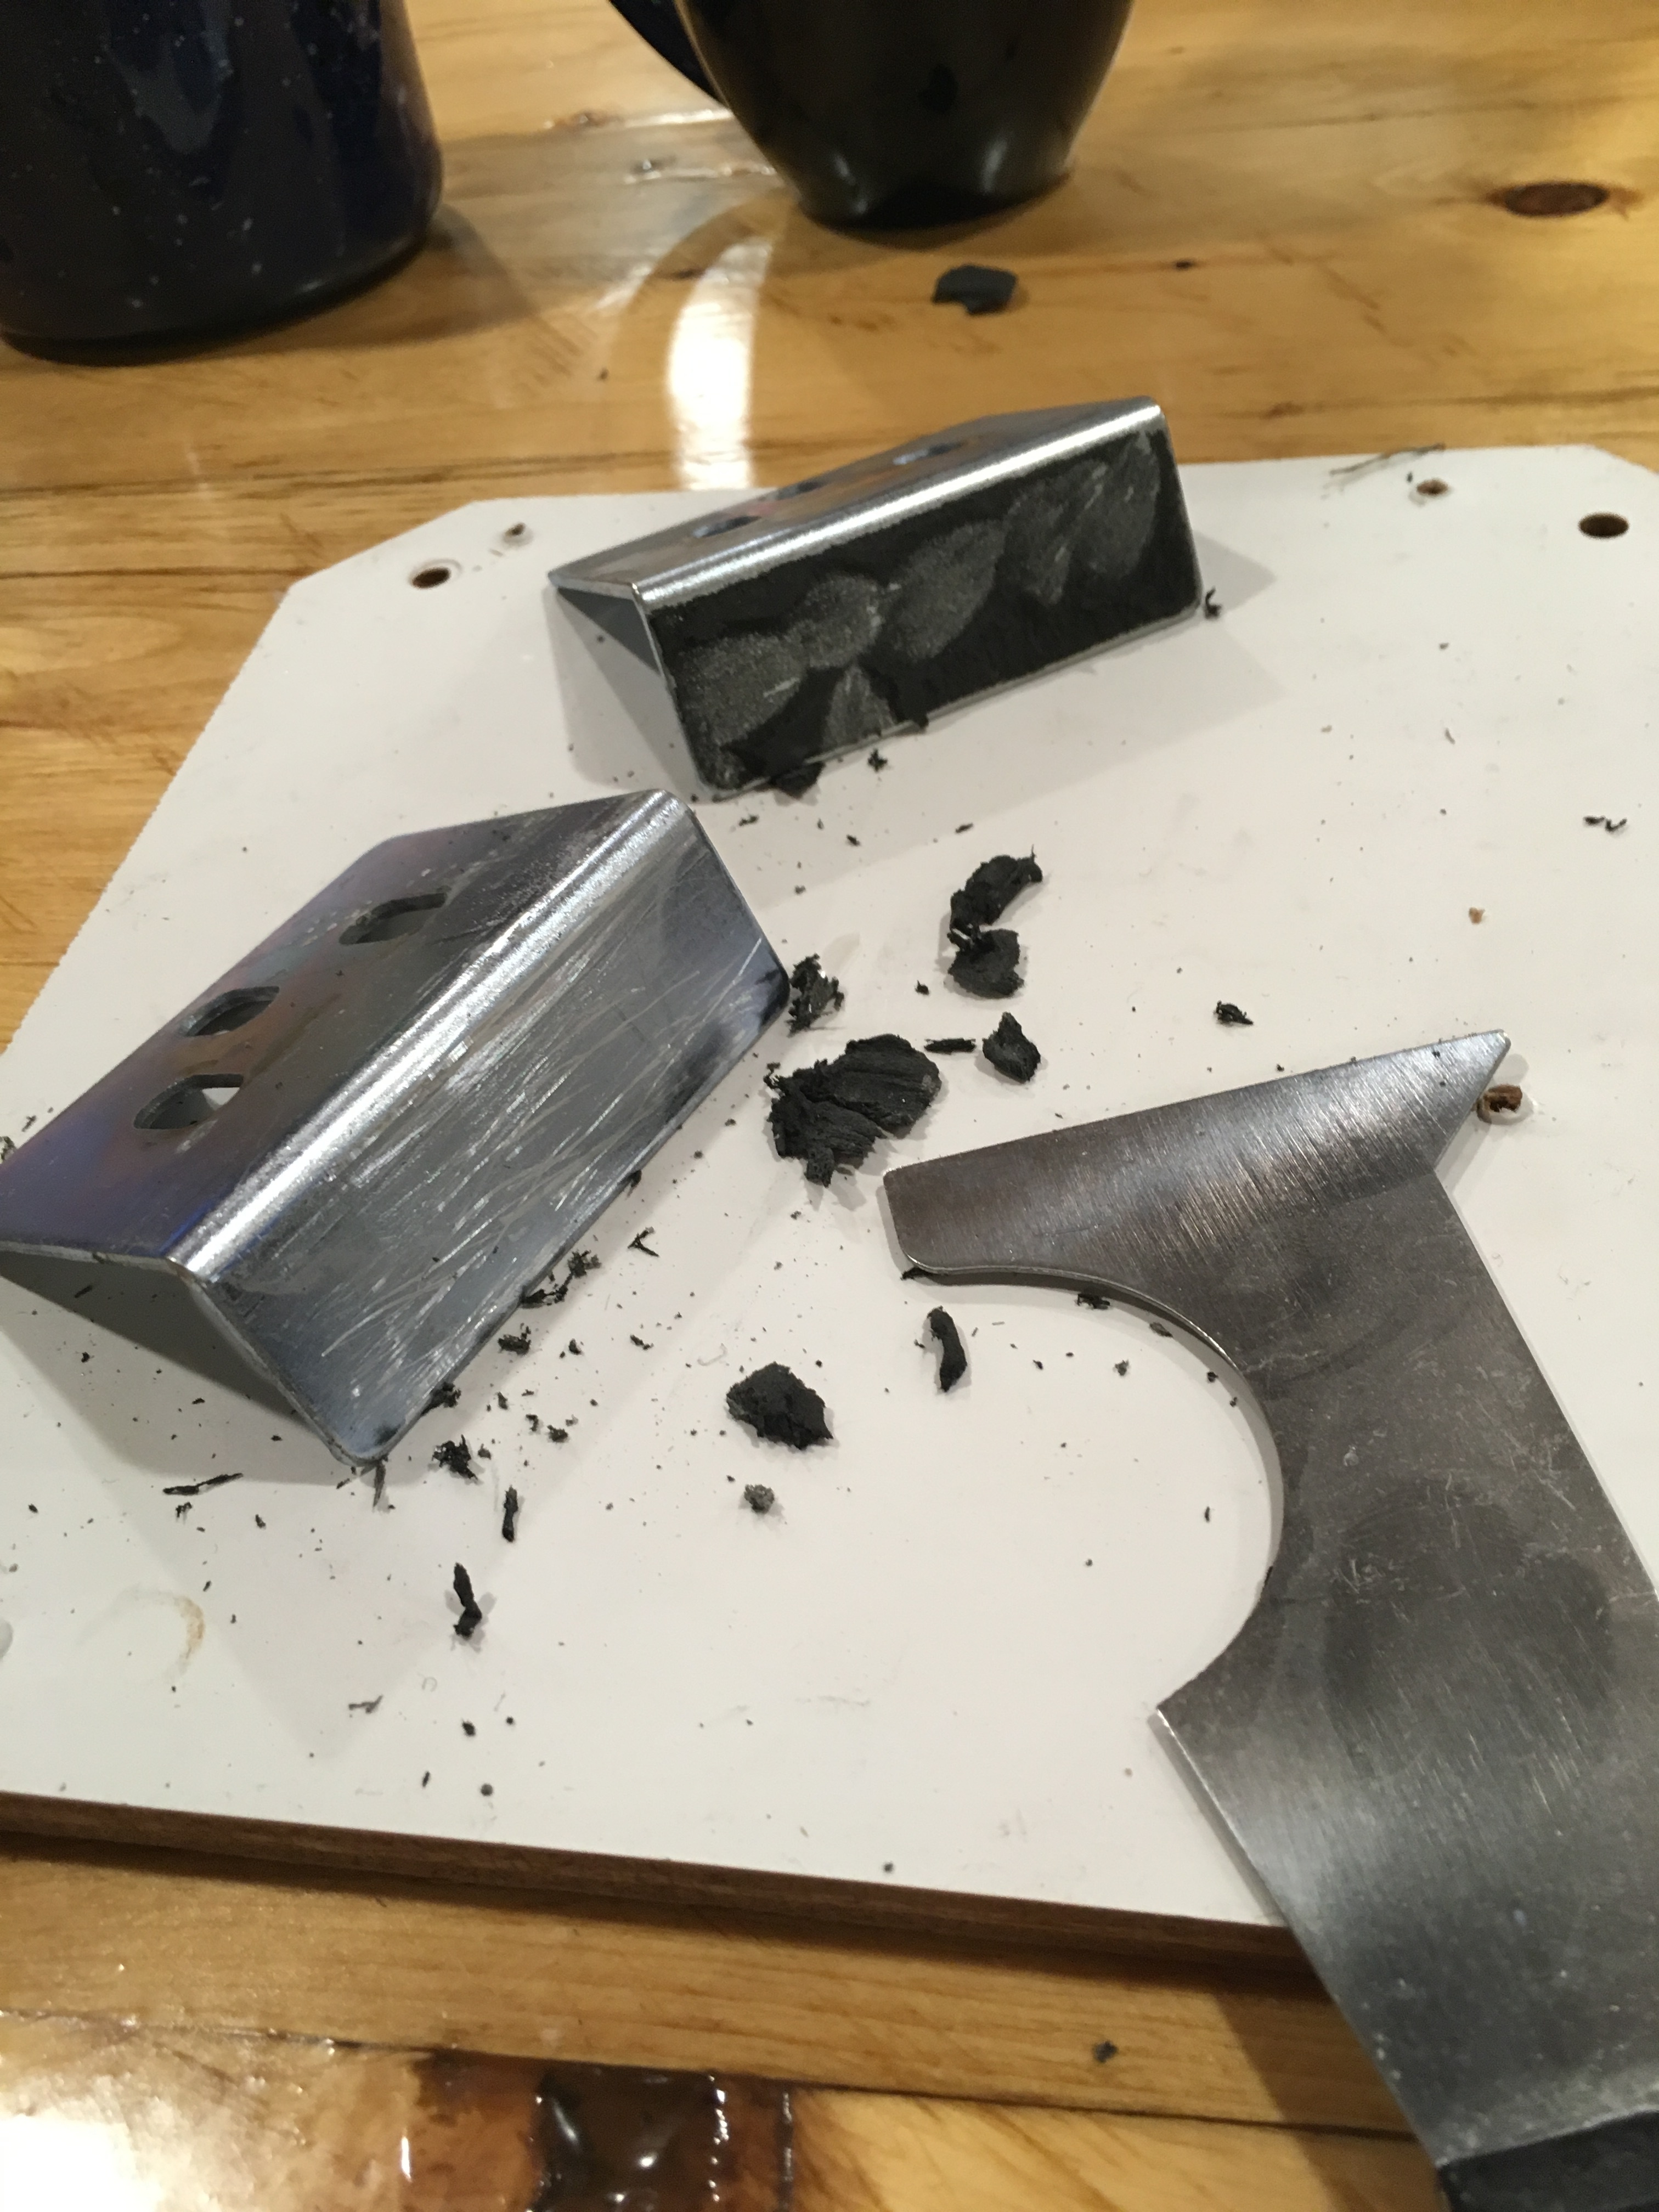
The old style bracket on the left and the new style on the right.
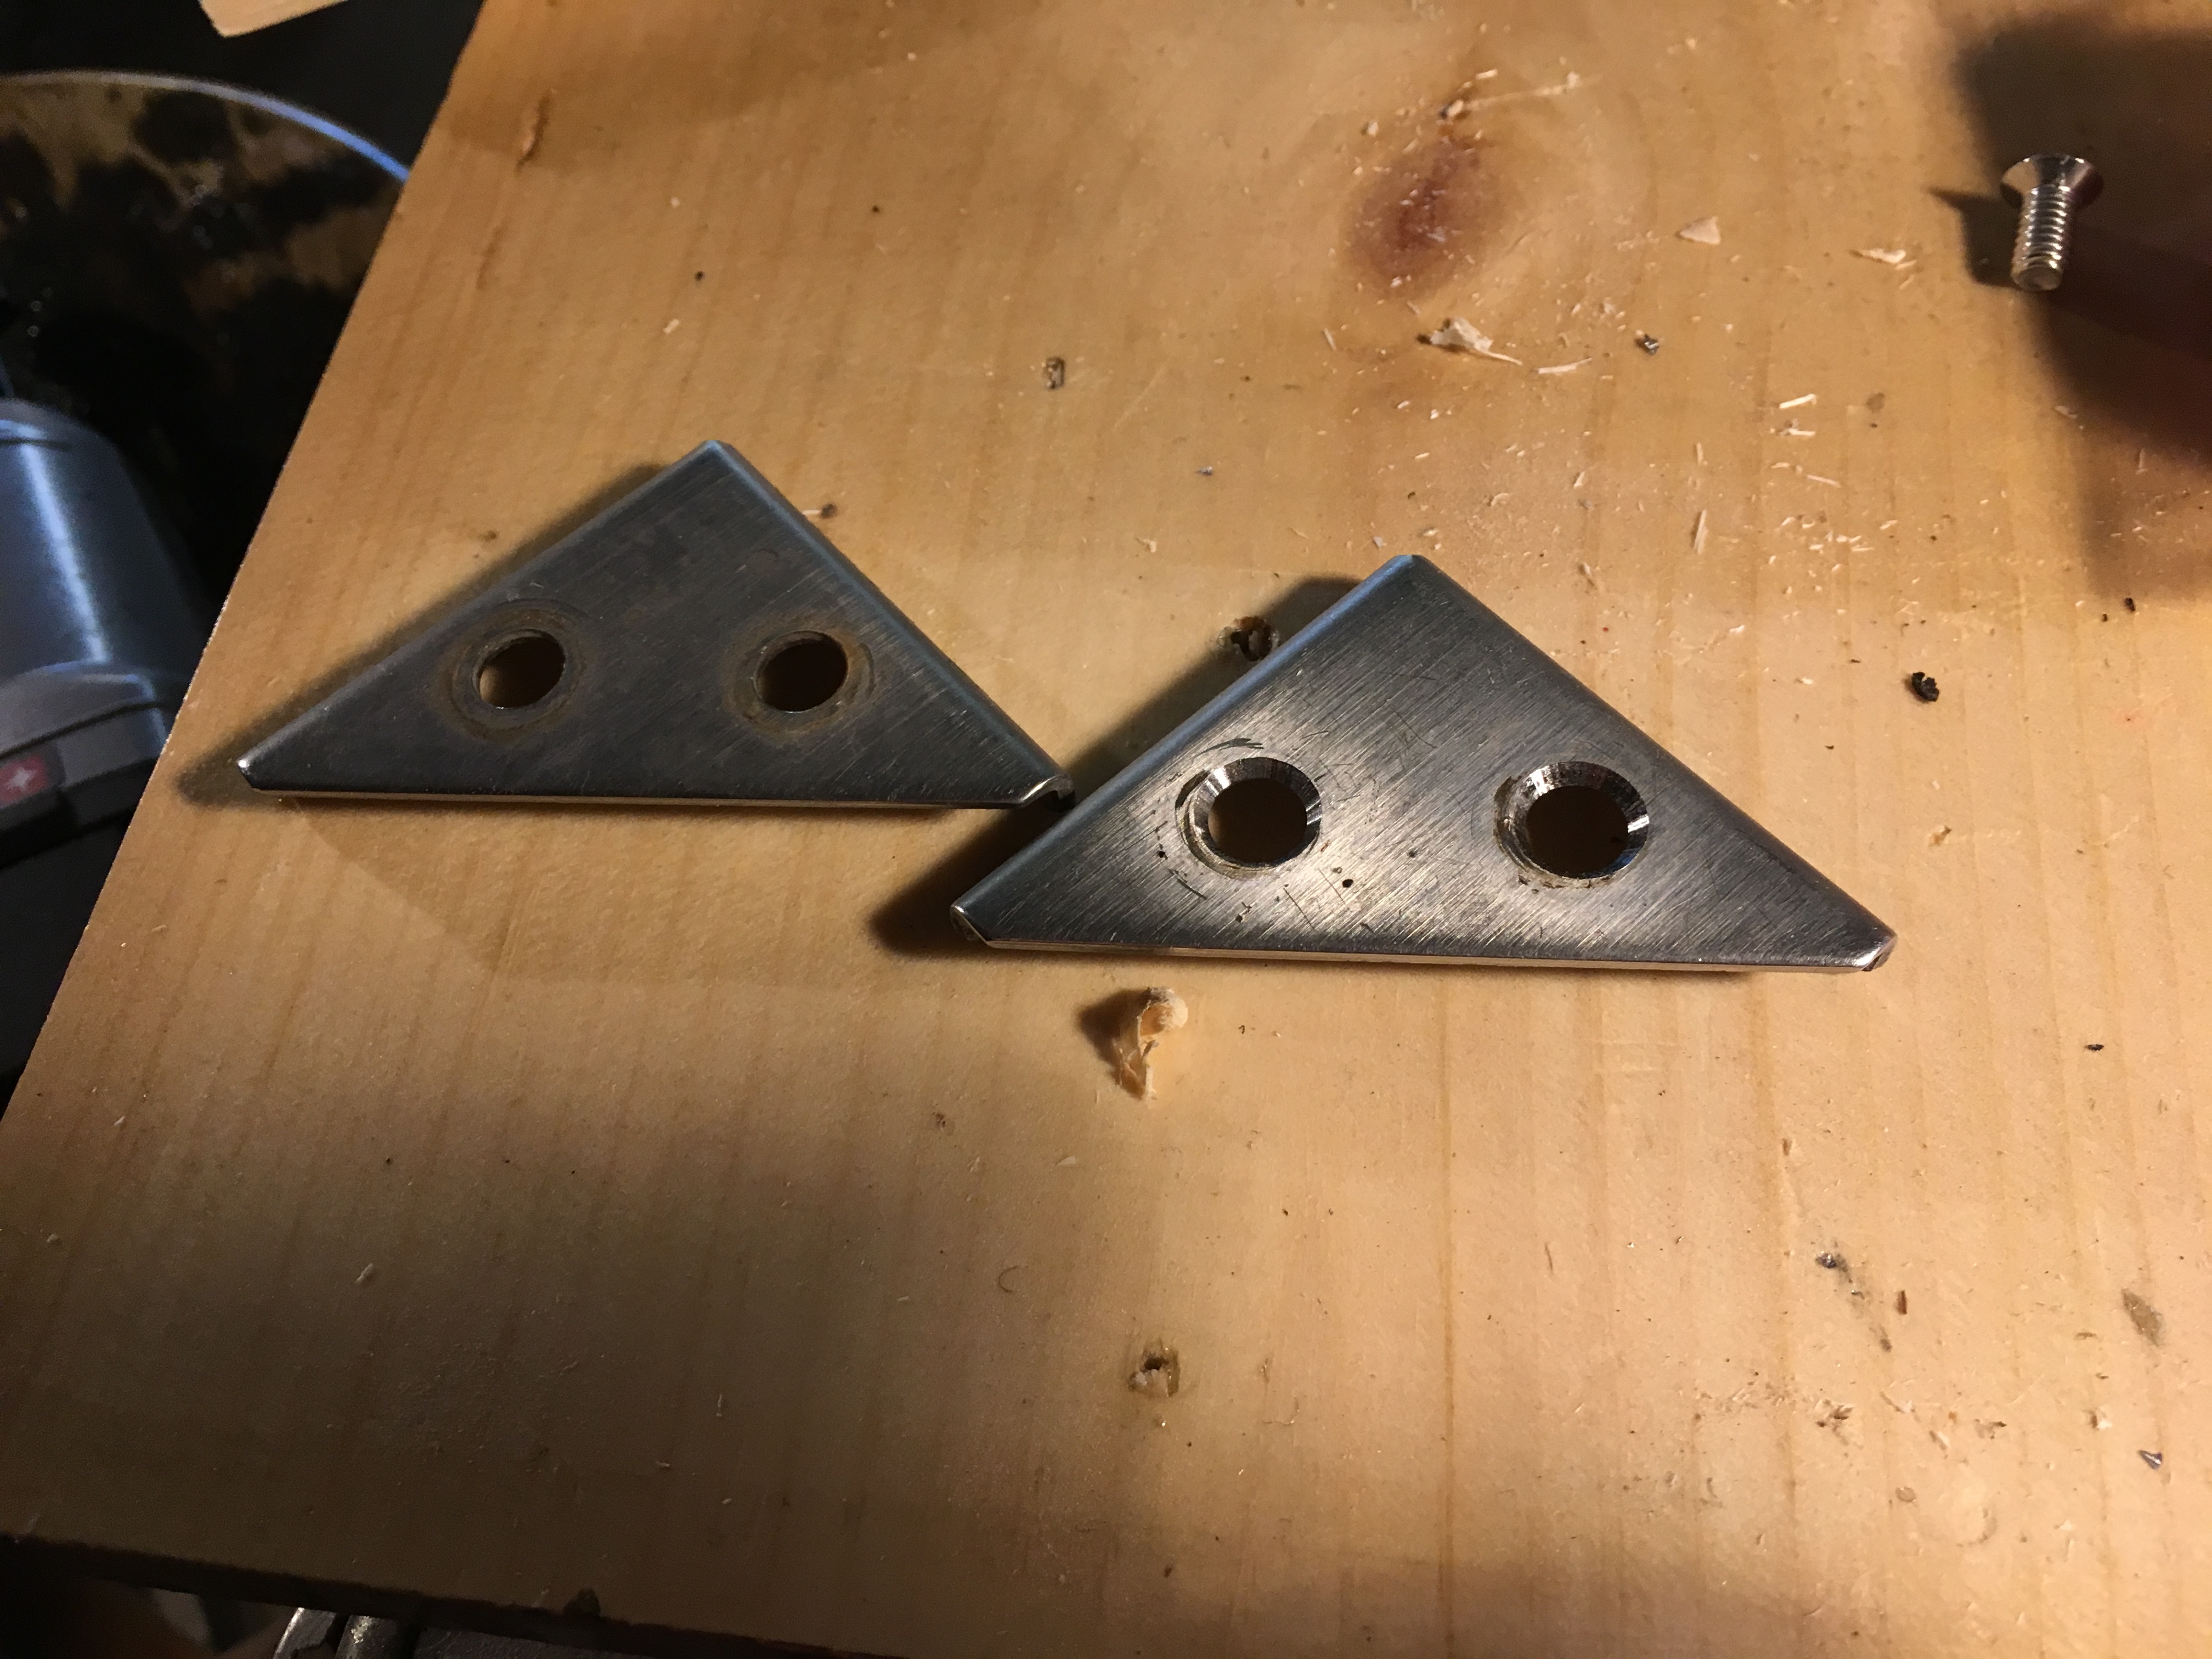
Another before and after shot - the bottom hole is countersunk and the top is not.

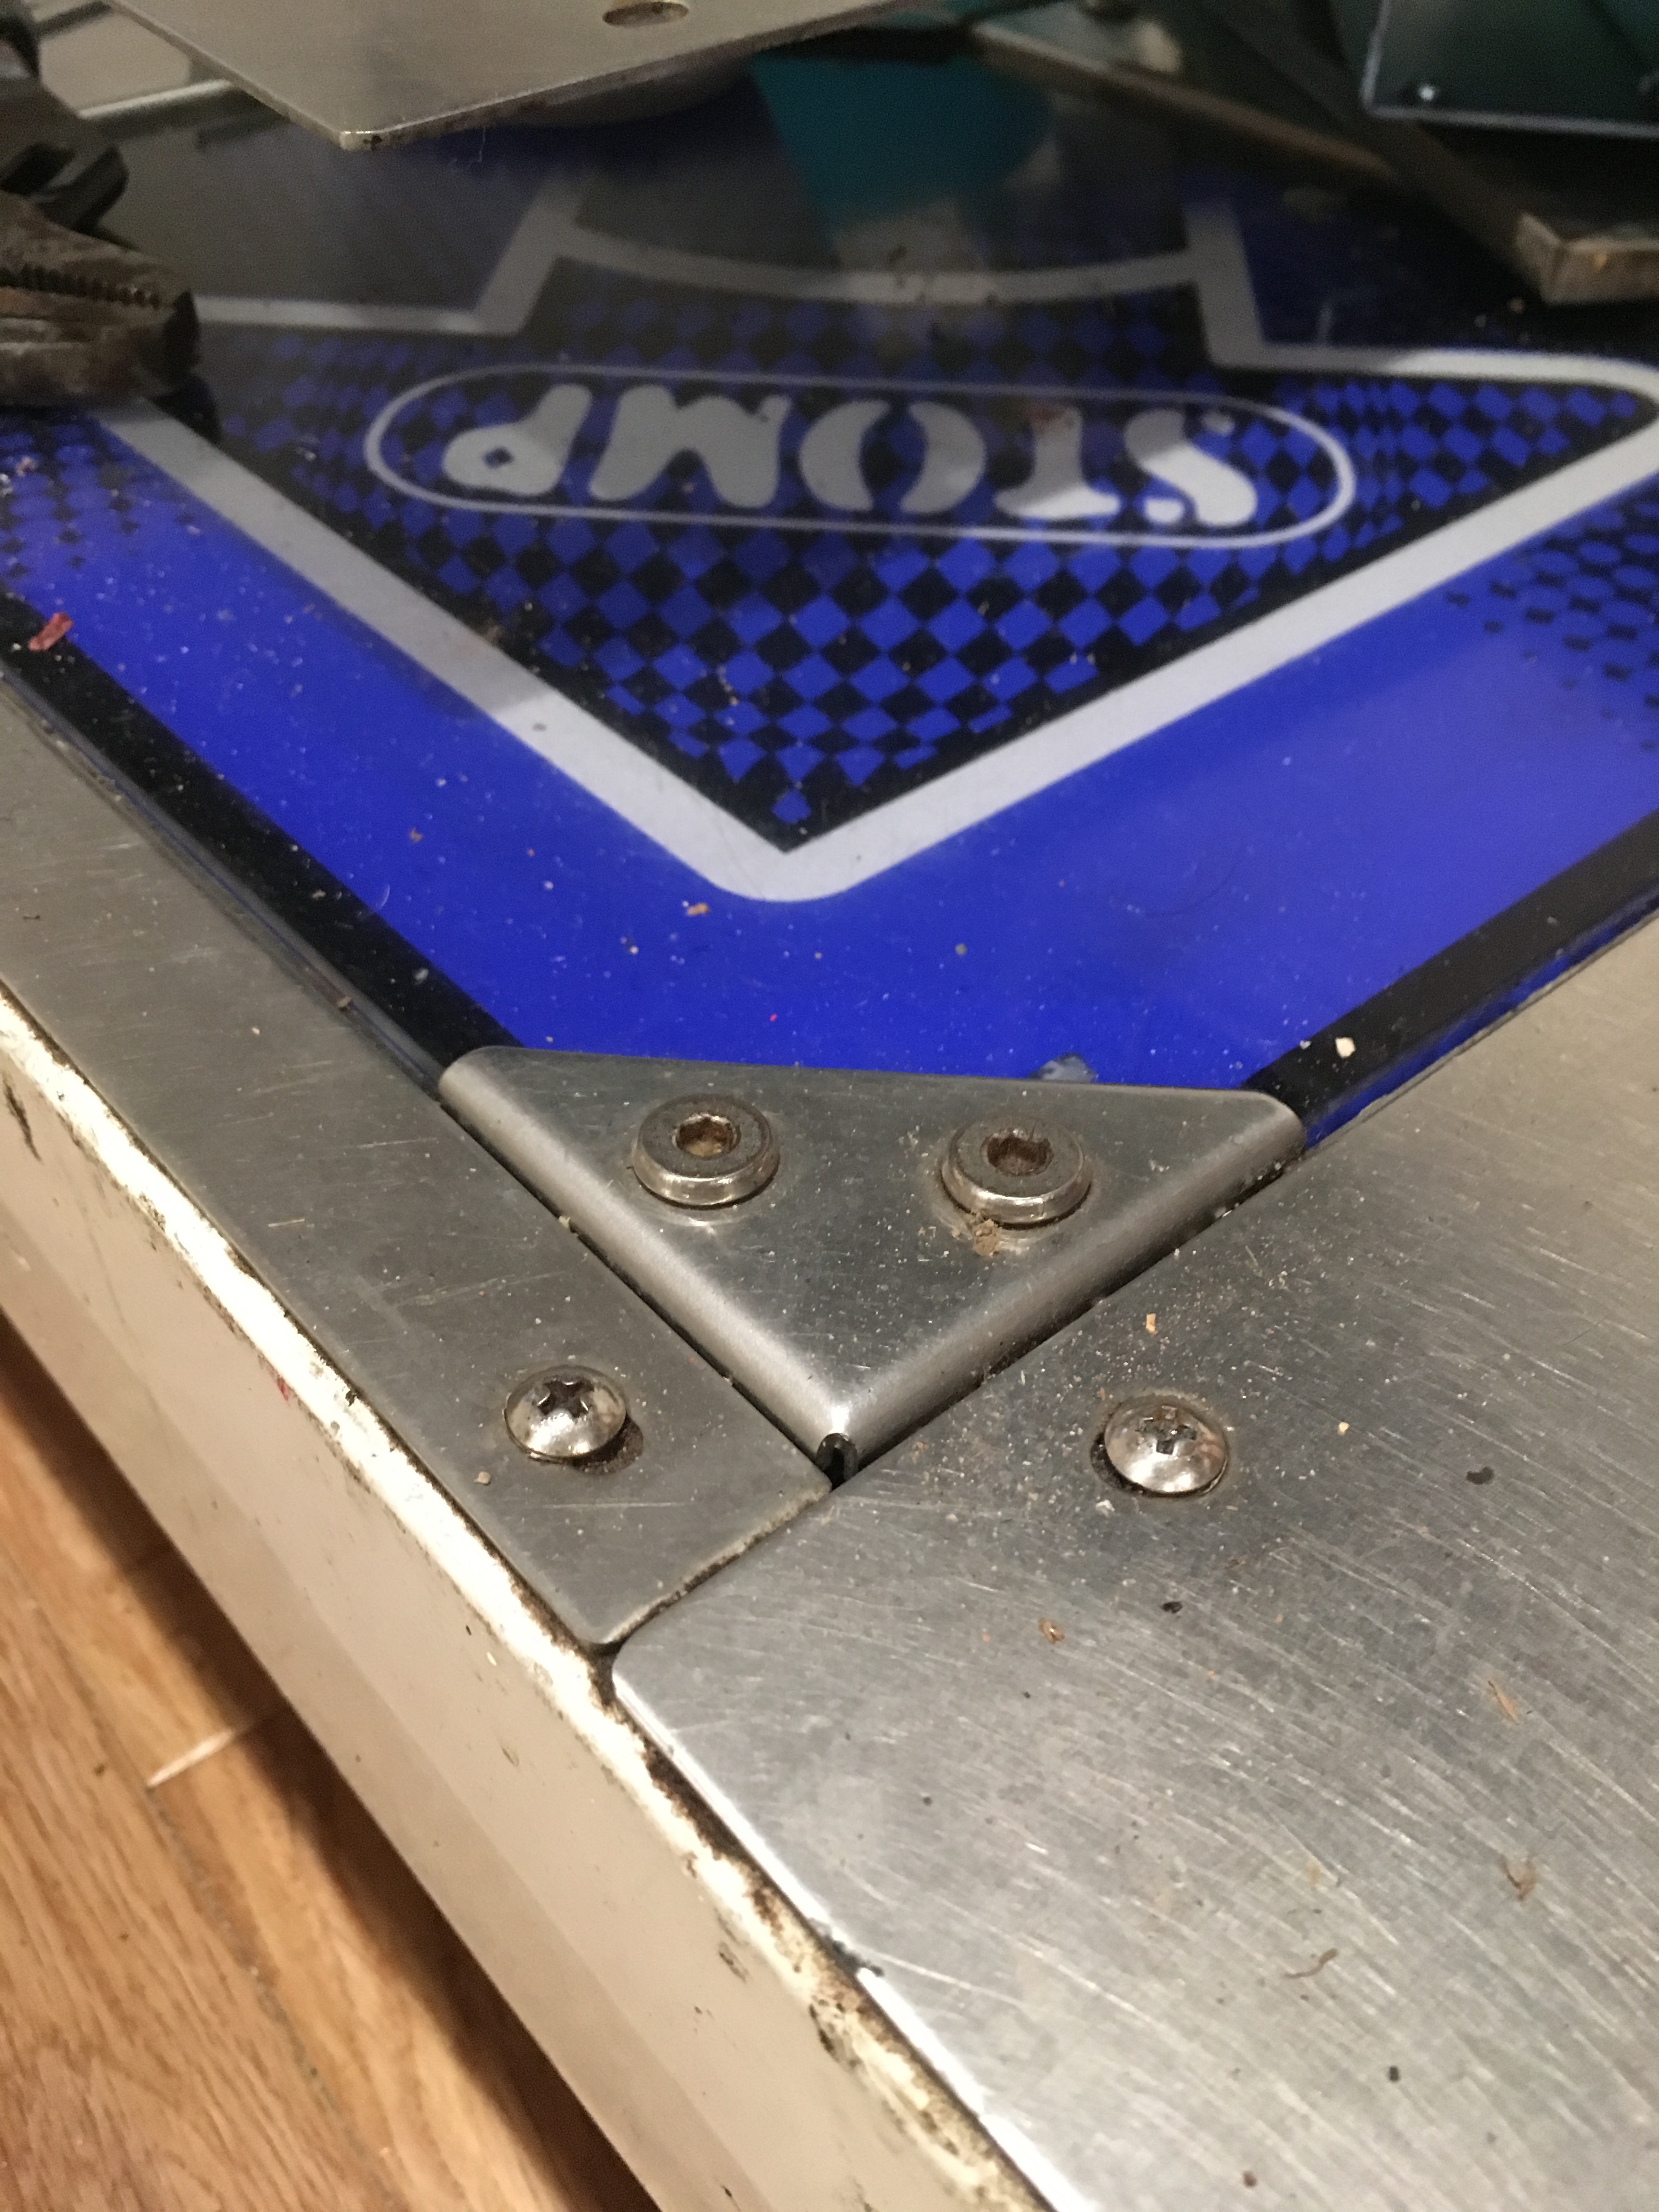
A before picture of the metal bracket installed without the countersunk holes.
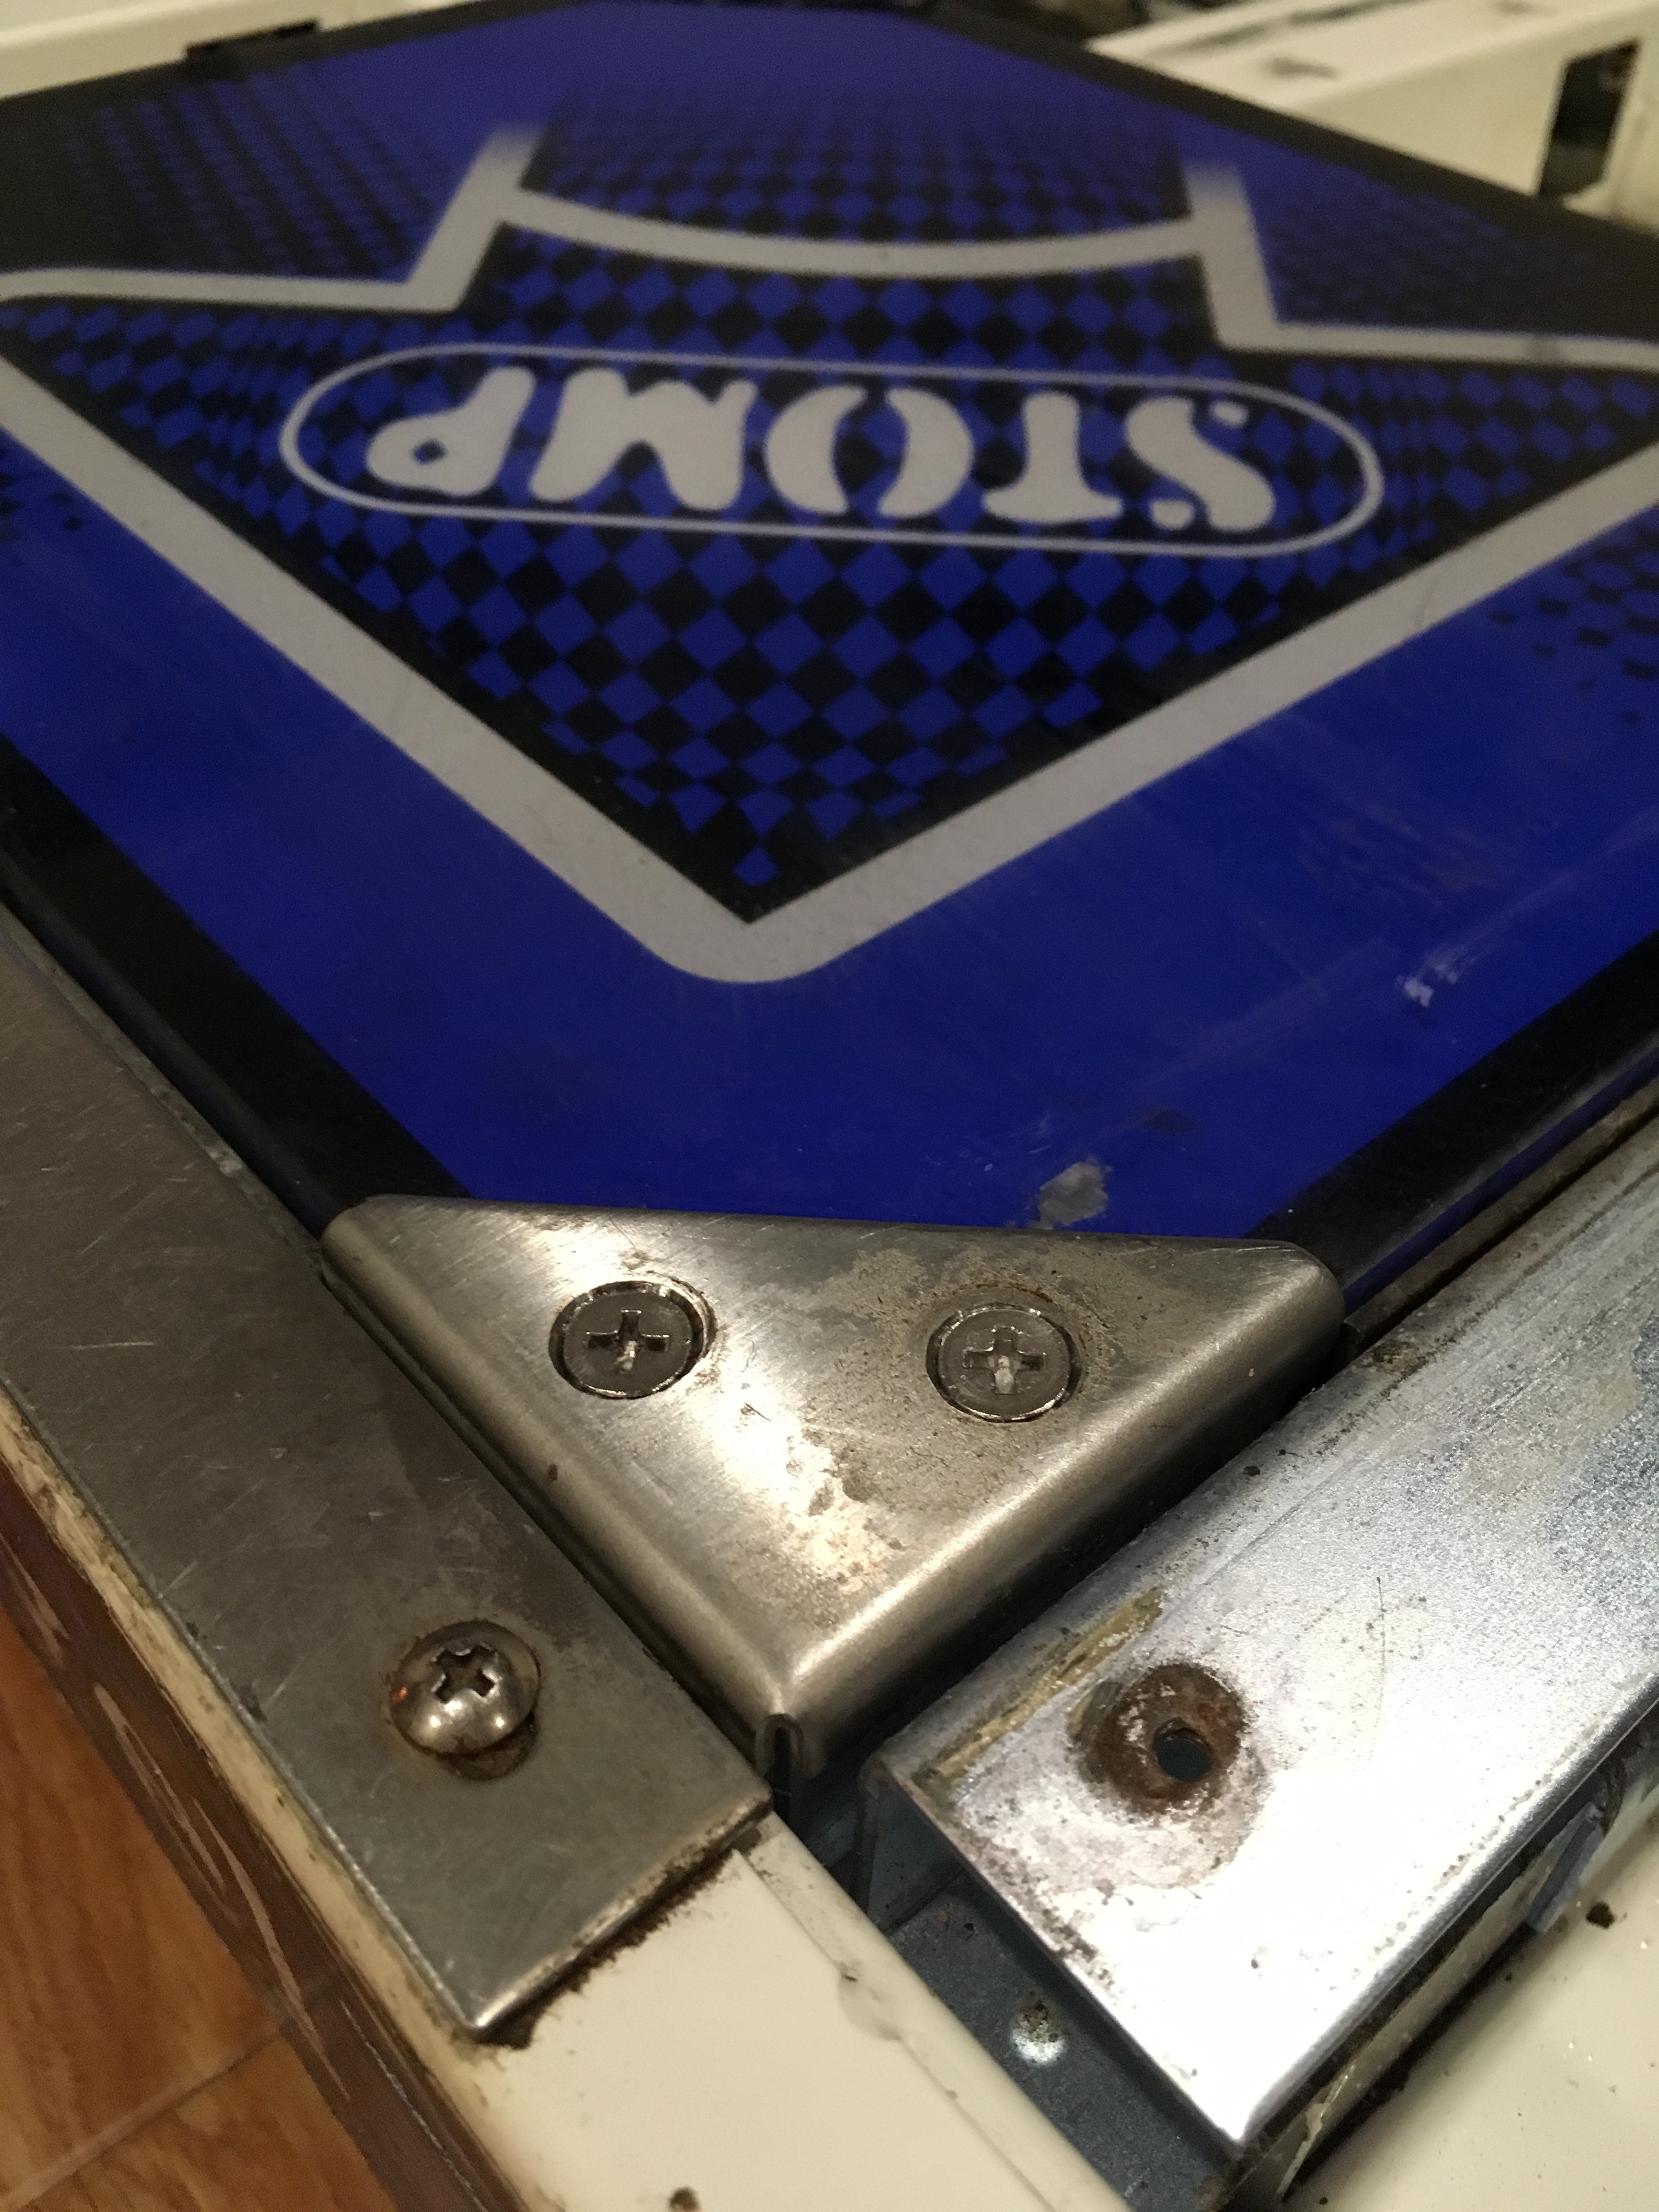
An after picture of the metal bracket installed with the countersunk holes.
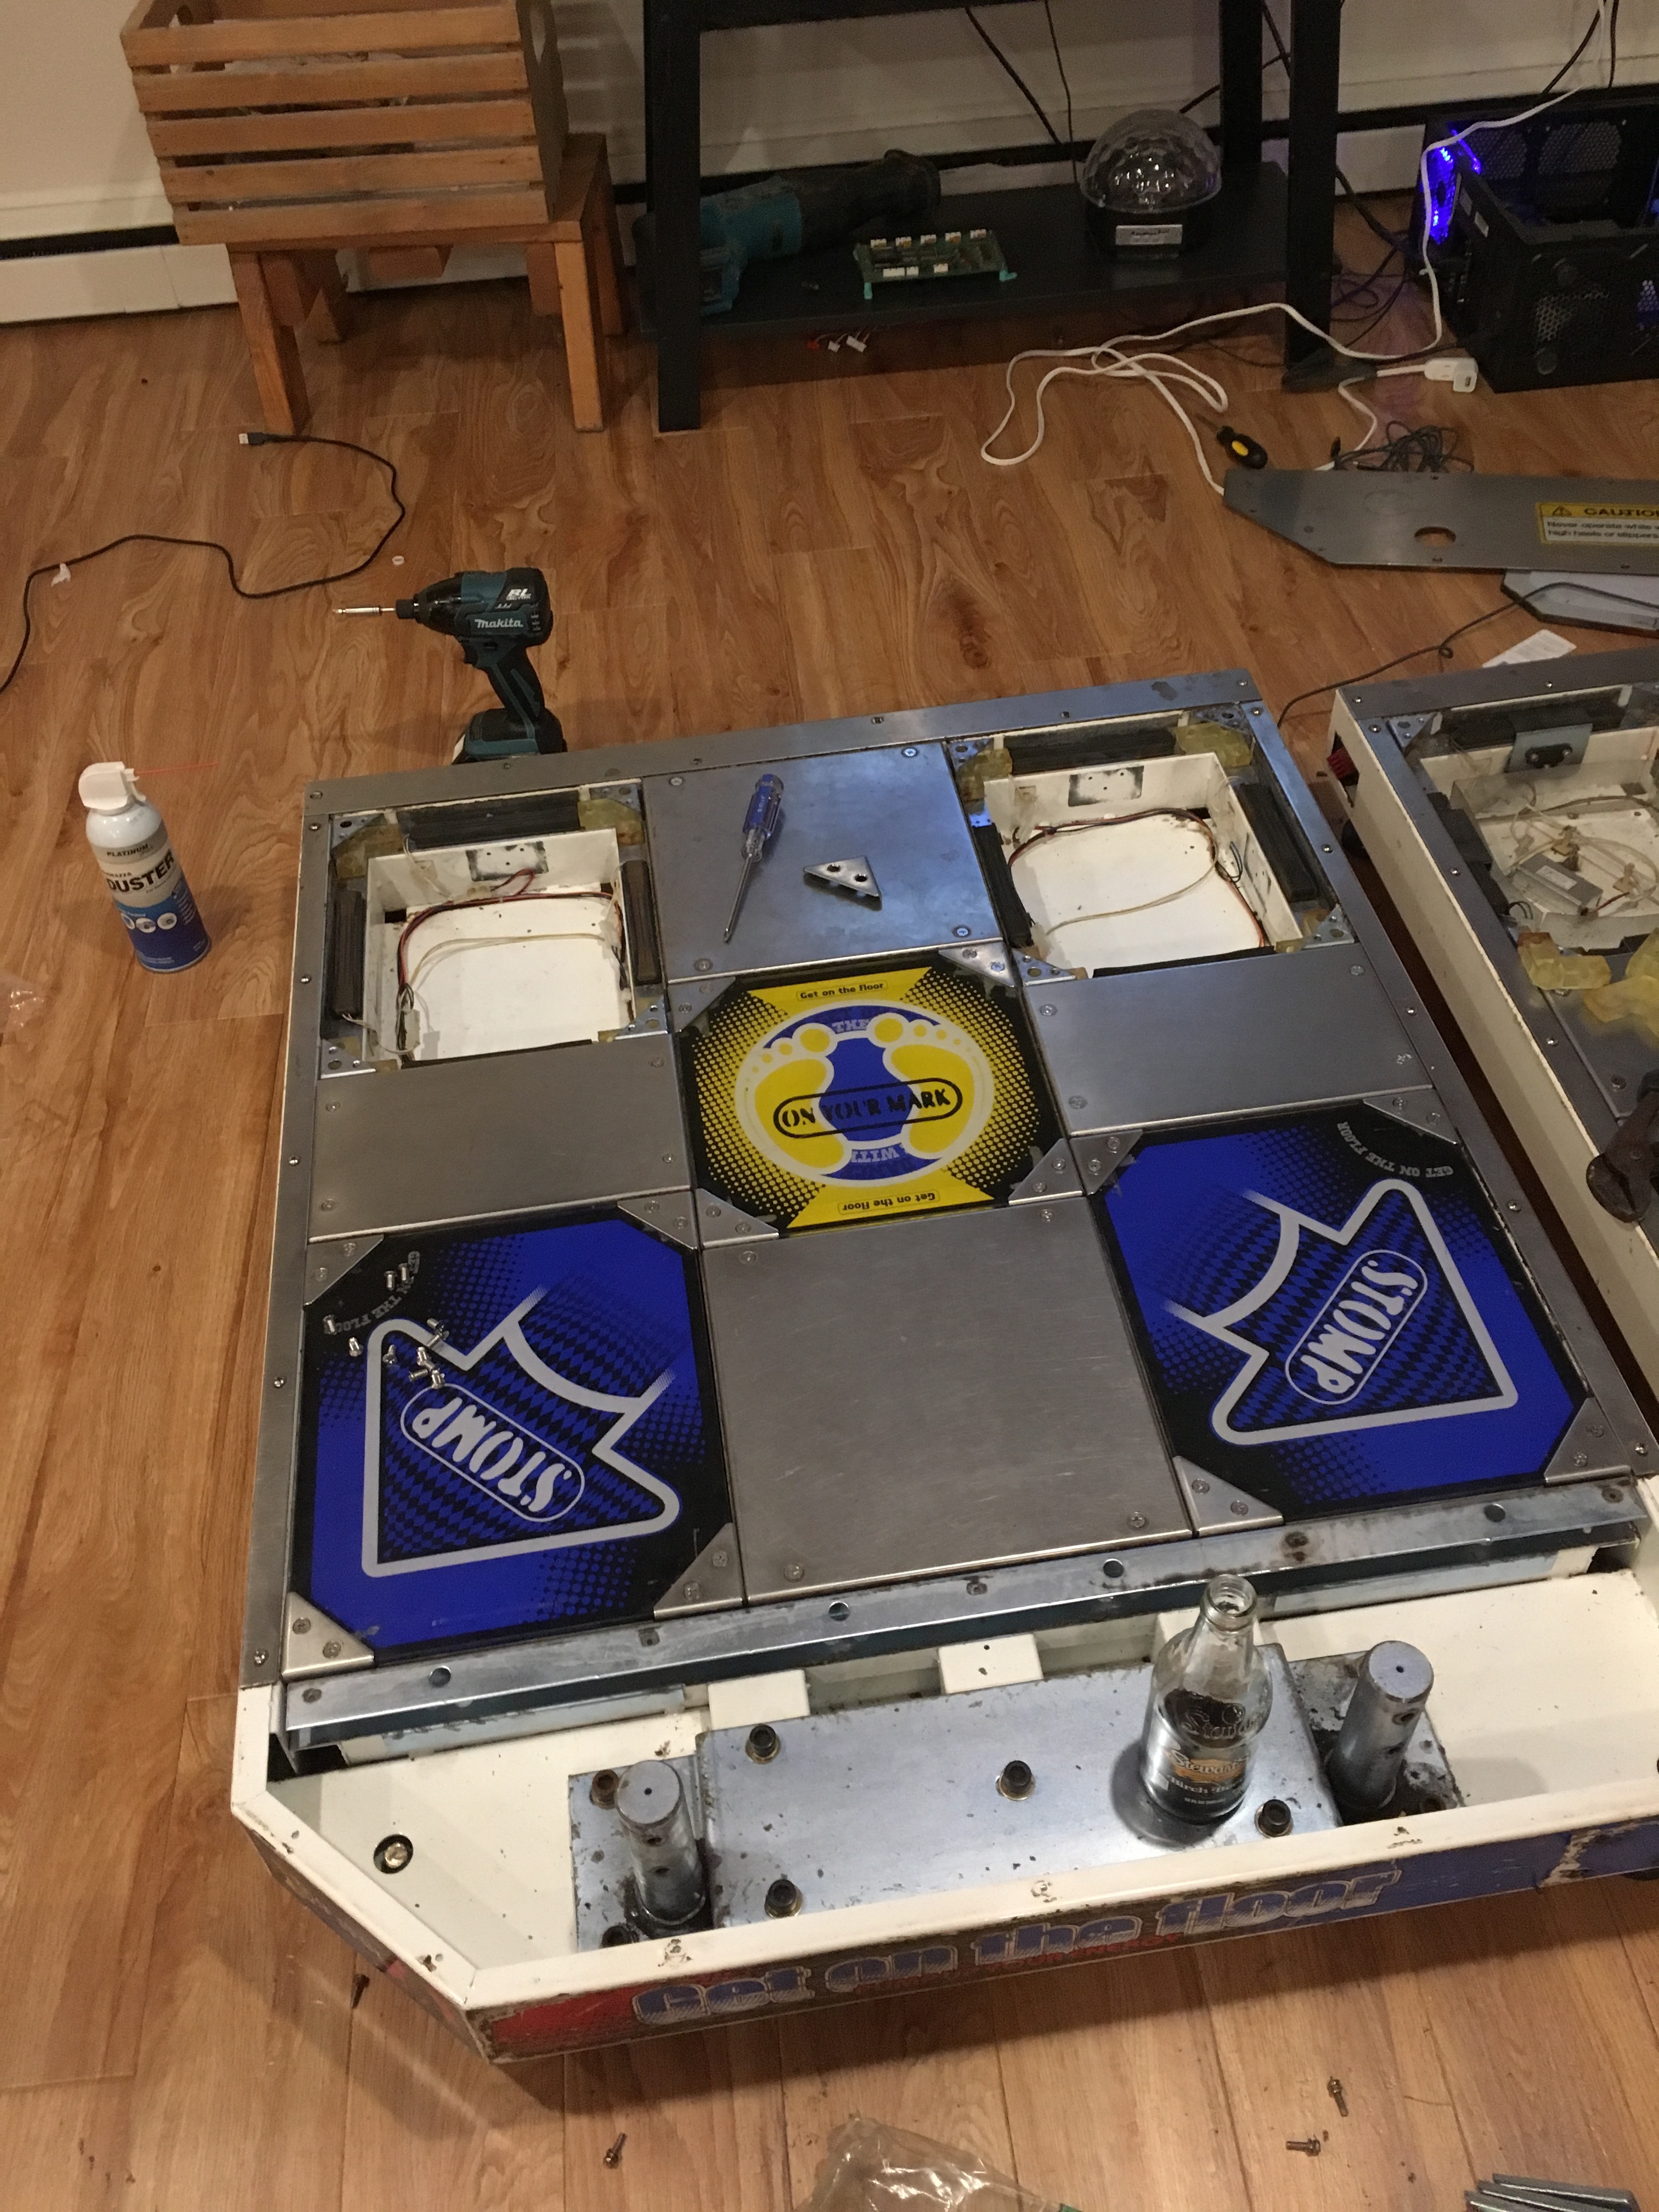
One panel installed in all of its glory.
Slowly reassembling the pads.
After removing the old PCB I used Gorilla tape to cover the metal on the inside to ensure that there’s no chance of shorting the BARR.io adapter.
Pad almost reassembled.
Pad reassembled.
The left pad is complete - on to working on the right pad.

Both pads fully assembled!
Attaching the Pads
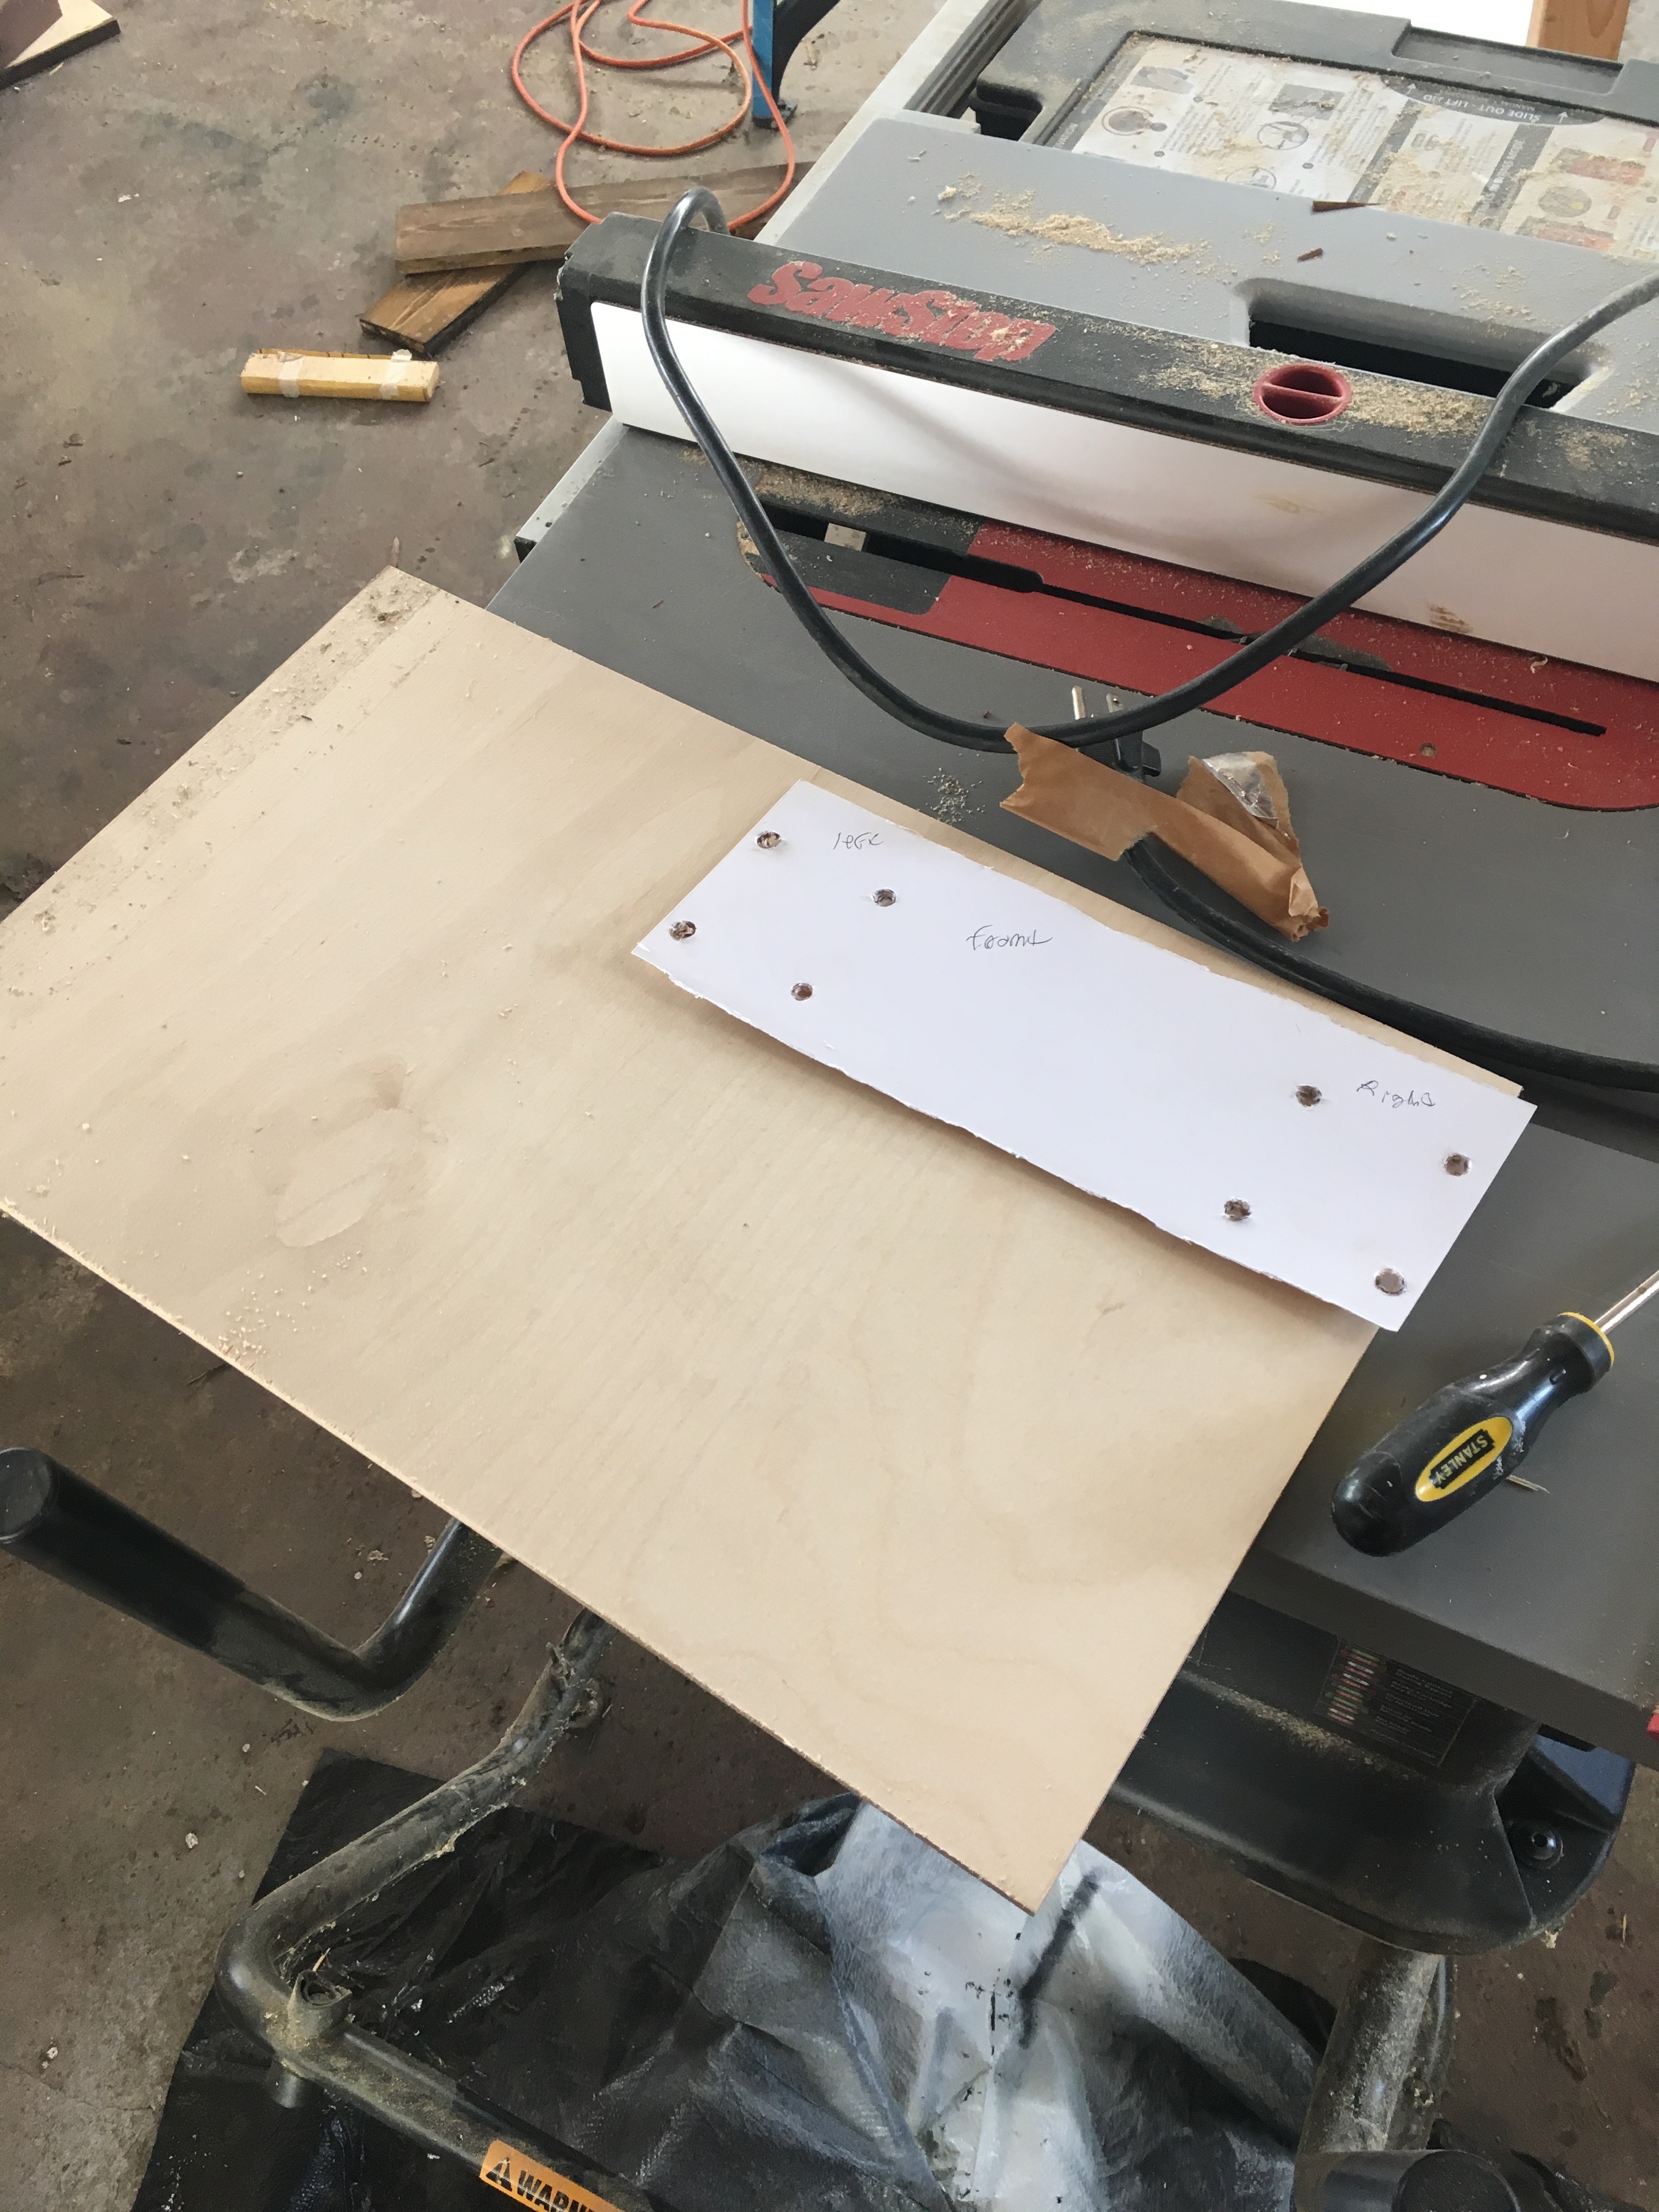
In order to connect the two pads to each other, almost all arcade pads have a metal bracket on the front and the back that screw into the pads and hold them in place. The pads I bought didn’t come with the bracket, so I had to improvise. I decided to save money, and make my own brackets out of plywood.
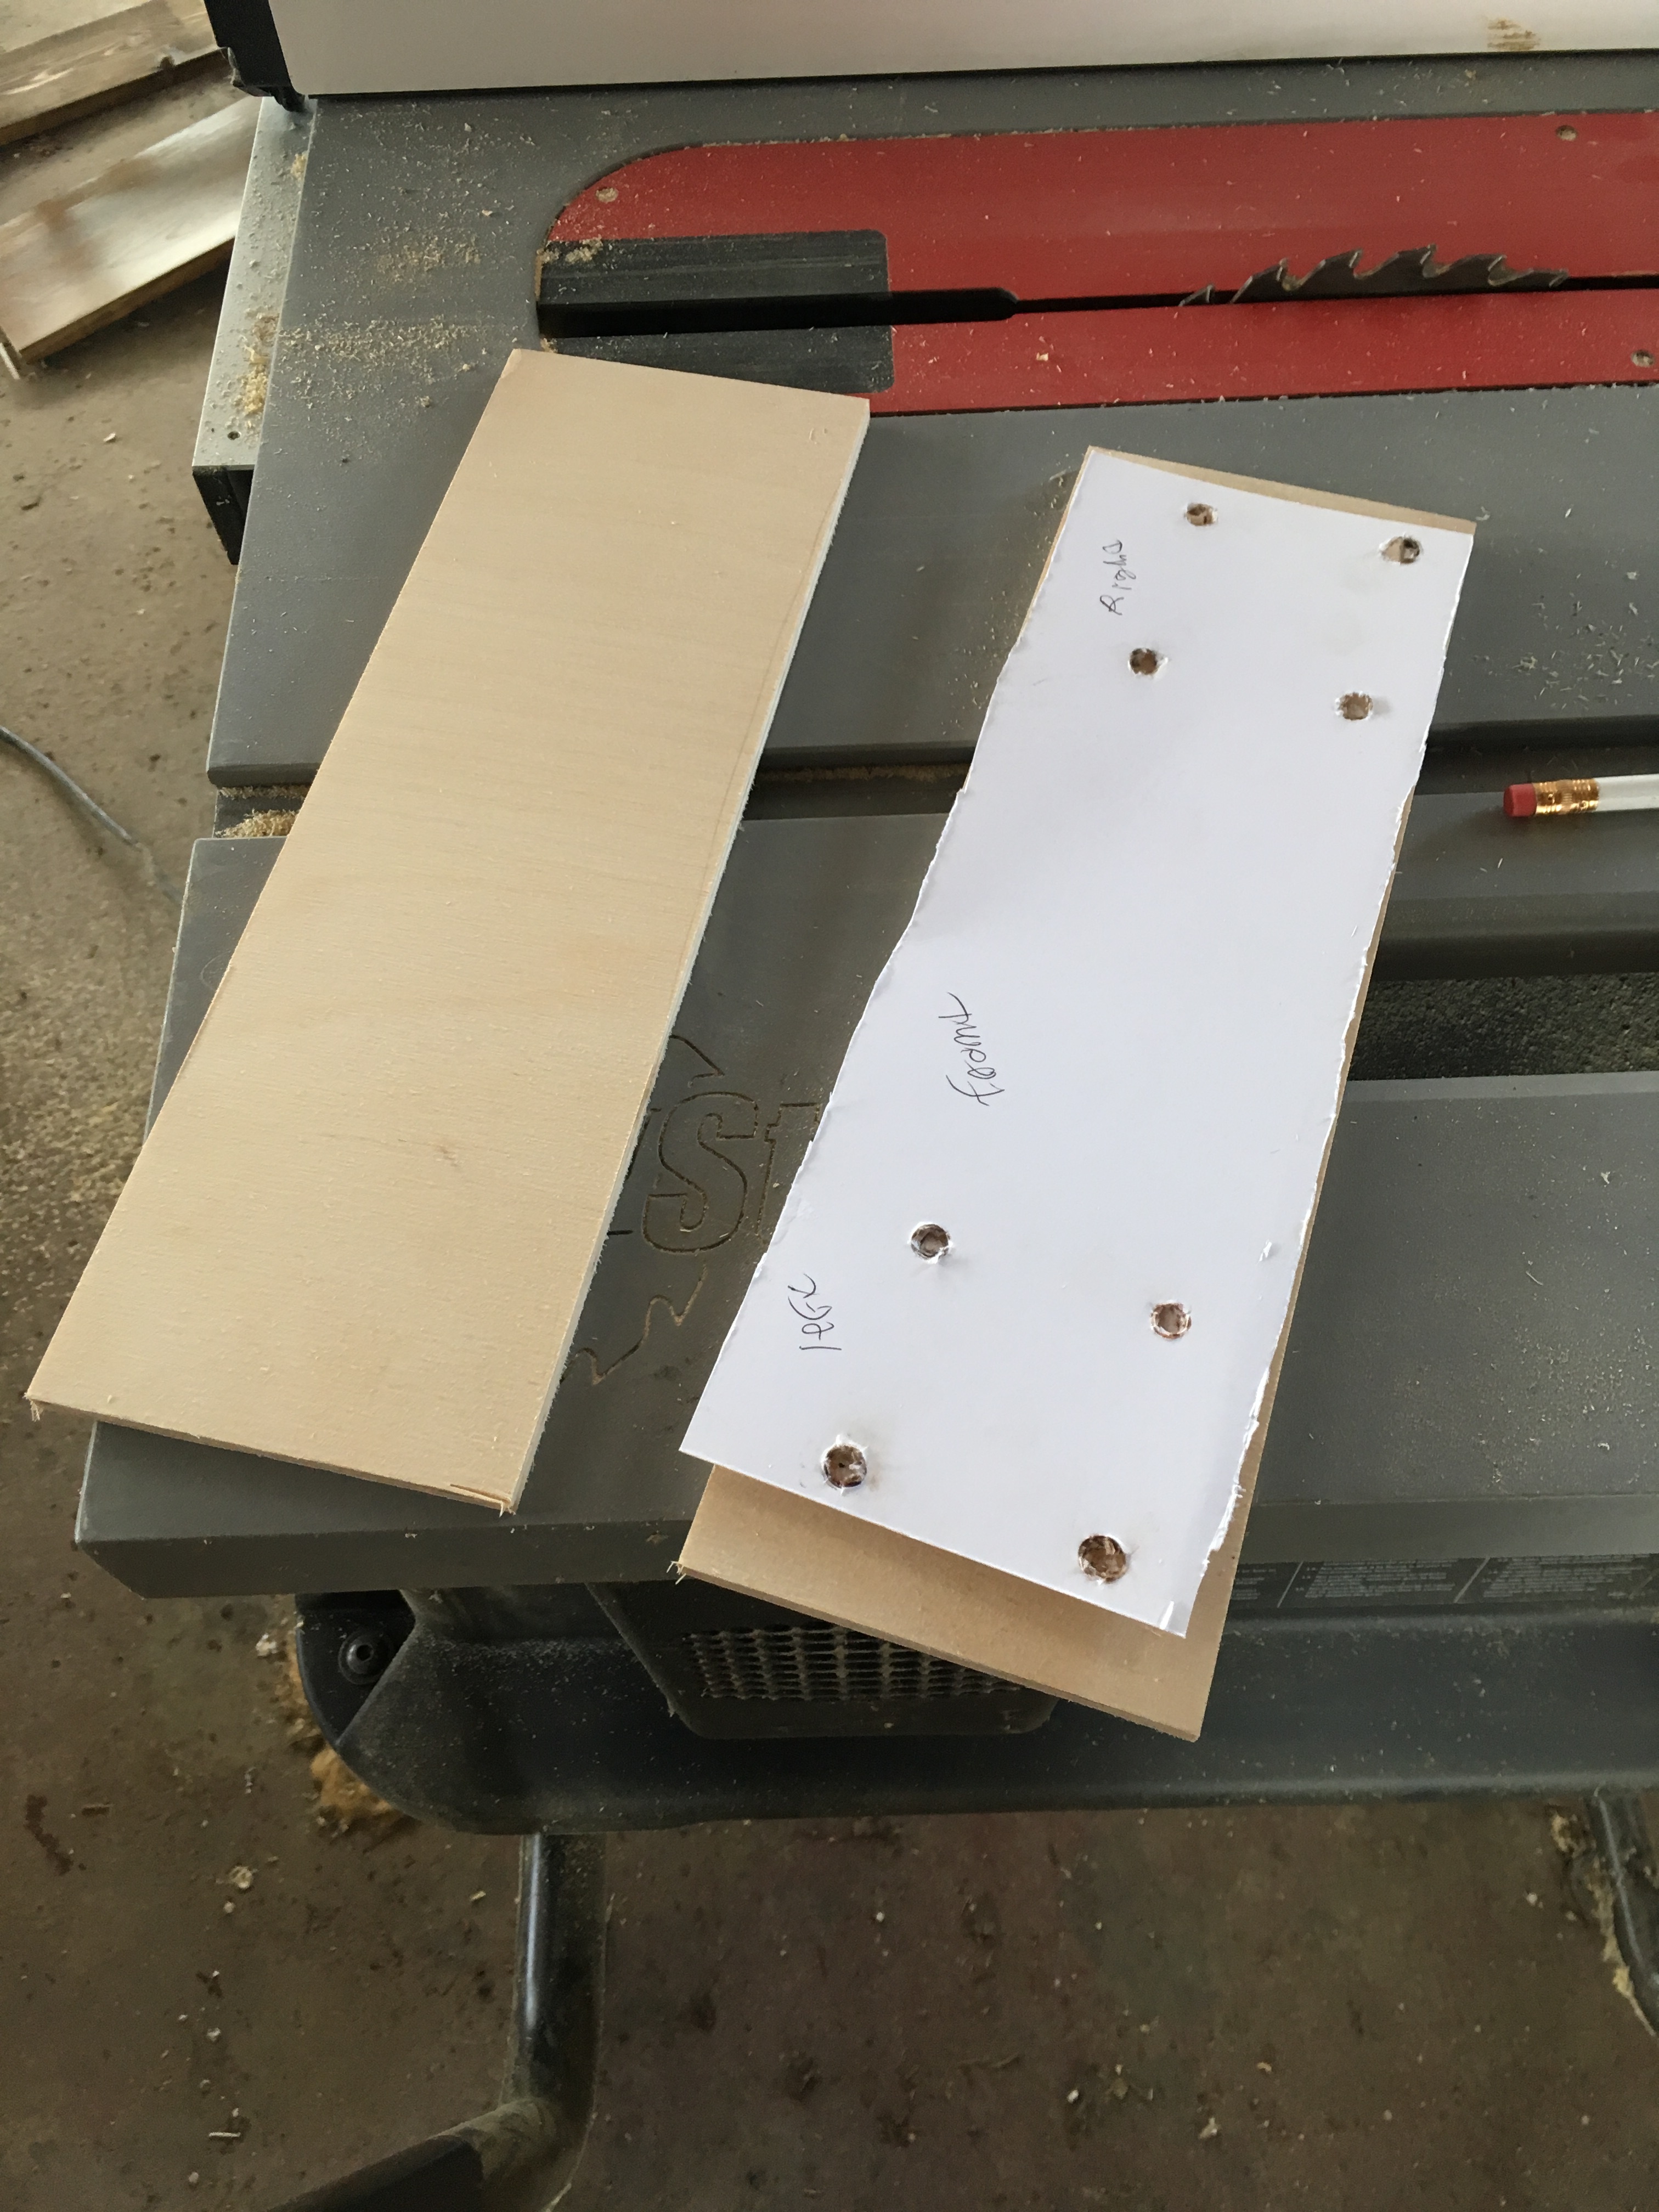
To do this, I used a piece of paper held over the pads, and stabbed holes where the screw holes are. Then, I used that as a template to cut pieces of plywood.
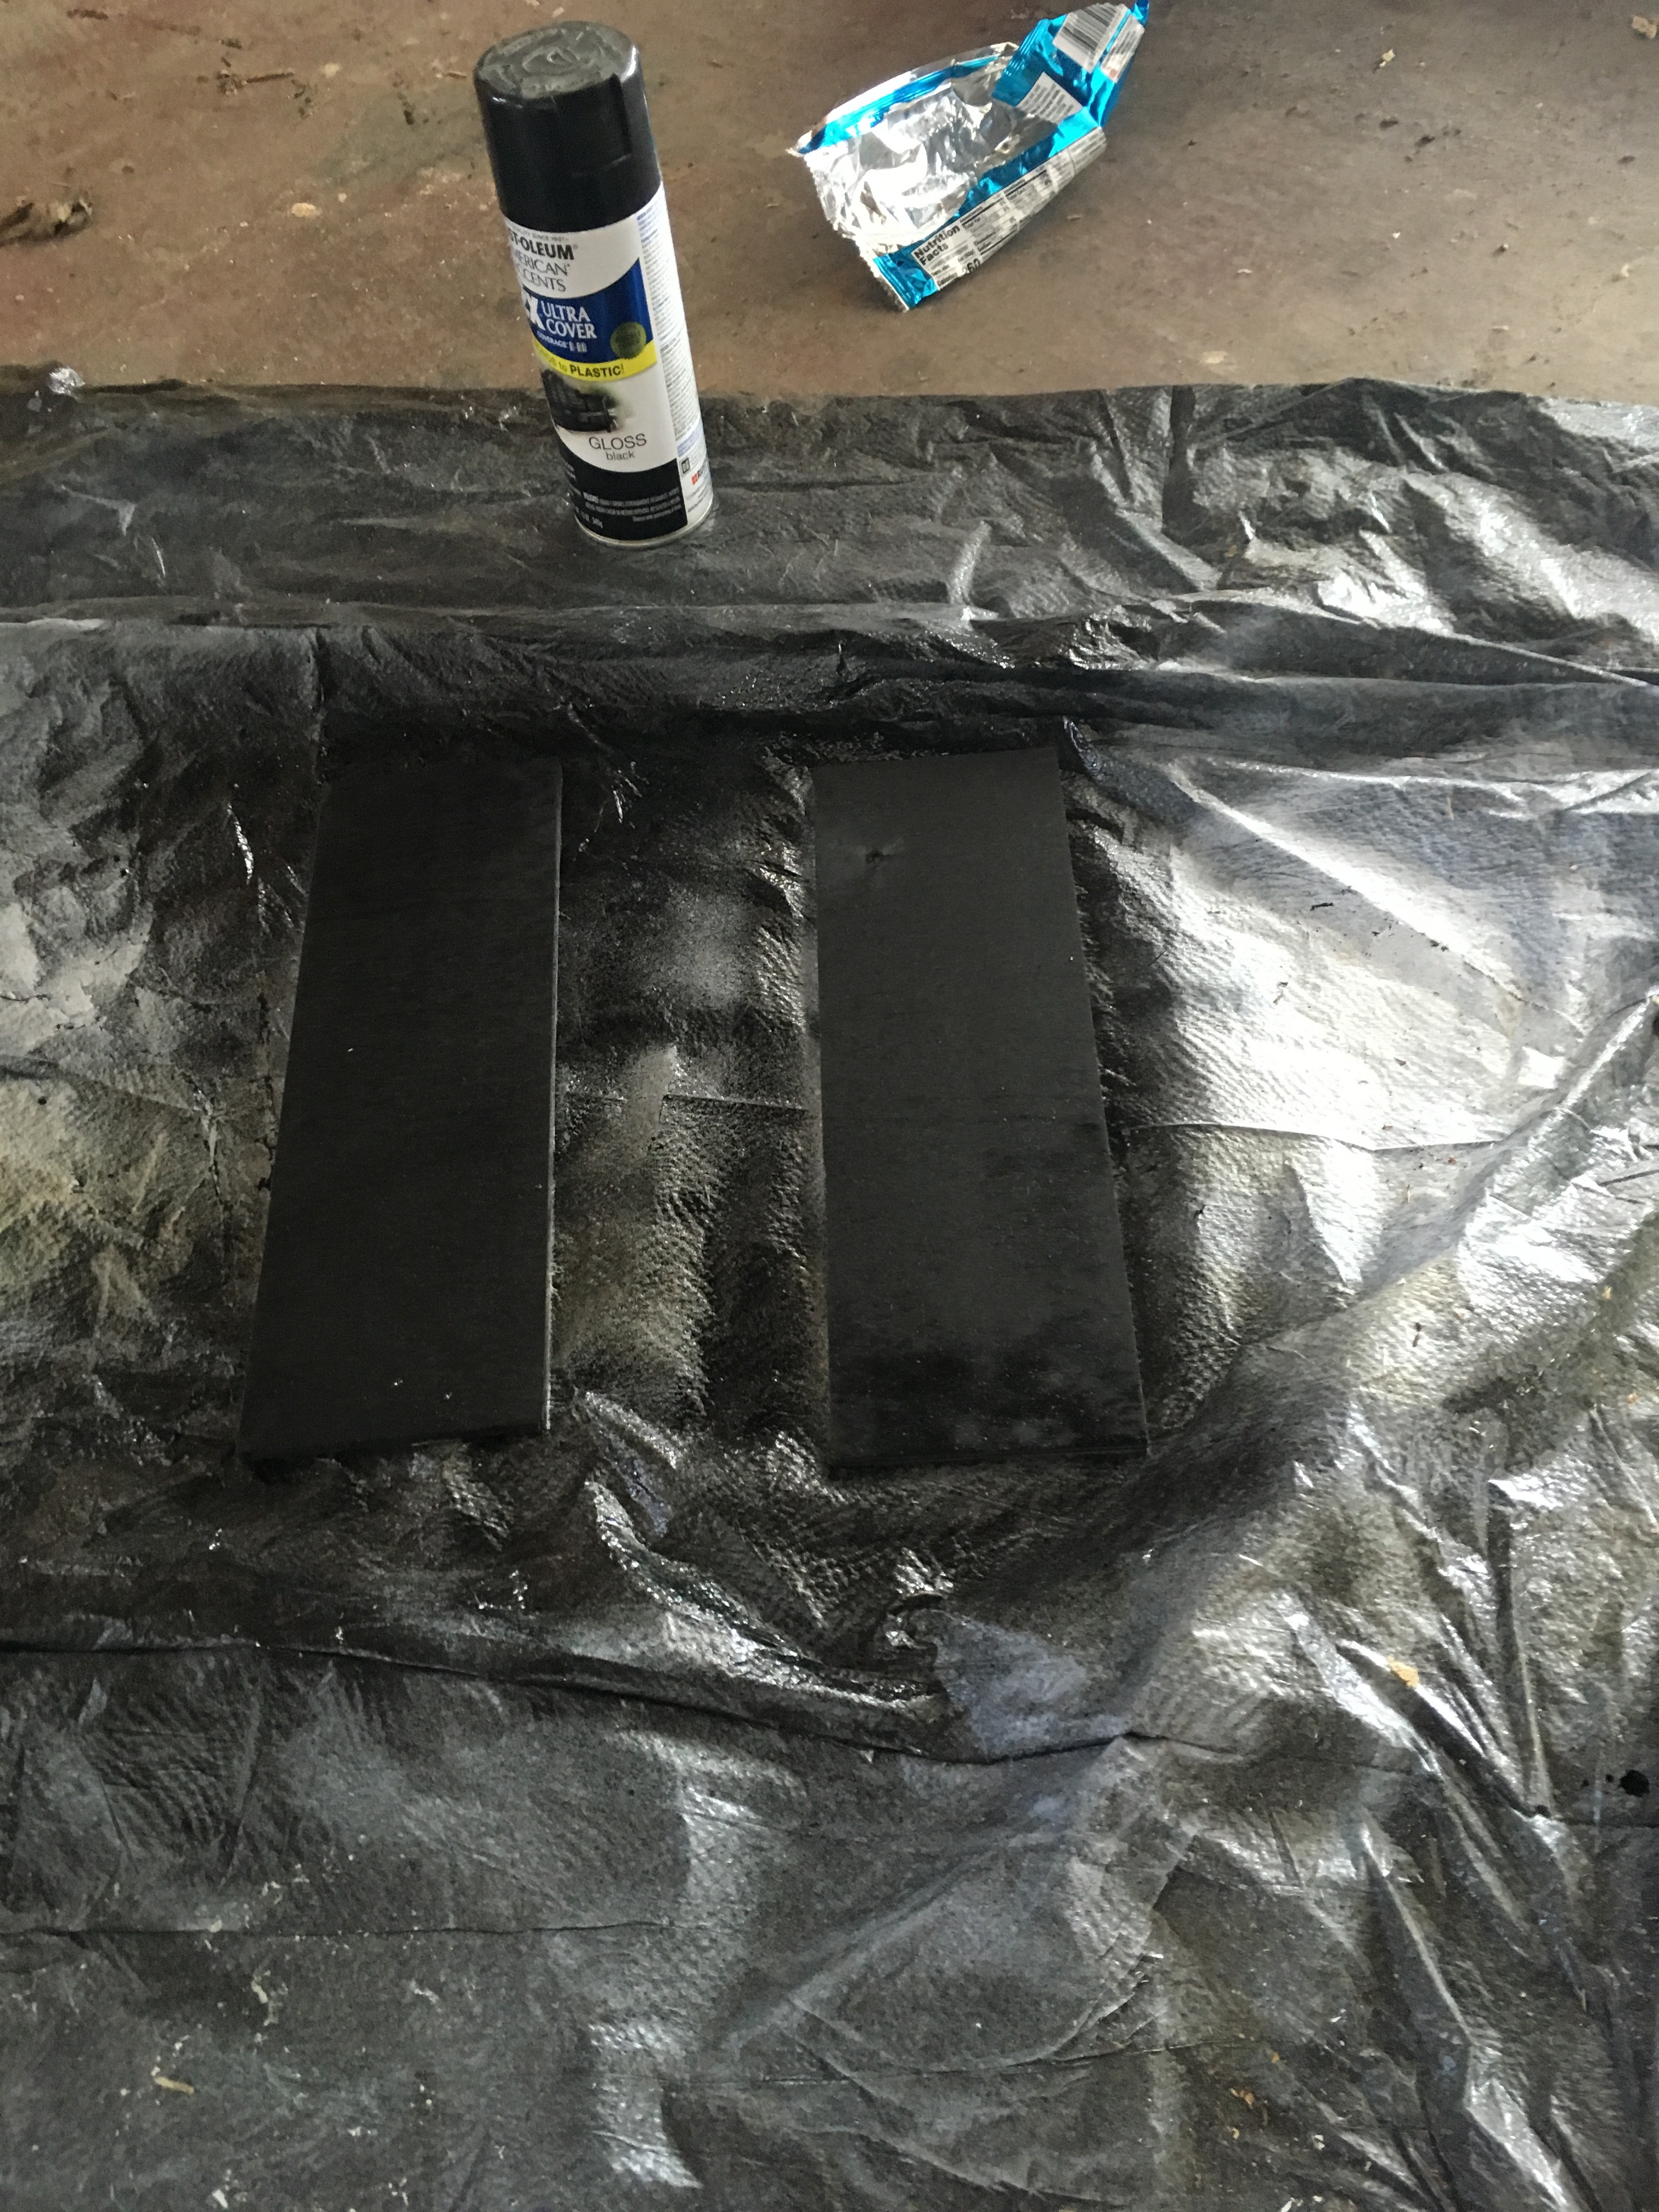
Two pieces of plywood cut.
Spray painted black.
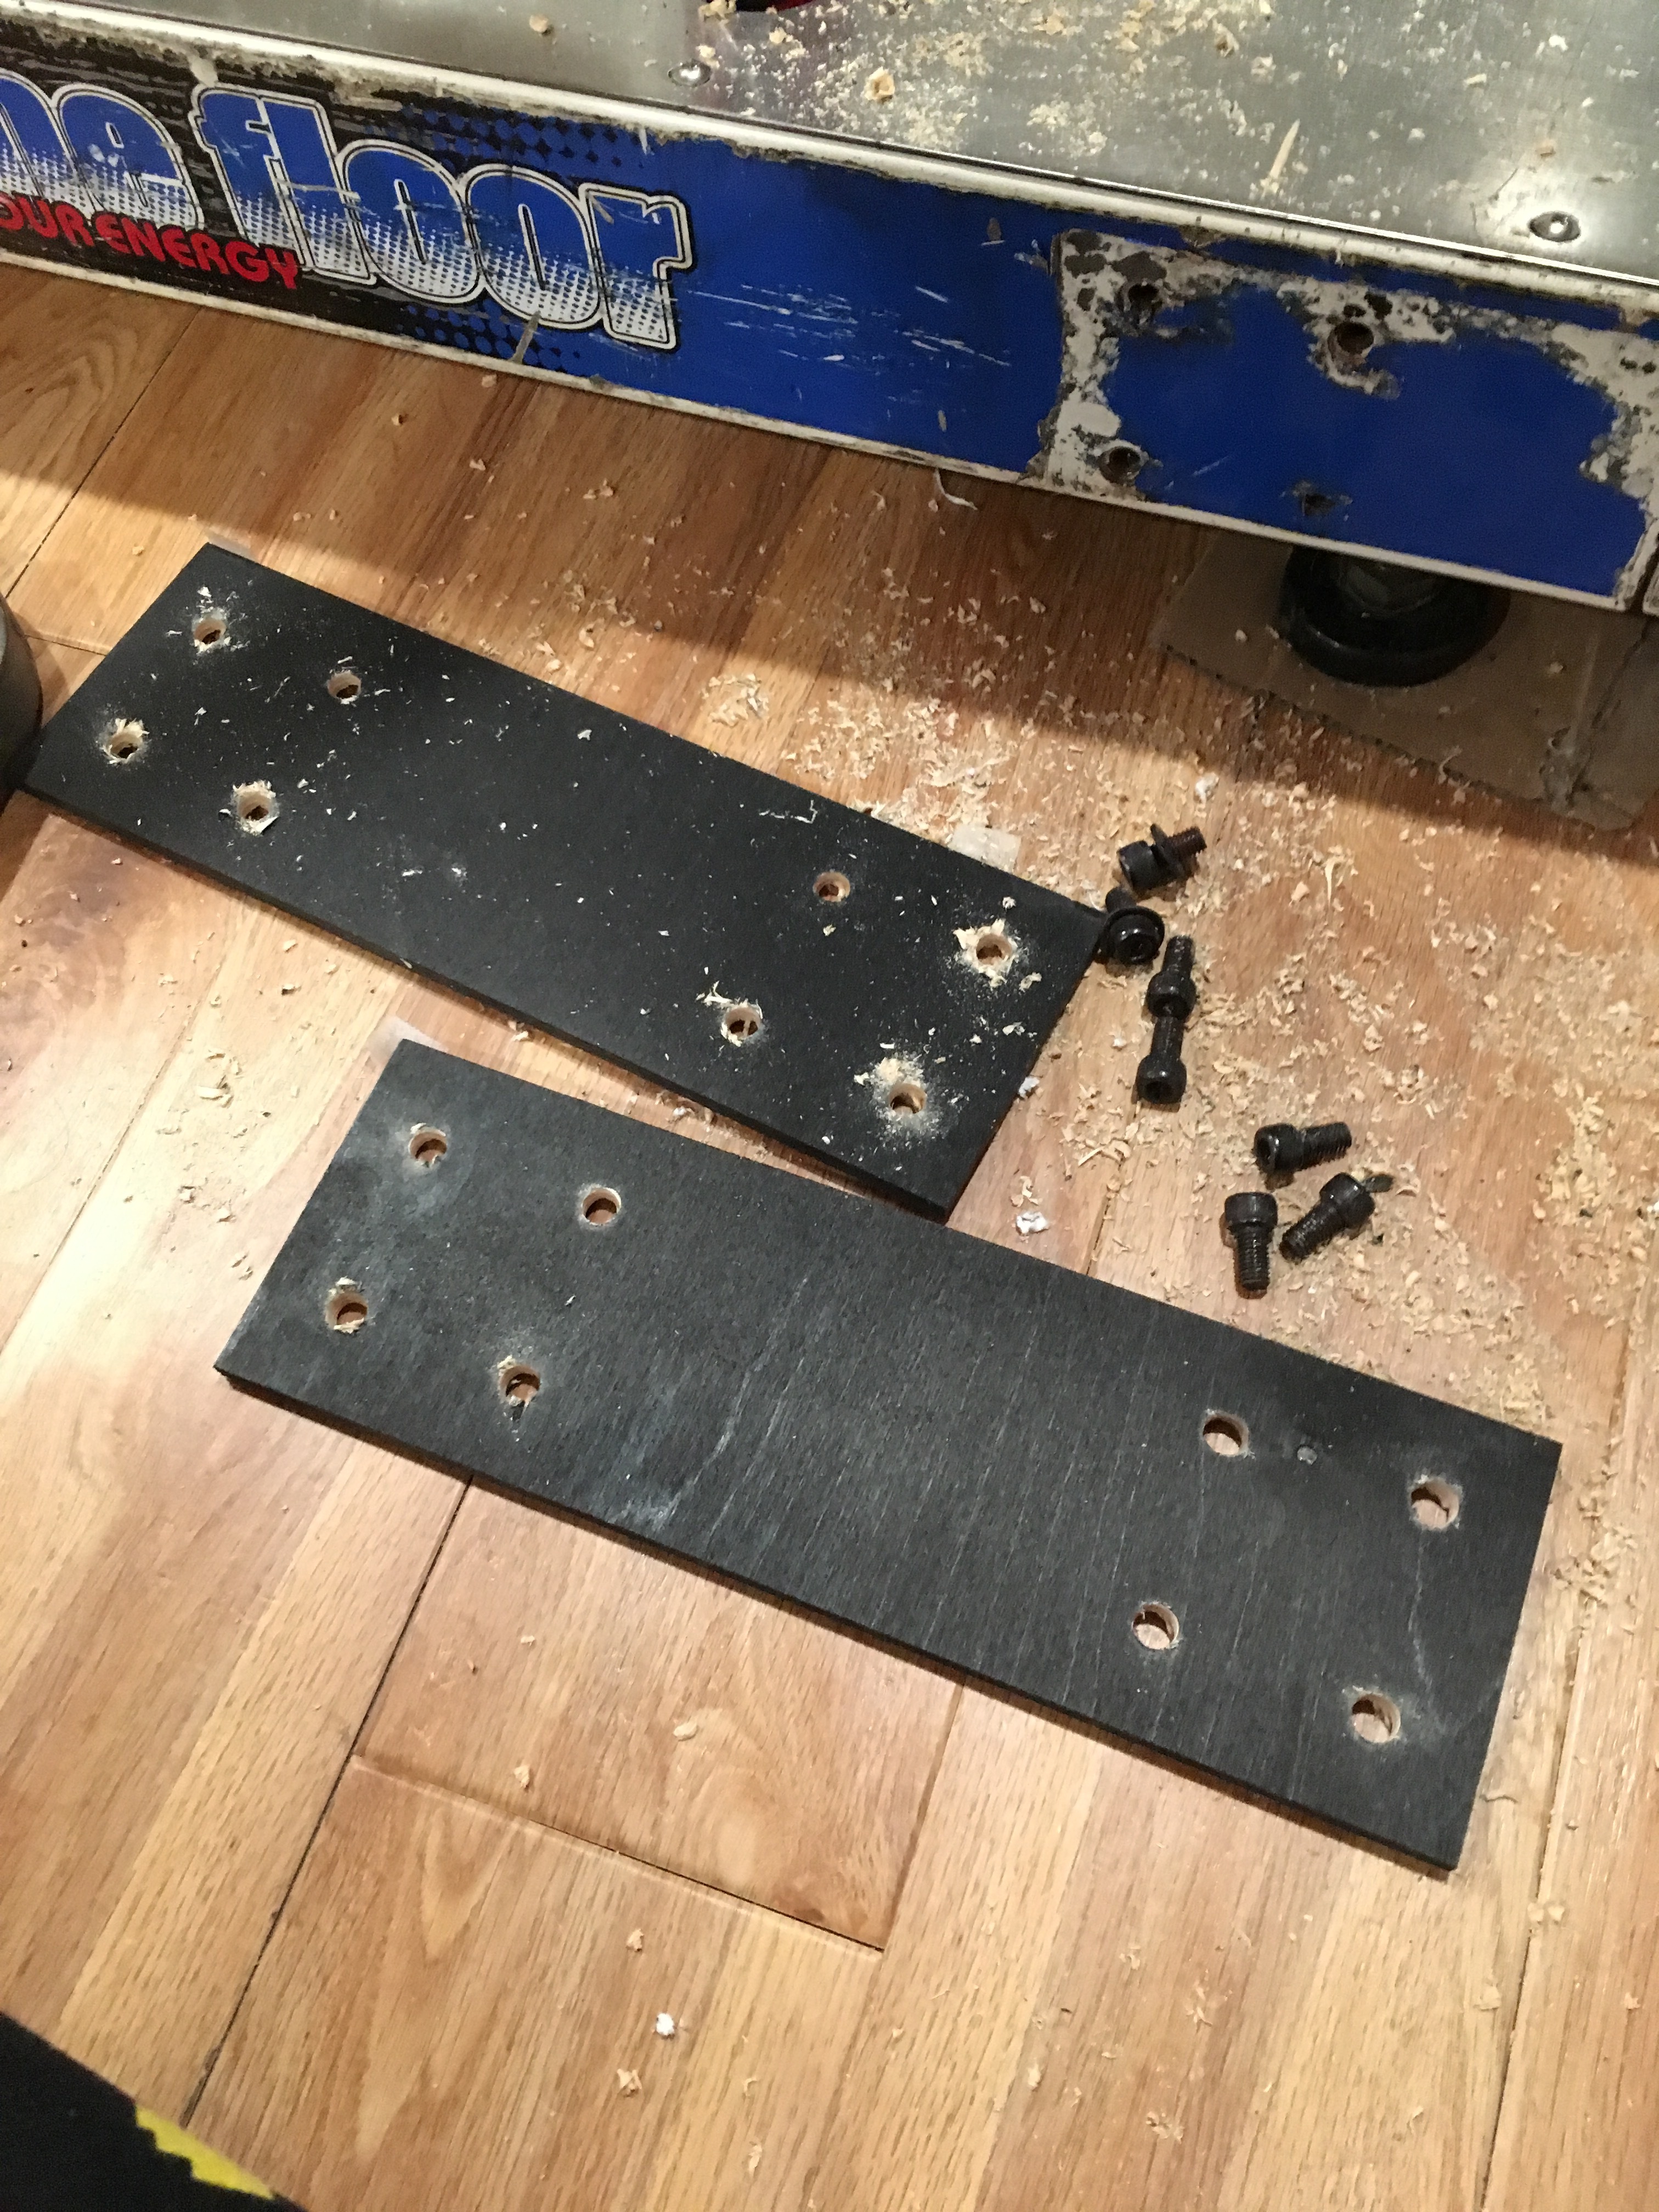
I taped the 2 plywood pieces together and then used the template to scroll holes through them.

Screw holes cut!
Installed with some of the screws in place.
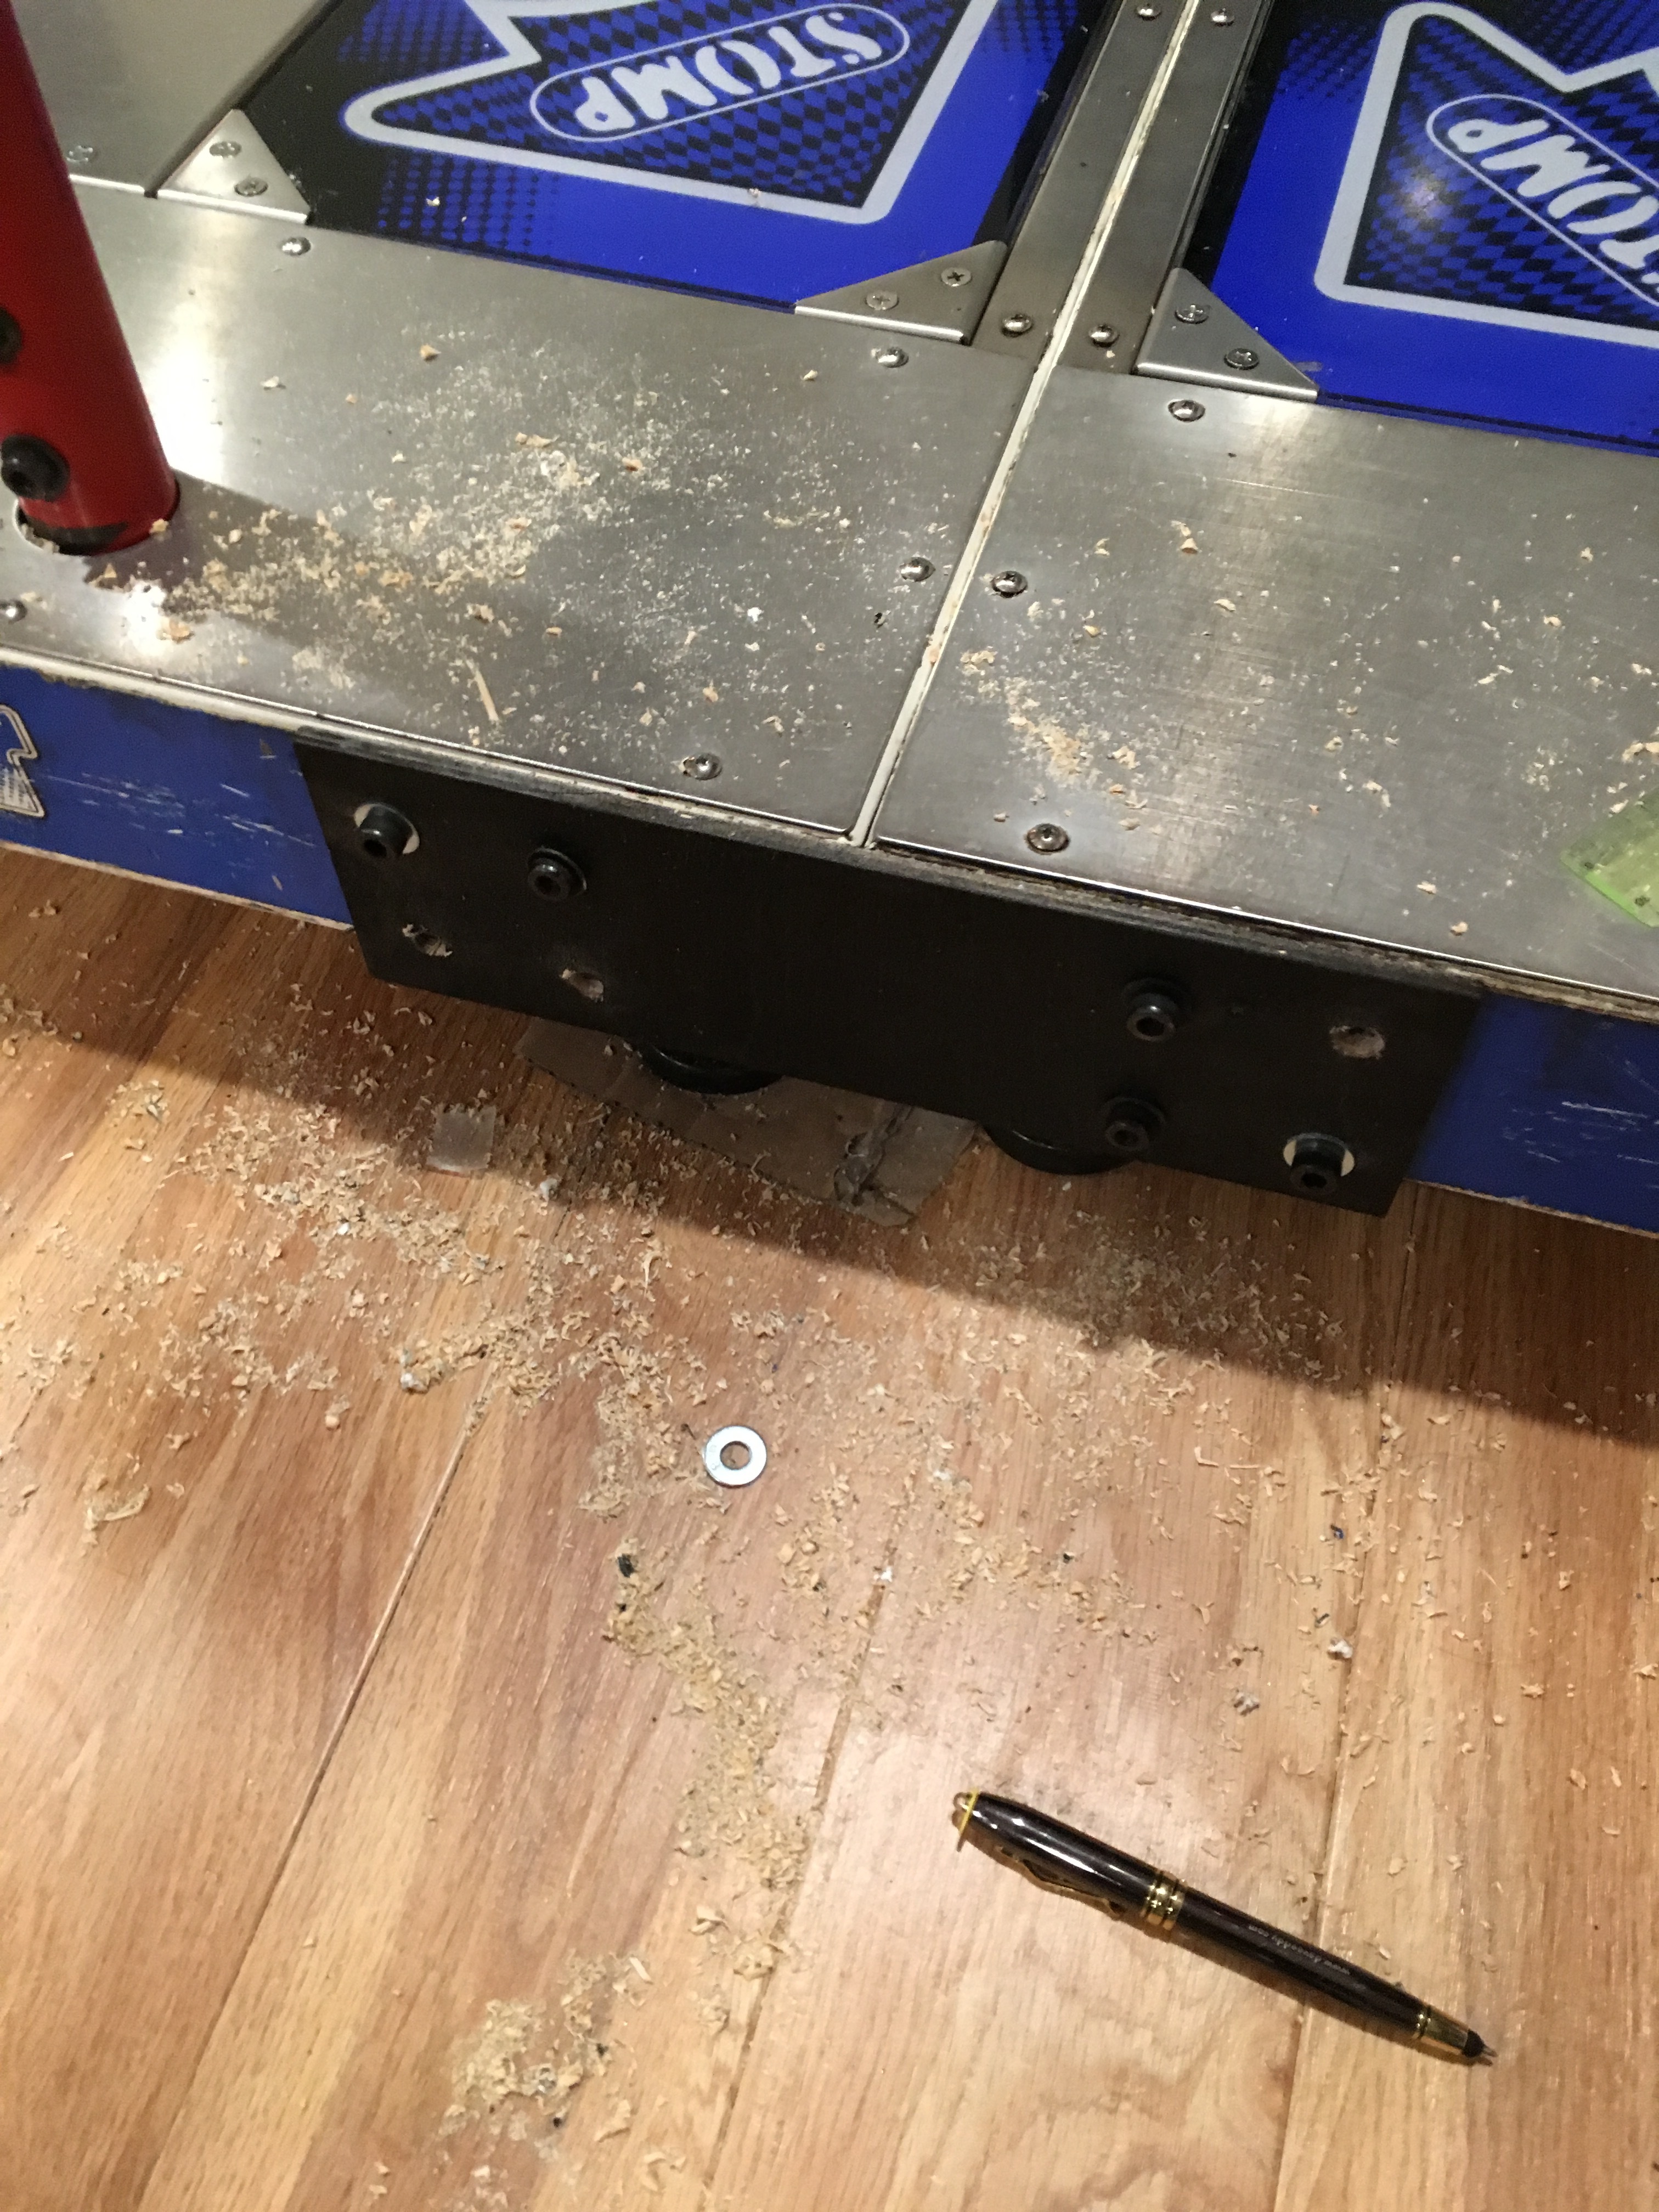
The pads held together with the new wooden brackets.

Customizing
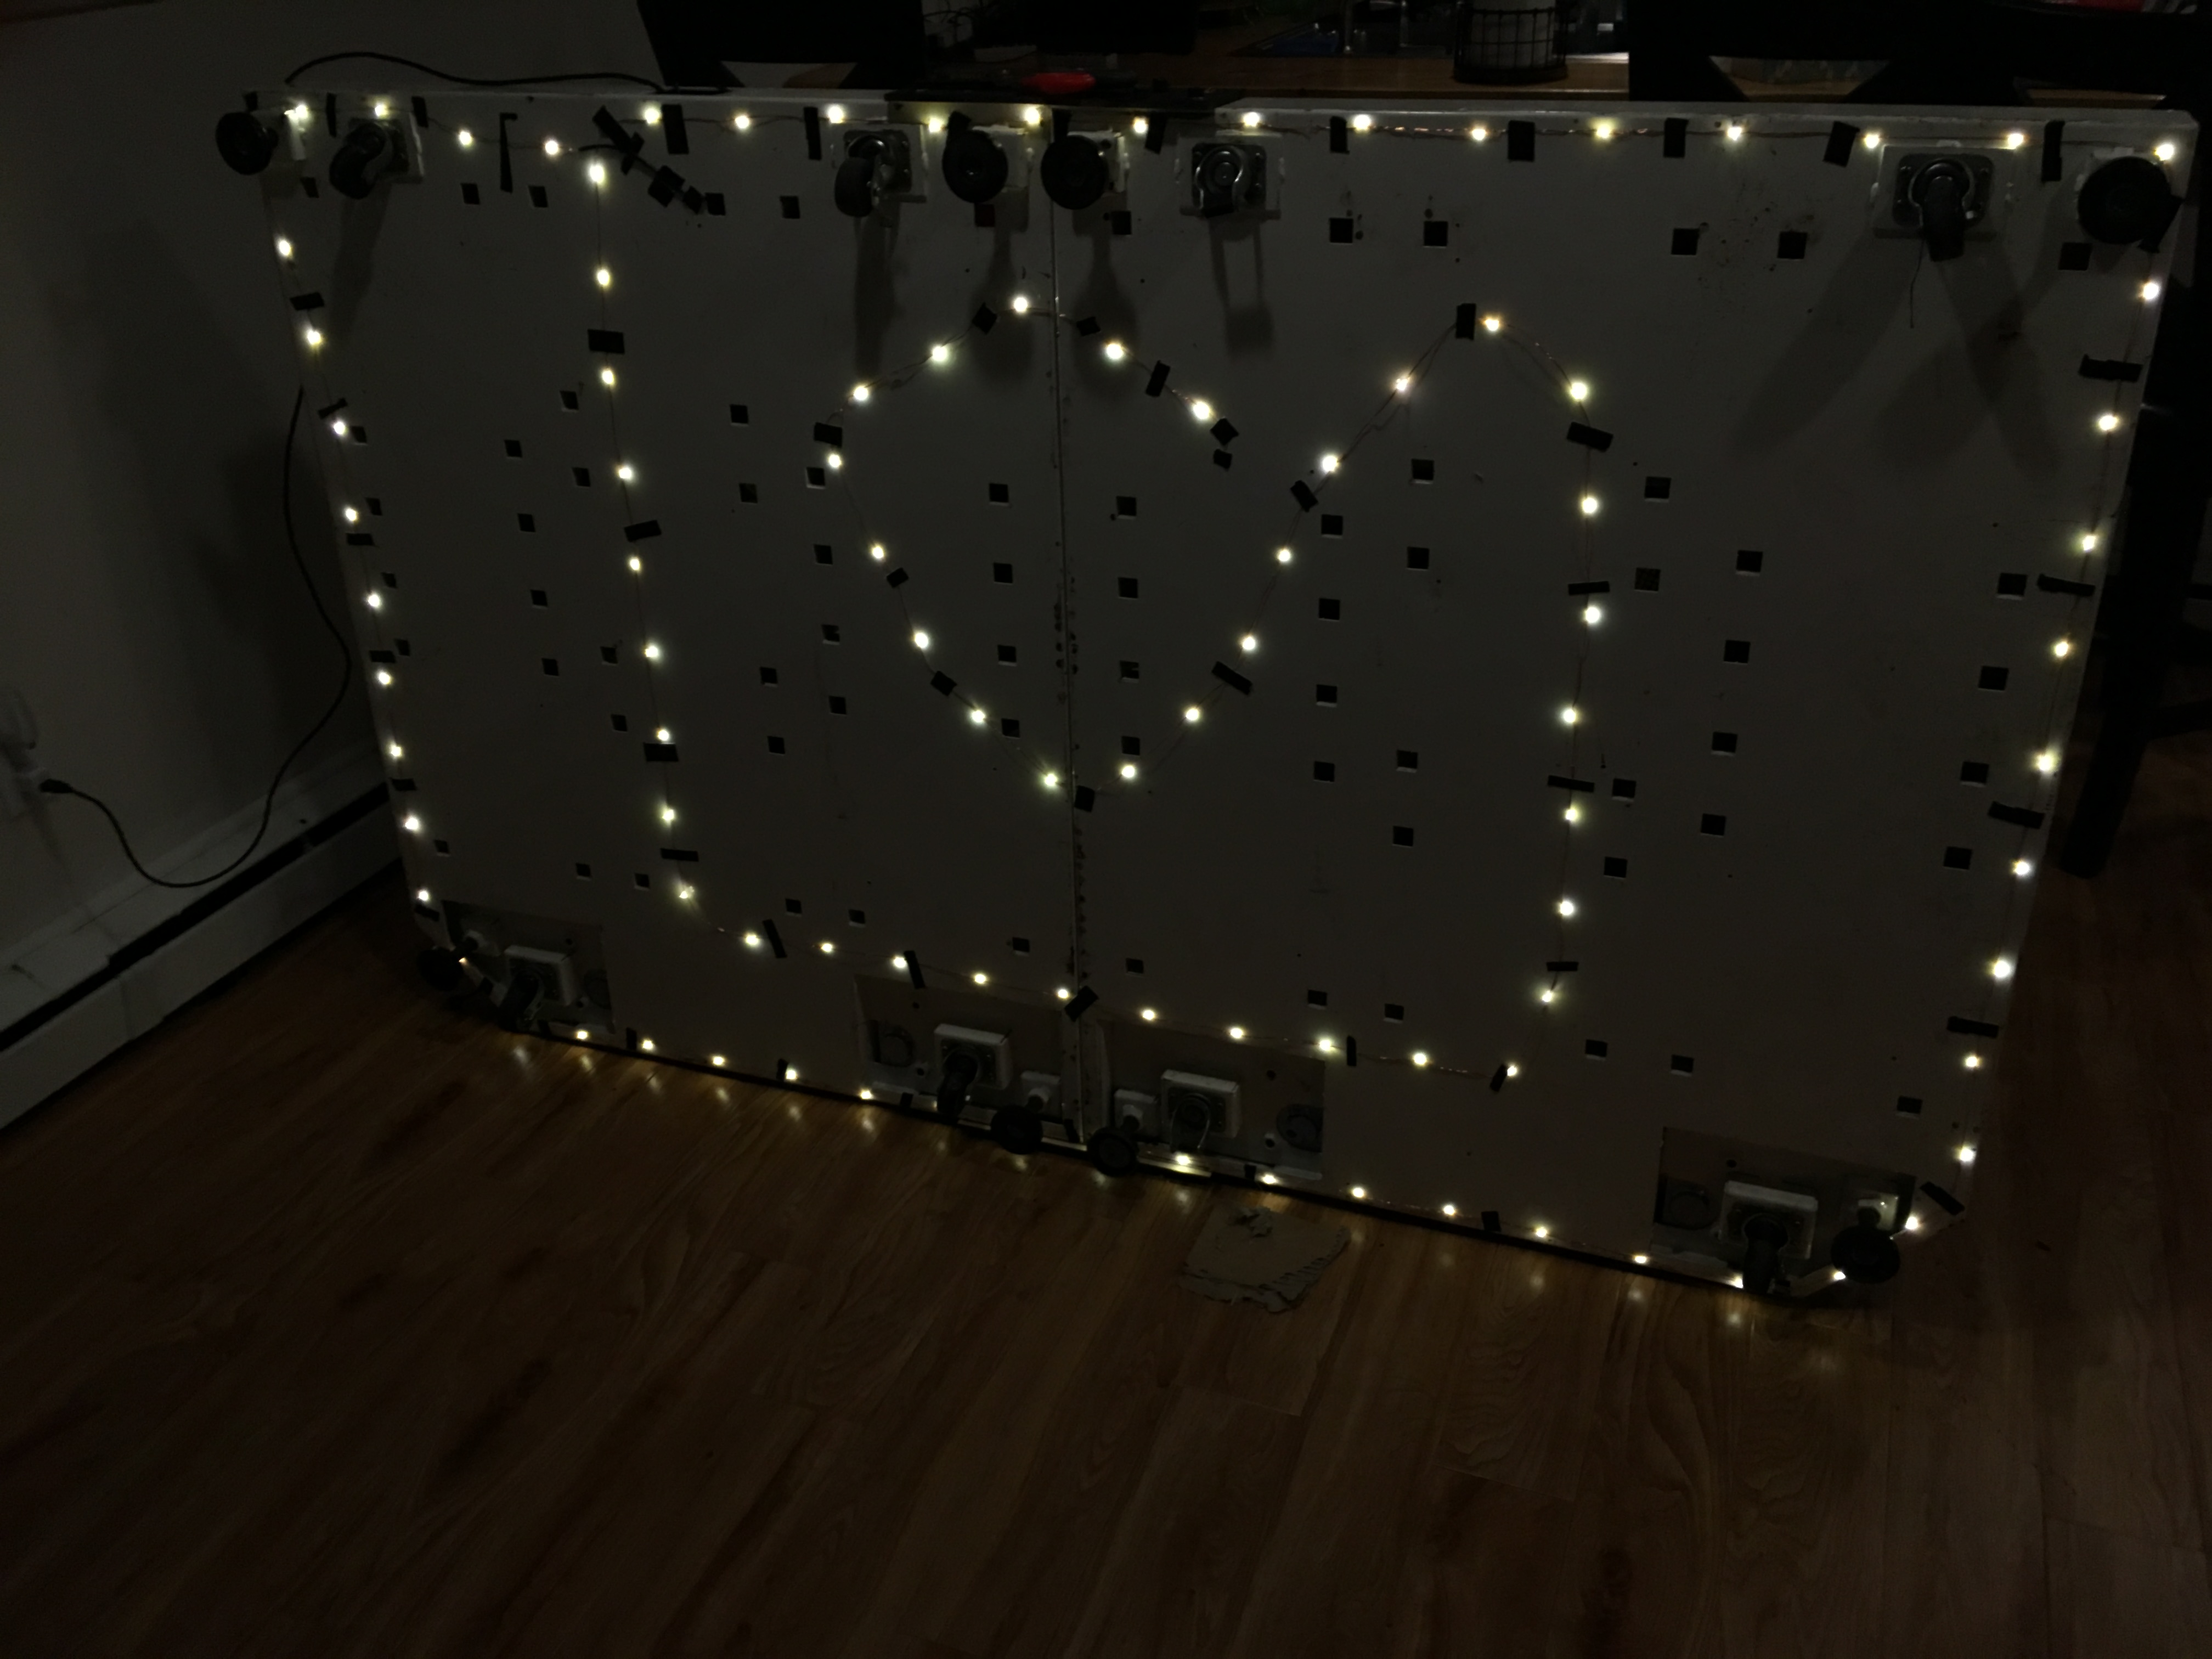
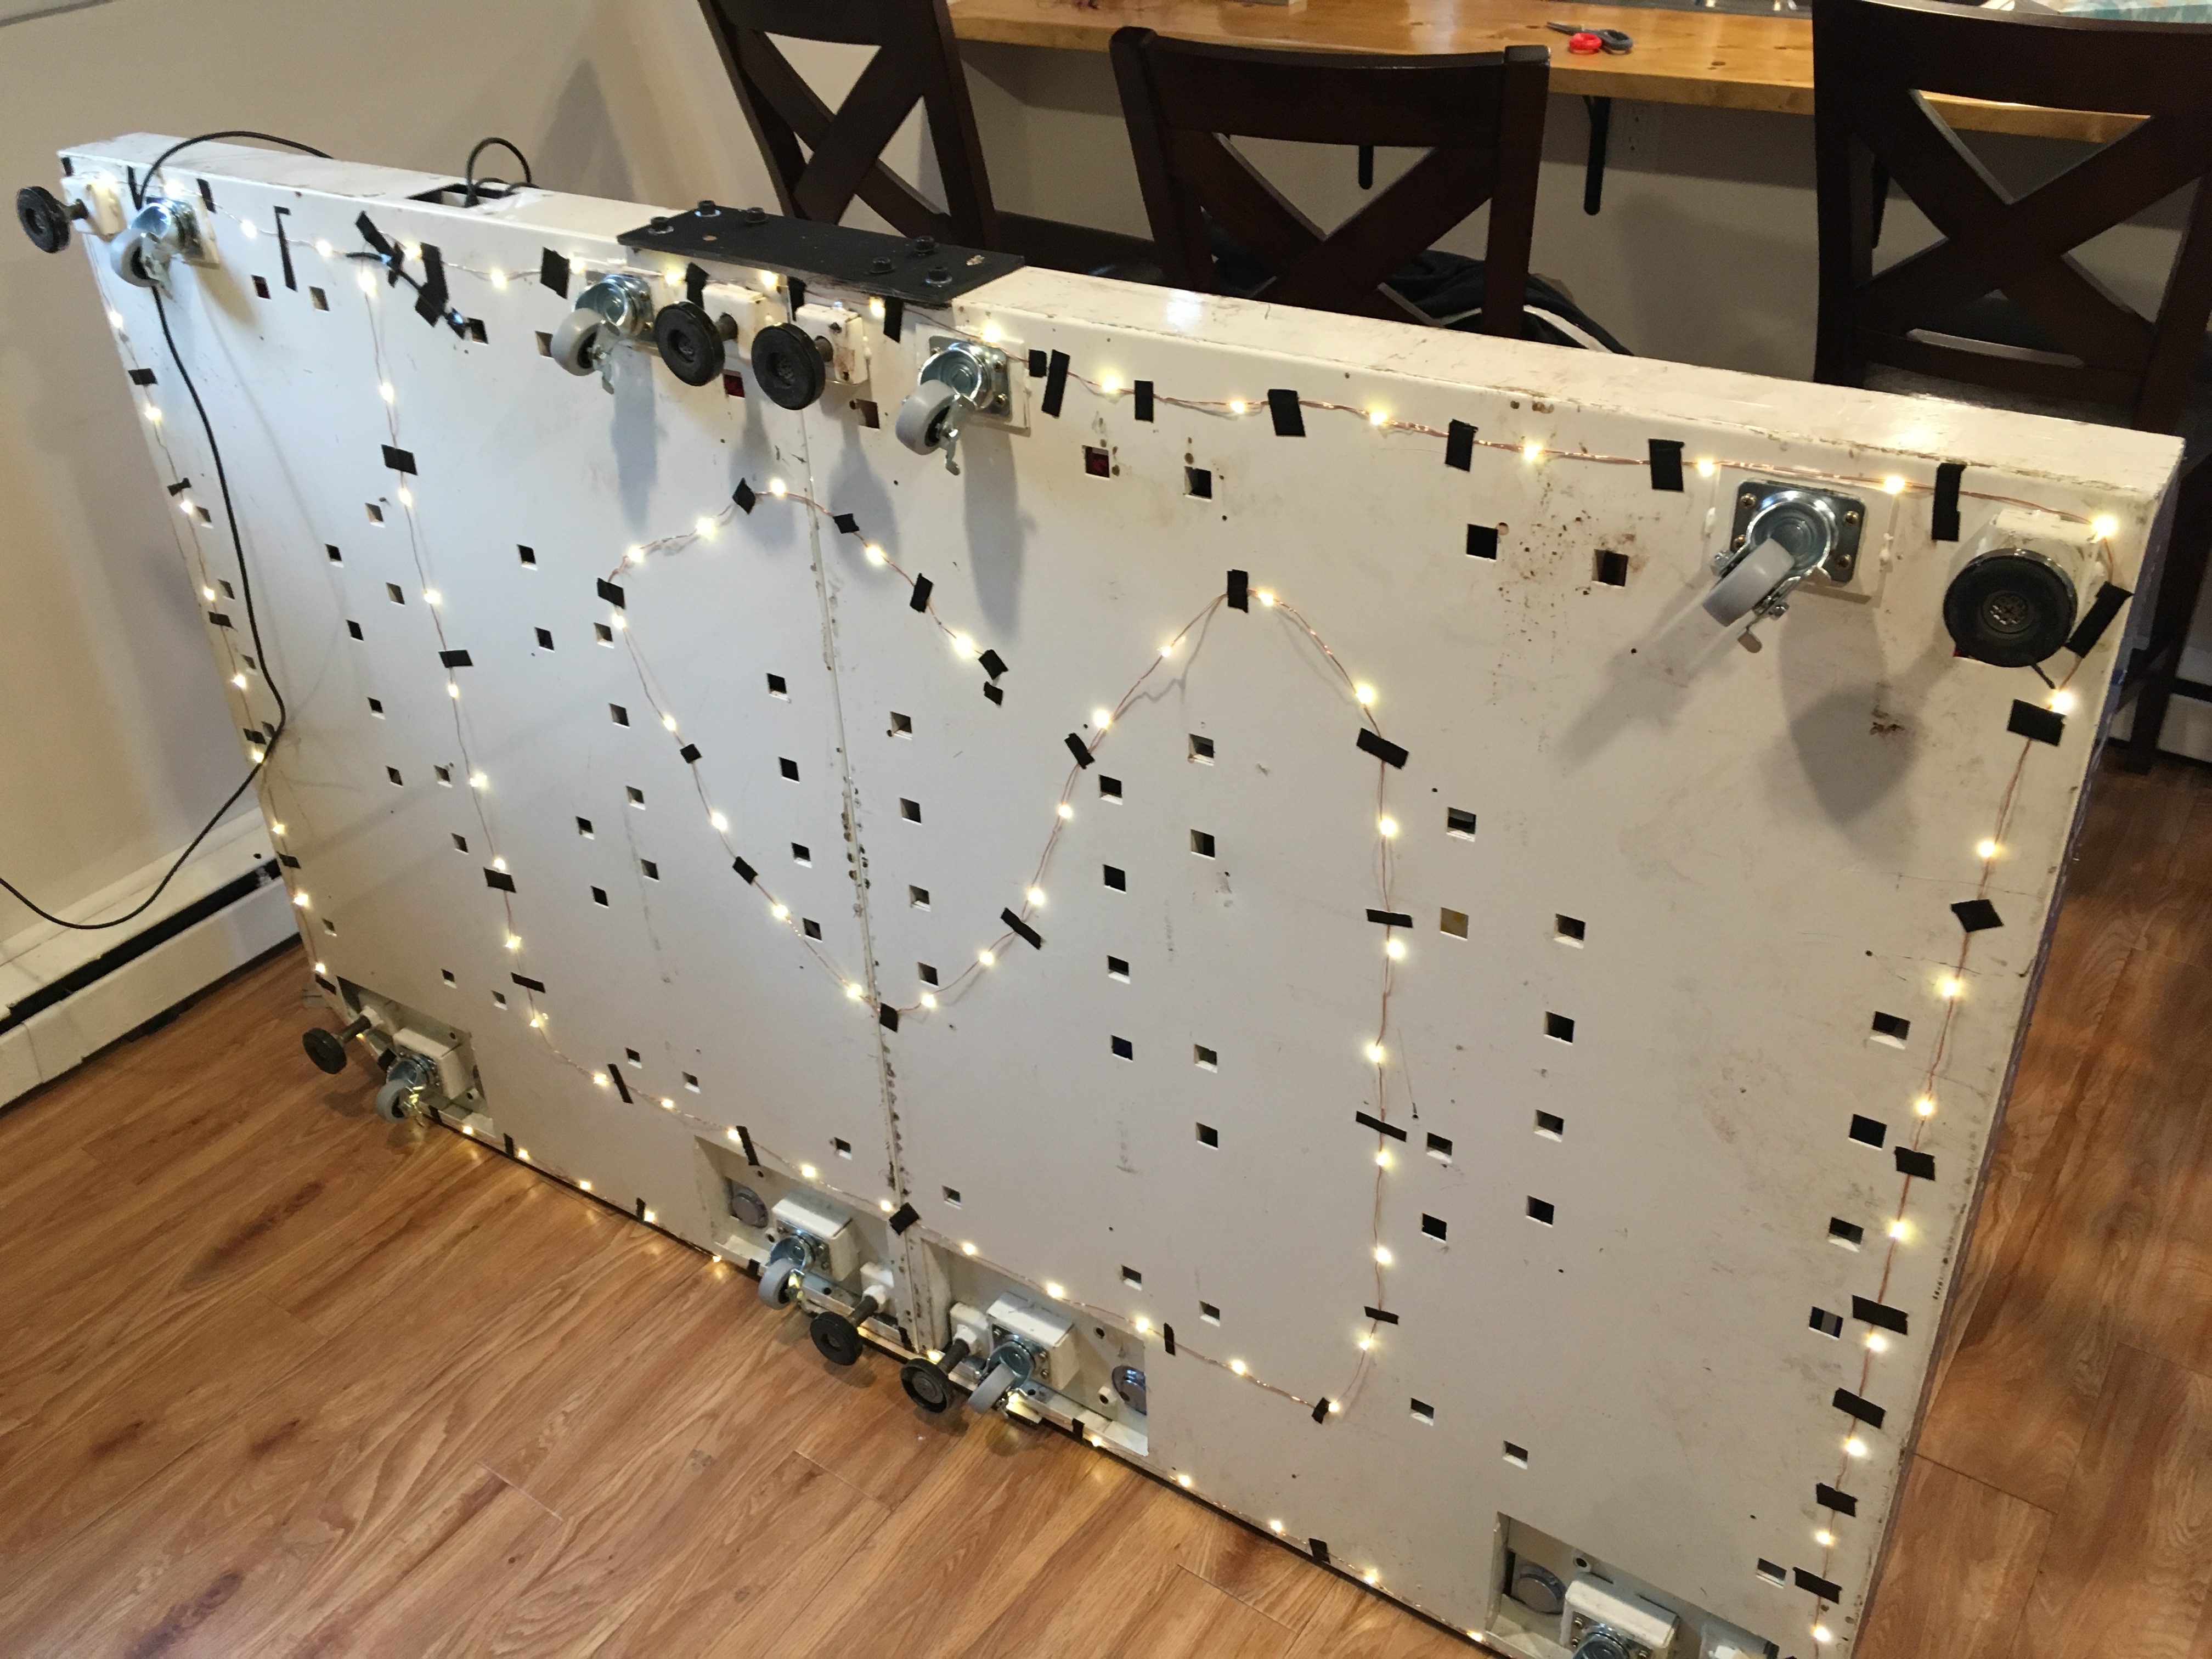
Nothing too fancy, but I taped USB LED lights to the bottom of the pads.

Same pic in the dark.
A pic of the pads with the lights on.
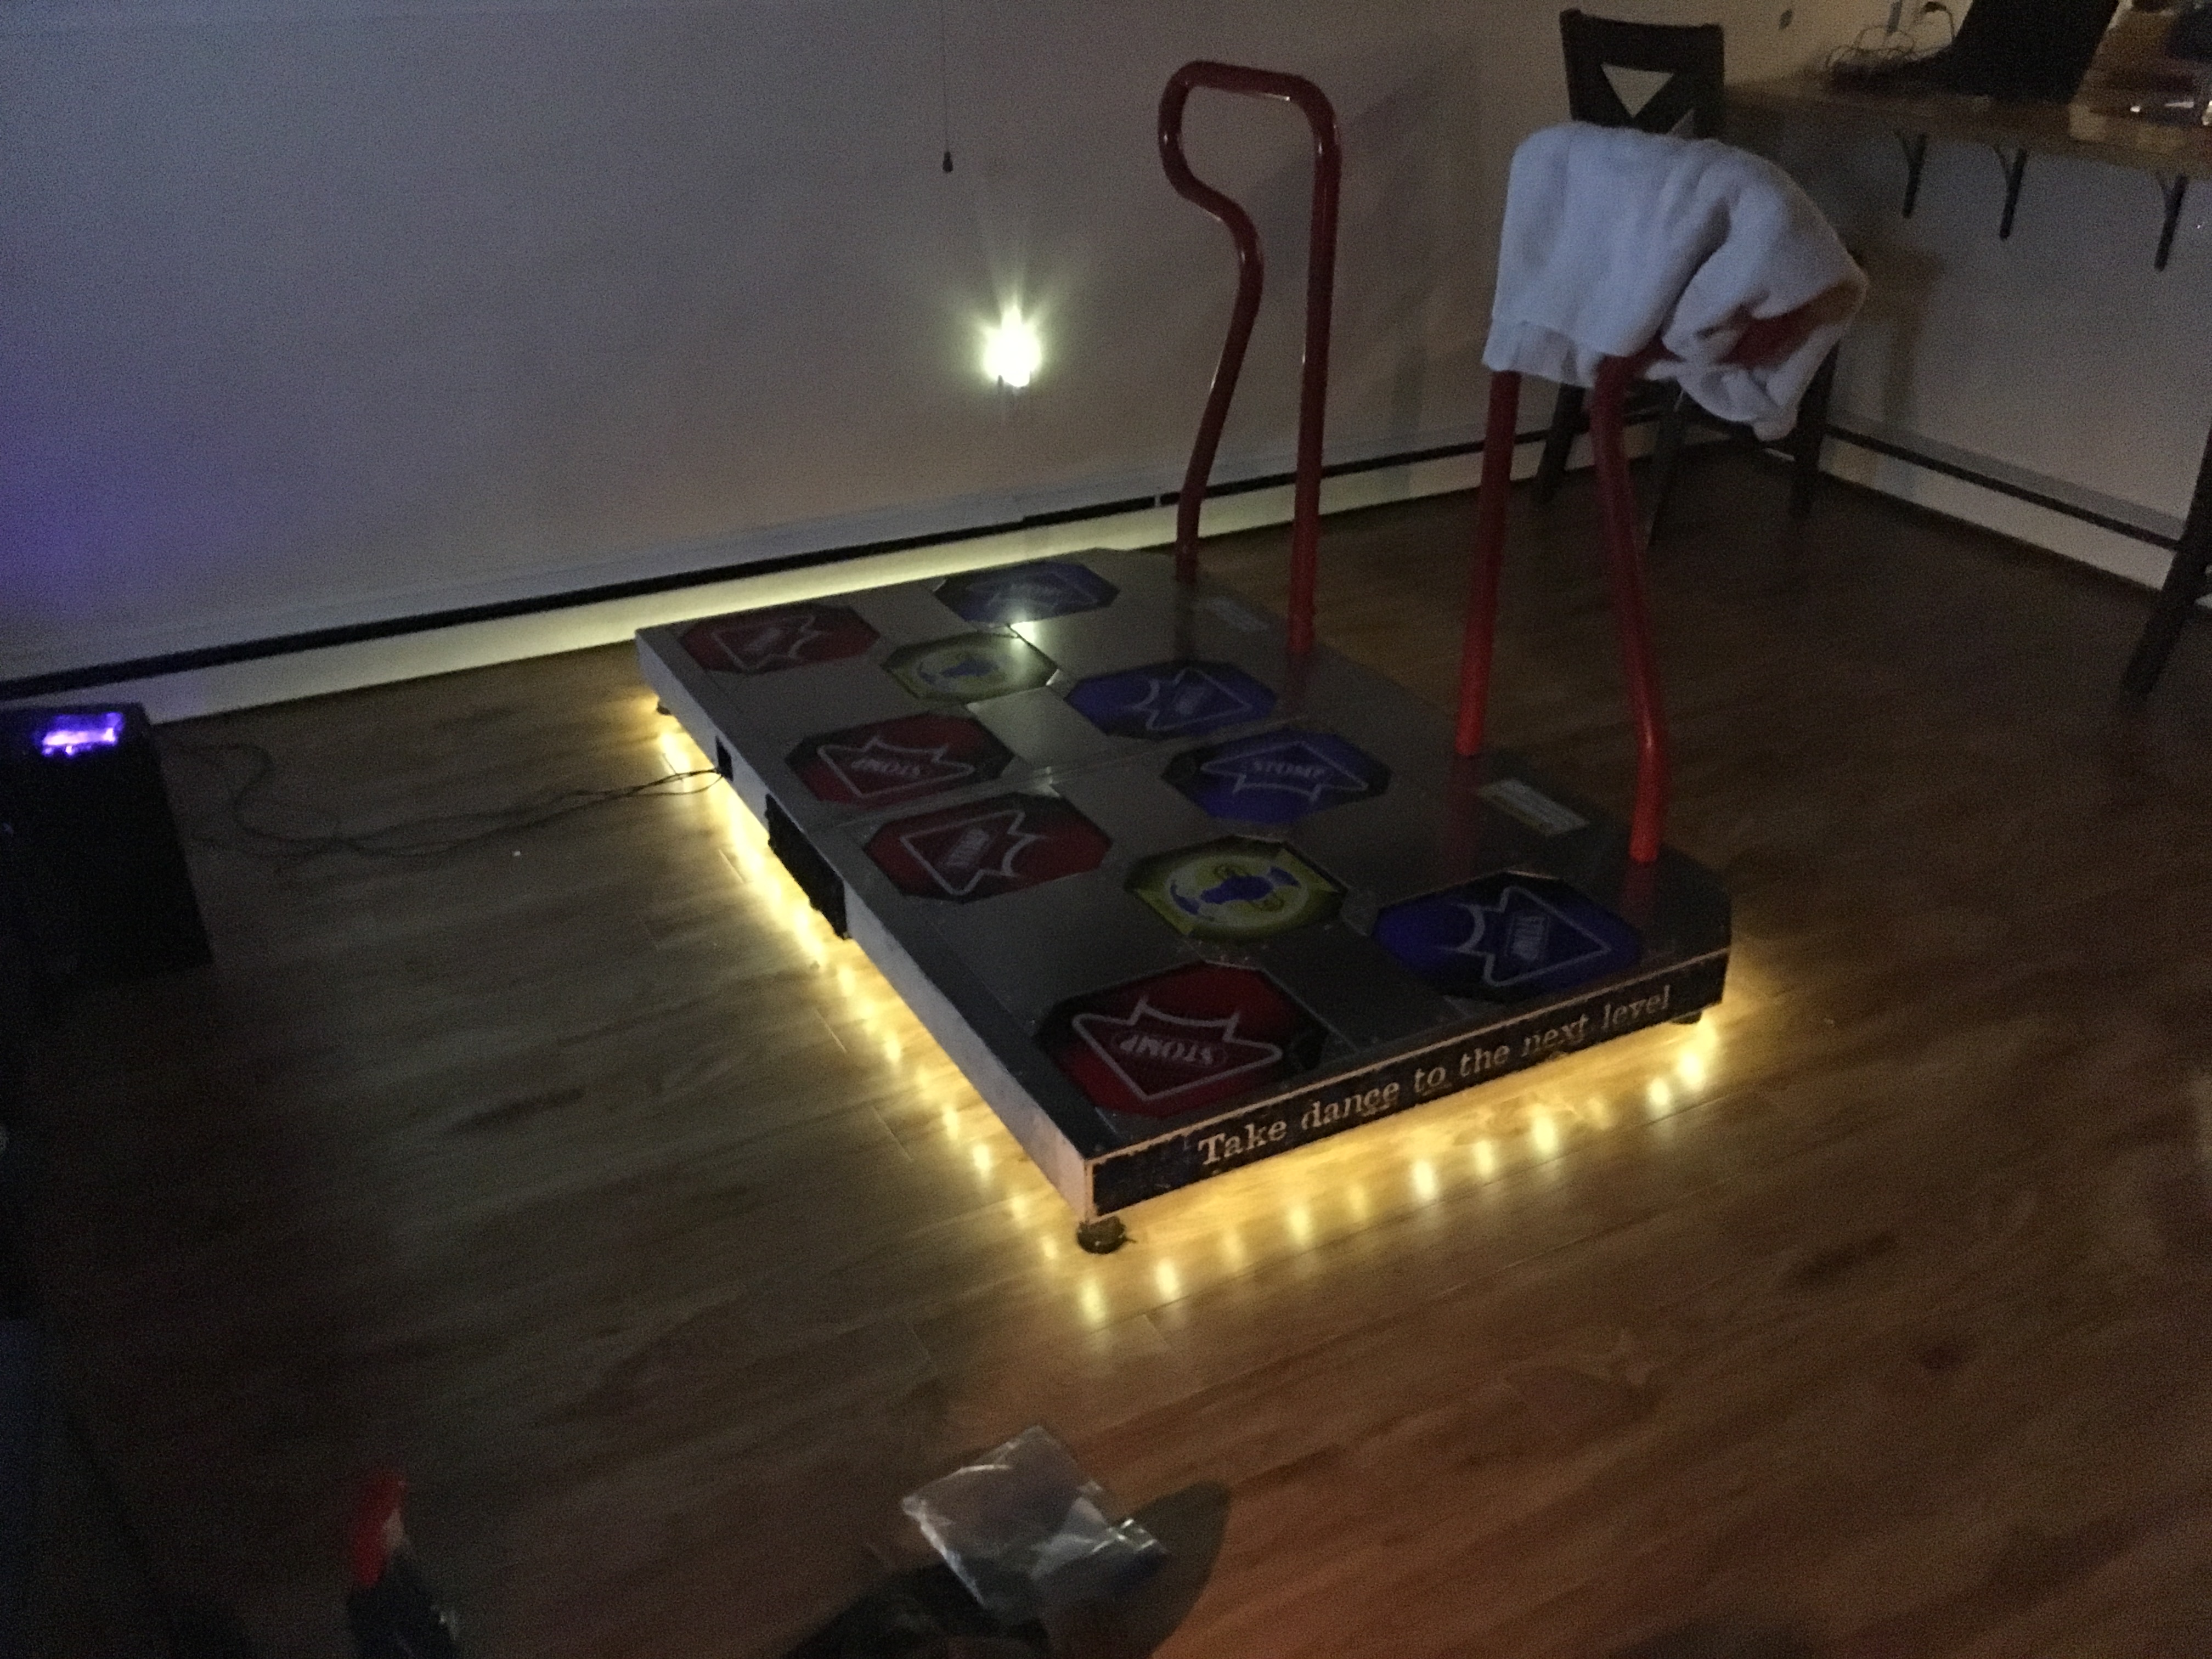
Same pic in the dark.

The final thing is some of the caster wheels were broken on the original pads (or just missing), so I hit up Lowes and grabbed a couple of new wheels of the same size.
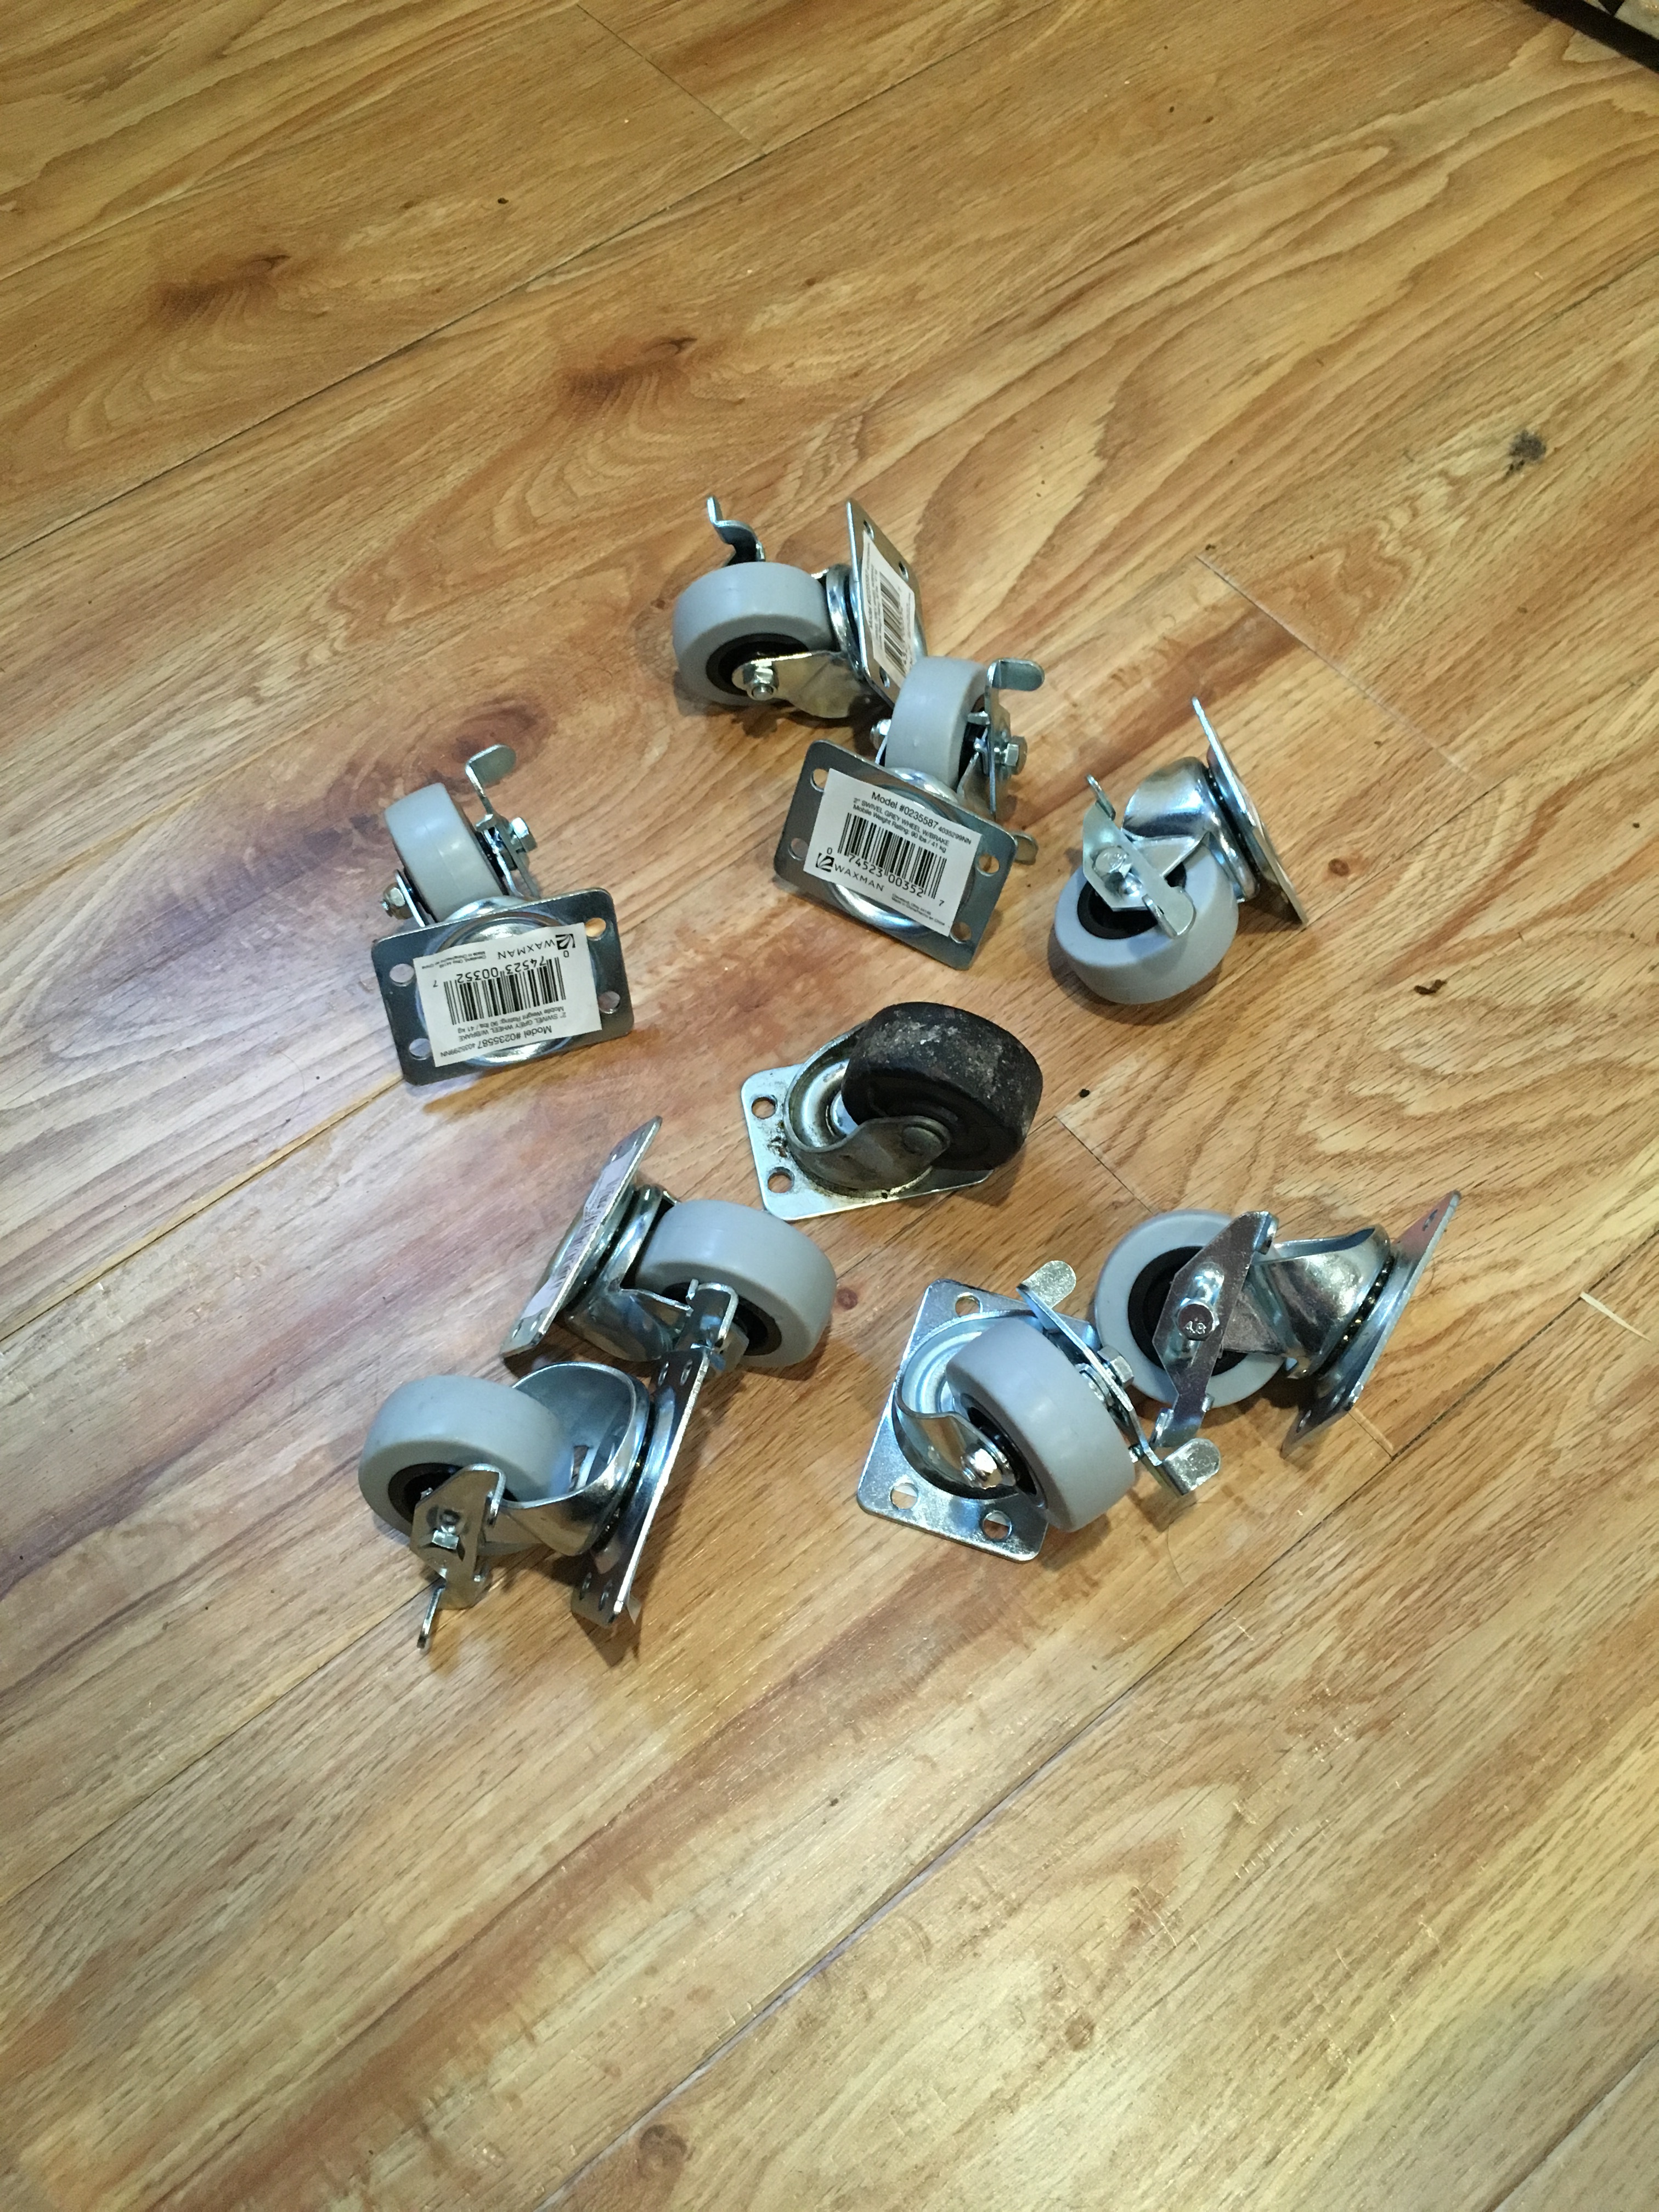
New wheels installed.
Bracketless Upgrade
Even though this is a single blog post, this project spanned over the duration of an entire year. I’ve used the pads with the metal corner brackets for about 6 months without issue and things have been good. However, playing some of the newer charts as well as still playing on the machine at the arcade, I decided that I wanted to upgrade my pads to be the newer style without the metal brackets.
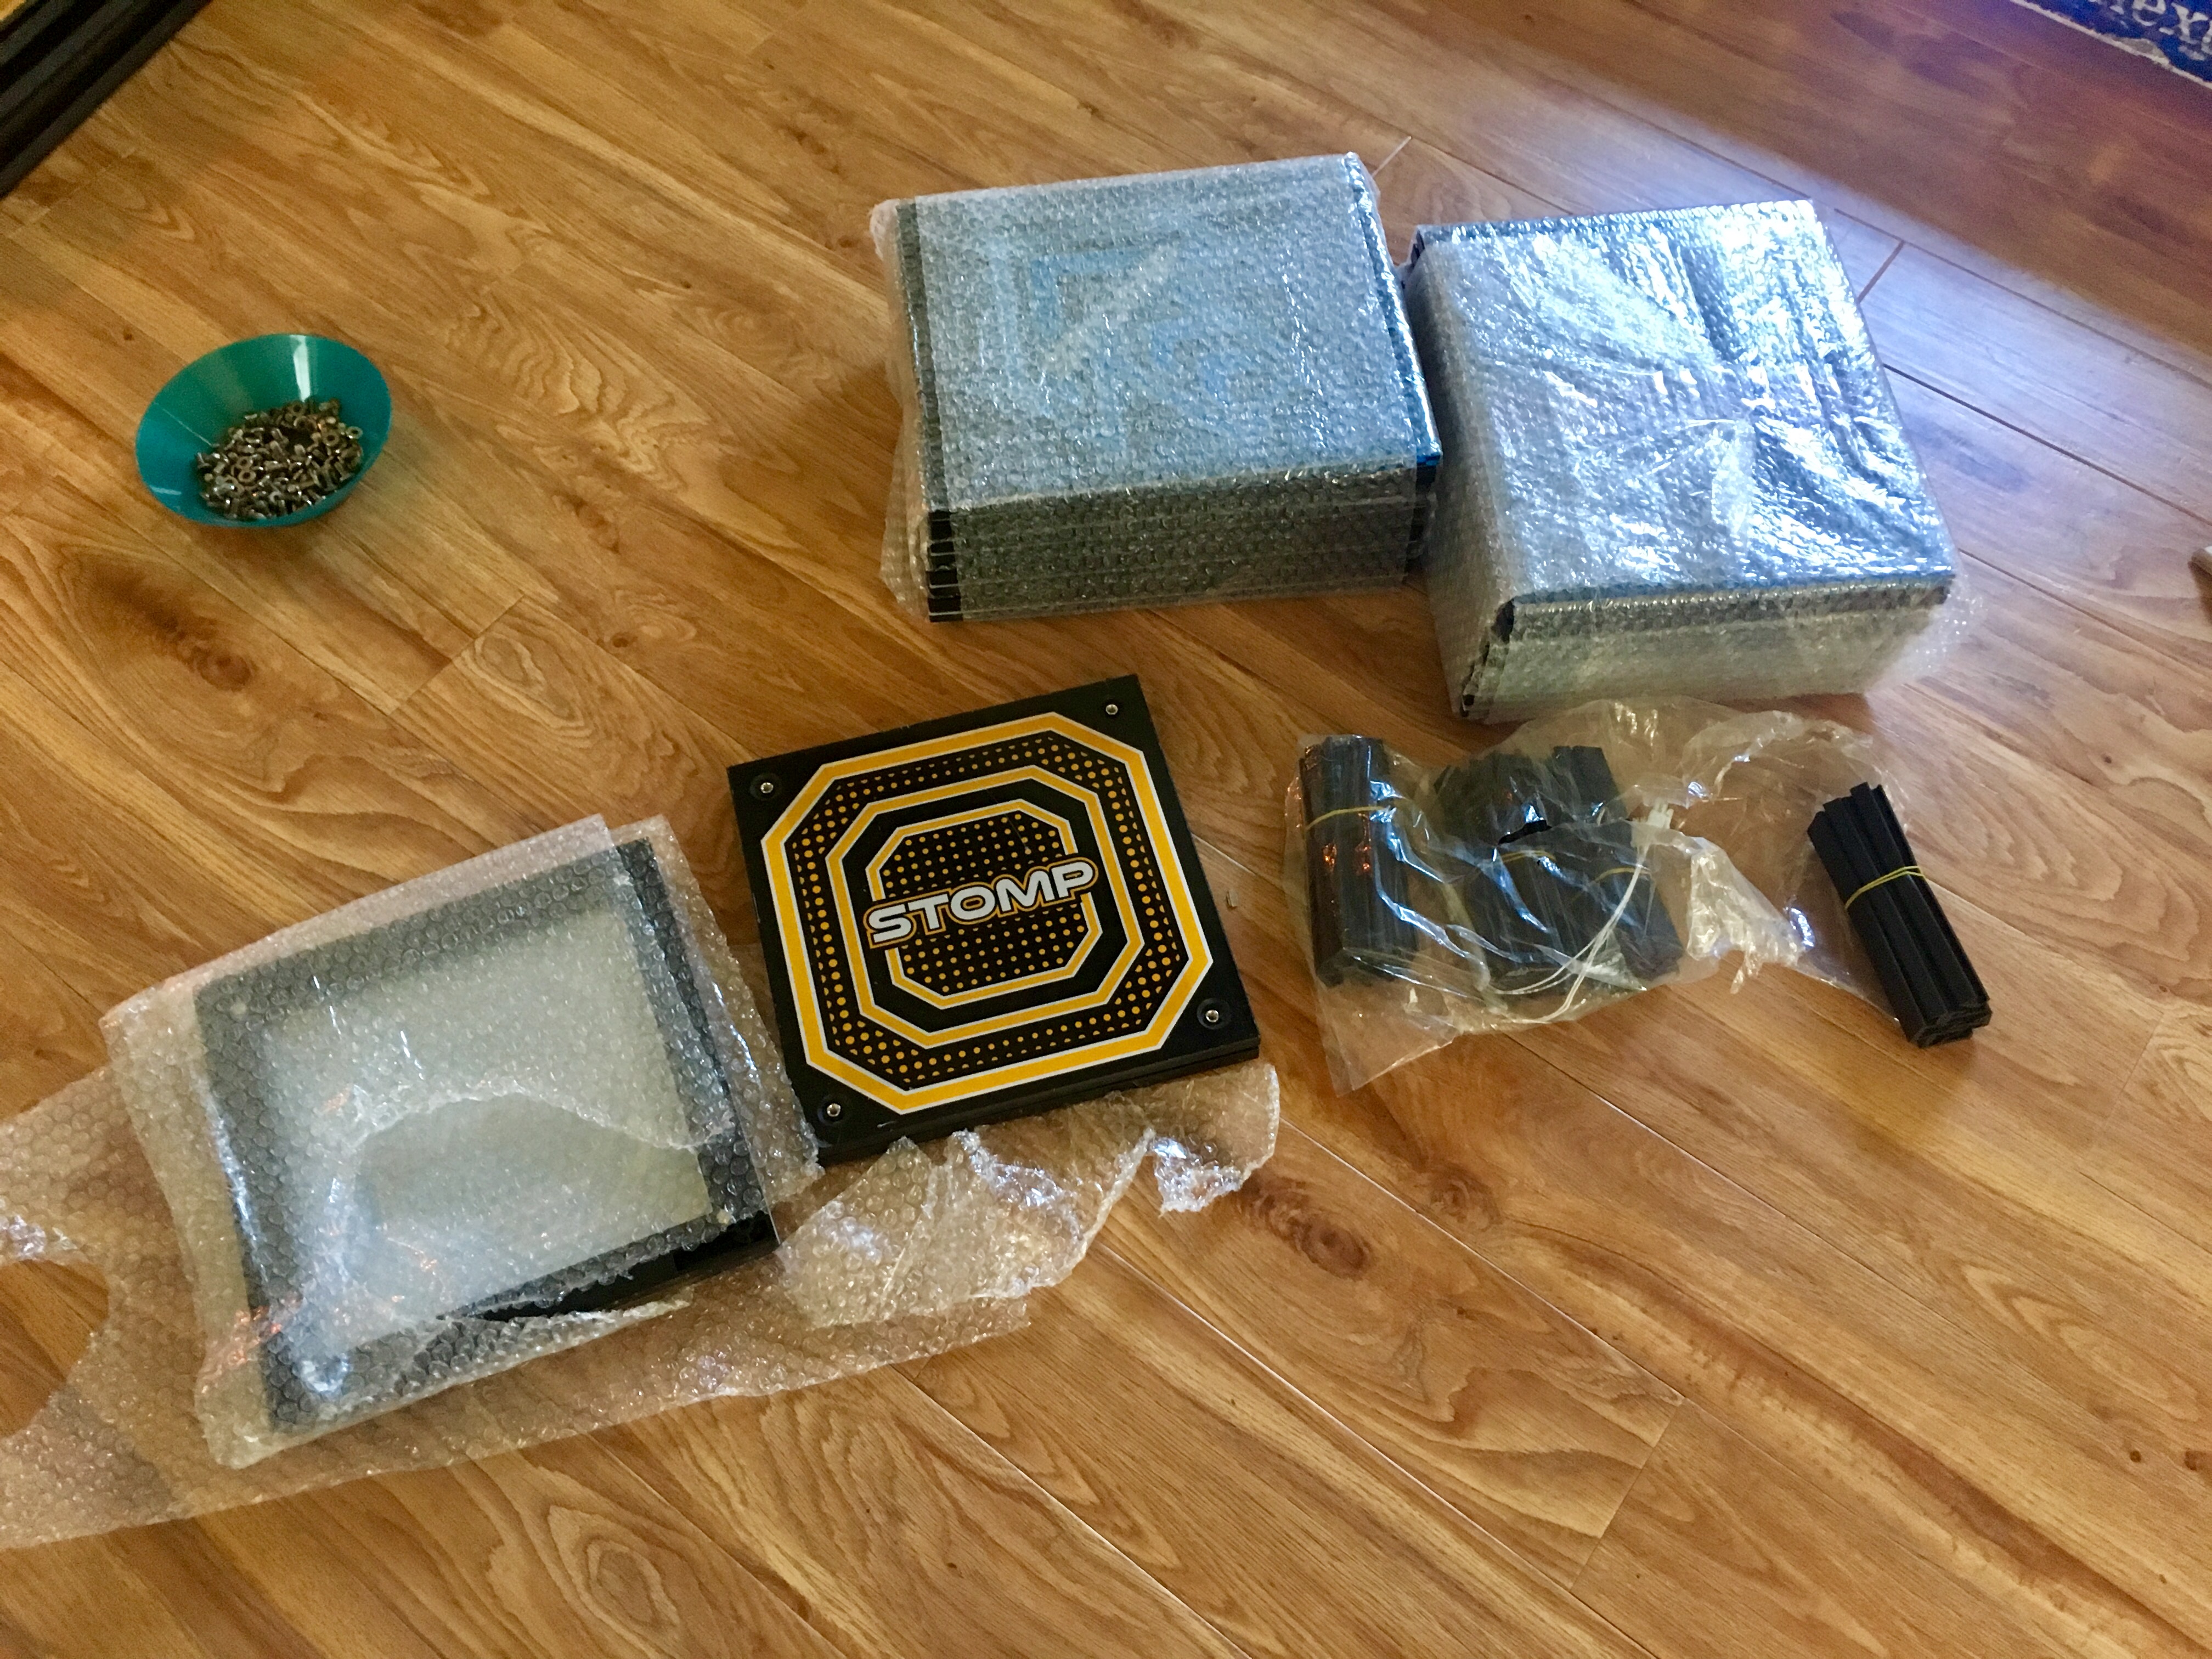
On the same Facebook group where I found the seller of the pads, I found another seller that was selling a full “upgrade kit” complete with all new panels and frames. I bought the new kit and followed the below video.
The upgrade kit.
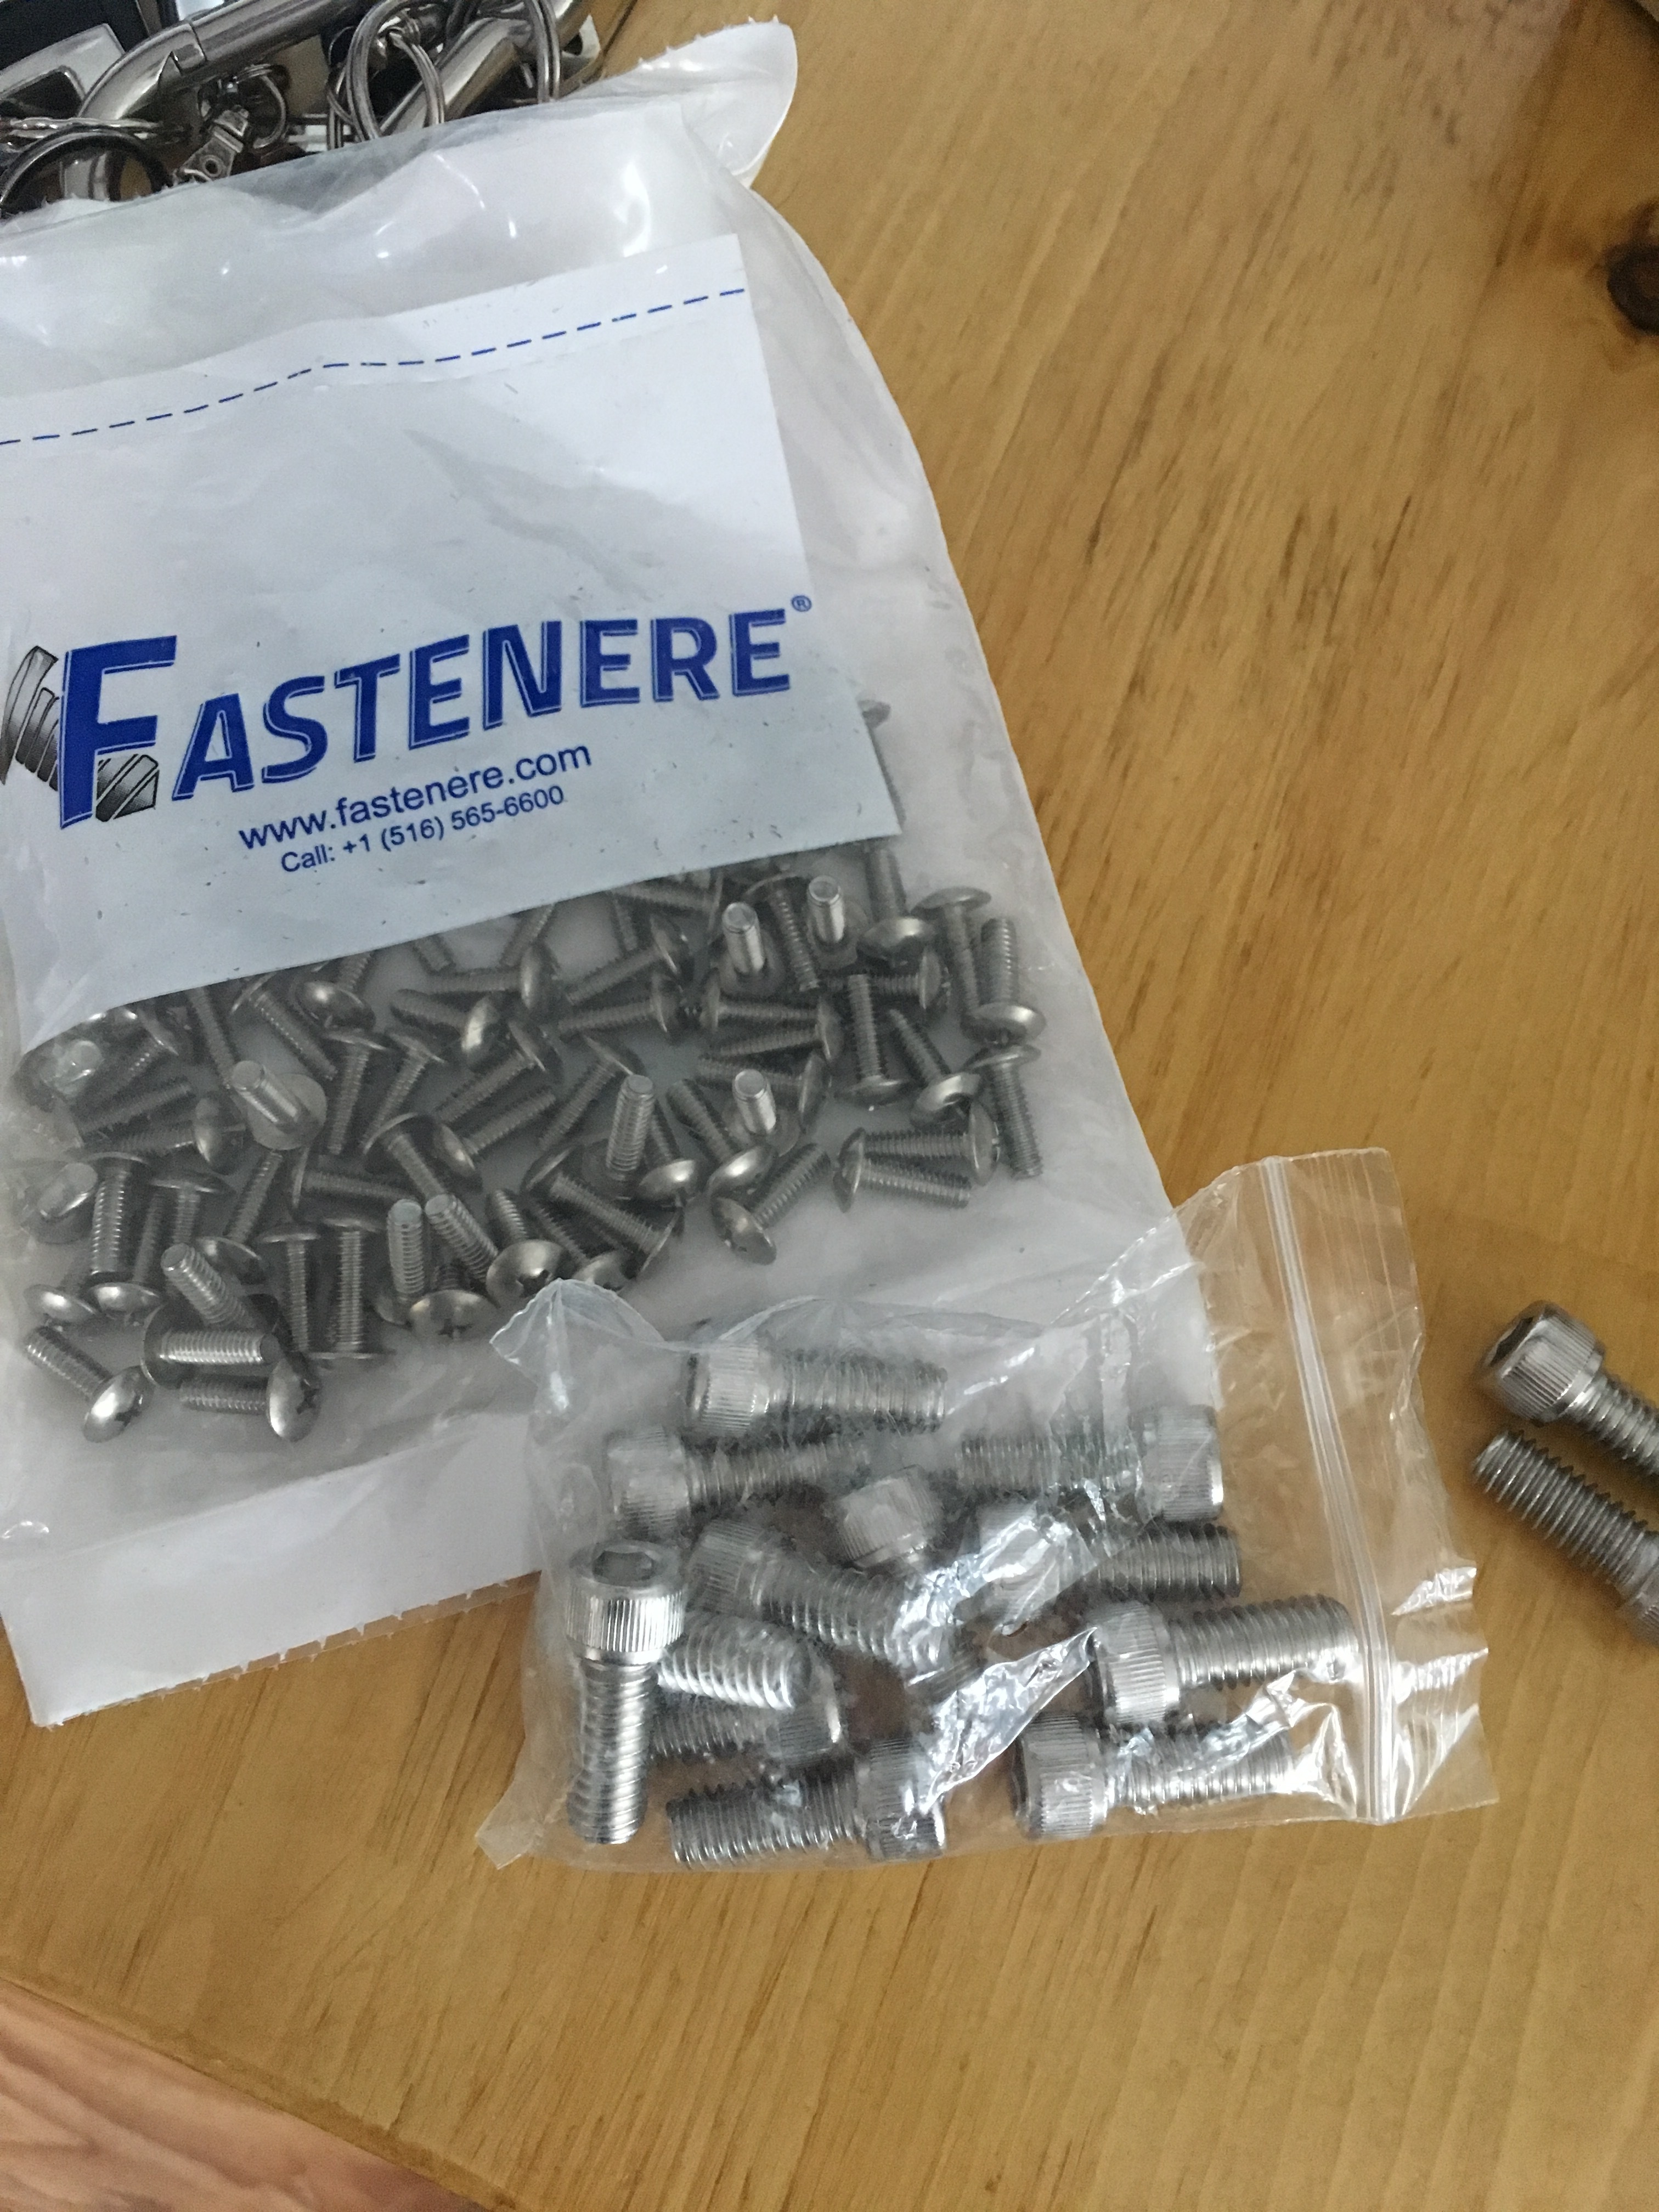
The YouTube video above outlines the screws needed to install the newer panels in the description. Below is the full list of screws I purchased from BoltDepot.
| Part Number | Name | Quantity | Price |
|---|---|---|---|
| 5187 | Metric machine screws, Phillips pan head, Stainless steel 18-8 (A-2), 6mm x 1.0mm x 10mm | 1 bag of 100 | $13.31 |
| 5179 | Metric machine screws, Phillips pan head, Stainless steel 18-8 (A-2), 5mm x 0.8mm x 20mm | 1 bag of 100 | $10.17 |
| 4824 | Metric lock washers, Zinc plated steel, 5mm | 1 bag of 100 | $2.18 |
| 4526 | Metric flat washers, Zinc plated steel, 5mm | 1 bag of 100 | $1.40 |
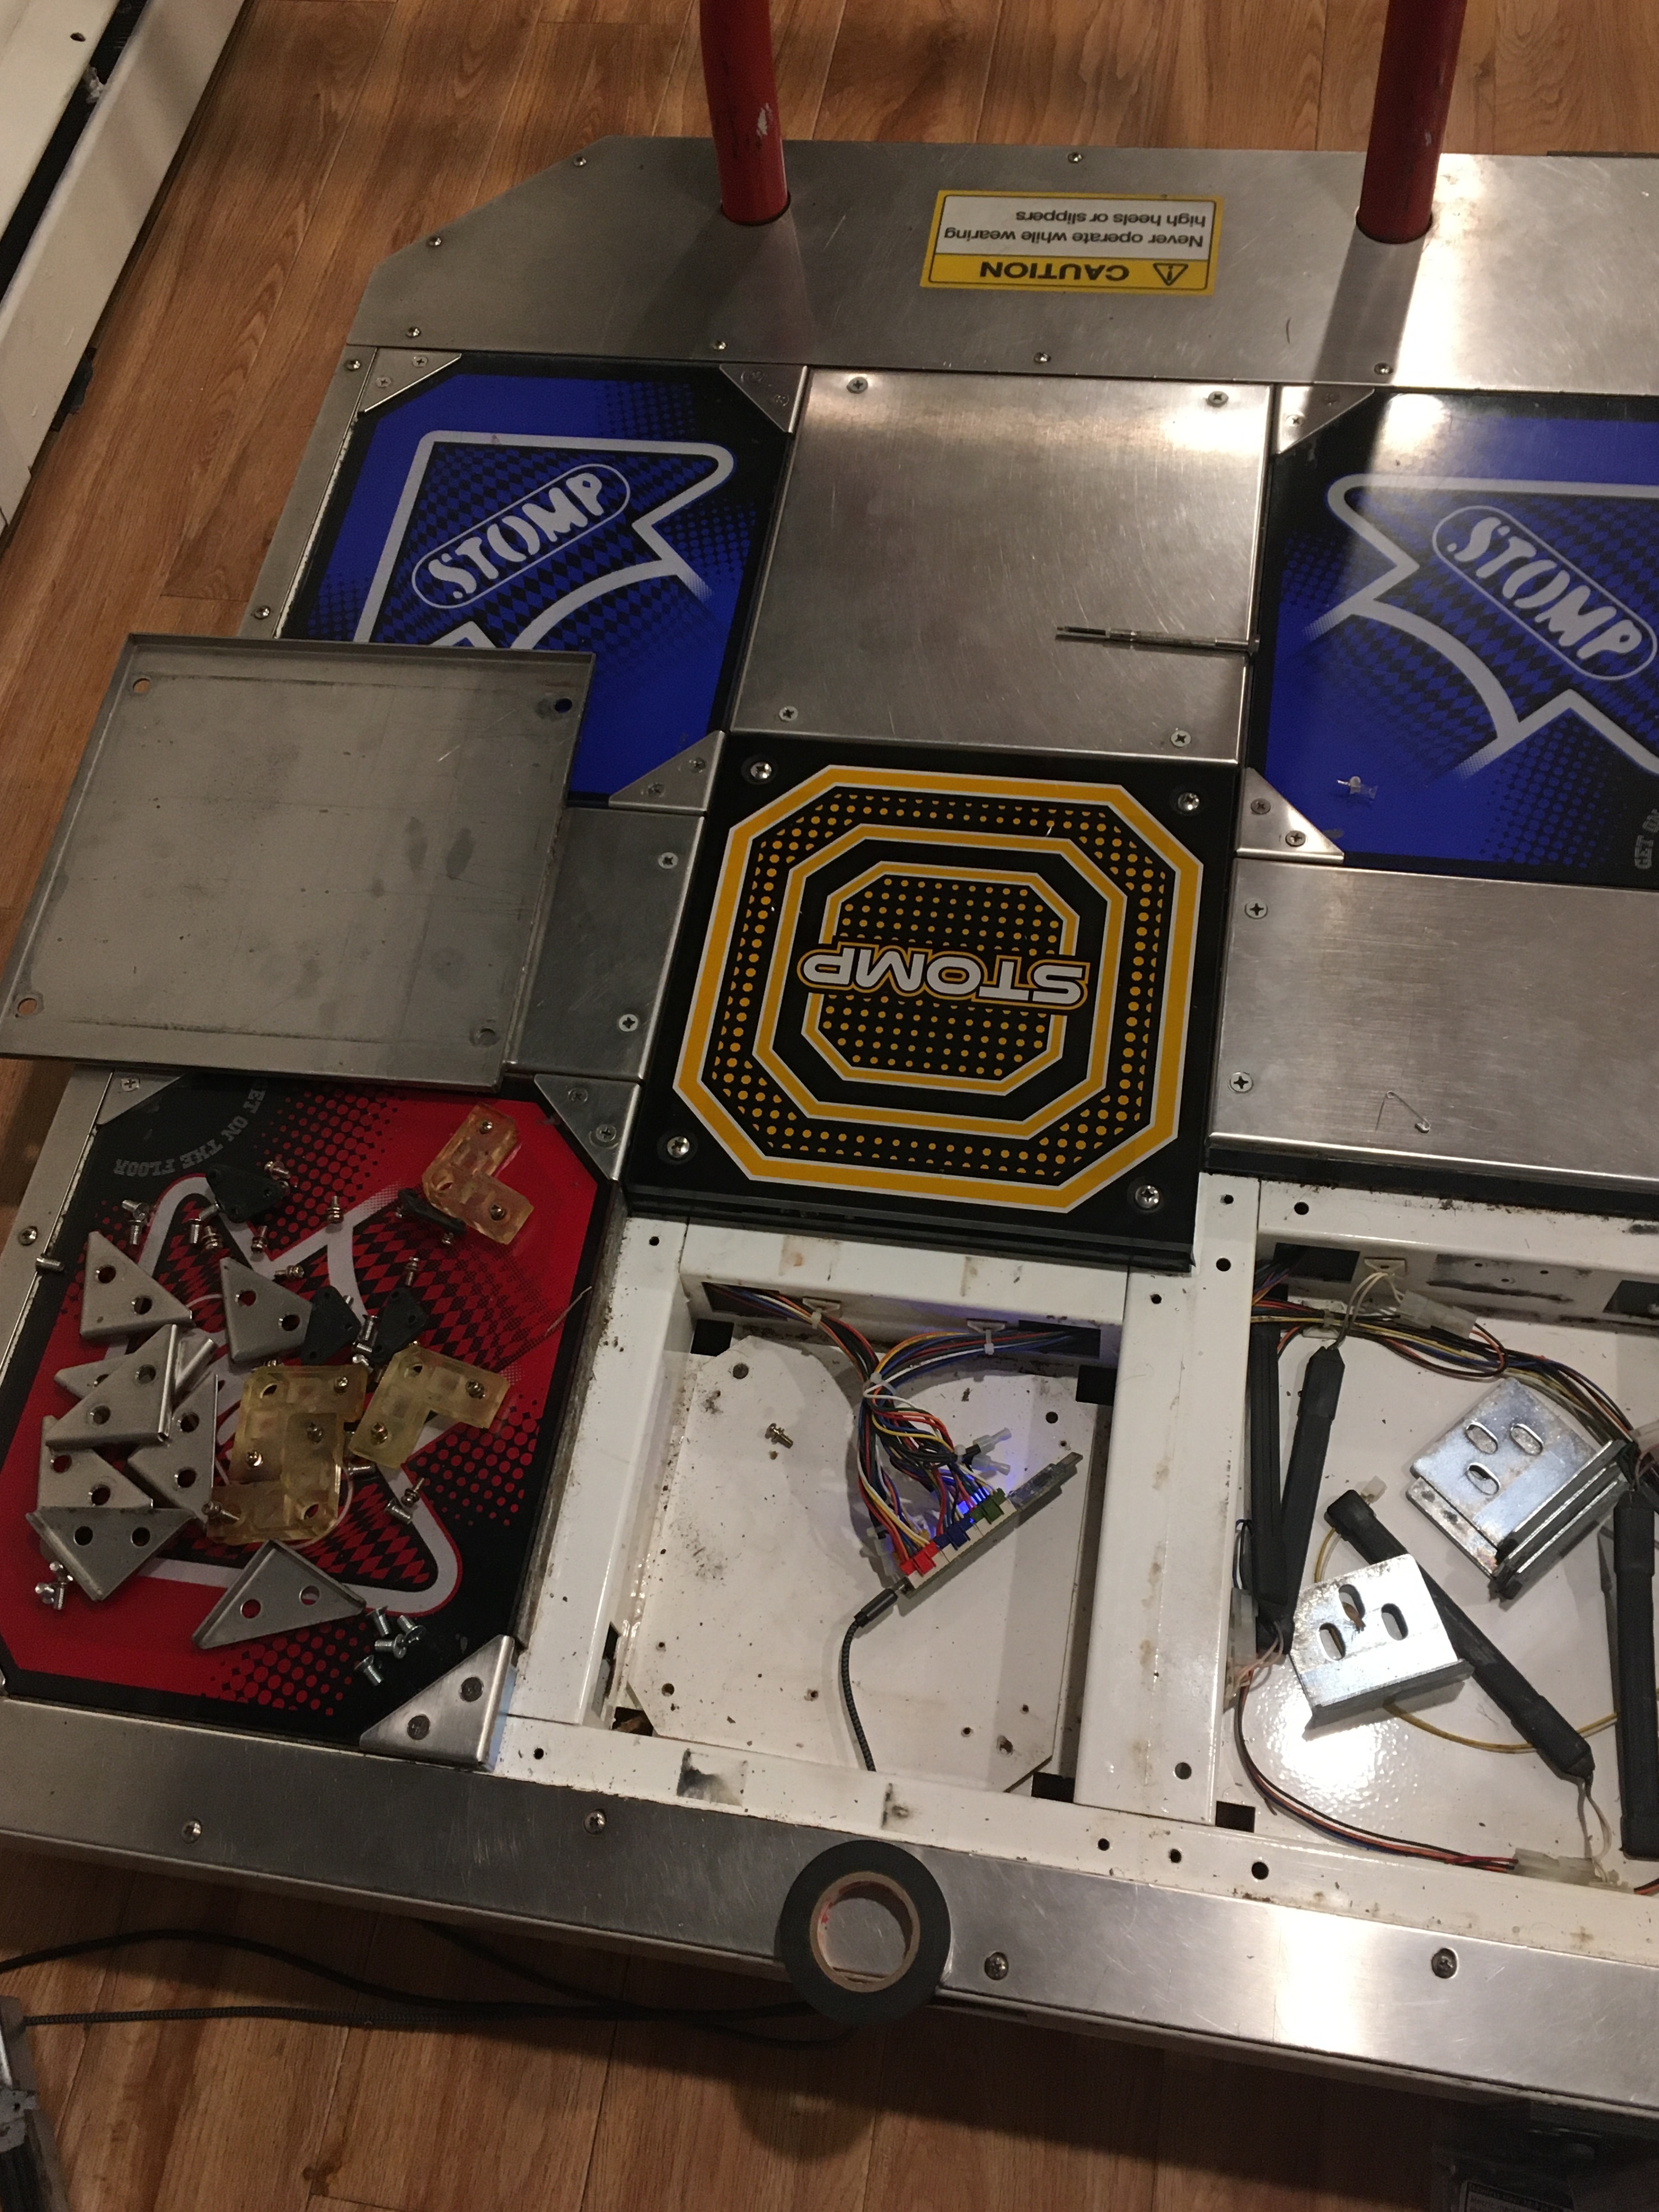
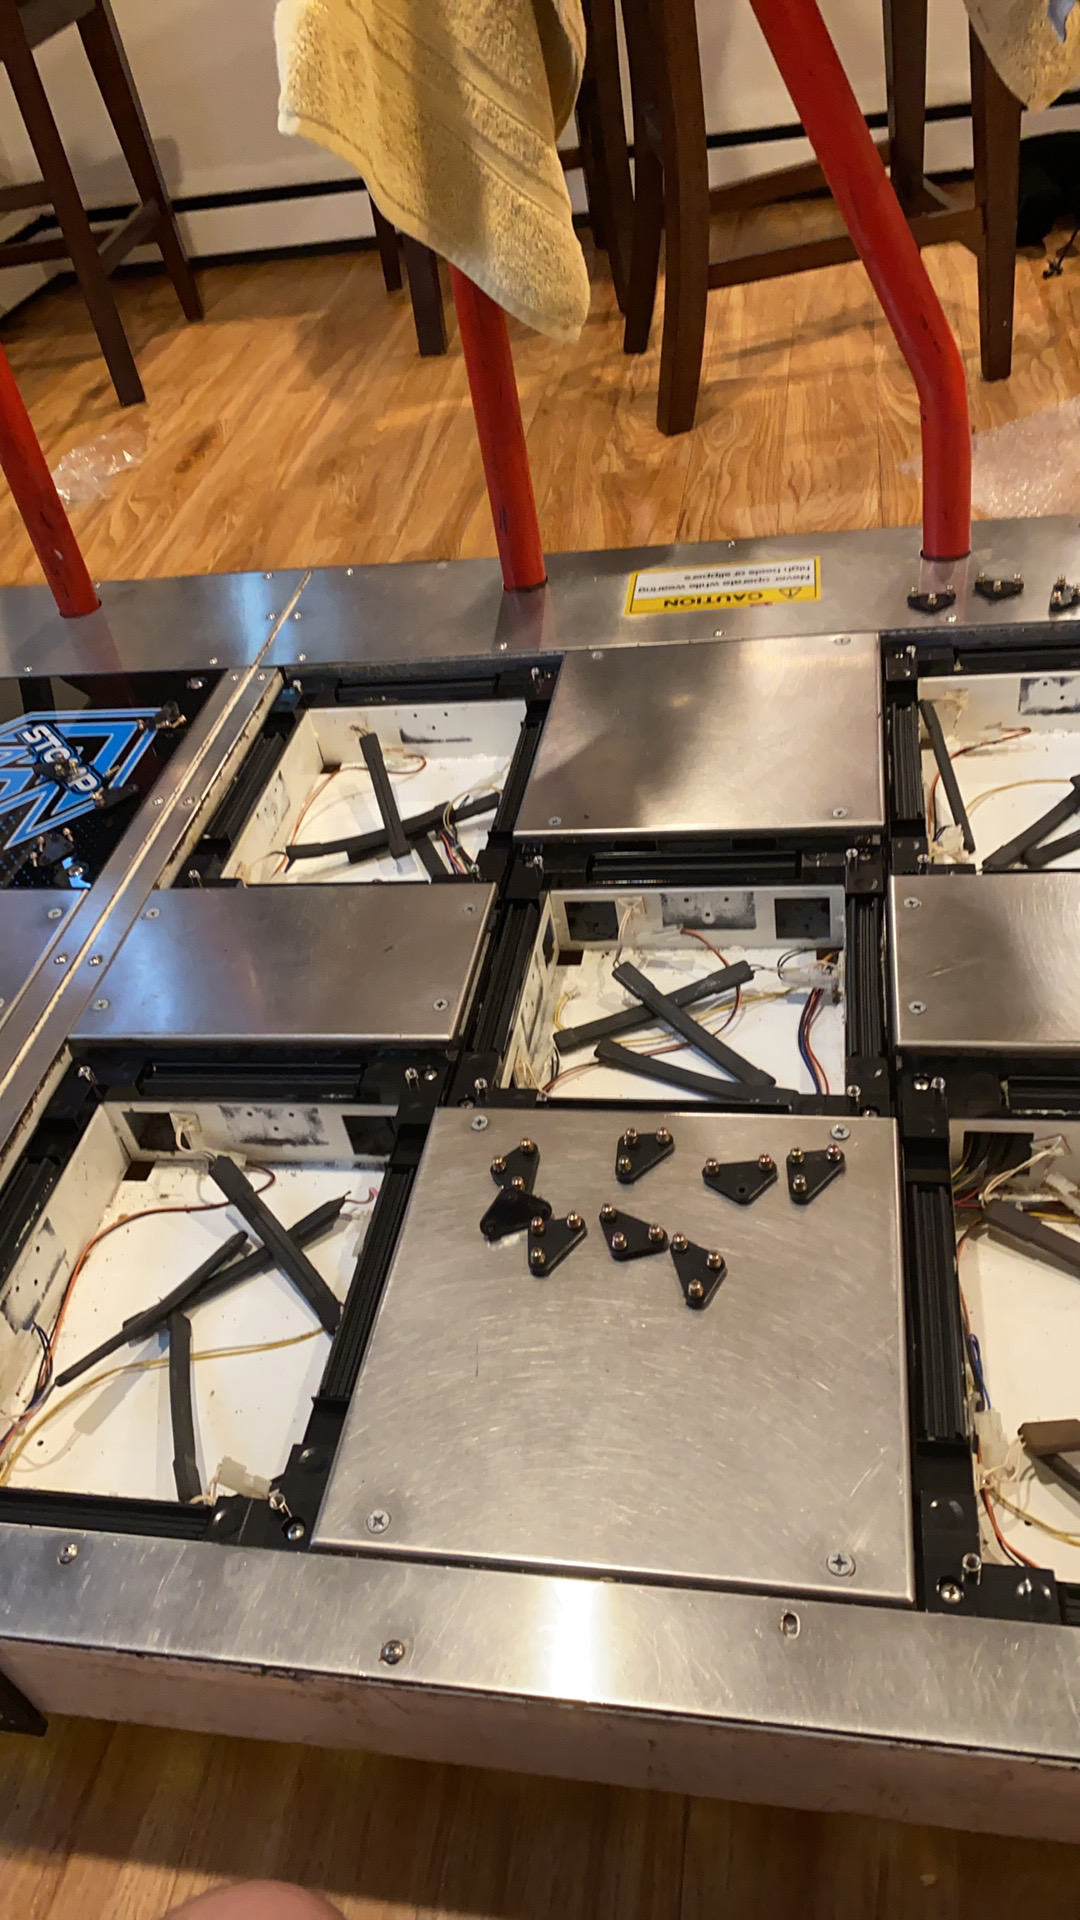
I had to Gorilla Glue the sensor holders onto the plastic frames.

The middle panel installed alongside the older panels.
One pad done! You can see how ridiculous it looks having an upgraded pad next to an older style pad ha.
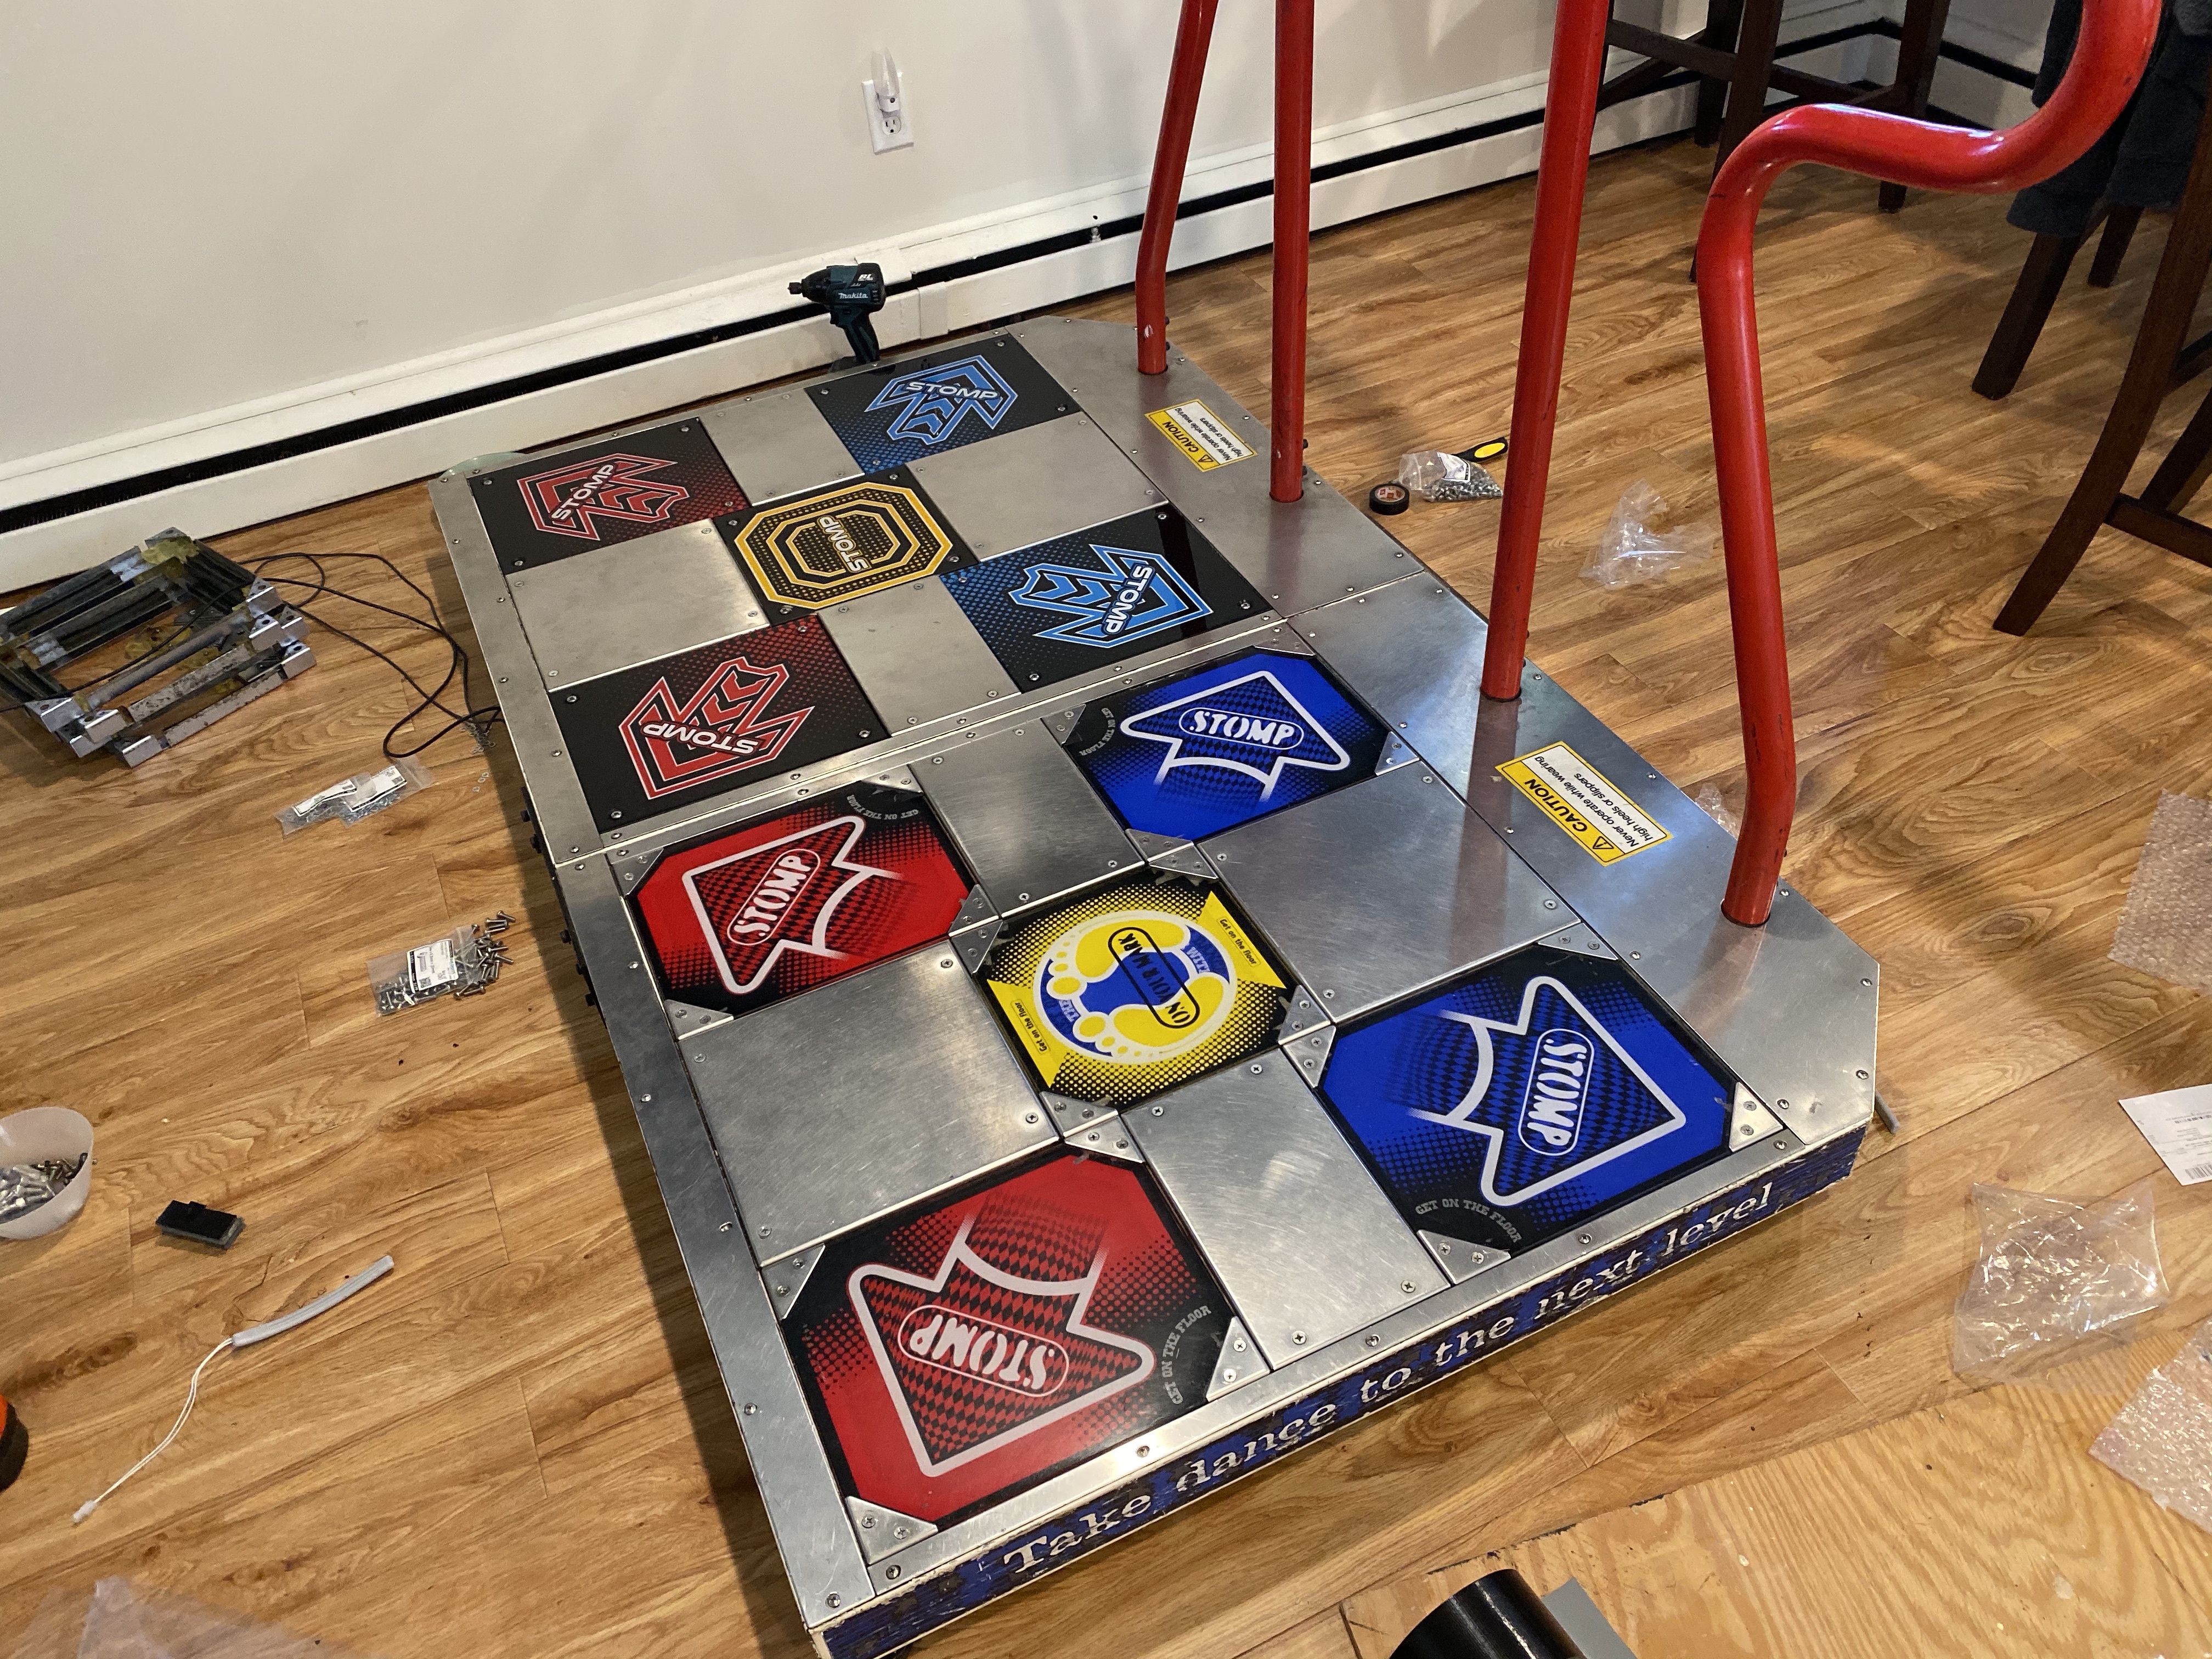
Another angle of one completed pad.
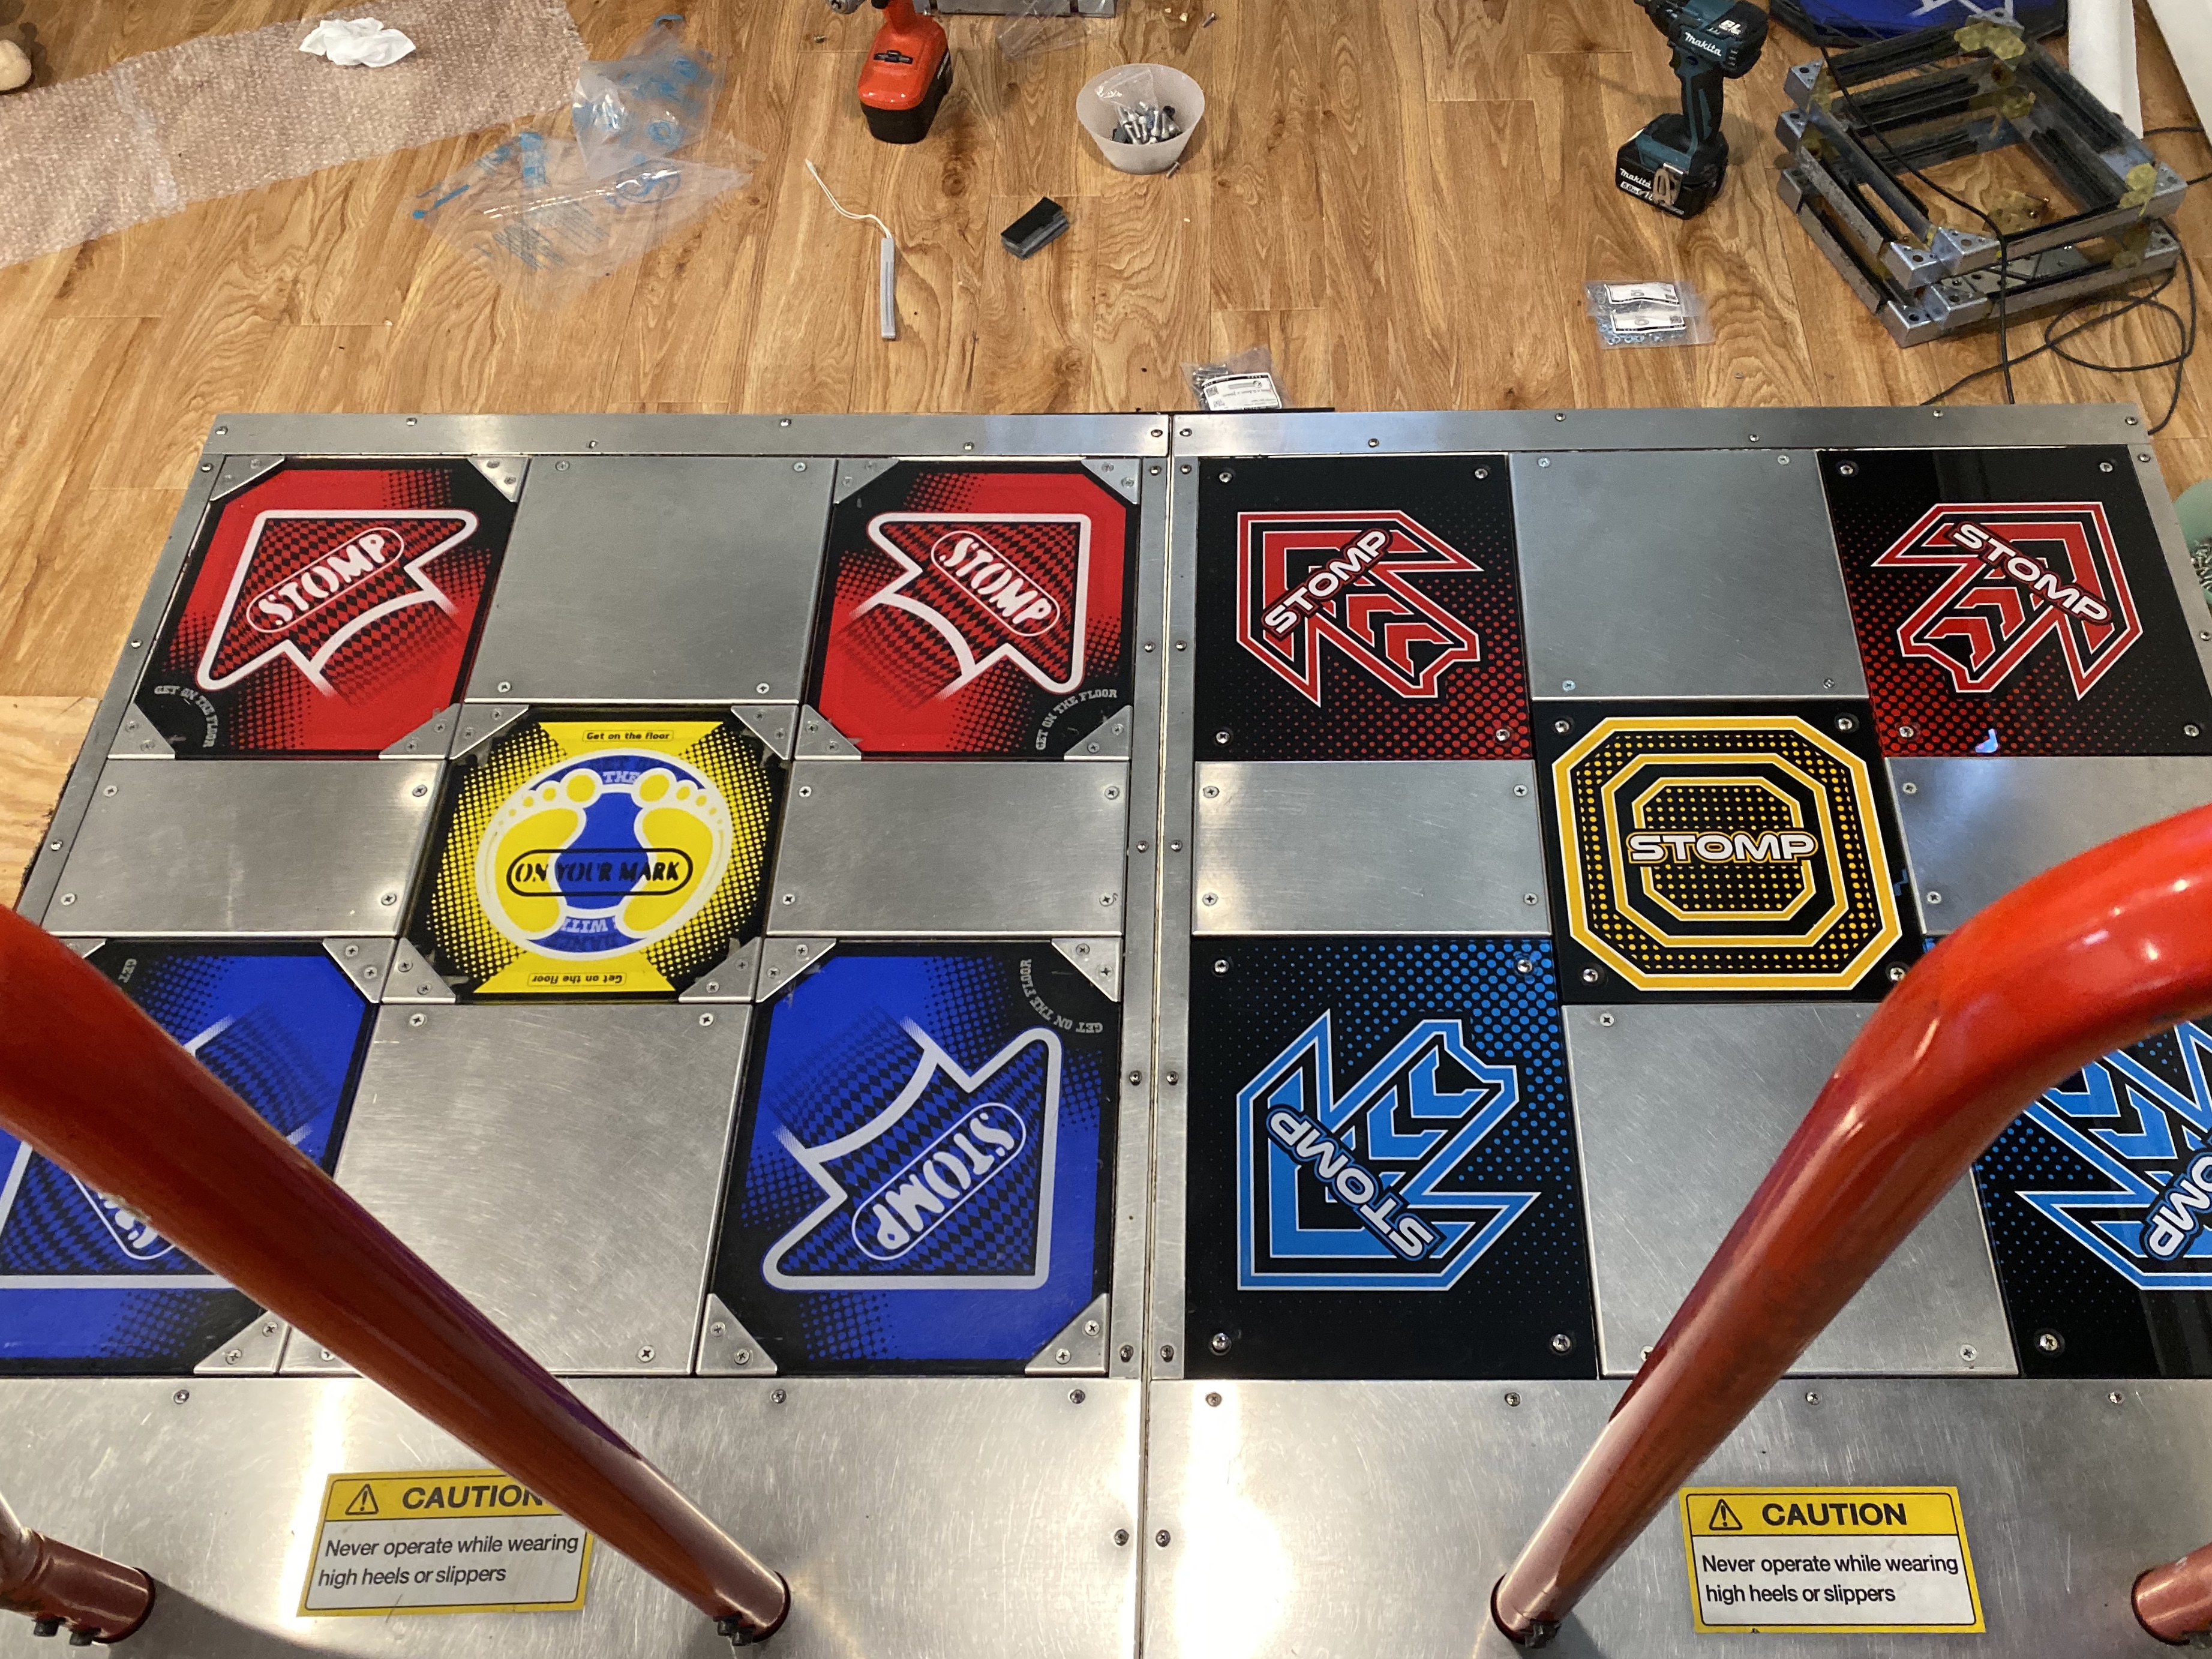
The left pad with the new frames installed.
Almost all of the panels installed (without any lighting as the BARR.io currently doesn’t support lights).
9/10 new panels installed.
The Finished Pads
The fully upgraded pad!
The Pads In Action
I sometimes stream on twitch.tv!