Void Linux Bhyve Image on OmniOS
Posted by Dave Eddy on Sep 19 2022 - tags: tech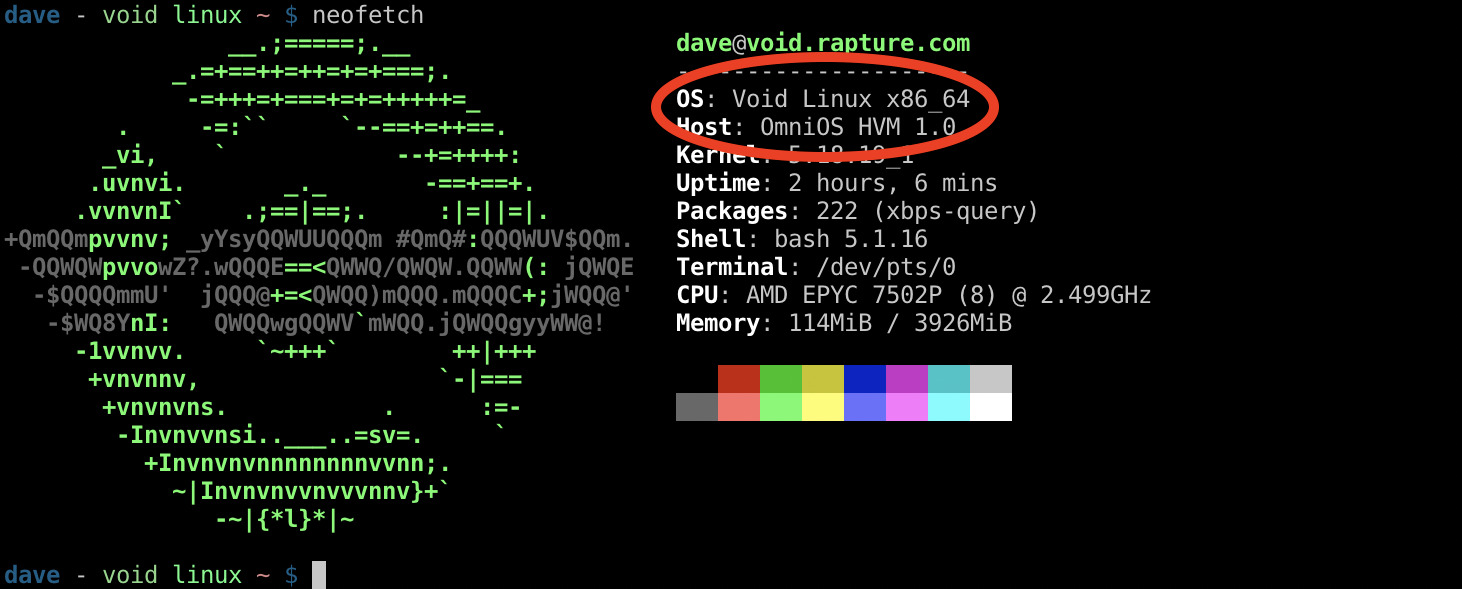
This guide will show how to install Void Linux as a guest on OmniOS using hardware virtualization with bhyve.
Configure the system
To get started, first install zadm on OmniOS inside the global zone.
This tool makes creating and managing zones simple and is reminiscent of the
vmadm command on SmartOS.
Install zadm:
pkg install zadm
pkg install zones/brand/bhyve
I personally use this config for zadm (shoutouts to
@papertigers for this), but feel free to customize this as you
like.
/etc/opt/ooce/zadm/zadm.conf
{
    "CONFIG"  : {
        "format"          : "toml"
    },
    "CONSOLE"  : {
        "auto_connect"    : "off",
        "auto_disconnect" : "on",
        "escape_char"     : "_"
    },
    "SNAPSHOT" : {
        "prefix"          : "zadm__"
    }
}
Test that zadm was installed and works as expected by running:
root@datadyne:~# zadm list
NAME              STATUS     BRAND       RAM    CPUS  SHARES
global            running    ipkg       256G      64       1
Note that for this blog post I ran all of these commands on a fresh system so only 1 zone is running (the global zone).
Create the datasets needed. You can customize these if you’d like but for the sake of this post I’ll be using these datasets:
zfs create -o mountpoint=/zones rpool/zones
zfs create rpool/zones/config
zfs create rpool/zones/data
zfs create rpool/zones/zones
mkdir /zones/config/iso
Where:
/zones/configtoml files for each zone used during zone creation./zones/datadataset to store persistent data for each zone that can be LOFS mounted into the zone./zones/zonesconfusingly named, but each zones root data will live in this directory.
For example, a zone named foo would have files like:
/zones/config/foo.toml/zones/data/foo/zones/zones/foo
Create the initial void VM
Pull the full ISO from the void Linux download page. I’m using the “Base Live Image x86_64 glibc” for this:
https://voidlinux.org/download/
Download this ISO (yours might be named differently) to the machine:
cd /zones/config/iso
wget https://alpha.de.repo.voidlinux.org/live/current/void-live-x86_64-20210930.iso
Create the zone toml file:
/zones/config/void-golden-image.toml
zonename="void-golden-image"
cdrom="/zones/config/iso/void-live-x86_64-20210930.iso"
zonepath="/zones/zones/void-golden-image"

ram="2G"
vcpus="4"

dns-domain="rapture.com"
resolvers=[
  "10.0.1.2",
  "10.0.1.3",
]

acpi="on"
xhci="on"
autoboot="false"
bootorder="cd"
brand="bhyve"
ip-type="exclusive"
limitpriv="default"

[capped-memory]
# should match global "ram" key above
physical="2G"
swap="2G"

[[net]]
# will use DHCP when creating the golden image
global-nic="e1000g0"
physical="voidgoldenimage0"

[bootdisk]
blocksize="8K"
path="rpool/zones/zones/void-golden-image/root"
size="50G"
sparse="false"

[vnc]
# needed for installation
enabled="on"
There are a lot of options in this toml file, but hopefully most of them are
self-explanatory - just make sure to update options like the dns-domain and
global-nic to match your environment.
Create the zone:
sudo zadm create create -b bhyve -t void-golden-image.toml void-golden-image
sudo zadm boot void-golden-image
Verify with:
$ sudo zadm list void-golden-image
NAME              STATUS     BRAND       RAM    CPUS  SHARES
void-golden-image running    bhyve        2G       4       1
At this point the zone should be running, and inside the zone is the bhyve
process, which is responsible for booting the Void Linux image. We can’t quite
connect to the console using zadm console or zlogin -C, so for now we must
use VNC. Luckily, zadm comes with a simple VNC server built-in.
Create VNC server (leave this command running):
$ sudo zadm webvnc 0.0.0.0:8080 void-golden-image
Web application available at http://0.0.0.0:8080
If you are quick enough you may be able to see this grub menu!
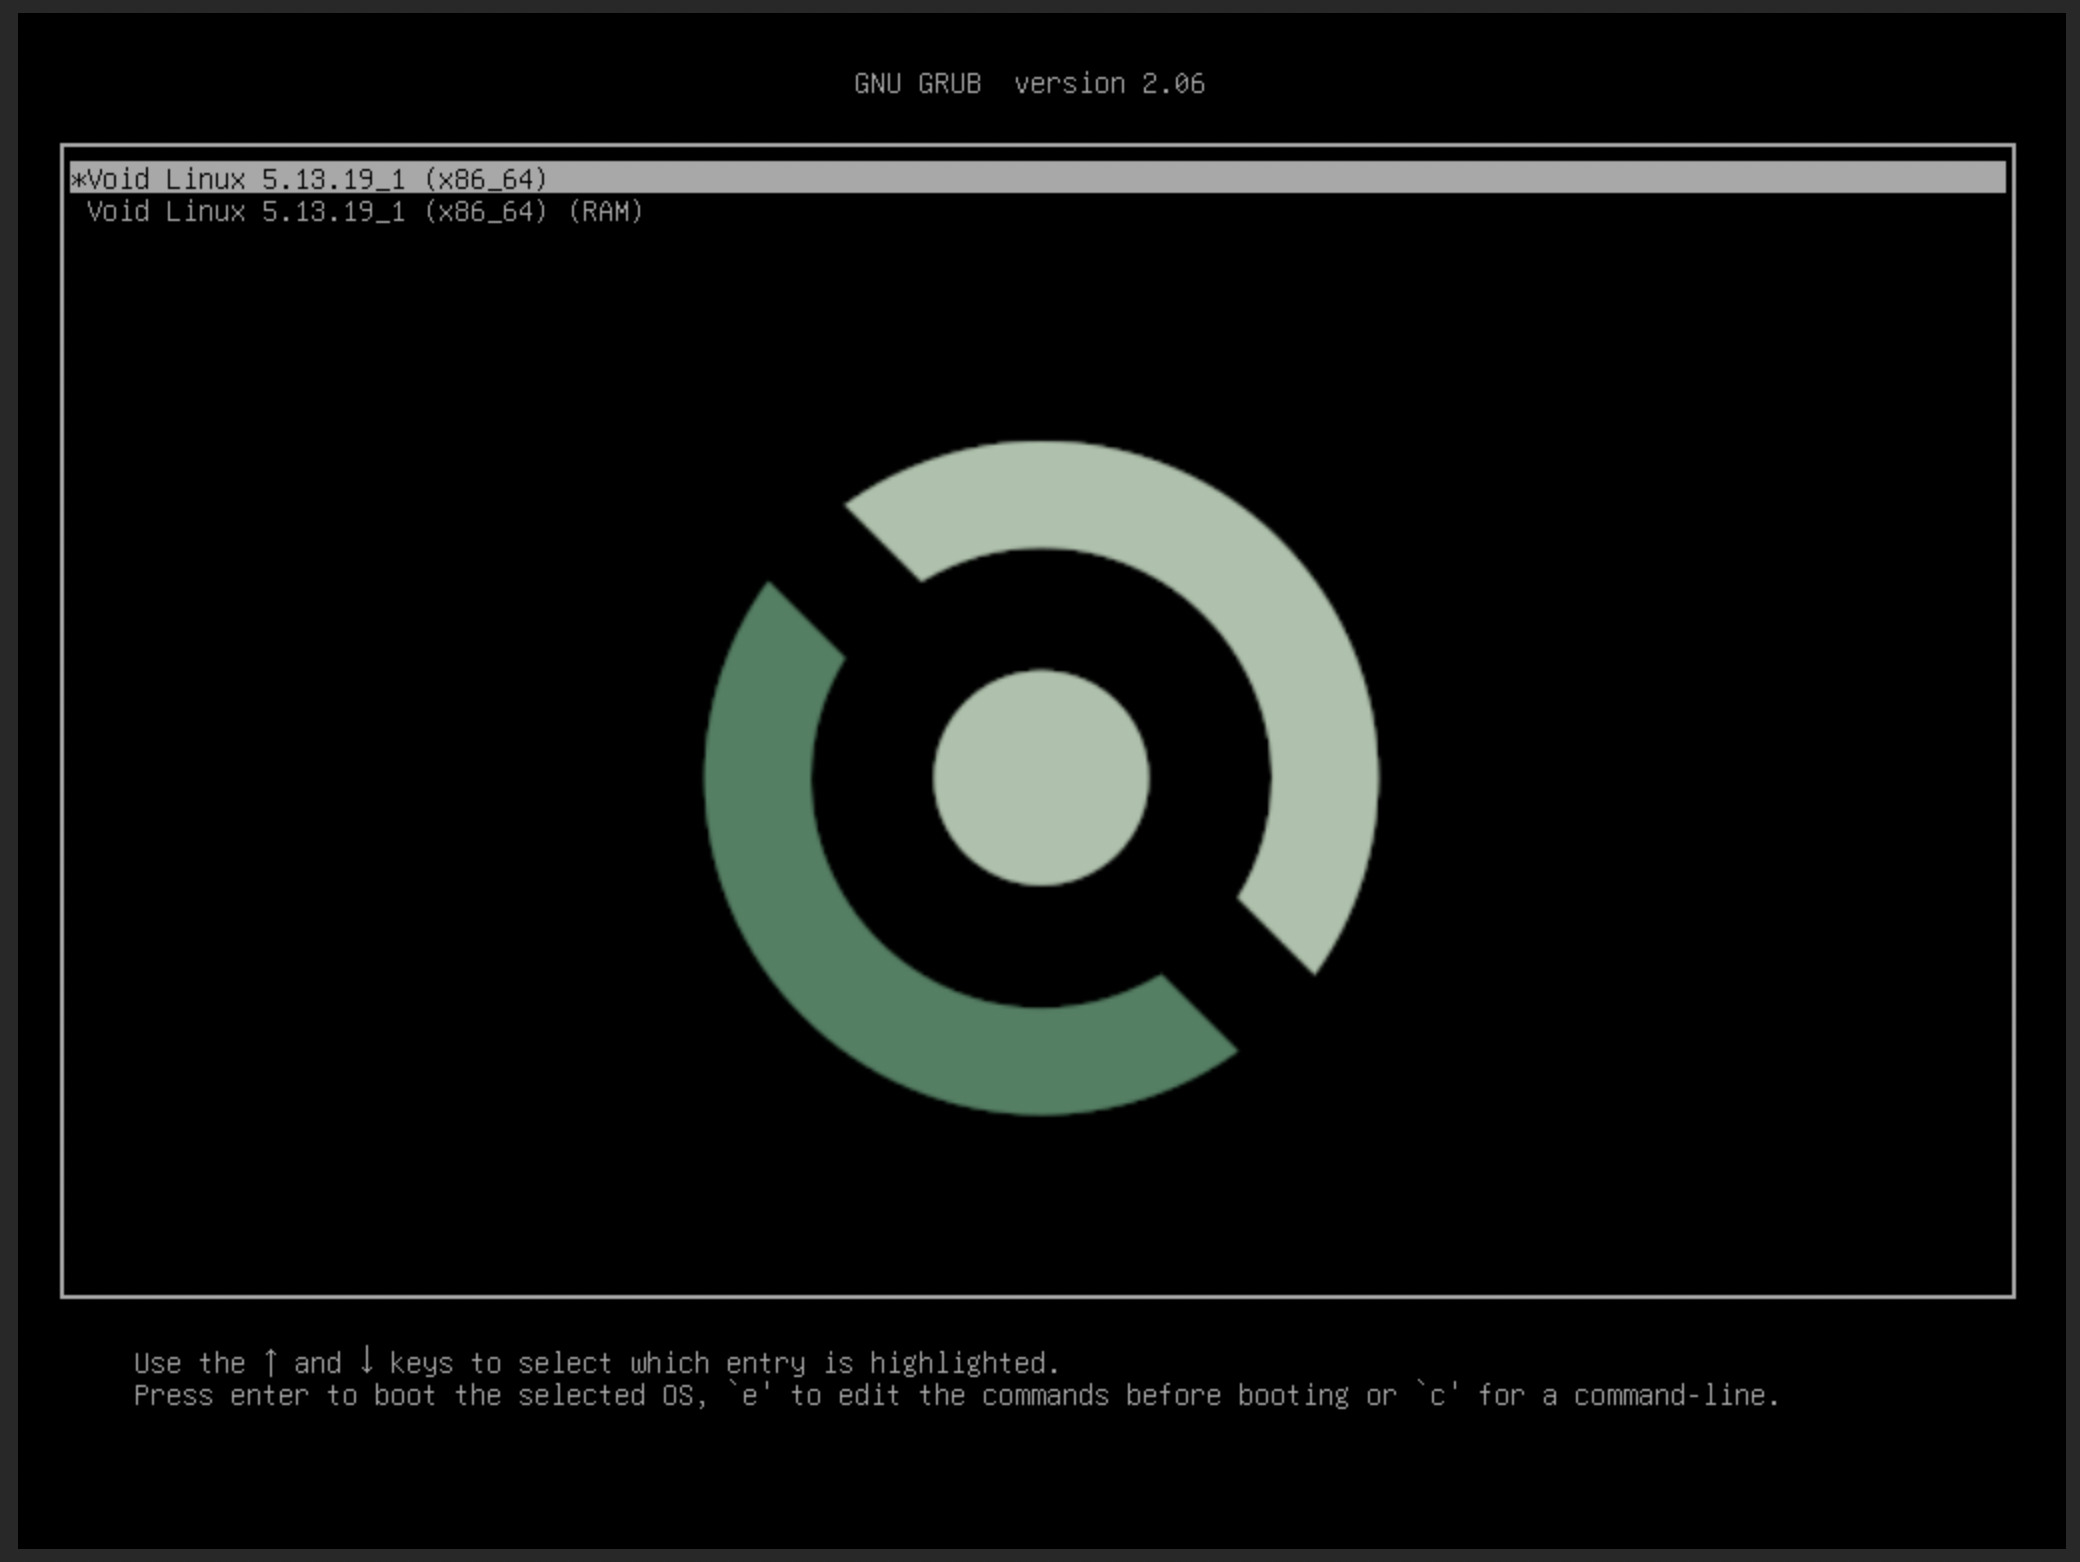
If not don’t worry, grub will automatically pick the top option which is what we want.
You should end up with a screen that looks something like this:
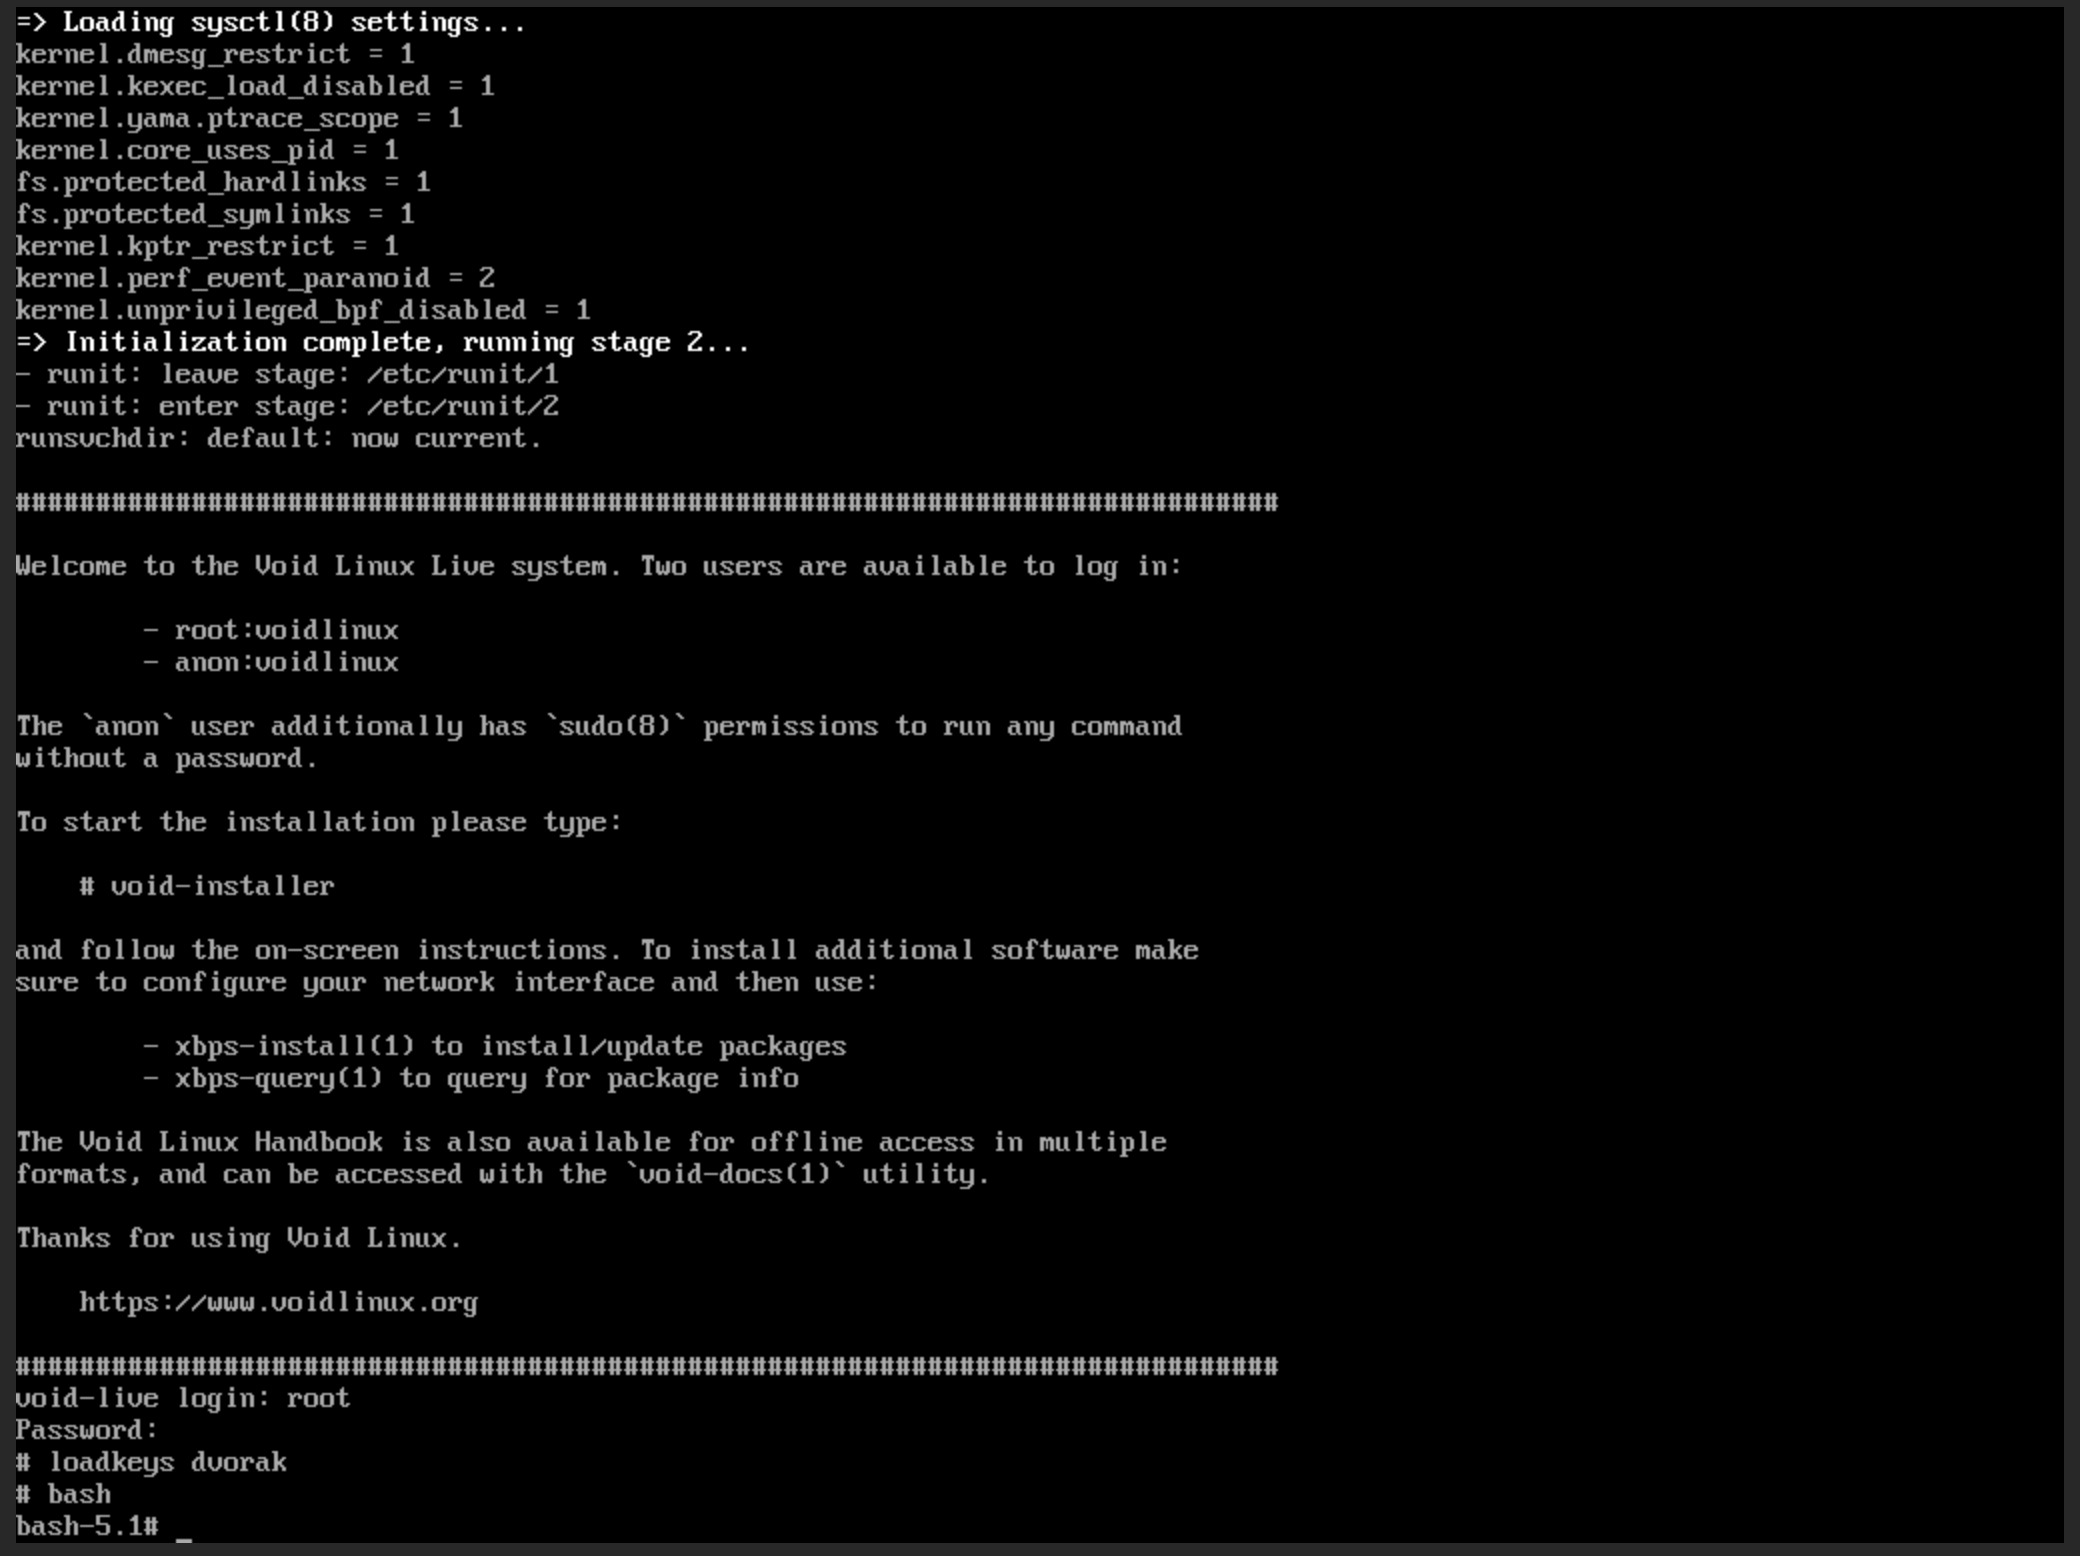
As it says in the output, you can now login with the user root and the
password voidlinux. At this point I prefer to run bash, so I’m using the
bash shell for the installation process as opposed to just /bin/sh.
Install Void Linux
Now, run the command void-installer to bring up the graphical installer - it
should look like:
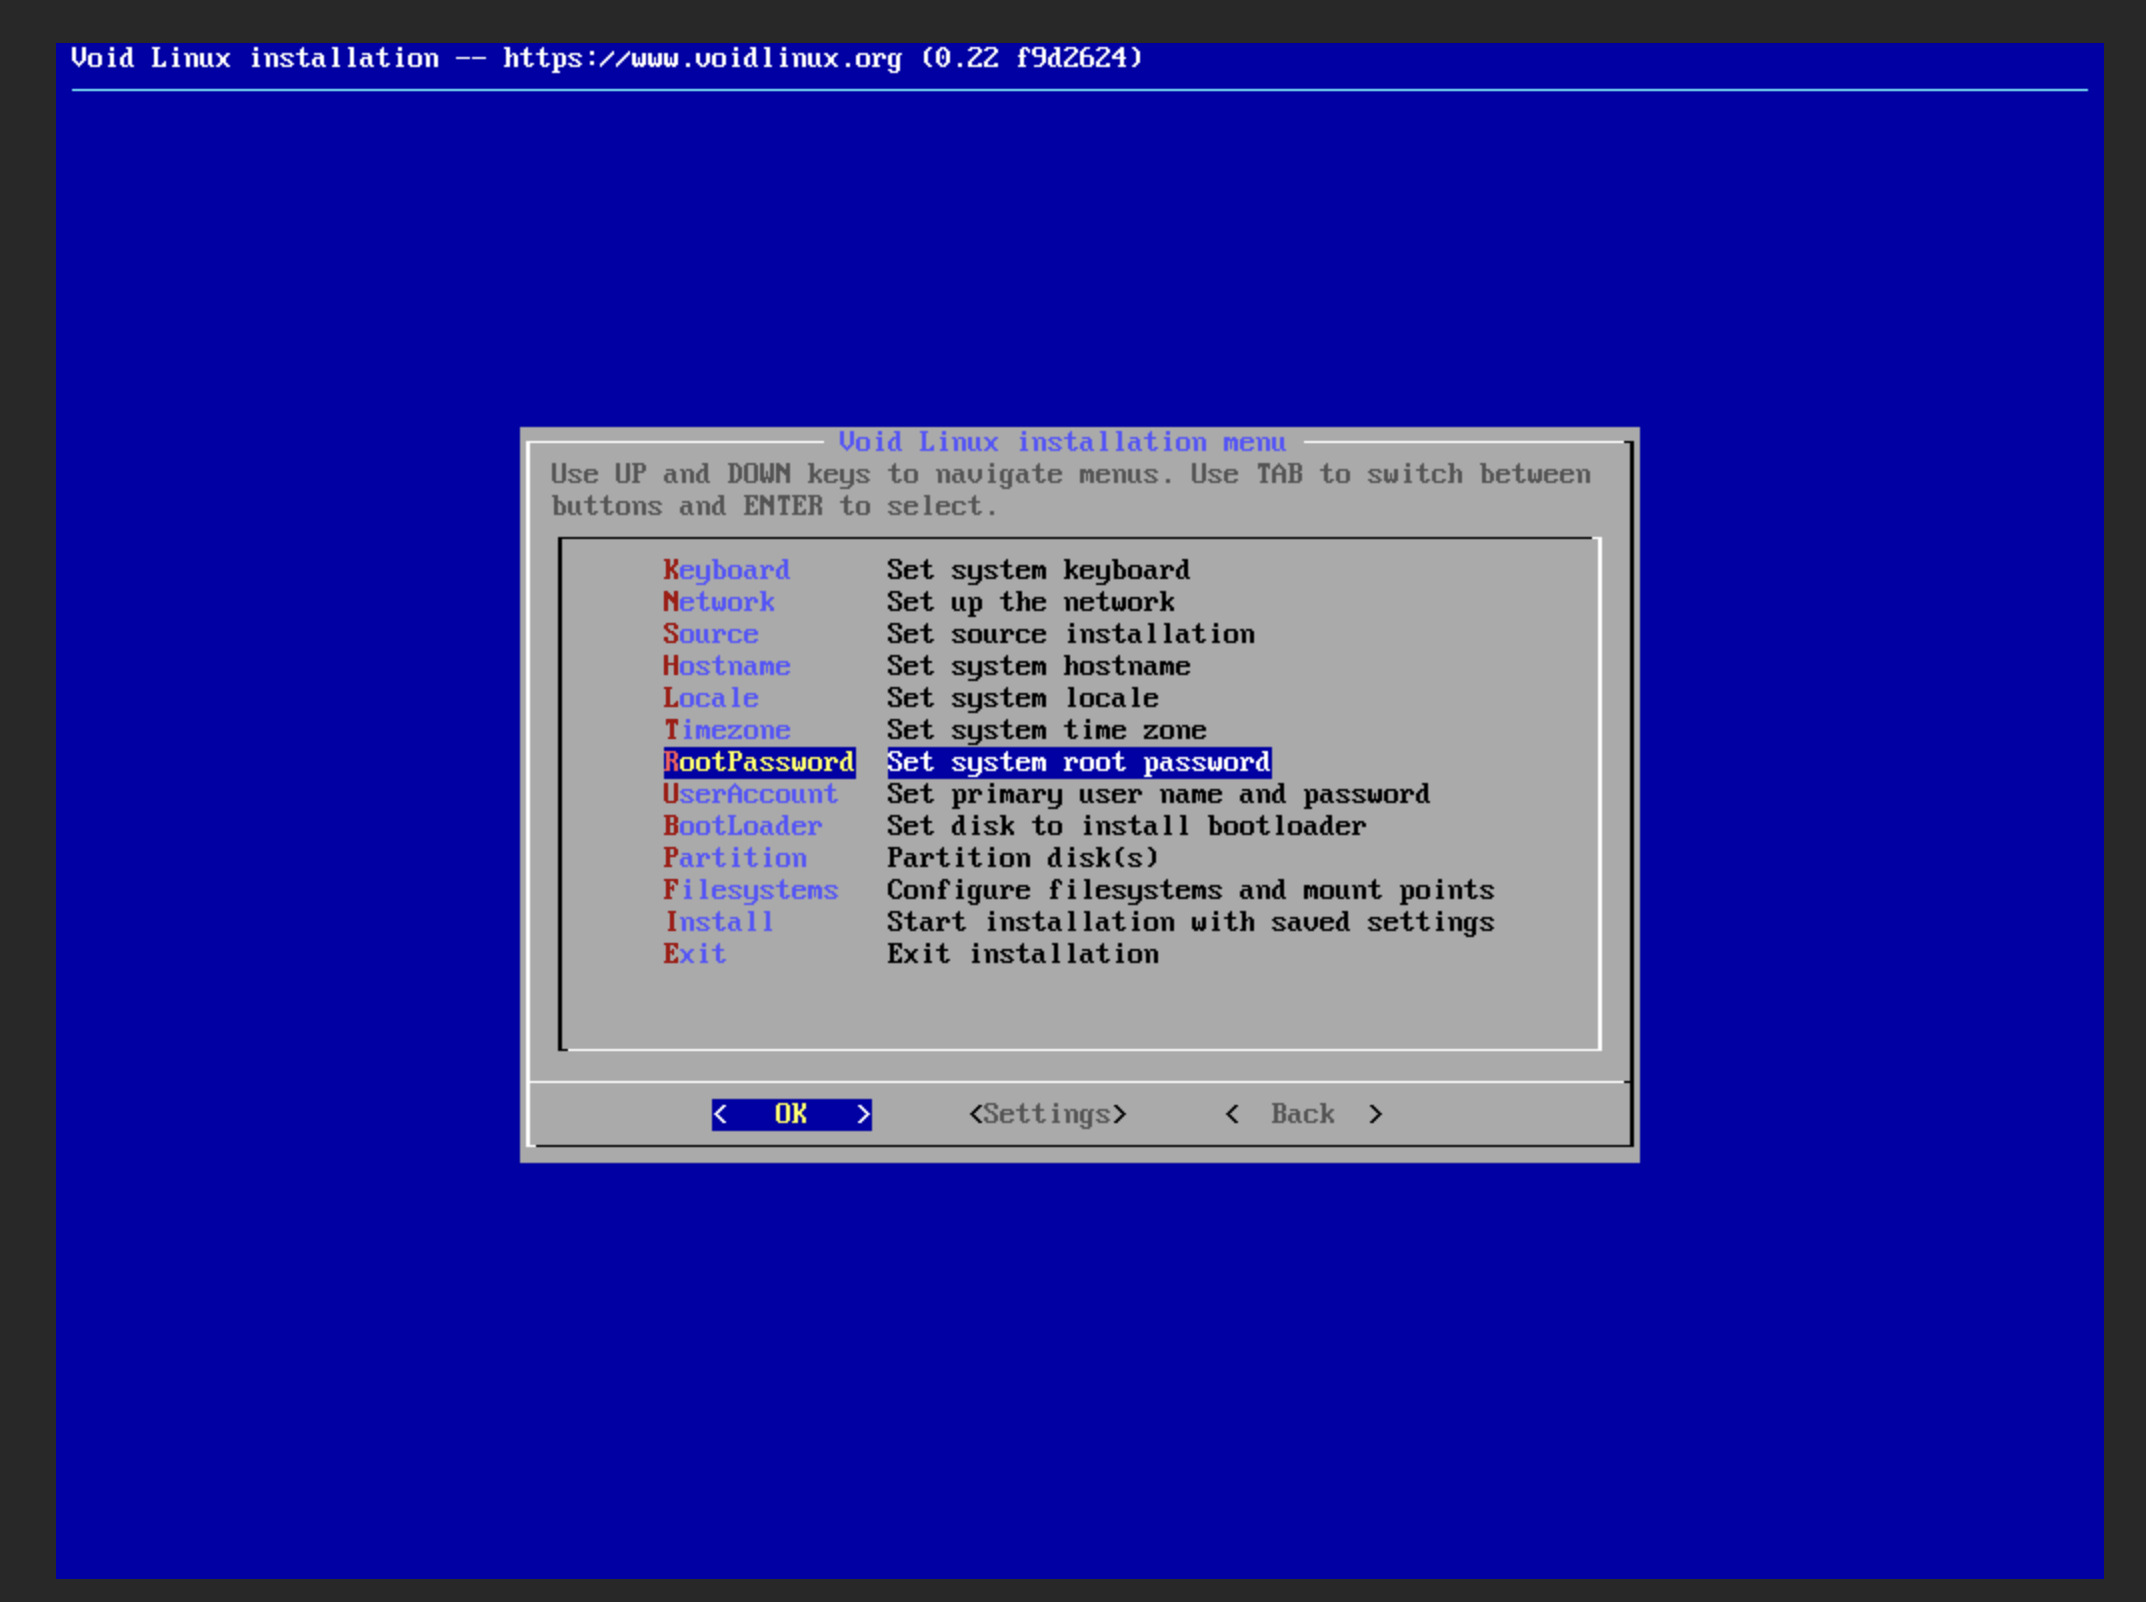
void-installer
Setup
In the installer make sure to set these options:
RootPassword- set to something you’ll rememberBootLoader- Set “use graphical terminal?” to
no
- Set “use graphical terminal?” to
Partitioncfdiskgpt
Disk Partitions
Now, you should be inside cfdisk to set up the underlying hard drive (the 50G
disk created in the toml file) for Void. Create the following:
3 partitions
/dev/vda1: 1G, EFI System/dev/vda2: 2G, Linux swap/dev/vda3: 47G (remaining), Linux filesystem
Your output should look like this:
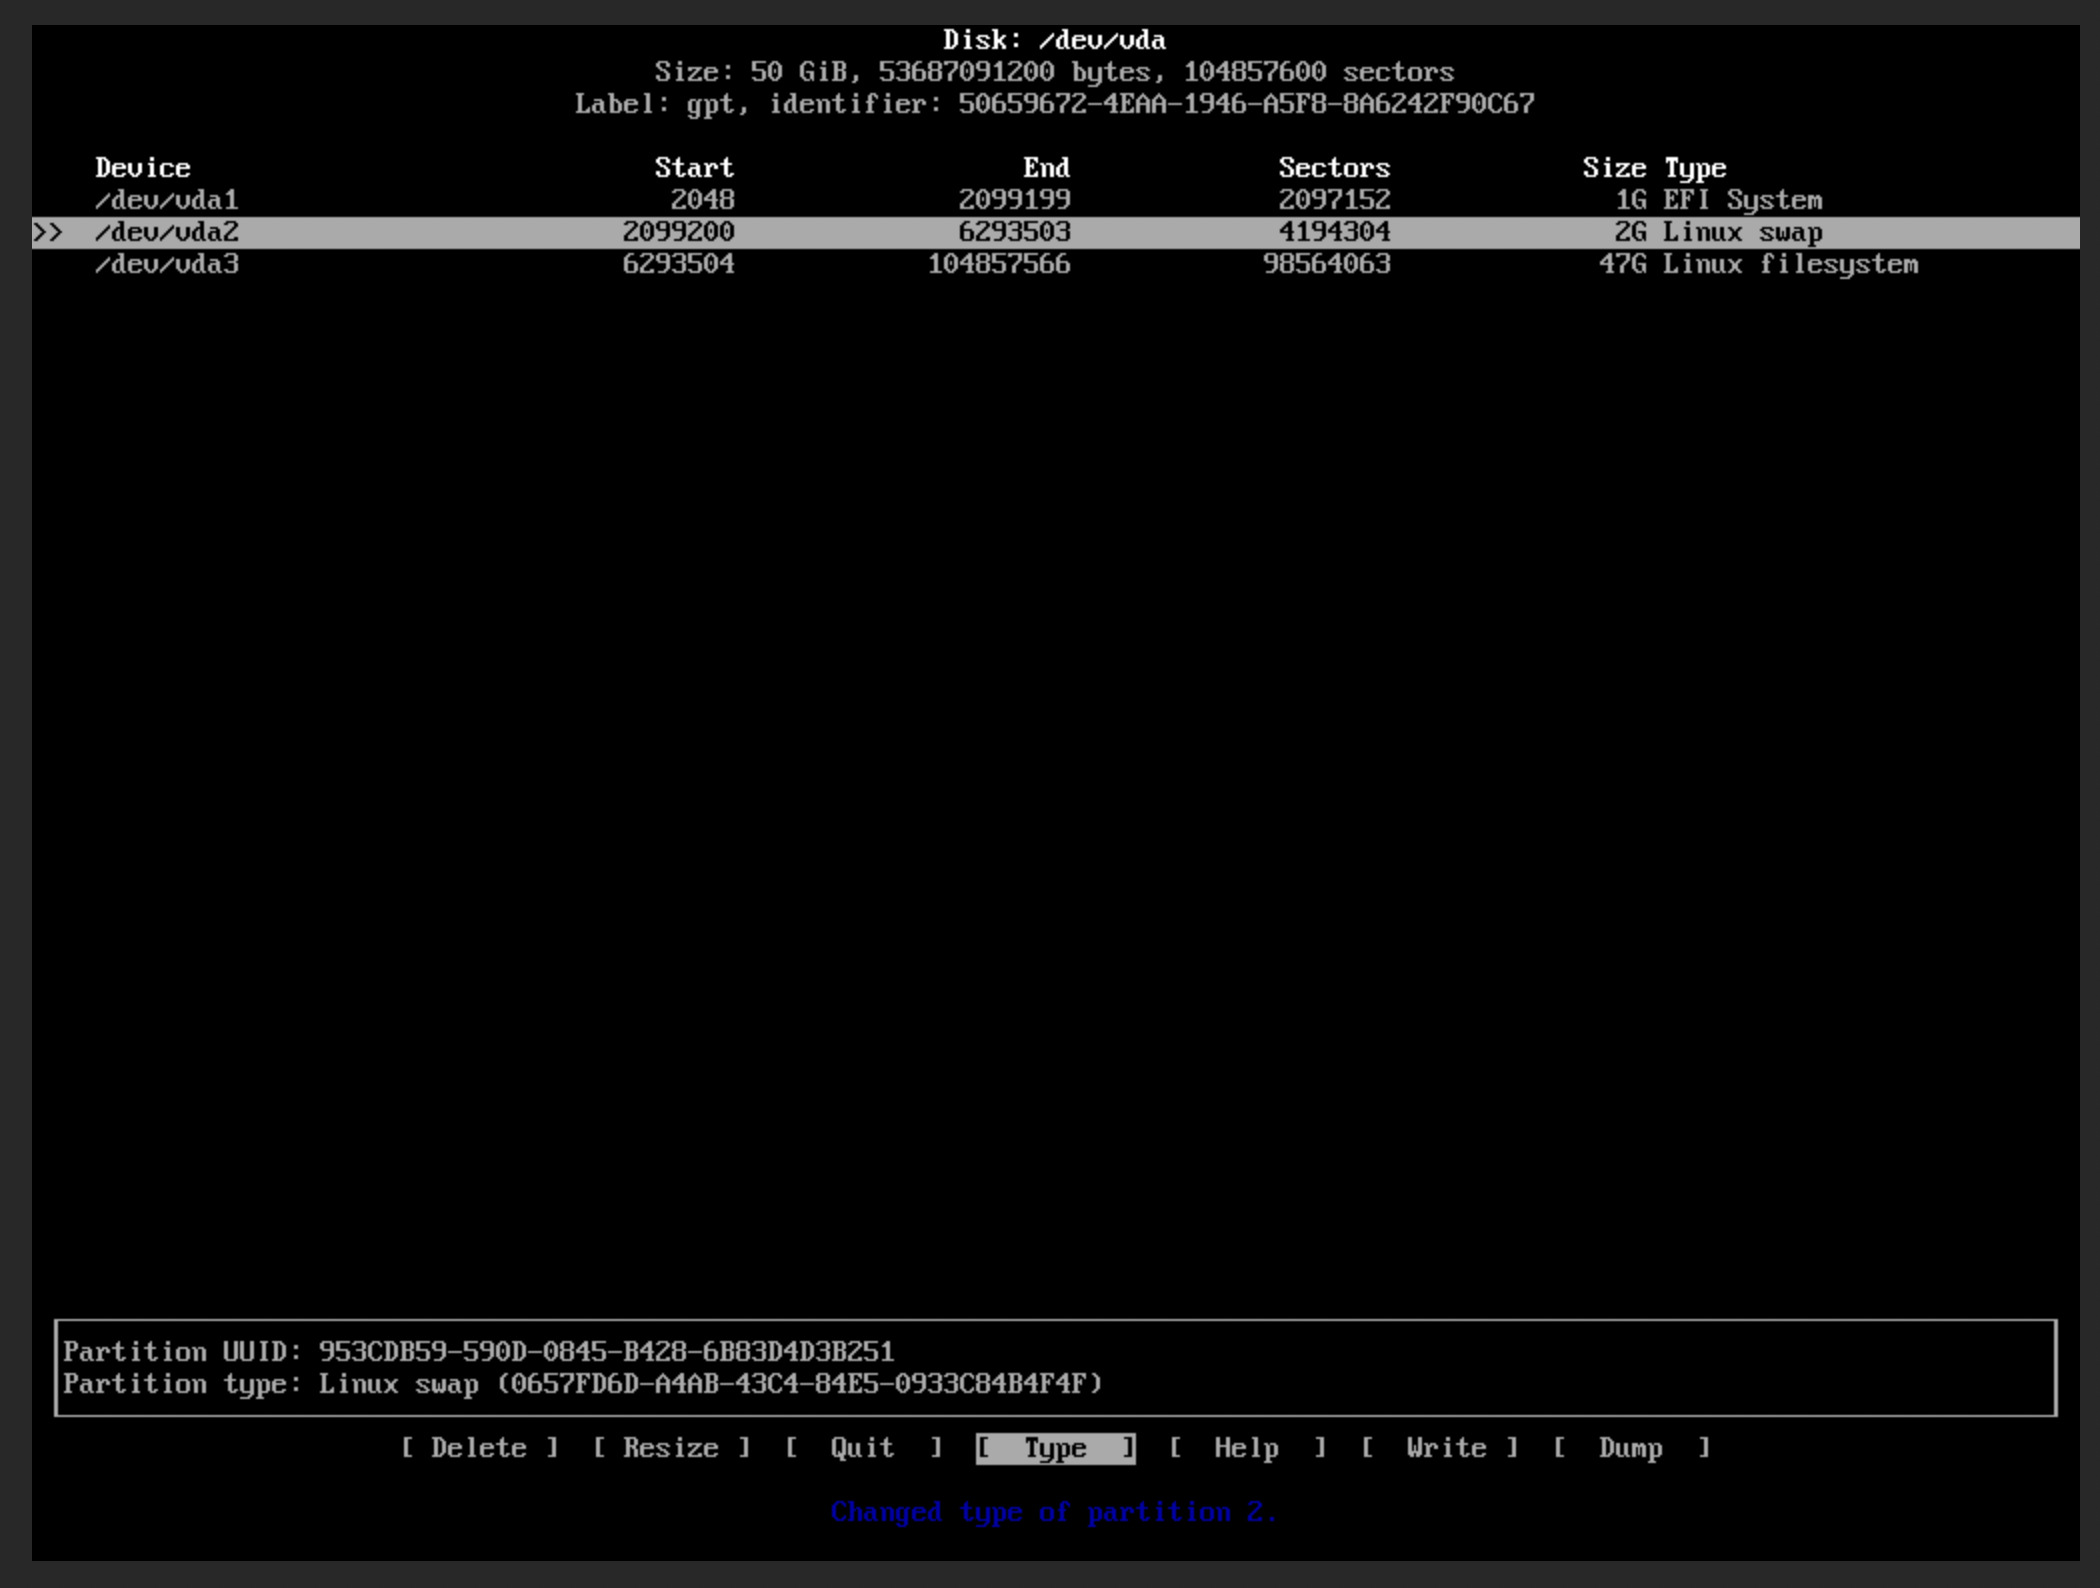
NOTE: Make sure to write before quit - otherwise your changes won’t be
saved.
File Systems
With the partitions created you can now create the file systems in the installer, they should be this:
FileSystems/dev/vda1: vfat (FAT32) - mounted at/boot/efi/dev/vda1: swap (Linux Swap)/dev/vda1: xfs (SGI’s XFS) - mounted at/
NOTE: xfs is optional - pick whatever filesystem you prefer.
Finally, click Install and everything should just work.
EFI Configuration
DON’T REBOOT - we’re not done yet!
Back in the live system and outside of the installer, mount the newly installed boot partition:
mount /dev/vda1 /mnt
Move the grub efi file into the proper location (from
/boot/efi/EFI/void_grub/grubx64.efi -> /boot/efi/EFI/BOOT/bootx64.efi):
mv /mnt/EFI/void_grub /mnt/EFI/BOOT
mv /mnt/EFI/BOOT/grubx64.efi /mnt/EFI/BOOT/bootx64.efi
Unmount the filesystem and power off the machine:
umount /mnt
poweroff
Configure serial console
Inside the global zone, edit the zones config file with zadm to remove the CD
device (I just commented the lines out for my system):
$ sudo zadm edit void-golden-image
...
# cdrom=[
#   "/zones/config/iso/void-live-x86_64-20210930.iso"
# ]
...
$ sudo zadm boot void-golden-image
This way, the machine will boot from the newly installed OS from the hard drive and not the CD ROM (where the installer ISO was mounted).
You may have to refresh the VNC webpage to access the zone, if it all works you
should see a login prompt. You can use the user root with the root password
you setup earlier:
Before going any further, we can make our lives easier by enabling the serial console:
ln -s /etc/sv/agetty-ttyS0 /var/service
Then, instruct grub to work over the serial console as well. Add these lines
(or modify the existing lines) in /etc/default/grub:
GRUB_CMDLINE_LINUX_DEFAULT="loglevel=4 console=ttyS0,115200n8"
GRUB_TERMINAL=serial
GRUB_SERIAL_COMMAND="serial --speed=115200 --unit=0 --word=8 --parity=no --stop=1"
And run:
update-grub
Finally, power off the machine again:
poweroff
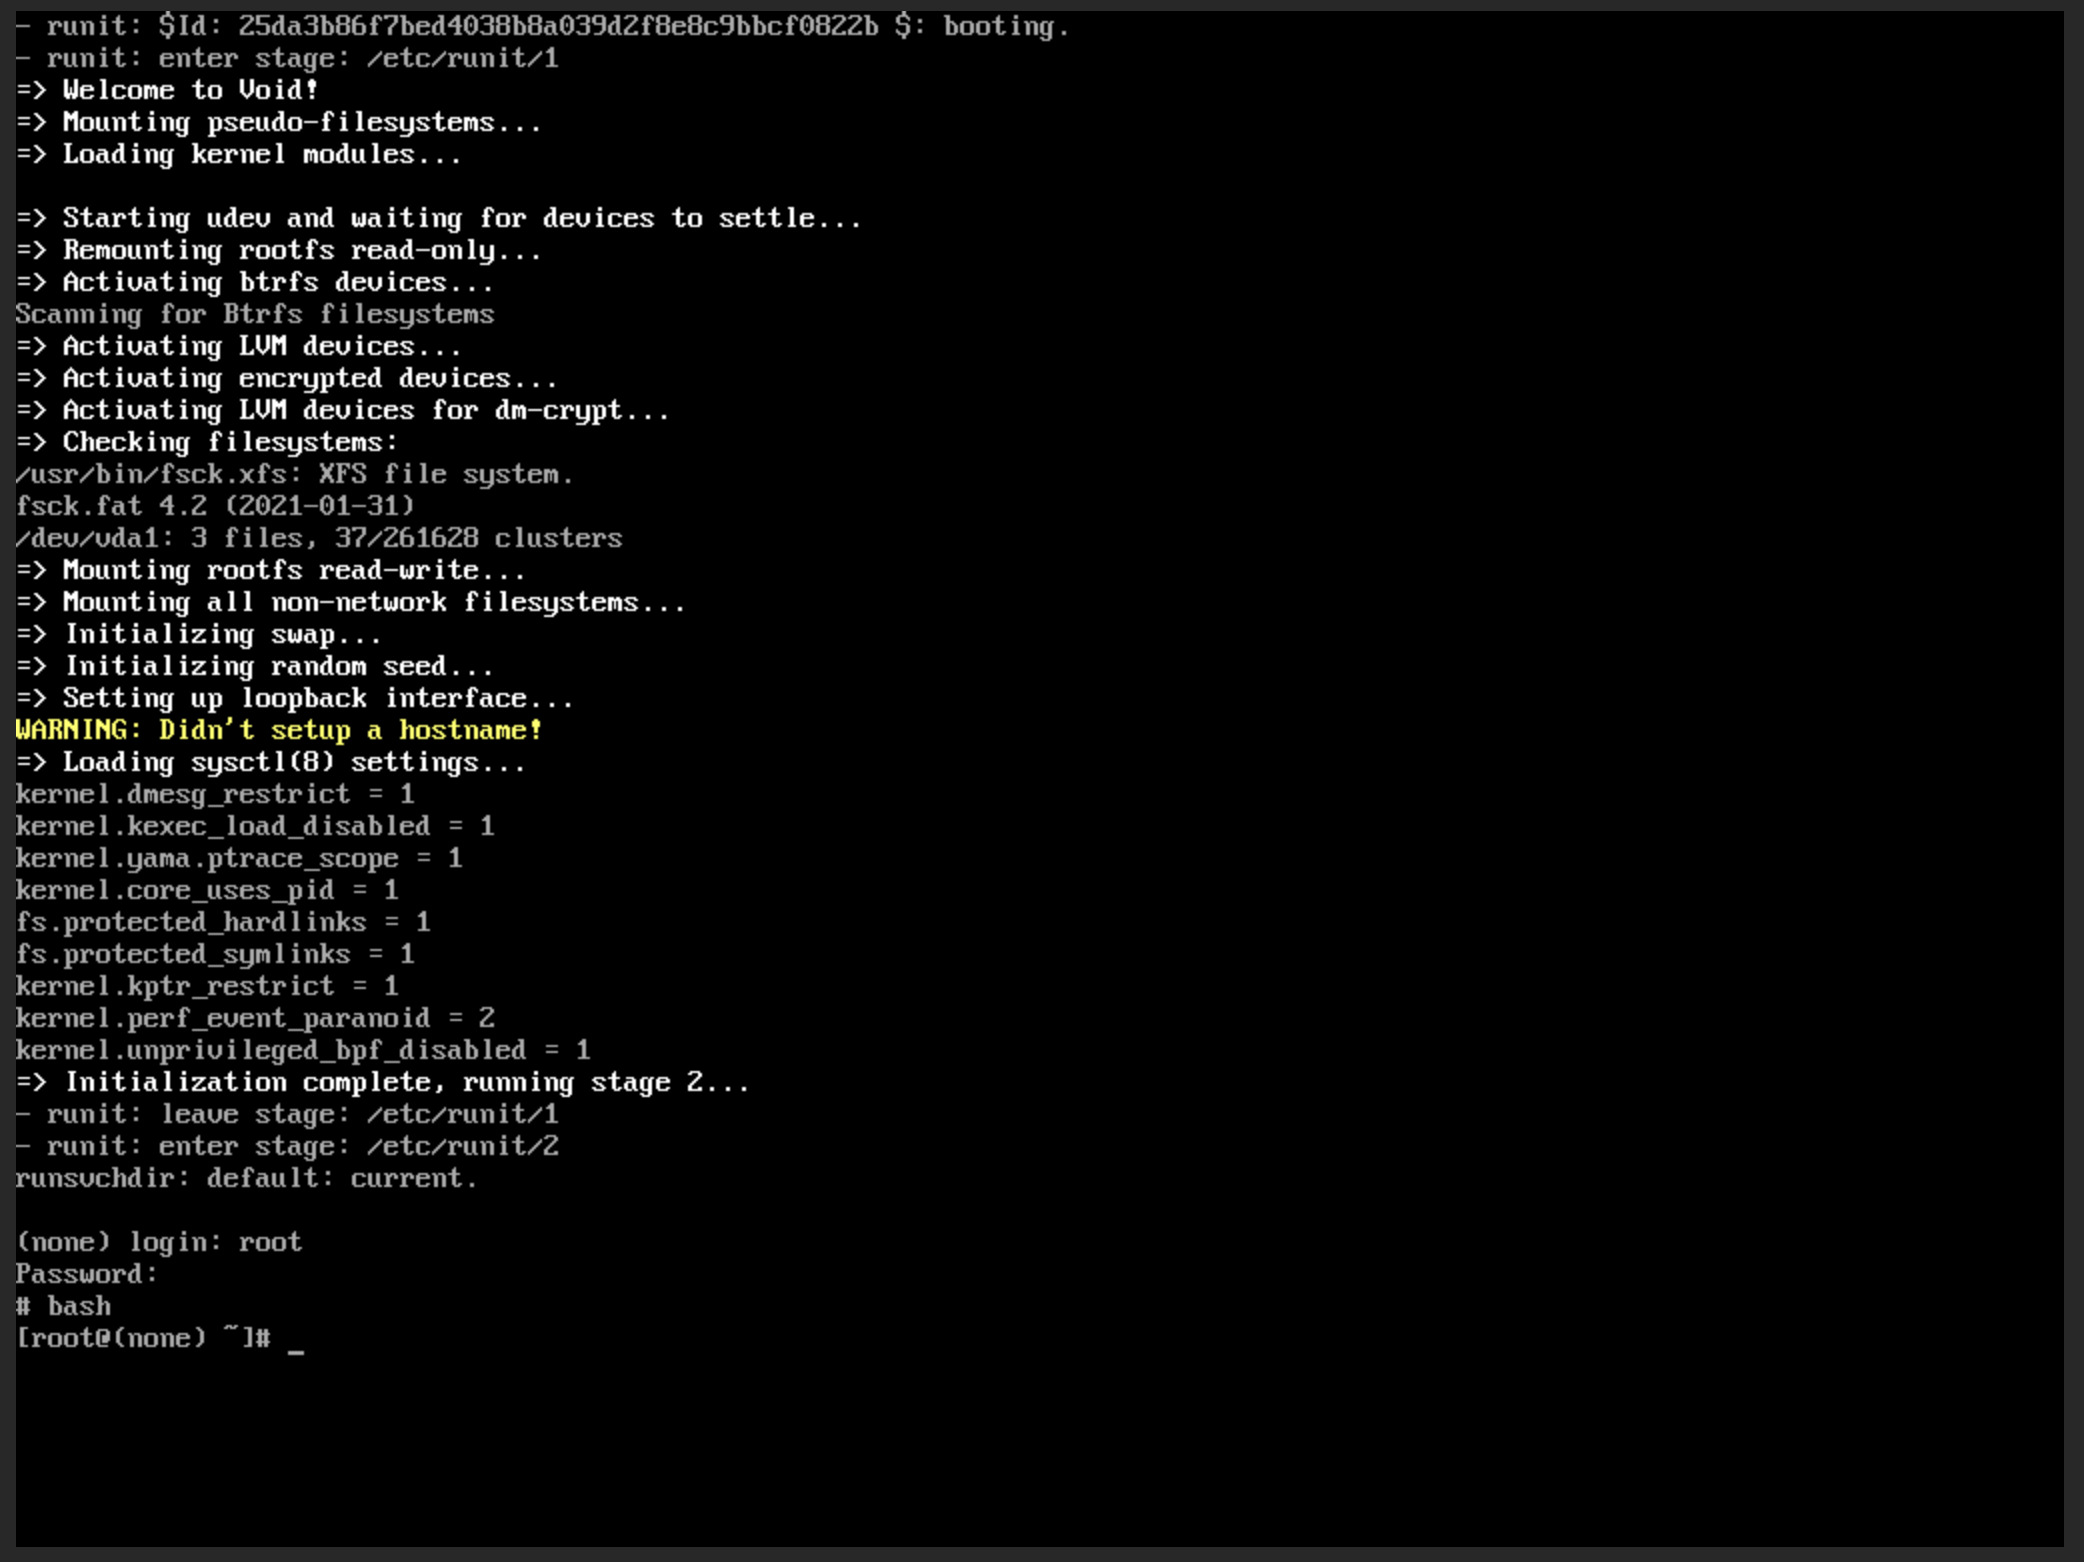
Now, from the global zone, boot the machine and connect to the console. We can do this all in one single command so we don’t miss anything on the console when the machine powers on:
$ sudo zadm boot -C void-golden-image
[Connected to zone 'void-golden-image' console]

[NOTICE: Zone booting up]
Loading Linux 5.13.19_1 ...
Loading initial ramdisk ...
- runit: $Id: 25da3b86f7bed4038b8a039d2f8e8c9bbcf0822b $: booting.
- runit: enter stage: /etc/runit/1
=> Welcome to Void!
...
_.
$
Use the escape sequence defined in the zadm config to break out of the console
(_.).
If everything works, then you should see the kernel messages via the console on the terminal and not have to rely on VNC.
Setup the VM image
From here you are able to setup this machine however you’d like! I’d recommend running updates and installing some optional tools like:
xbps-install -Syu
xbps-install jq htop bwm-ng vim vsv vpm bat fd ripgrep
Check running services with vsv:
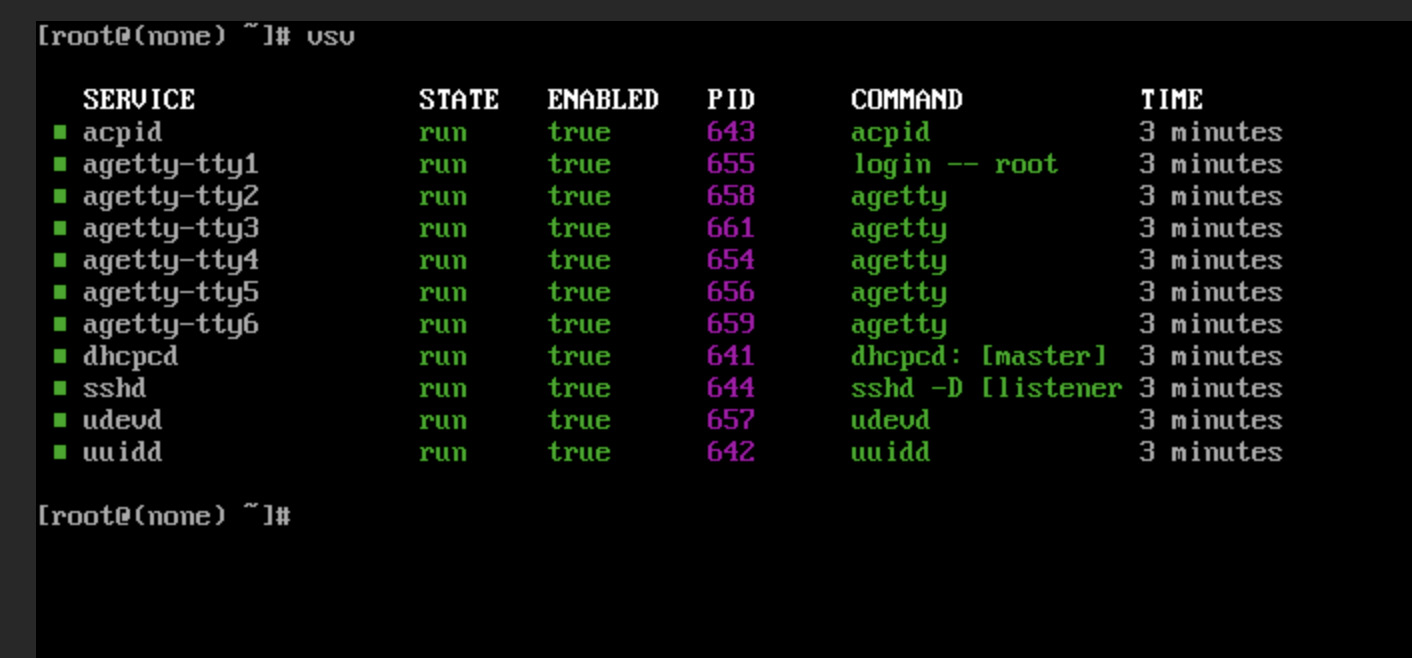
You can also remove the existing virtual terminals if you just plan on using the serial console. I personally leave one active in the event that I need to VNC back in for whatever reason.
rm /var/service/agetty-tty{2..6}
After you do whatever setup you’d like for the base image, we can get this prepared to be cloned for future VMs.
sshd is configured on Void Linux to generate new host keys if none exist when
the service is started. These commands will make it so new keys will be
generated on the next
reboot:
sv down sshd
rm /etc/ssh/*_host_*
Next, optionally setup the skeleton for a static IP address (if you don’t want to use DHCP):
/etc/rc.local
#ip link set dev eth0 up
#ip addr add 10.0.1.53/24 brd + dev eth0
#ip route add default via 10.0.1.1

# mkdir -p /data
# mount /data

true
I leave these commented out in the golden image so I can simply uncomment them and modify them when I create a new machine.
The last thing I like to do is a put a text file like this in the root home directory - this is for future me so I can quickly remember how to setup a new machine that I clone from this image:
[root@void-golden-image ~]# cat getting-started.txt
1. run `hostname` and edit `/etc/hostname`
2. disable `dhcpcd`
3. put IP info in `/etc/rc.local`
4. put DNS info in `/etc/resolv.conf`
5. reboot
Break out of the console using _. or whatever you’ve defined.
Create the image
Snapshot the image root disk:
sudo zfs snapshot rpool/zones/zones/void-golden-image/root@golden-2022-05-23
Now, we have this image which is ready to be cloned for new VMs to make the installation process way easier for us!
Create a new instance of the VM
We’re going to create a new VM named void-test using this image. Create a new
toml file:
/zones/config/void-test.toml
zonename="void-test"
zonepath="/zones/zones/void-test"

ram="2G"
vcpus="4"

dns-domain="rapture.com"
resolvers=[
  "10.0.1.2",
  "10.0.1.3",
]

acpi="on"
xhci="on"
autoboot="false"
bootorder="cd"
brand="bhyve"
ip-type="exclusive"
limitpriv="default"

[capped-memory]
# should match global "ram" key above
physical="2G"
swap="2G"

[[net]]
# using static IP for this instance
allowed-address="10.0.1.54/24"
defrouter="10.0.1.1"
global-nic="e1000g0"
physical="voidtest0"

[bootdisk]
blocksize="8K"
path="rpool/zones/zones/void-test/root"
size="50G"
sparse="false"

[vnc]
# needed for installation
enabled="on"

[[fs]]
dir="/data"
special="/zones/data/void-test"
type="lofs"
options=[]

[[virtfs]]
name="data"
path="/data"
ro="false"
There is a lot of new stuff in this toml - I’ll go through all of it below. Create a new dataset for the VMs persistent storage and then create the zone
sudo zfs create rpool/zones/data/void-test
sudo zadm create create -b bhyve -t void-test.toml void-test
Before booting the machine, we destroy the created root disk and clone the golden image into the same location:
sudo zfs destroy rpool/zones/zones/void-test/root
sudo zfs clone rpool/zones/zones/void-golden-image/root@golden-2022-05-23 rpool/zones/zones/void-test/root
This means that we have a brand new zone and VM created, but the root disk is a clone of the golden image we created above. Boot the VM with:
sudo zadm boot -C void-test
The username and password are the same as we set above for the image we created. To configure this new instance we have instructions waiting for us:
cat getting-started.txt
Following those instructions I simply ran:
hostname void-test
hostname > /etc/hostname
rm /var/service/dhcpcd
vim /etc/rc.local
vim /etc/resolv.conf
reboot
Persistent data
It may be confusing that I keep talking about persistent data in
/zone/data/void-test when all of the data on the VM is technically persistent.
The point of this is to a have a mount that exists in the zone that won’t be
tied to the VM itself and won’t contain any OS installation files.
When just using zones, we accomplish this by LOFS mounting (analogous to bind
mounts in Linux) files from the global zone into the zone. We are going to do
that as well here (in fact, we do that in the toml file in the [[fs]]
sections). But, we must go a step further because of bhyve and expose those
mounts inside the zone into the hardware VM itself.
We accomplish this through 9pfs.
In the void VM you have newly created you must install 9mount:
xbps-install 9mount
Then, you can add this line to /etc/fstab:
data /data 9p rw,relatime,dirsync,uname=root,cache=mmap,access=client,trans=virtio,_netdev 0 0
And make sure the mount point exists:
mkdir /data
With all of this in place, you can finally run:
mount /data
And that directory inside the VM will now be the same as the directory in
/zones/data/void-test on the rpool zpool! This allows for easy file sharing
between the guest and the host, as well as persisting data in the event that you
want to reprovision the VM from a new image. Make sure to uncomment the mkdir
and mount commands in /etc/rc.local so the directory mounts at boot.
Conclusion
Running void under LX is great, but some software really doesn’t like running under LX virtualization and it’s just easier to use hardware virtualization at that point. bhyve makes it super nice and easy to accomplish this on OmniOS!