Tongue and Groove Living Room Ceiling
Posted by Dave Eddy on Jul 16 2017 - tags: diyLast year, I put up a Tongue and Groove Ceiling in my Bedroom. I liked it so much I decided to do the rest of my upstairs (referred to collectively as the “Living Room”). The process was almost identical, the only difference being that I had to do a lot more ceiling than I had previously done.
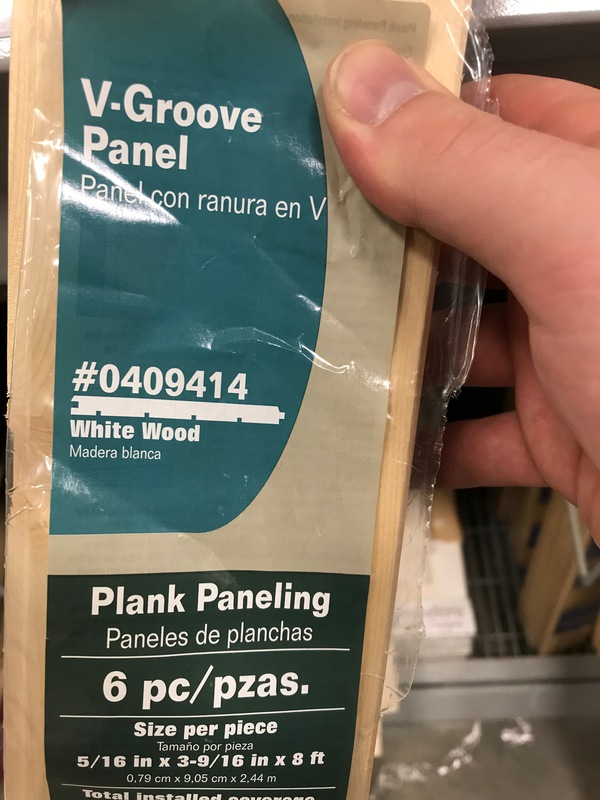
These panels come in packs of 6 from Home Depot at ~$17 a pack - roughly the same cost as a 2x4x8’.
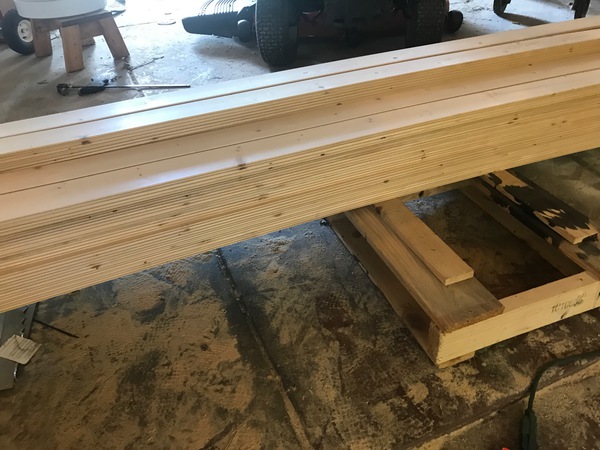
I had 40 packs delivered to my house - this is the stack after I removed all of the plastic (took forever!).
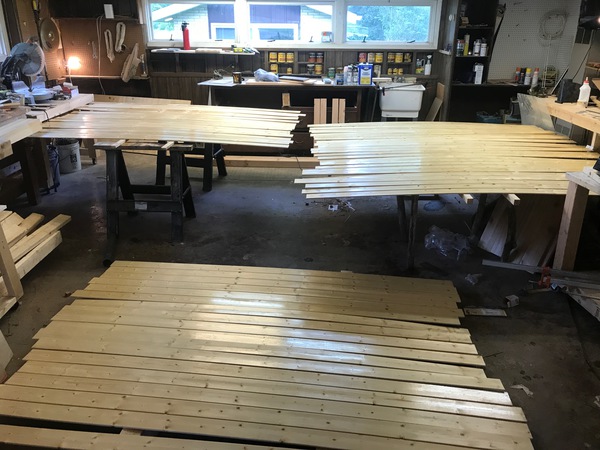
Each piece is stained with Minwax Natural stain to give it a more yellow and less white look. What you see in this picture is only a small fraction of all the boards I would have to stain… this process also took a long time.
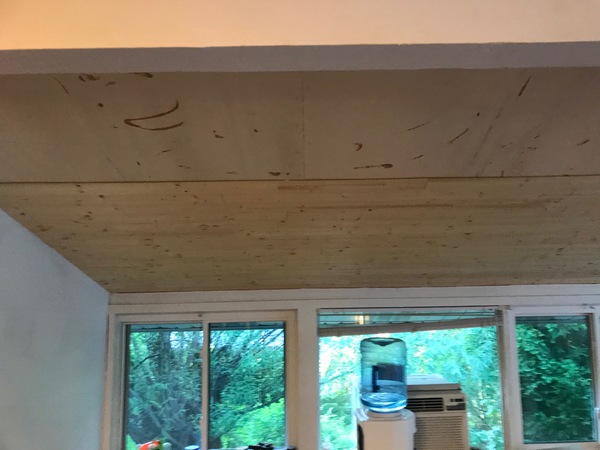
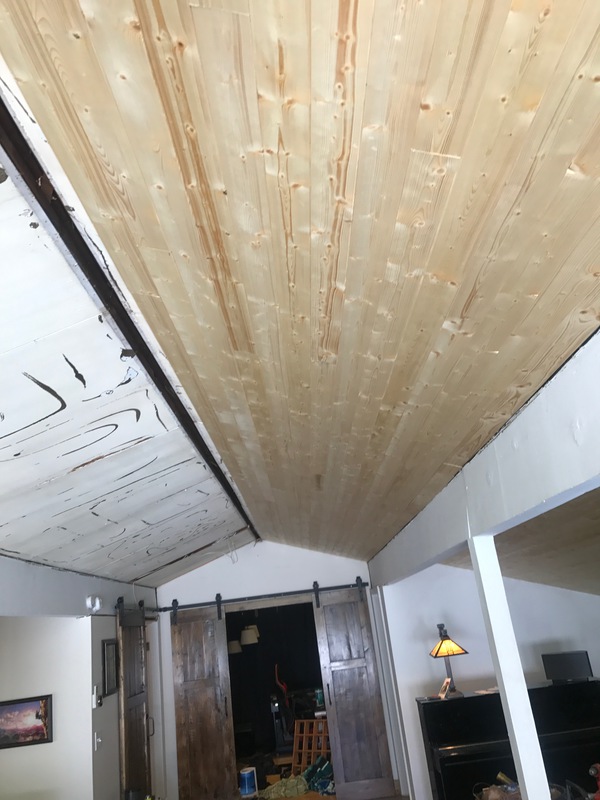
Half of the first of 4 sections all tongue and grooved! I had to remove white painted wood paneling, so that’s why there is so much adhesive still on the plywood ceiling.
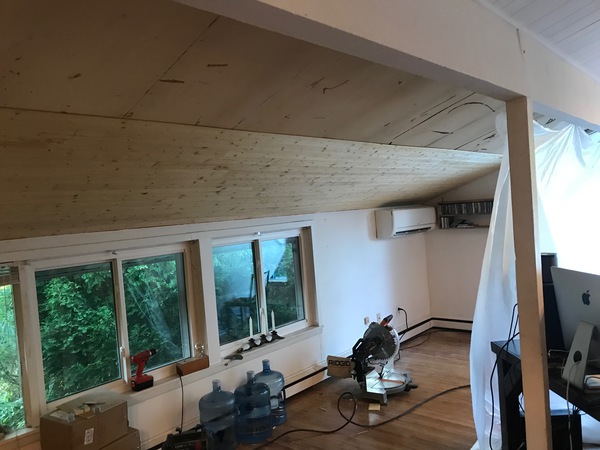
A better angle of the half finished section.
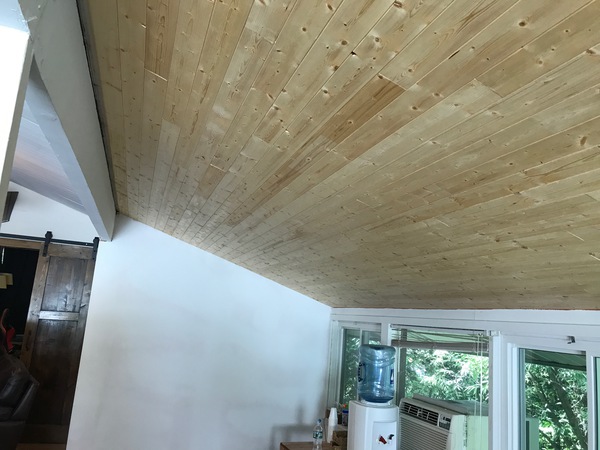
The first section is complete! 3 more to go.
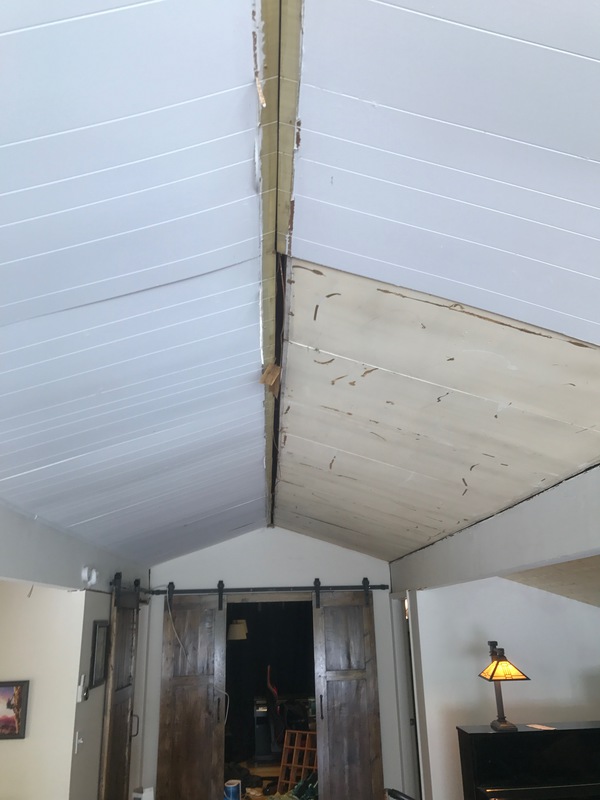
The next 2 sections to work on. All of the wood paneling must be removed (and brought out to the fire pit!).
The second section complete! I had to use a ladder to reach these 2 sections.
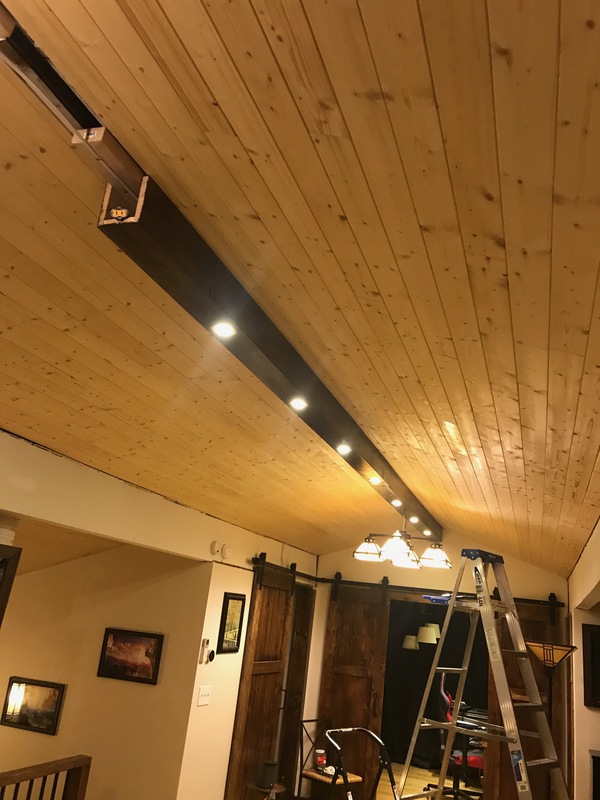
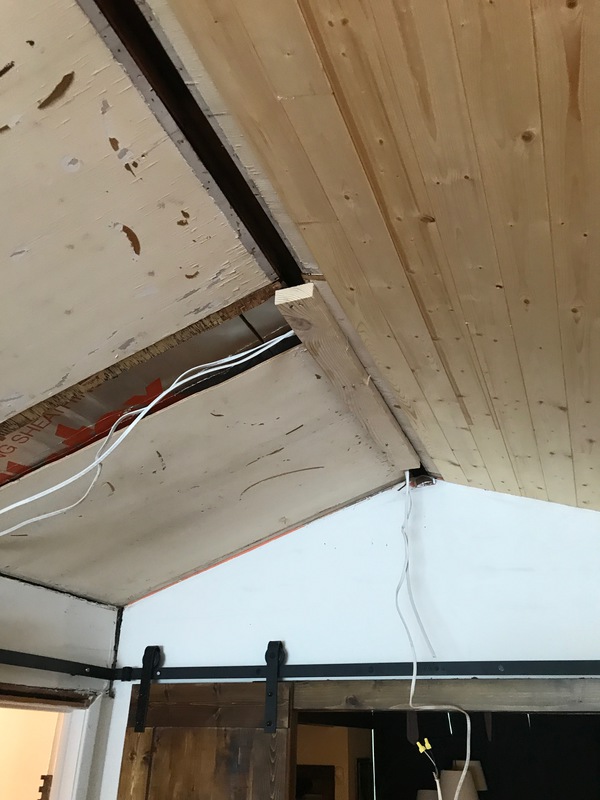
A 2x4 stringer installed for the beam I will be installing later. Also, you can see the electrical wires ran, as the beam will have recessed lighting, and there will also be chandeliers installed.
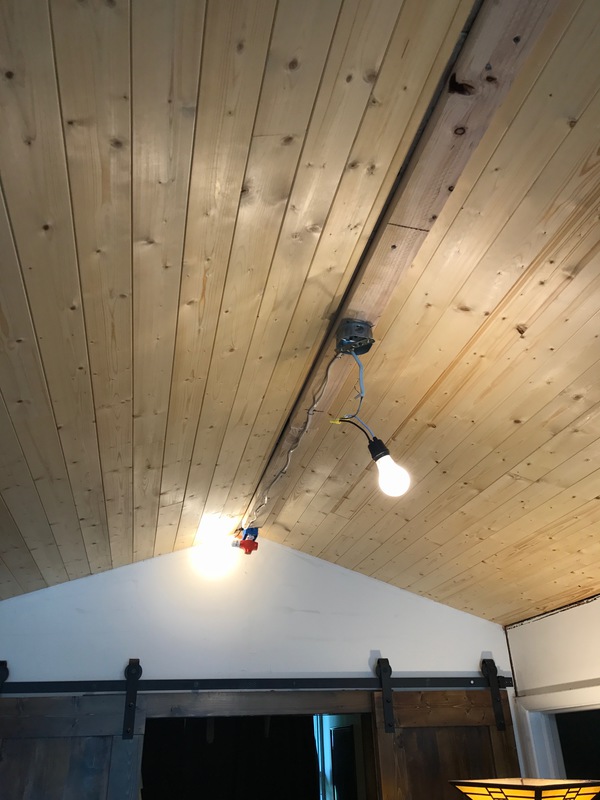
Both sections complete, with the wires working! The 2x4 stringers are screwed into the ceiling joists so they won’t be coming down any time soon. The beam will be screwed into the 2x4’s when they are built.
The light in the back will be for the beam, and the light dangling in the foreground will be for the chandelier - they are on separate switches.
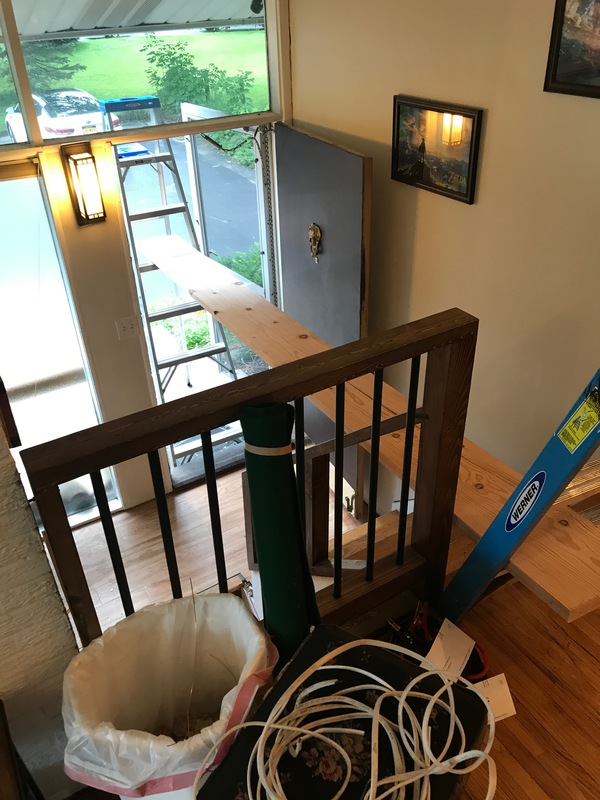
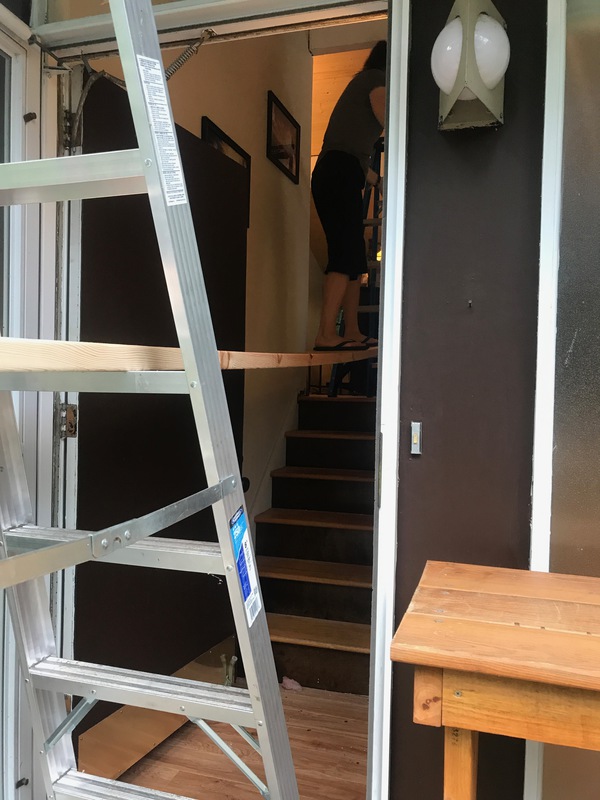
To put up the ceiling above the stairs, my Mom and I had the idea to place a very large board (2x12x12’) on 2 ladders to act as scaffolding.
Action shot of my mom testing the board!
Finished product.
