Wooden Countertop
Posted by Dave Eddy on Mar 18 2018 - tags: diyI’ve been in the process of redoing my kitchen for over 2 years now. I’m going to dedicate an entire blog post to that whole process once it is finished (it’s getting close!) but for now, I have this post that’ll just go over the wooden countertop I built.
I’ve thought about building my own countertops for some time, but didn’t think I really had the skill, or was just overwhelmed by the idea of it. I was at Home Depot a while back with my parents when we were looking at different countertop options for my kitchen. I pretty much ended up either hating all of them, or being, at the very best, not enthused about others. The one countertop I liked the best was (of course) made out of wood, but came with a steep price tag of well in the thousands.
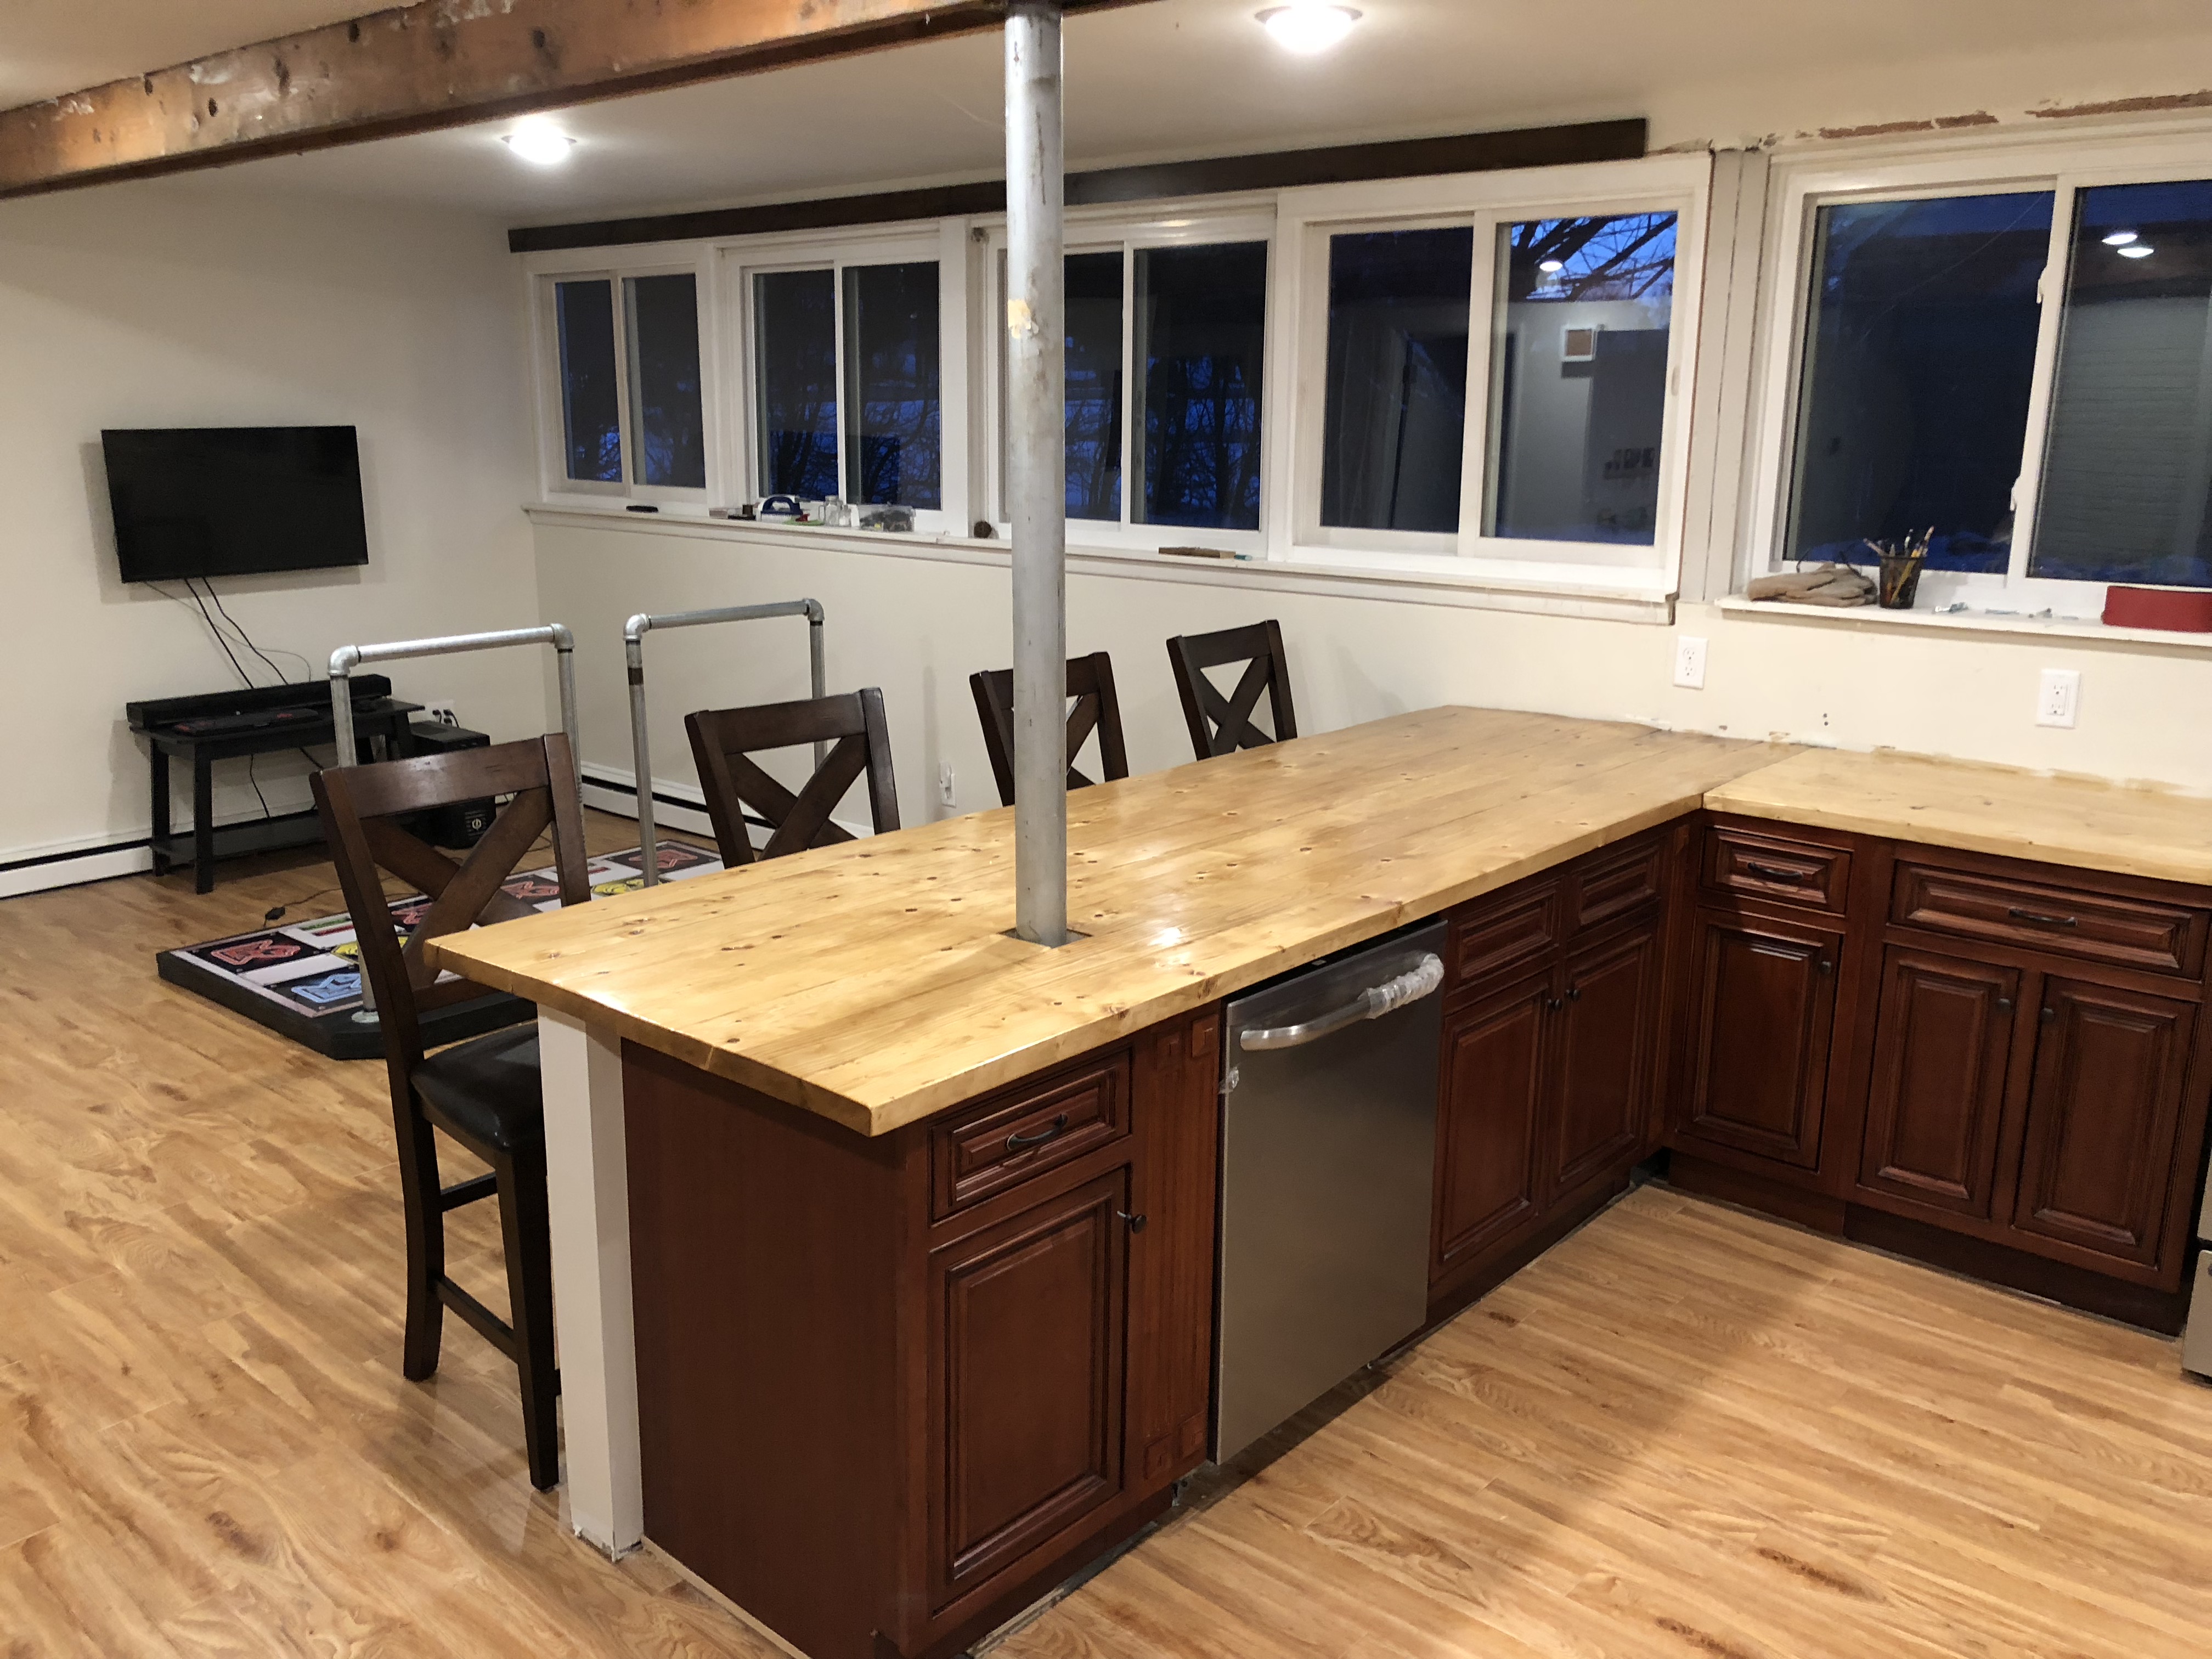
By building my own countertops out of 2x6’s I cut and assembled myself, I ended up being able to create and finish the countertop for just about $150.
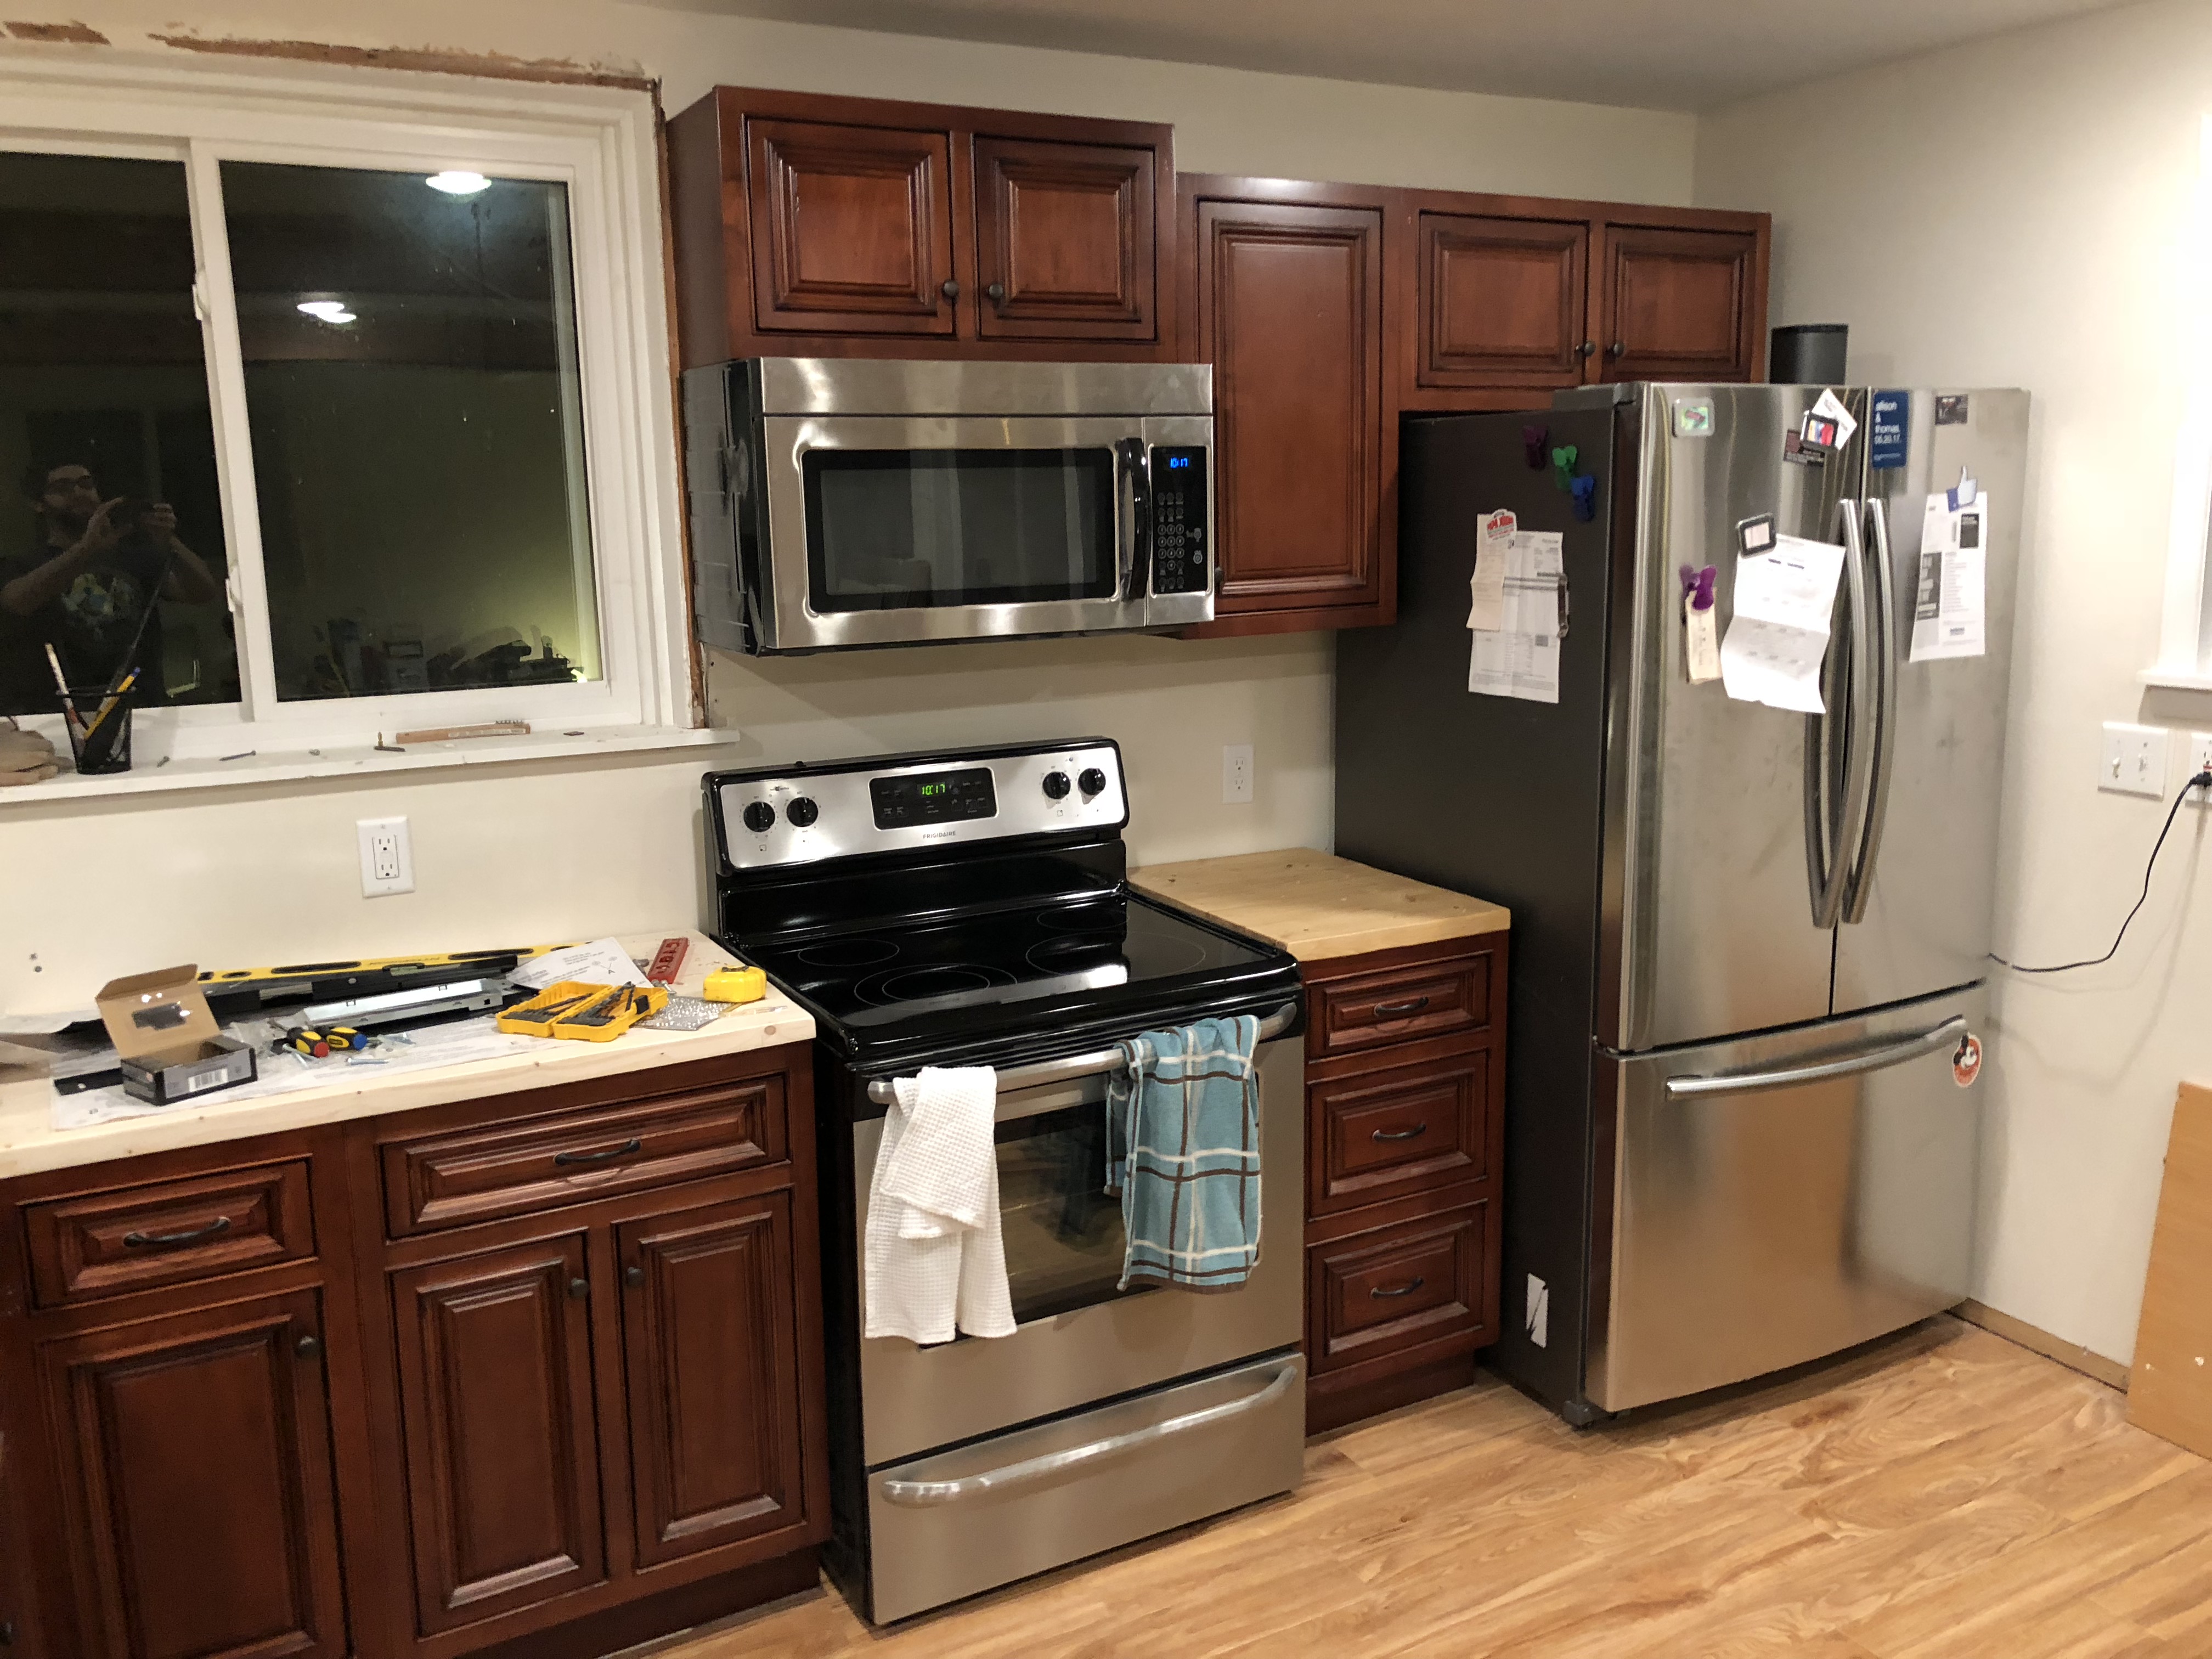
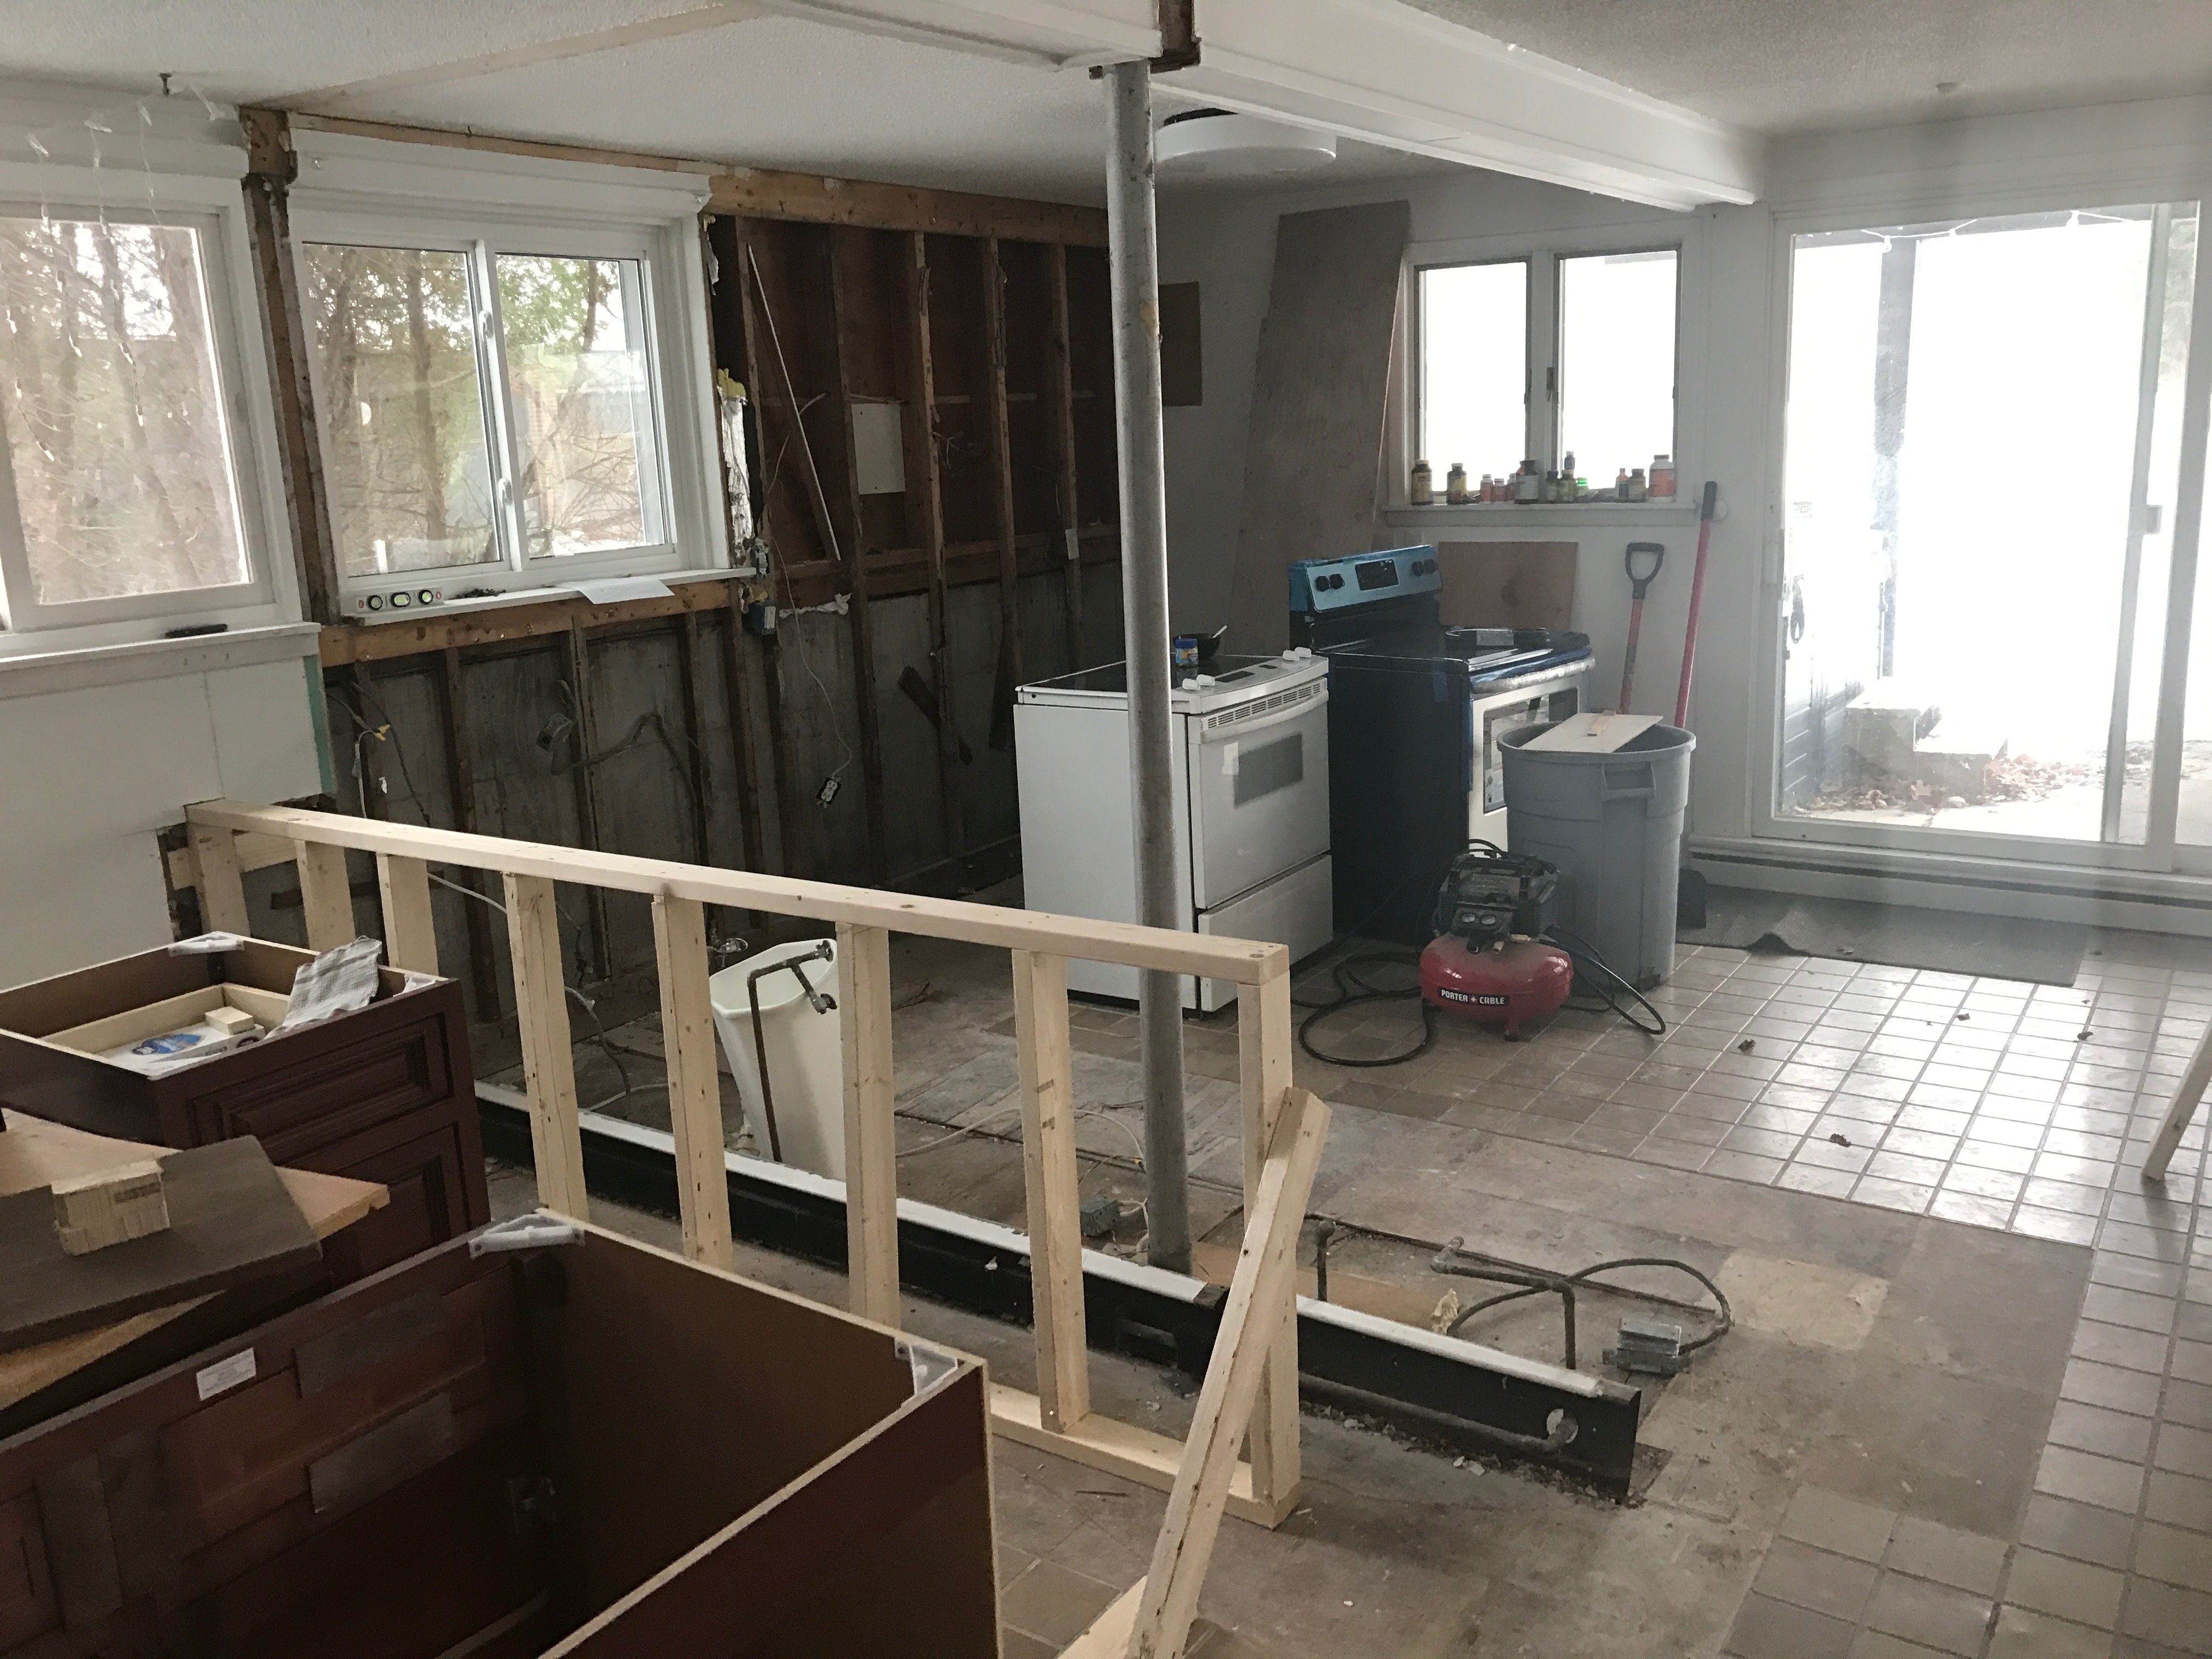
Note: In this picture the kitchen isn’t completely finished. There is no backsplash behind the counter (I haven’t built it yet), no trim on or under the cabinets, and the pole going through the countertop is actually holding the house up - so I will be facing that in dark stained wood eventually like I did upstairs.
Here is an early pic of the kitchen in 2017 when I was installing the flooring. I used TrafficMASTER Allure Plus 5 in. x 36 in. Hamilton Oak Luxury Vinyl Plank Flooring
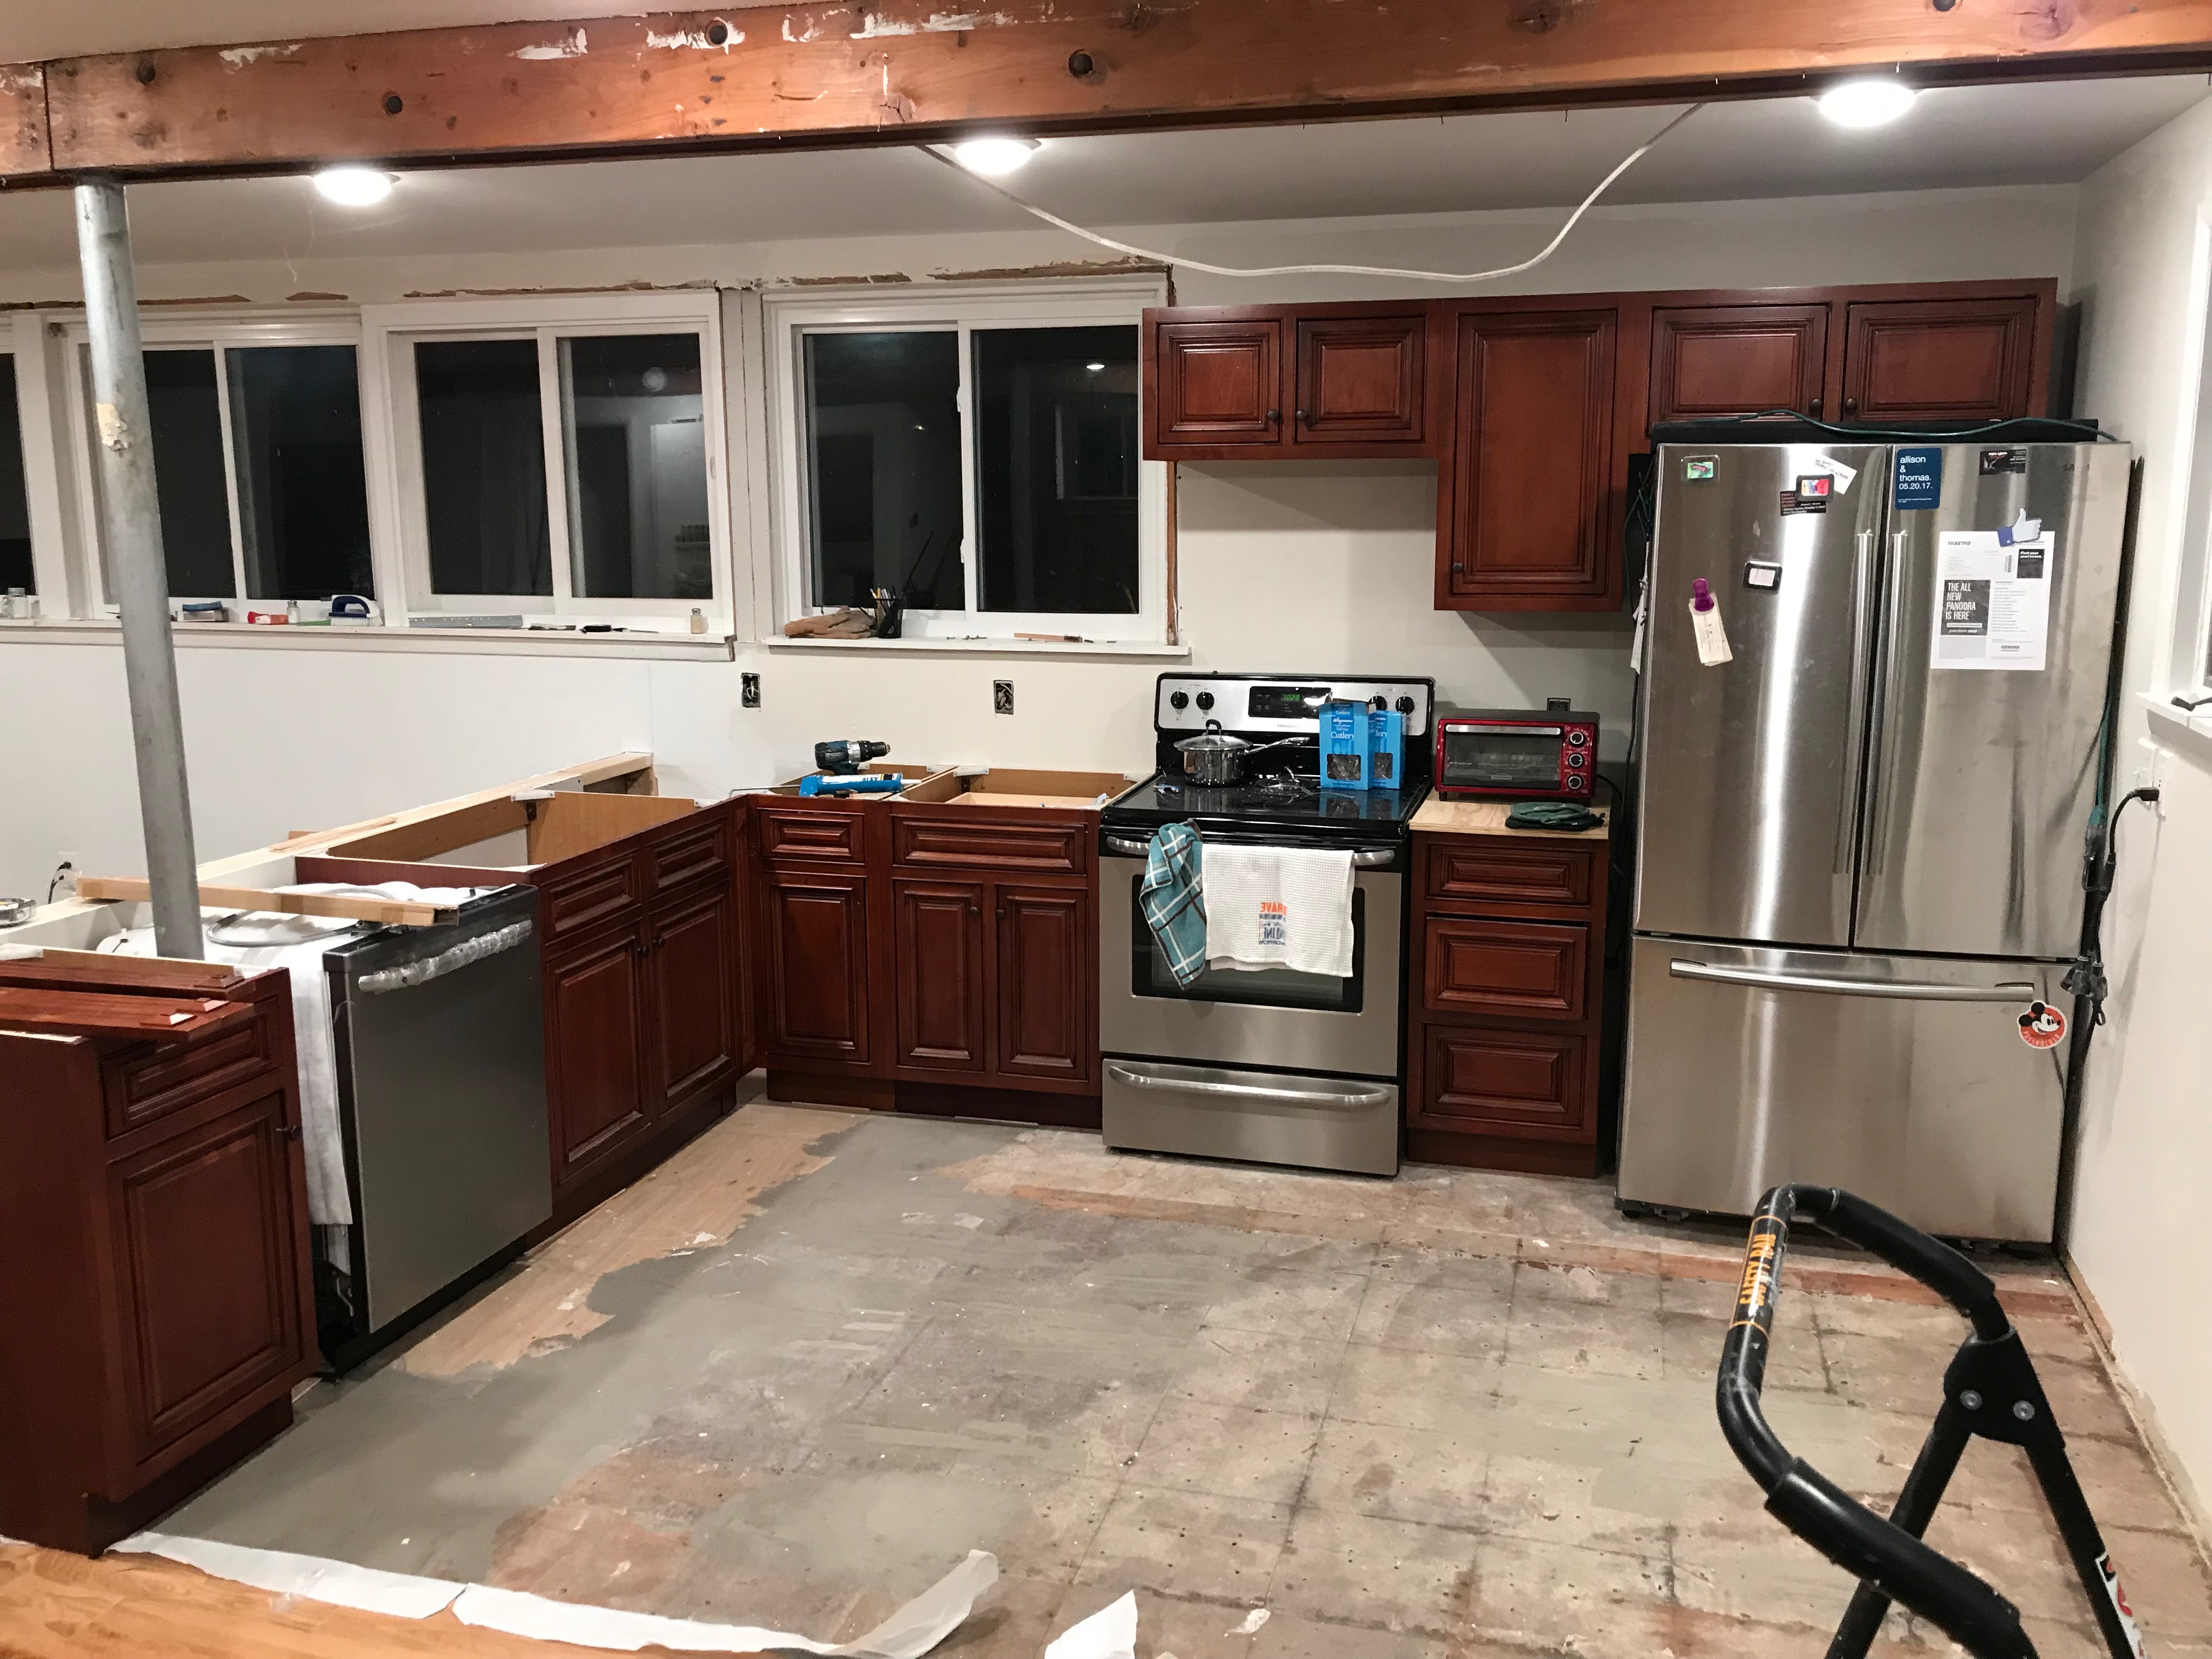
Another angle of the kitchen before the floor was fully installed.

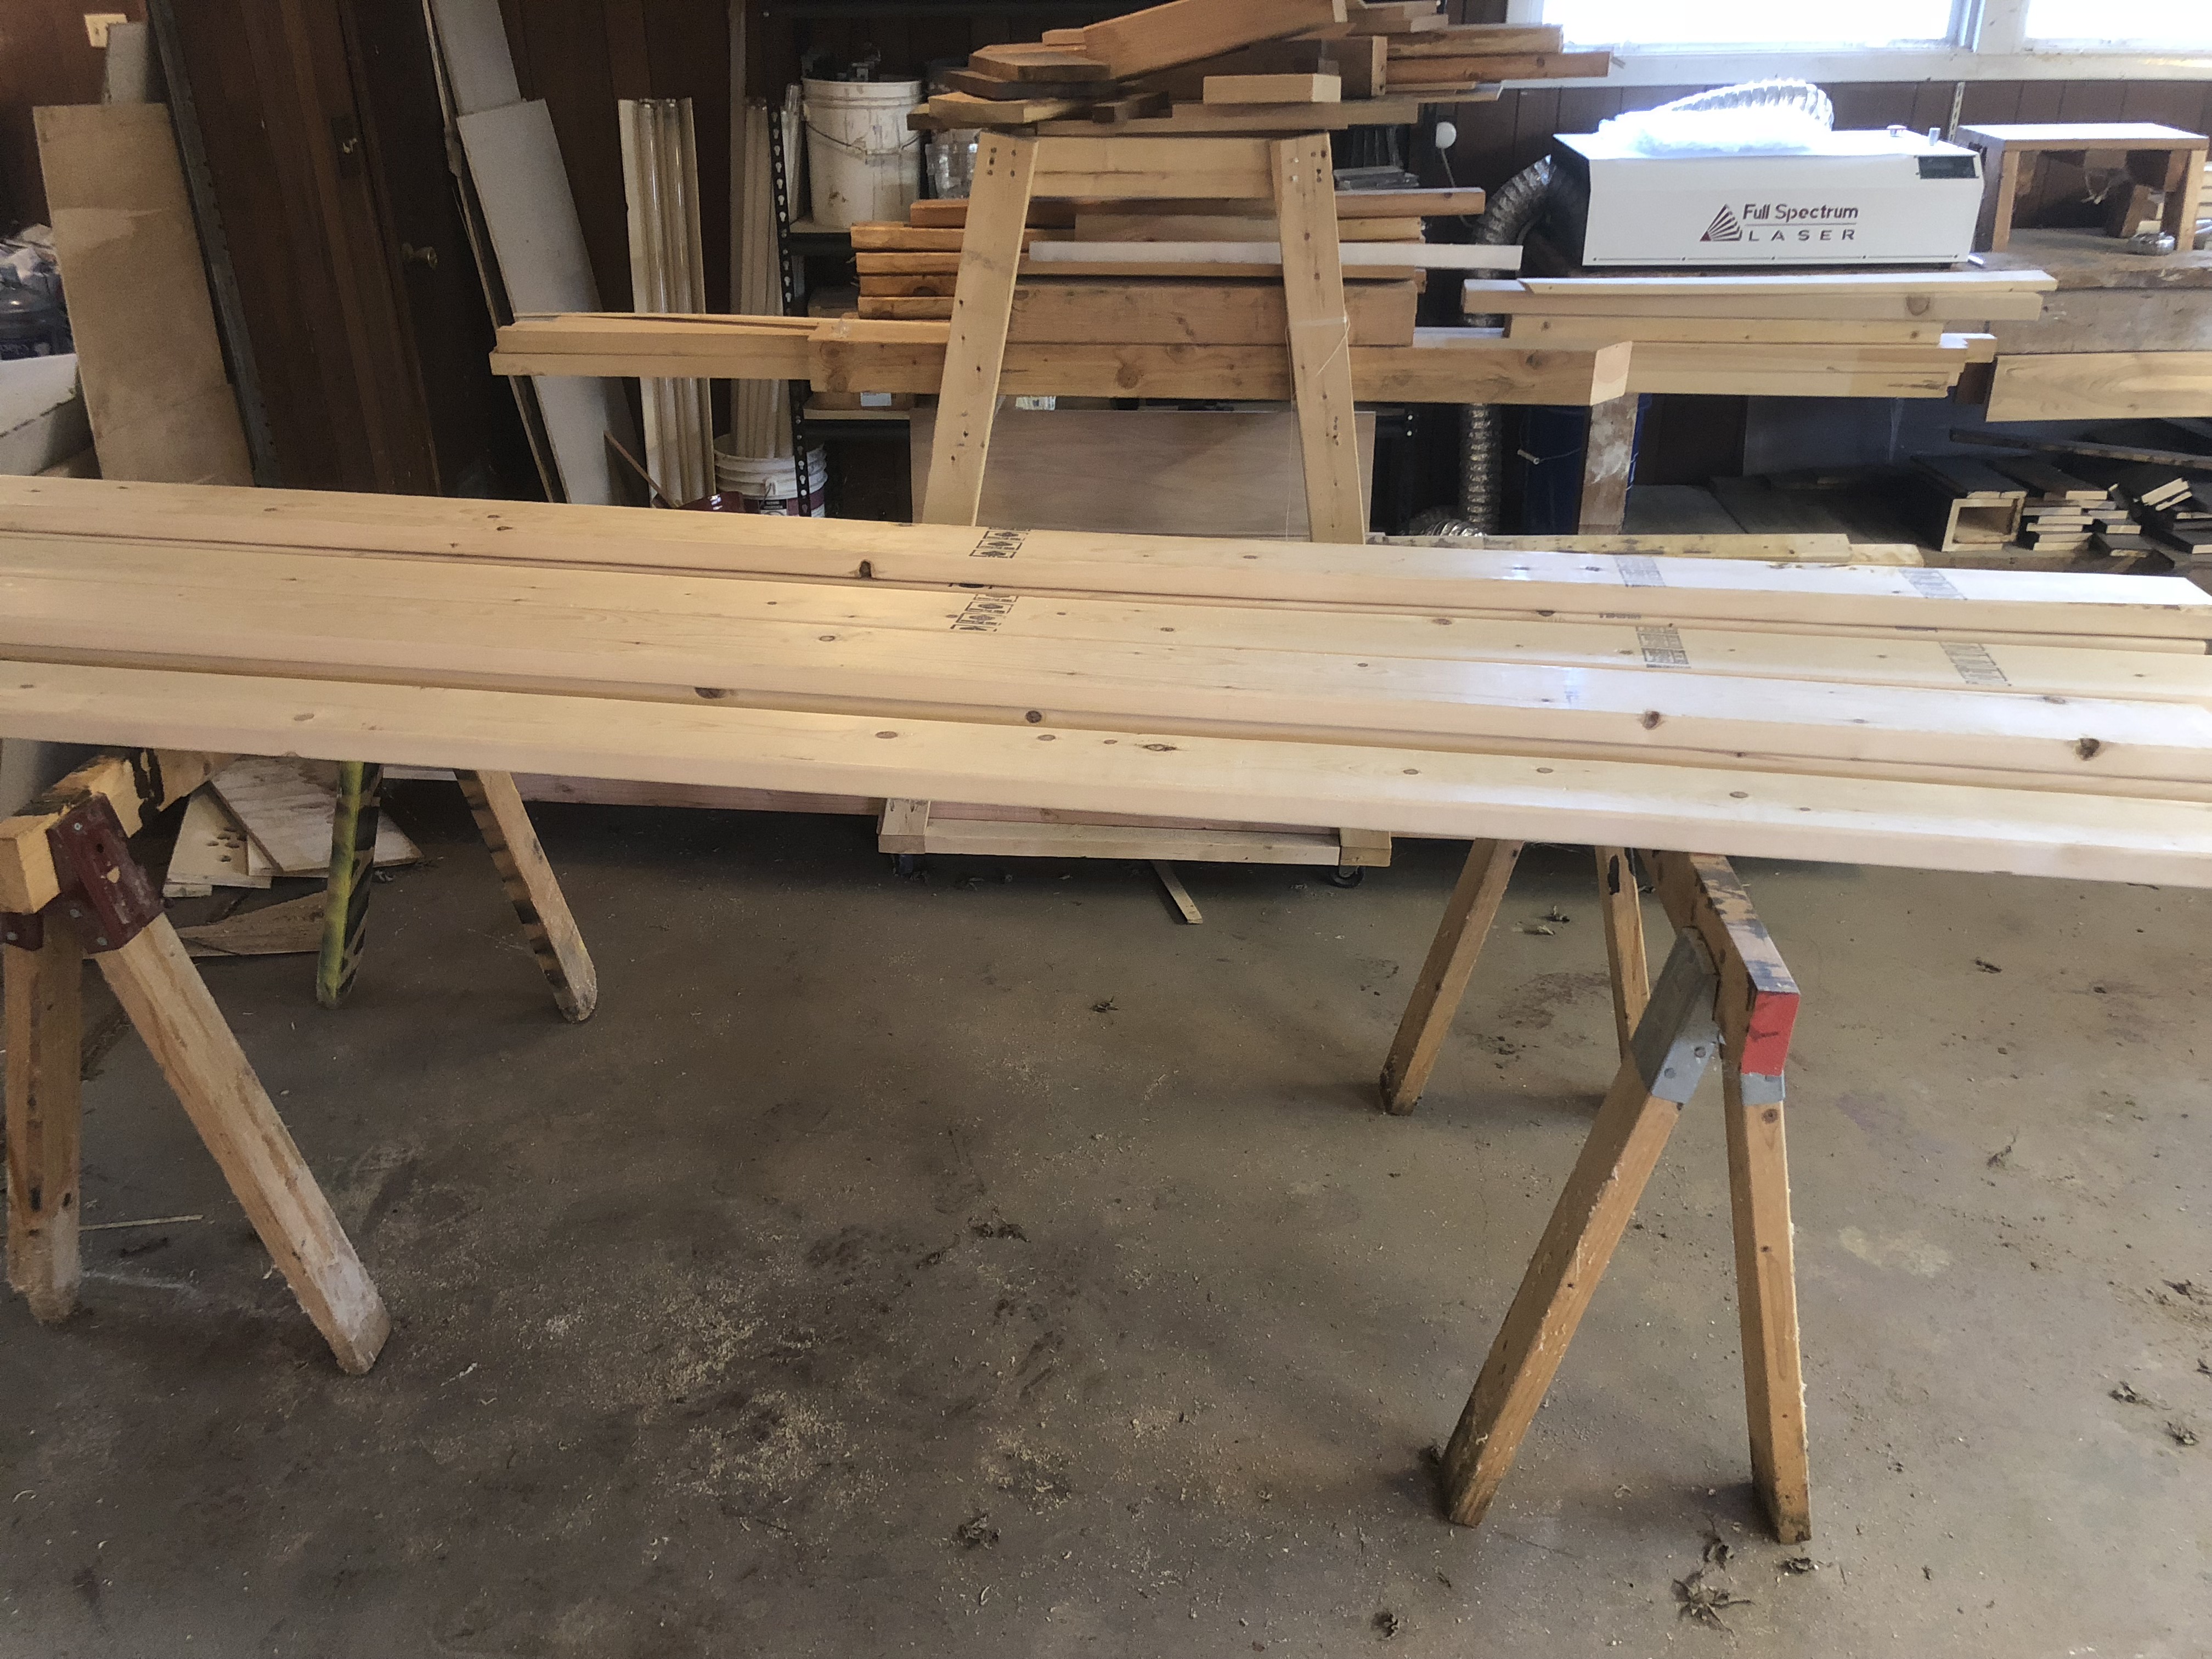
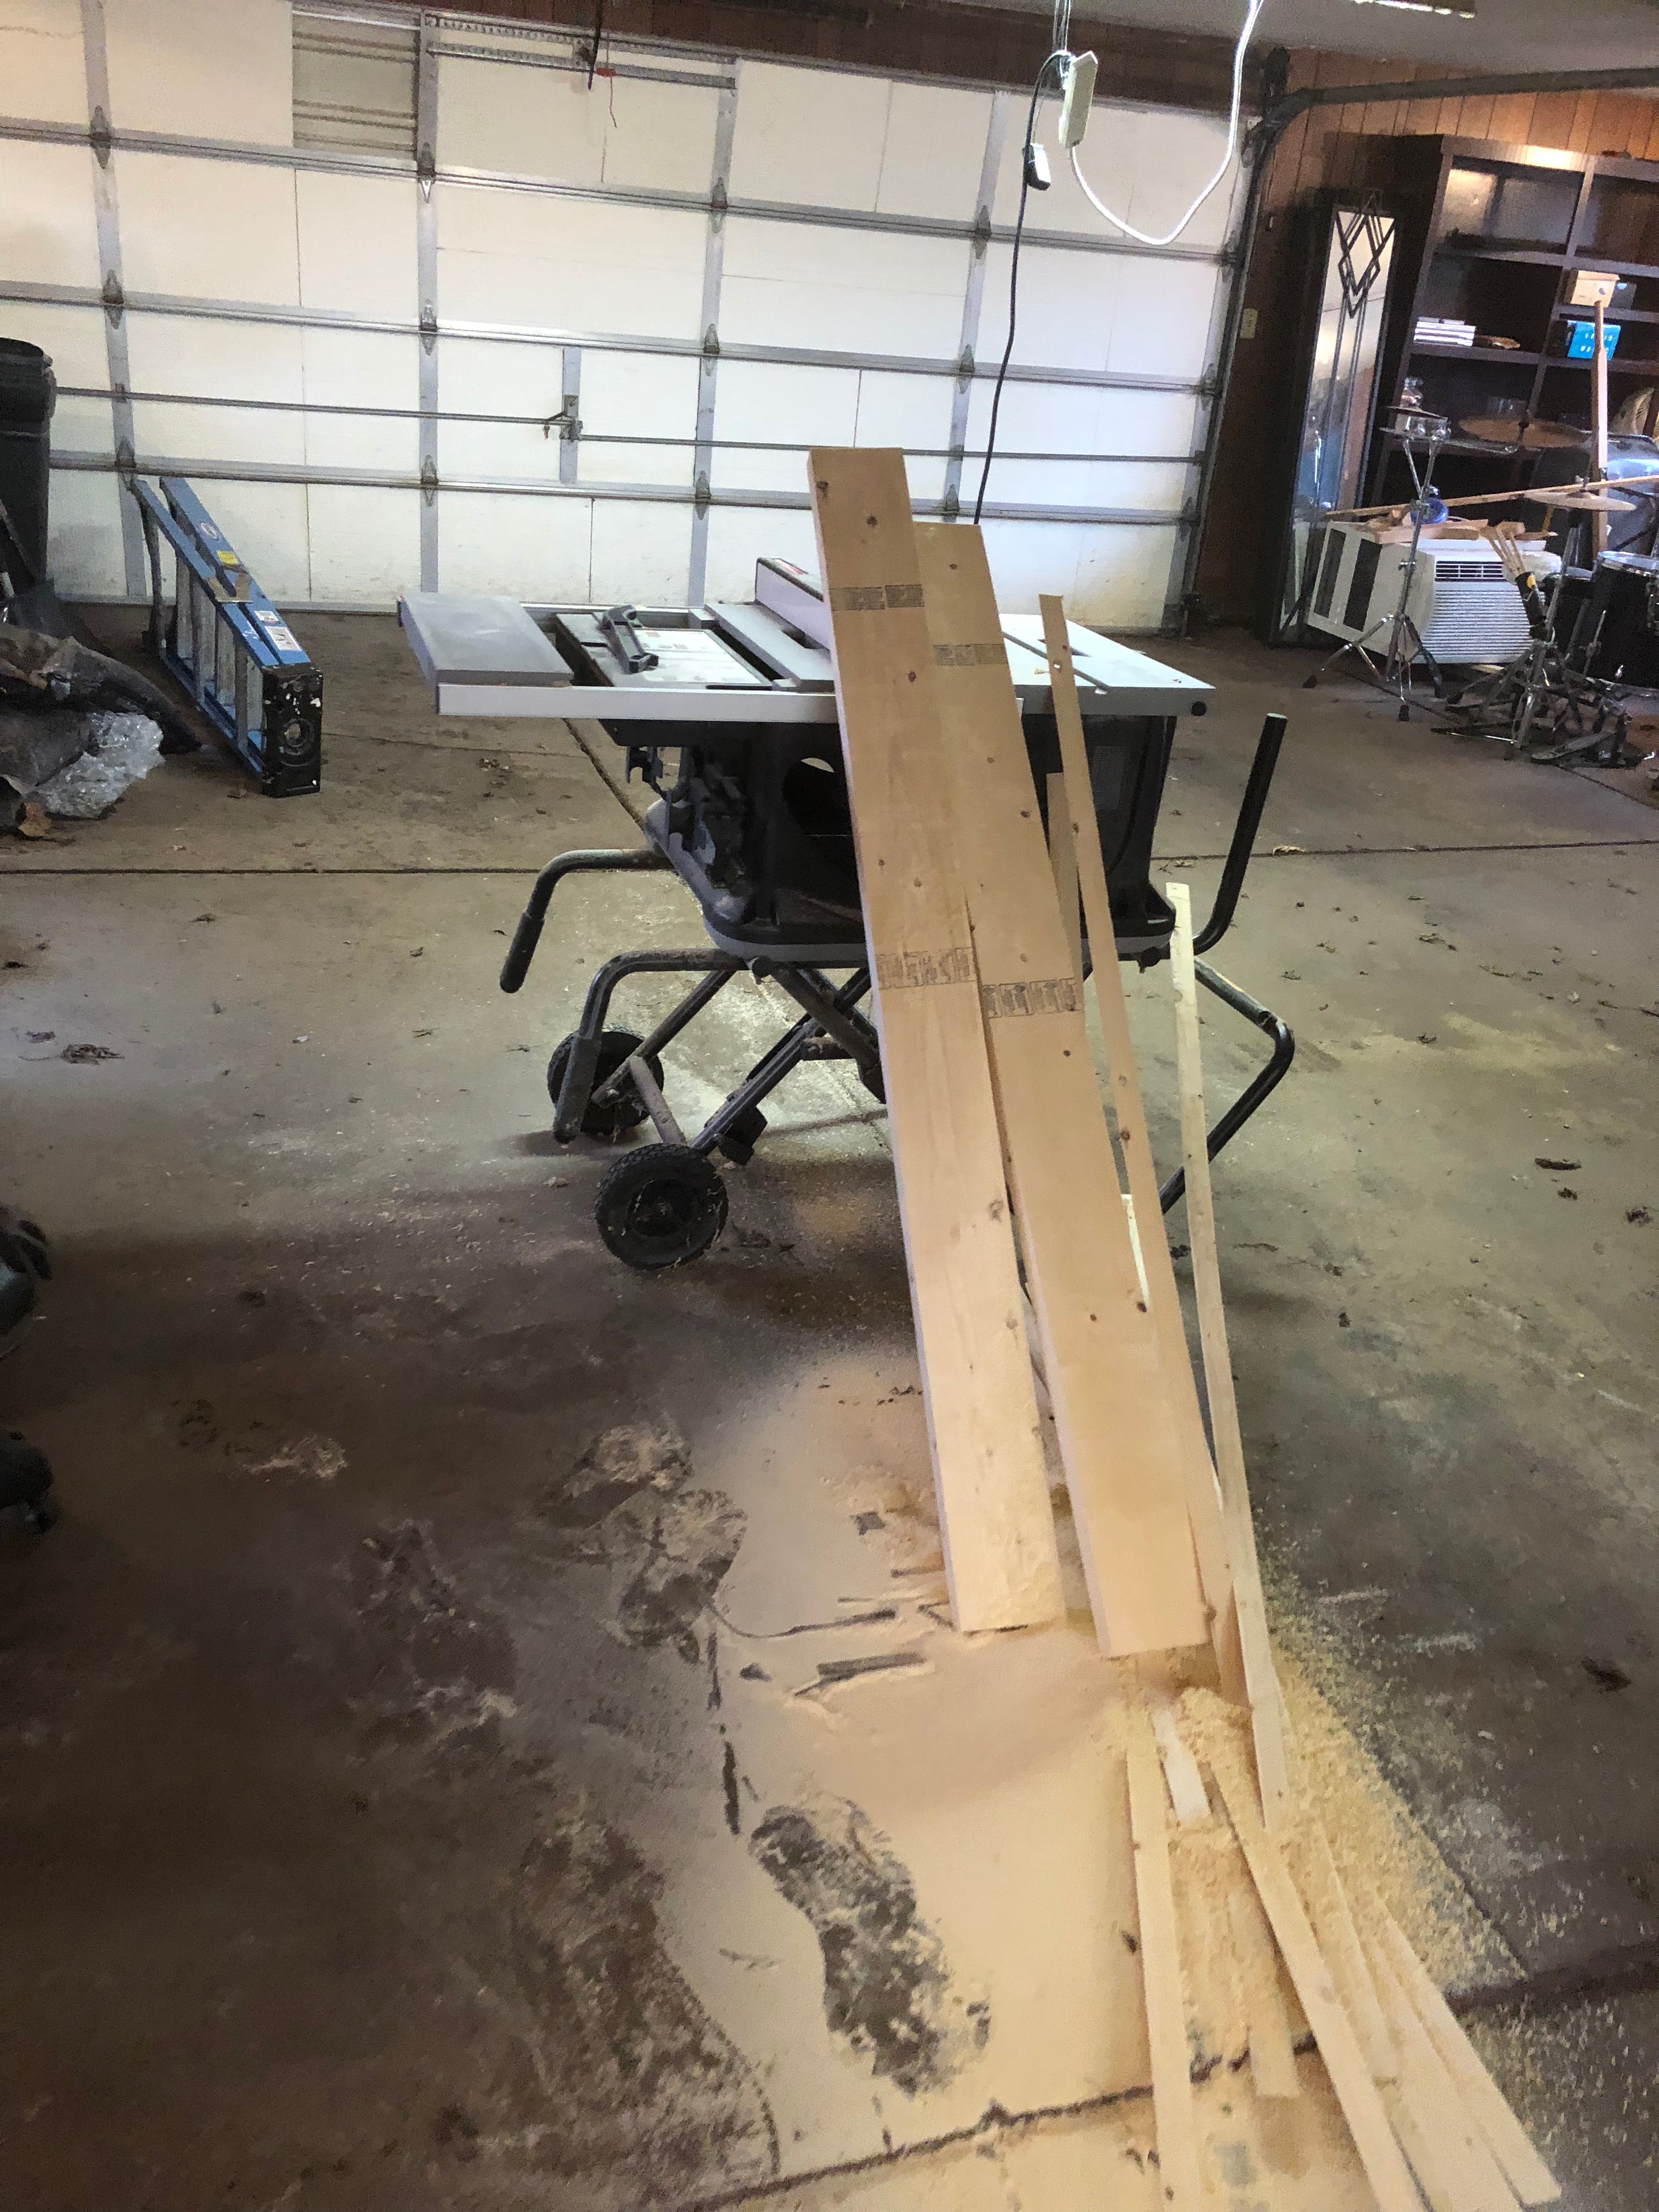
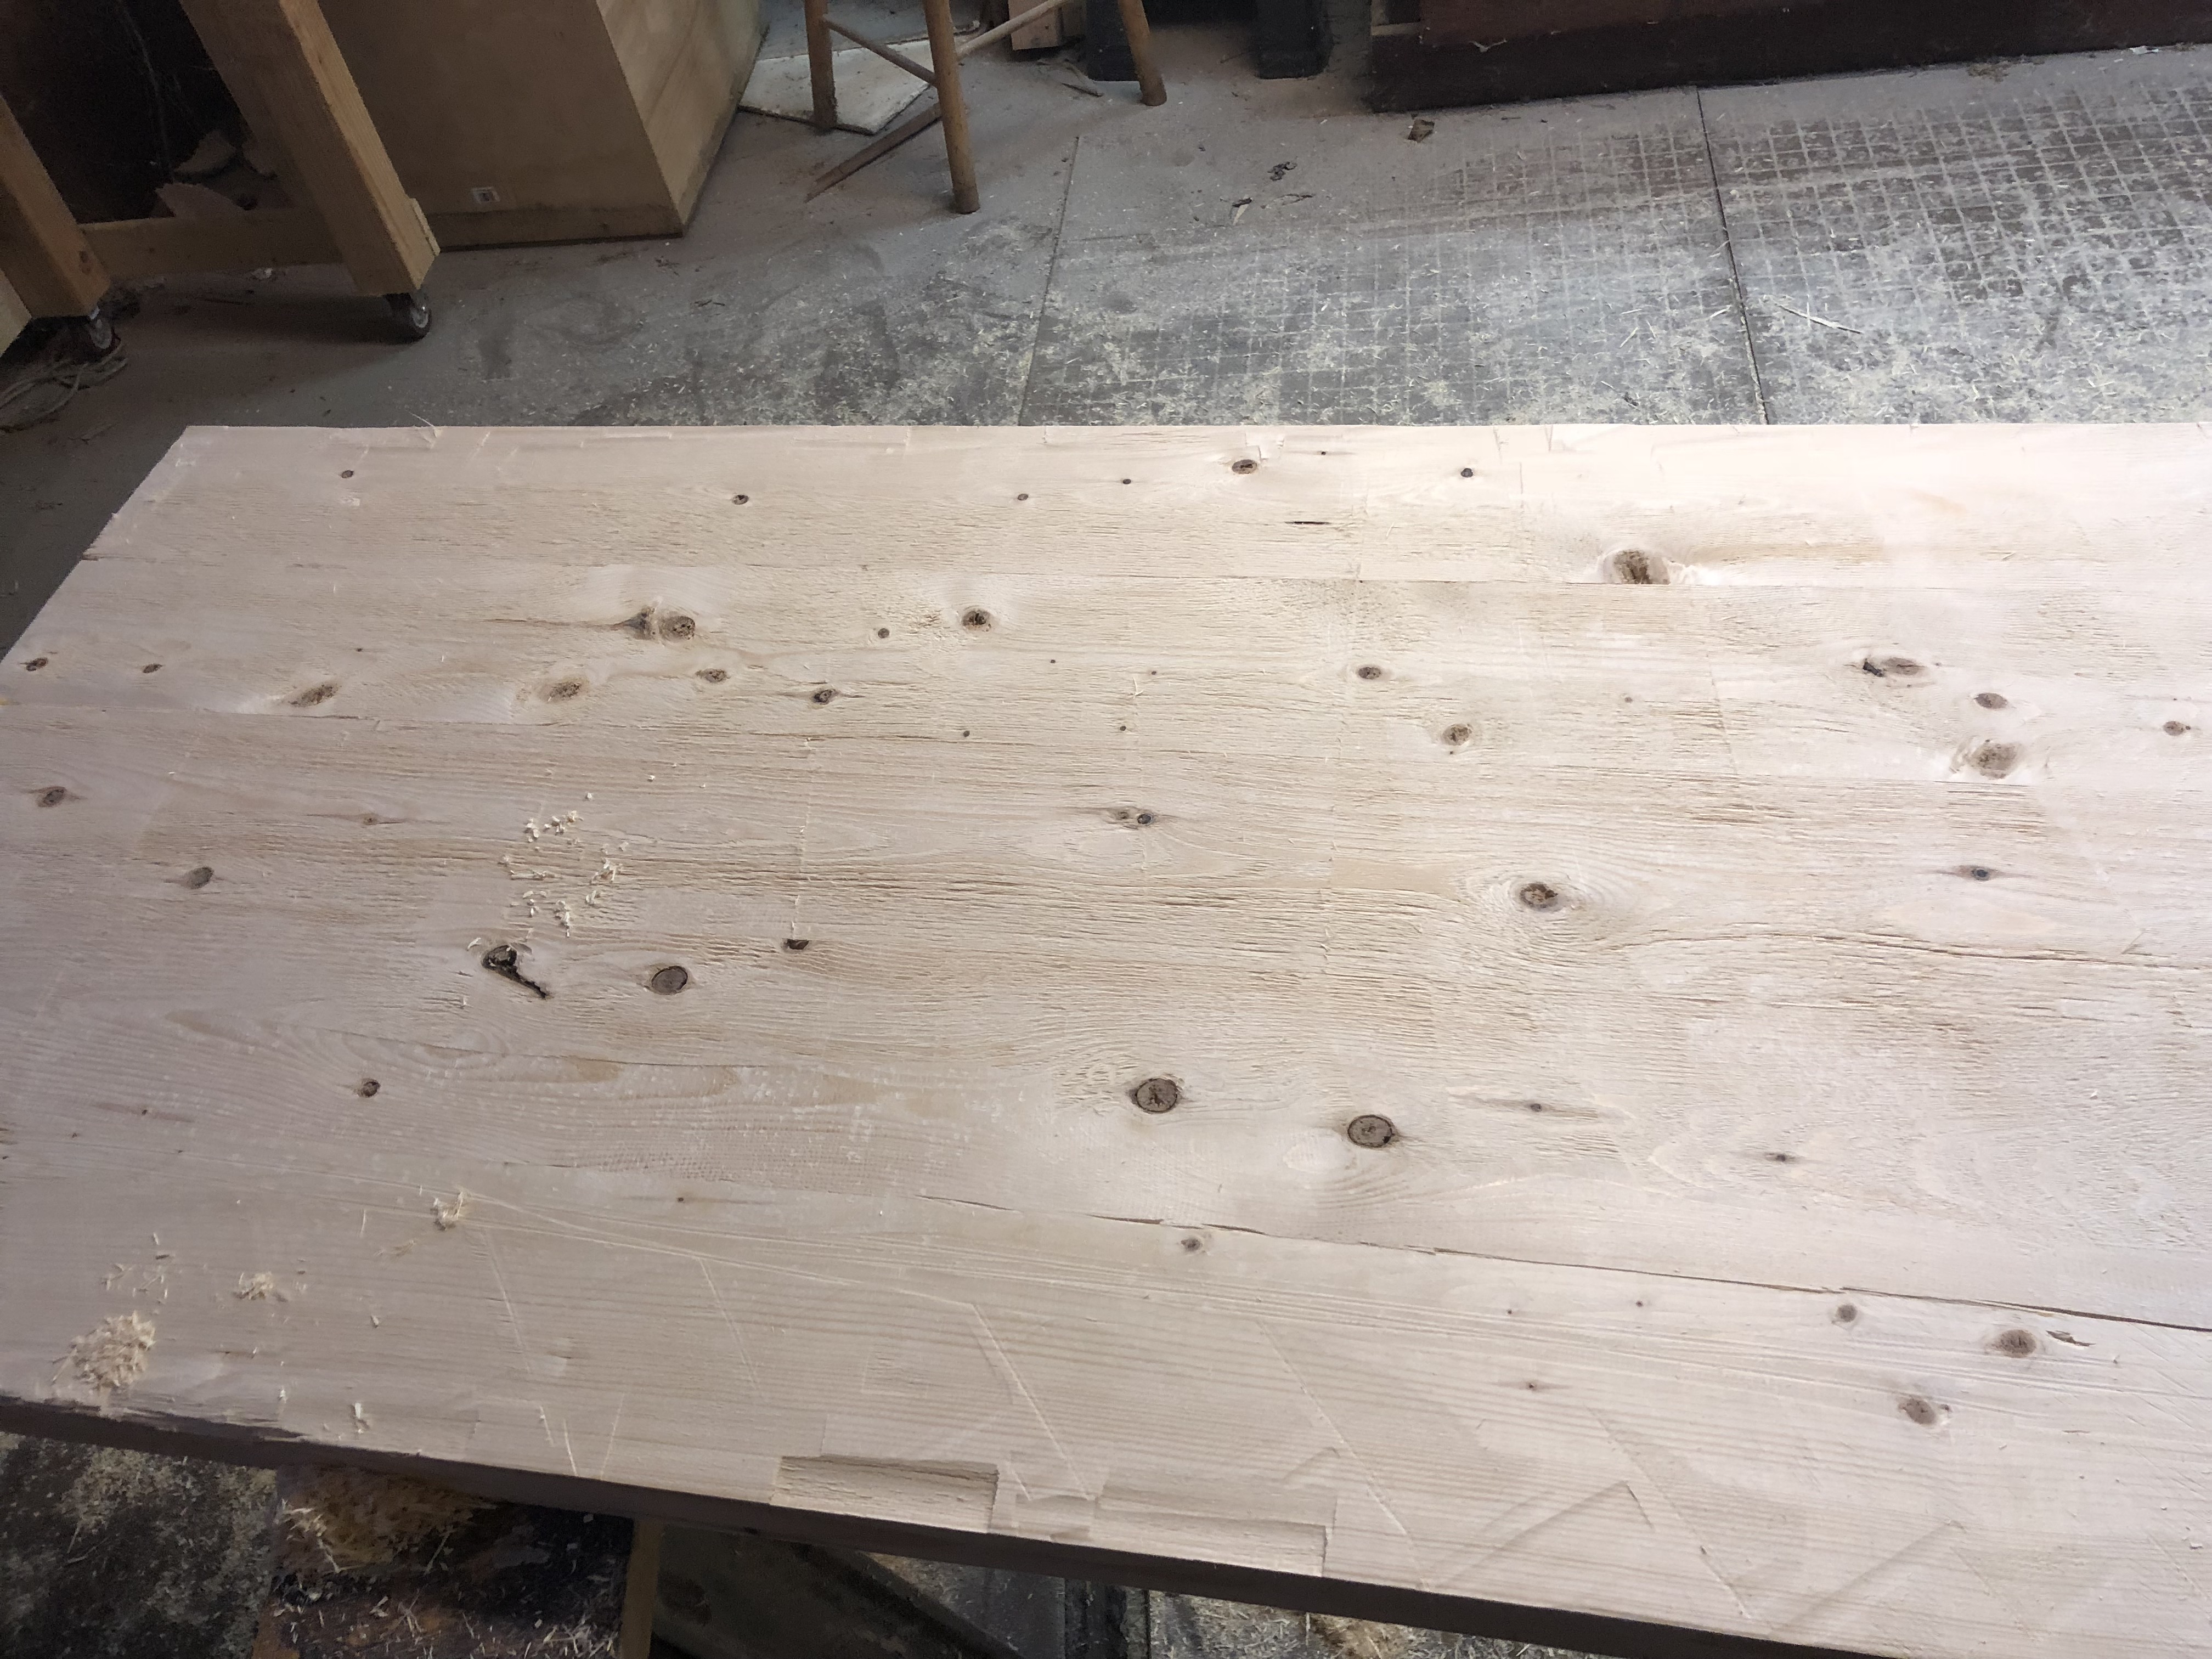
To build the countertops I ended up buying a lot of pine 2x6’s. The longest countertop is 9’ long so I had 10’ boards for that, and I used 8’ long boards for the remaining 2 pieces.
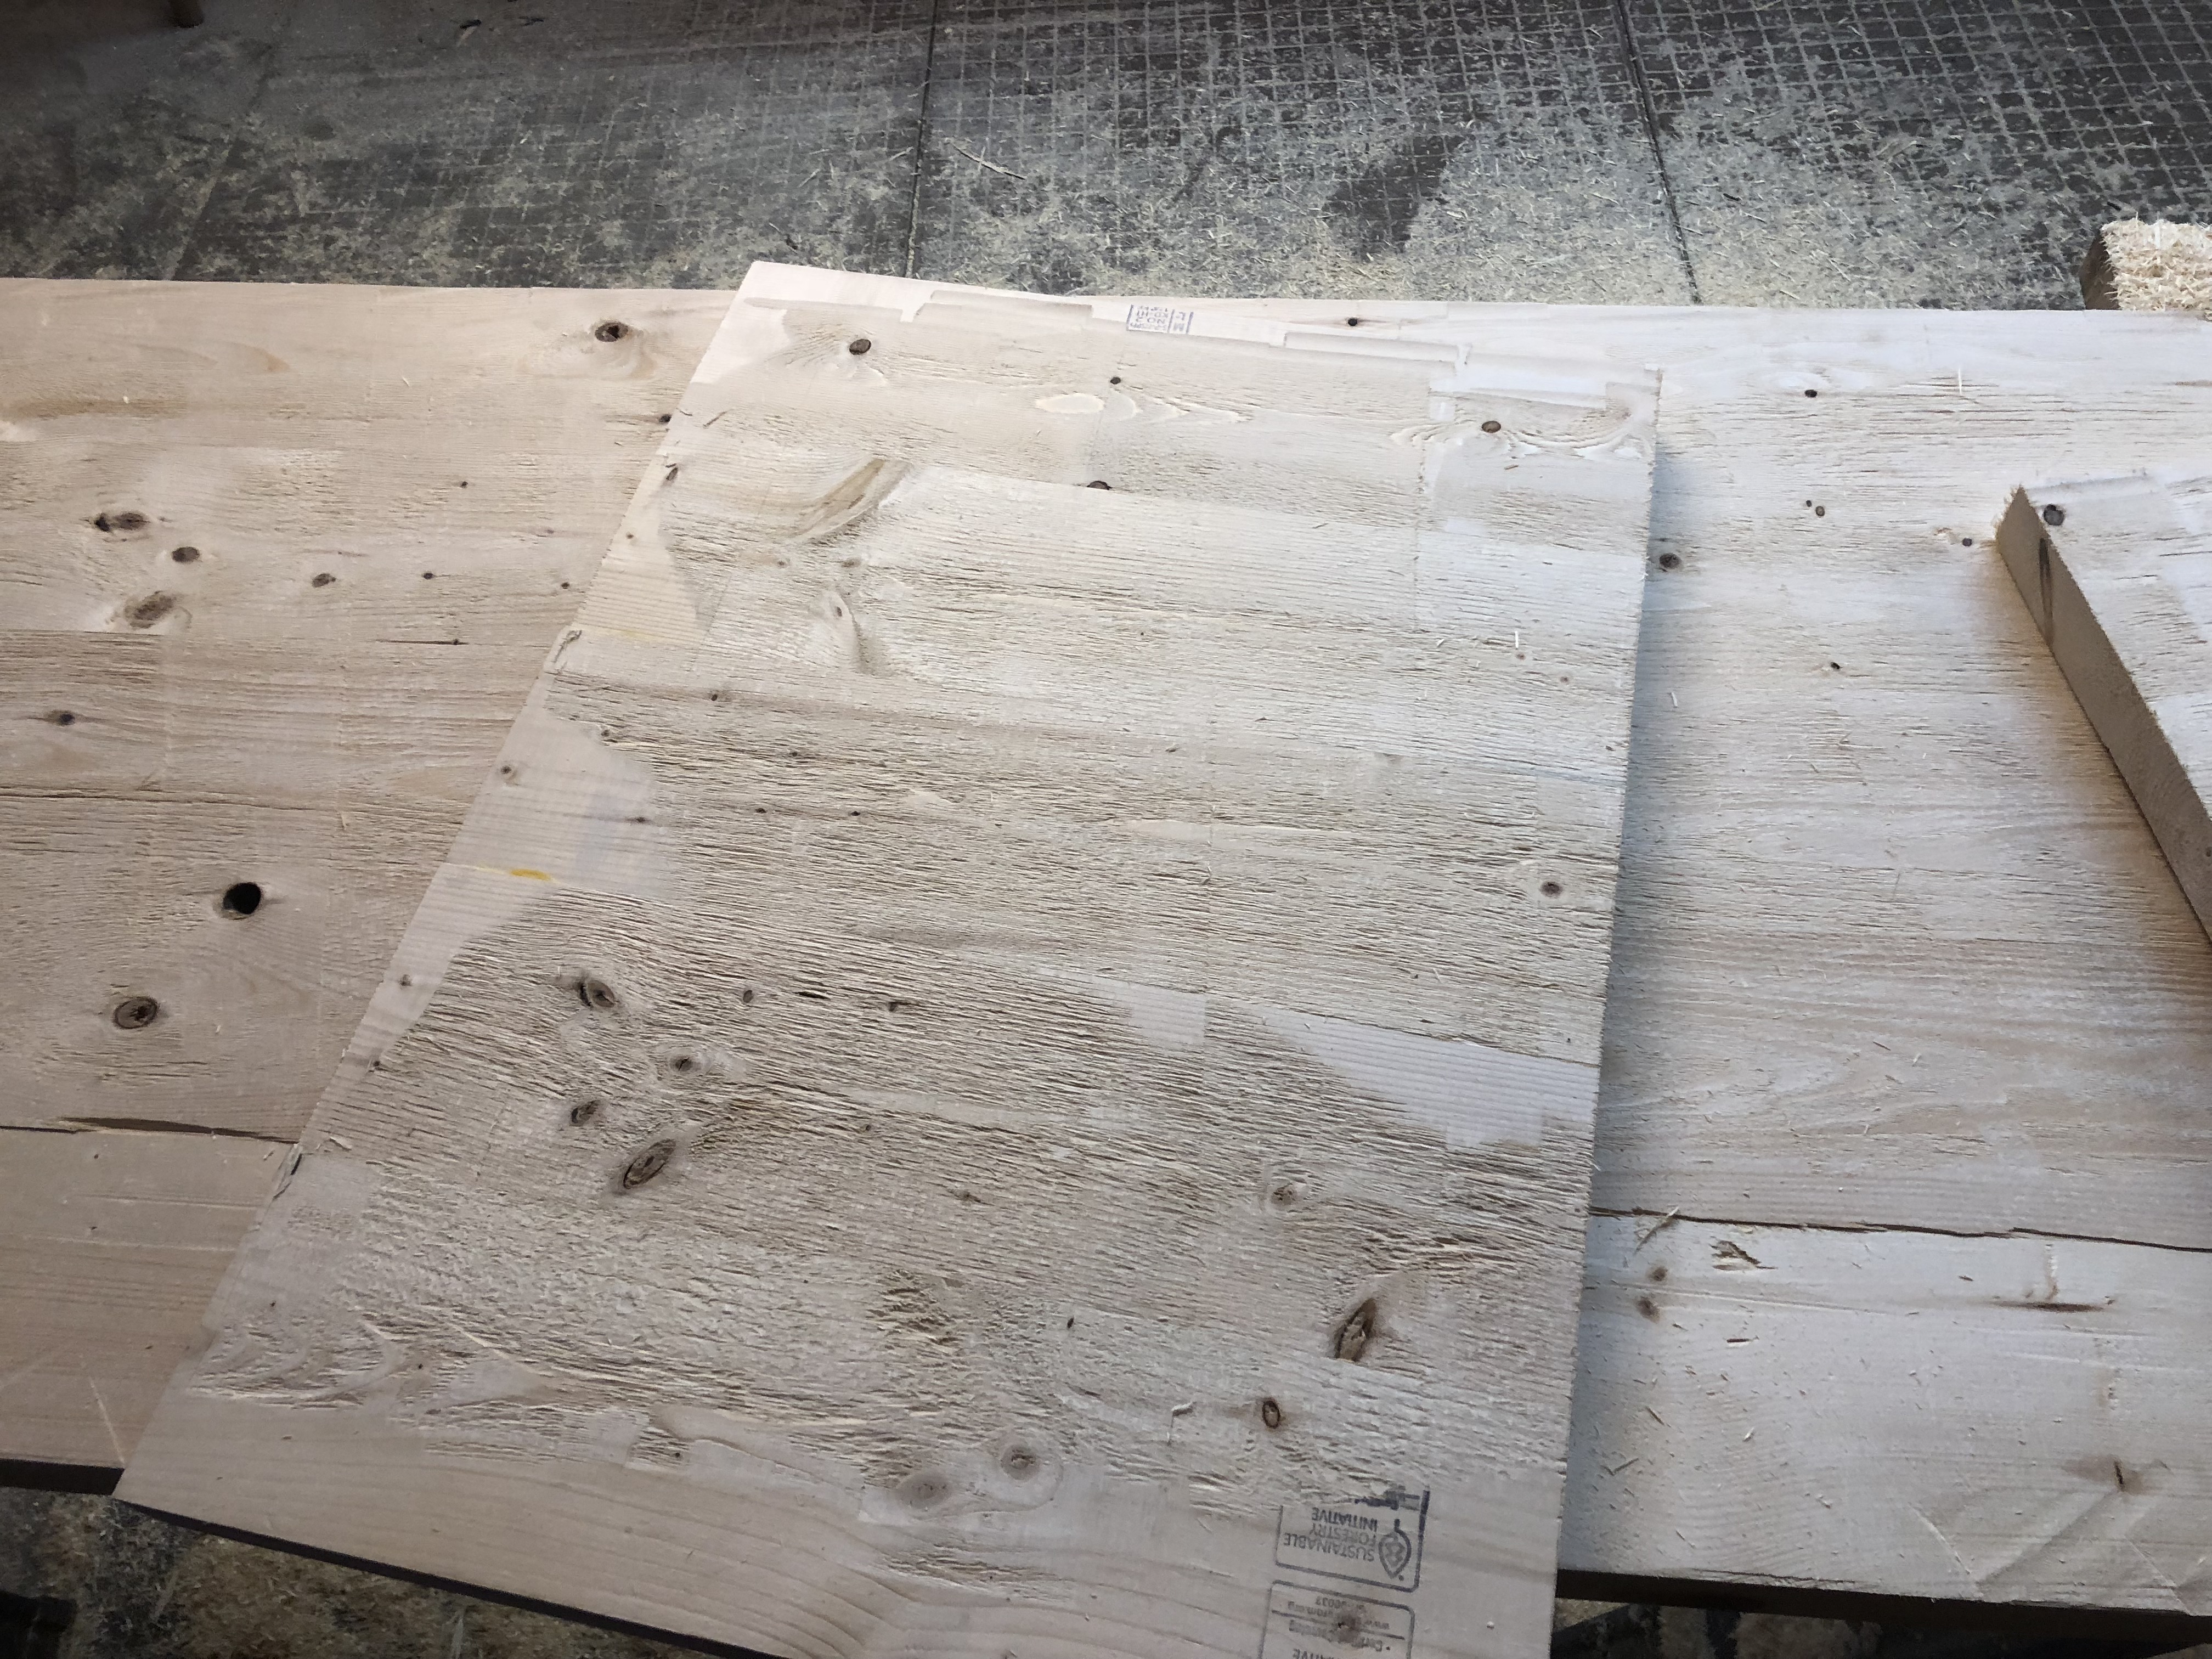
I used my table saw to trim off the beveled edges so the boards would seamlessly be able to join together.
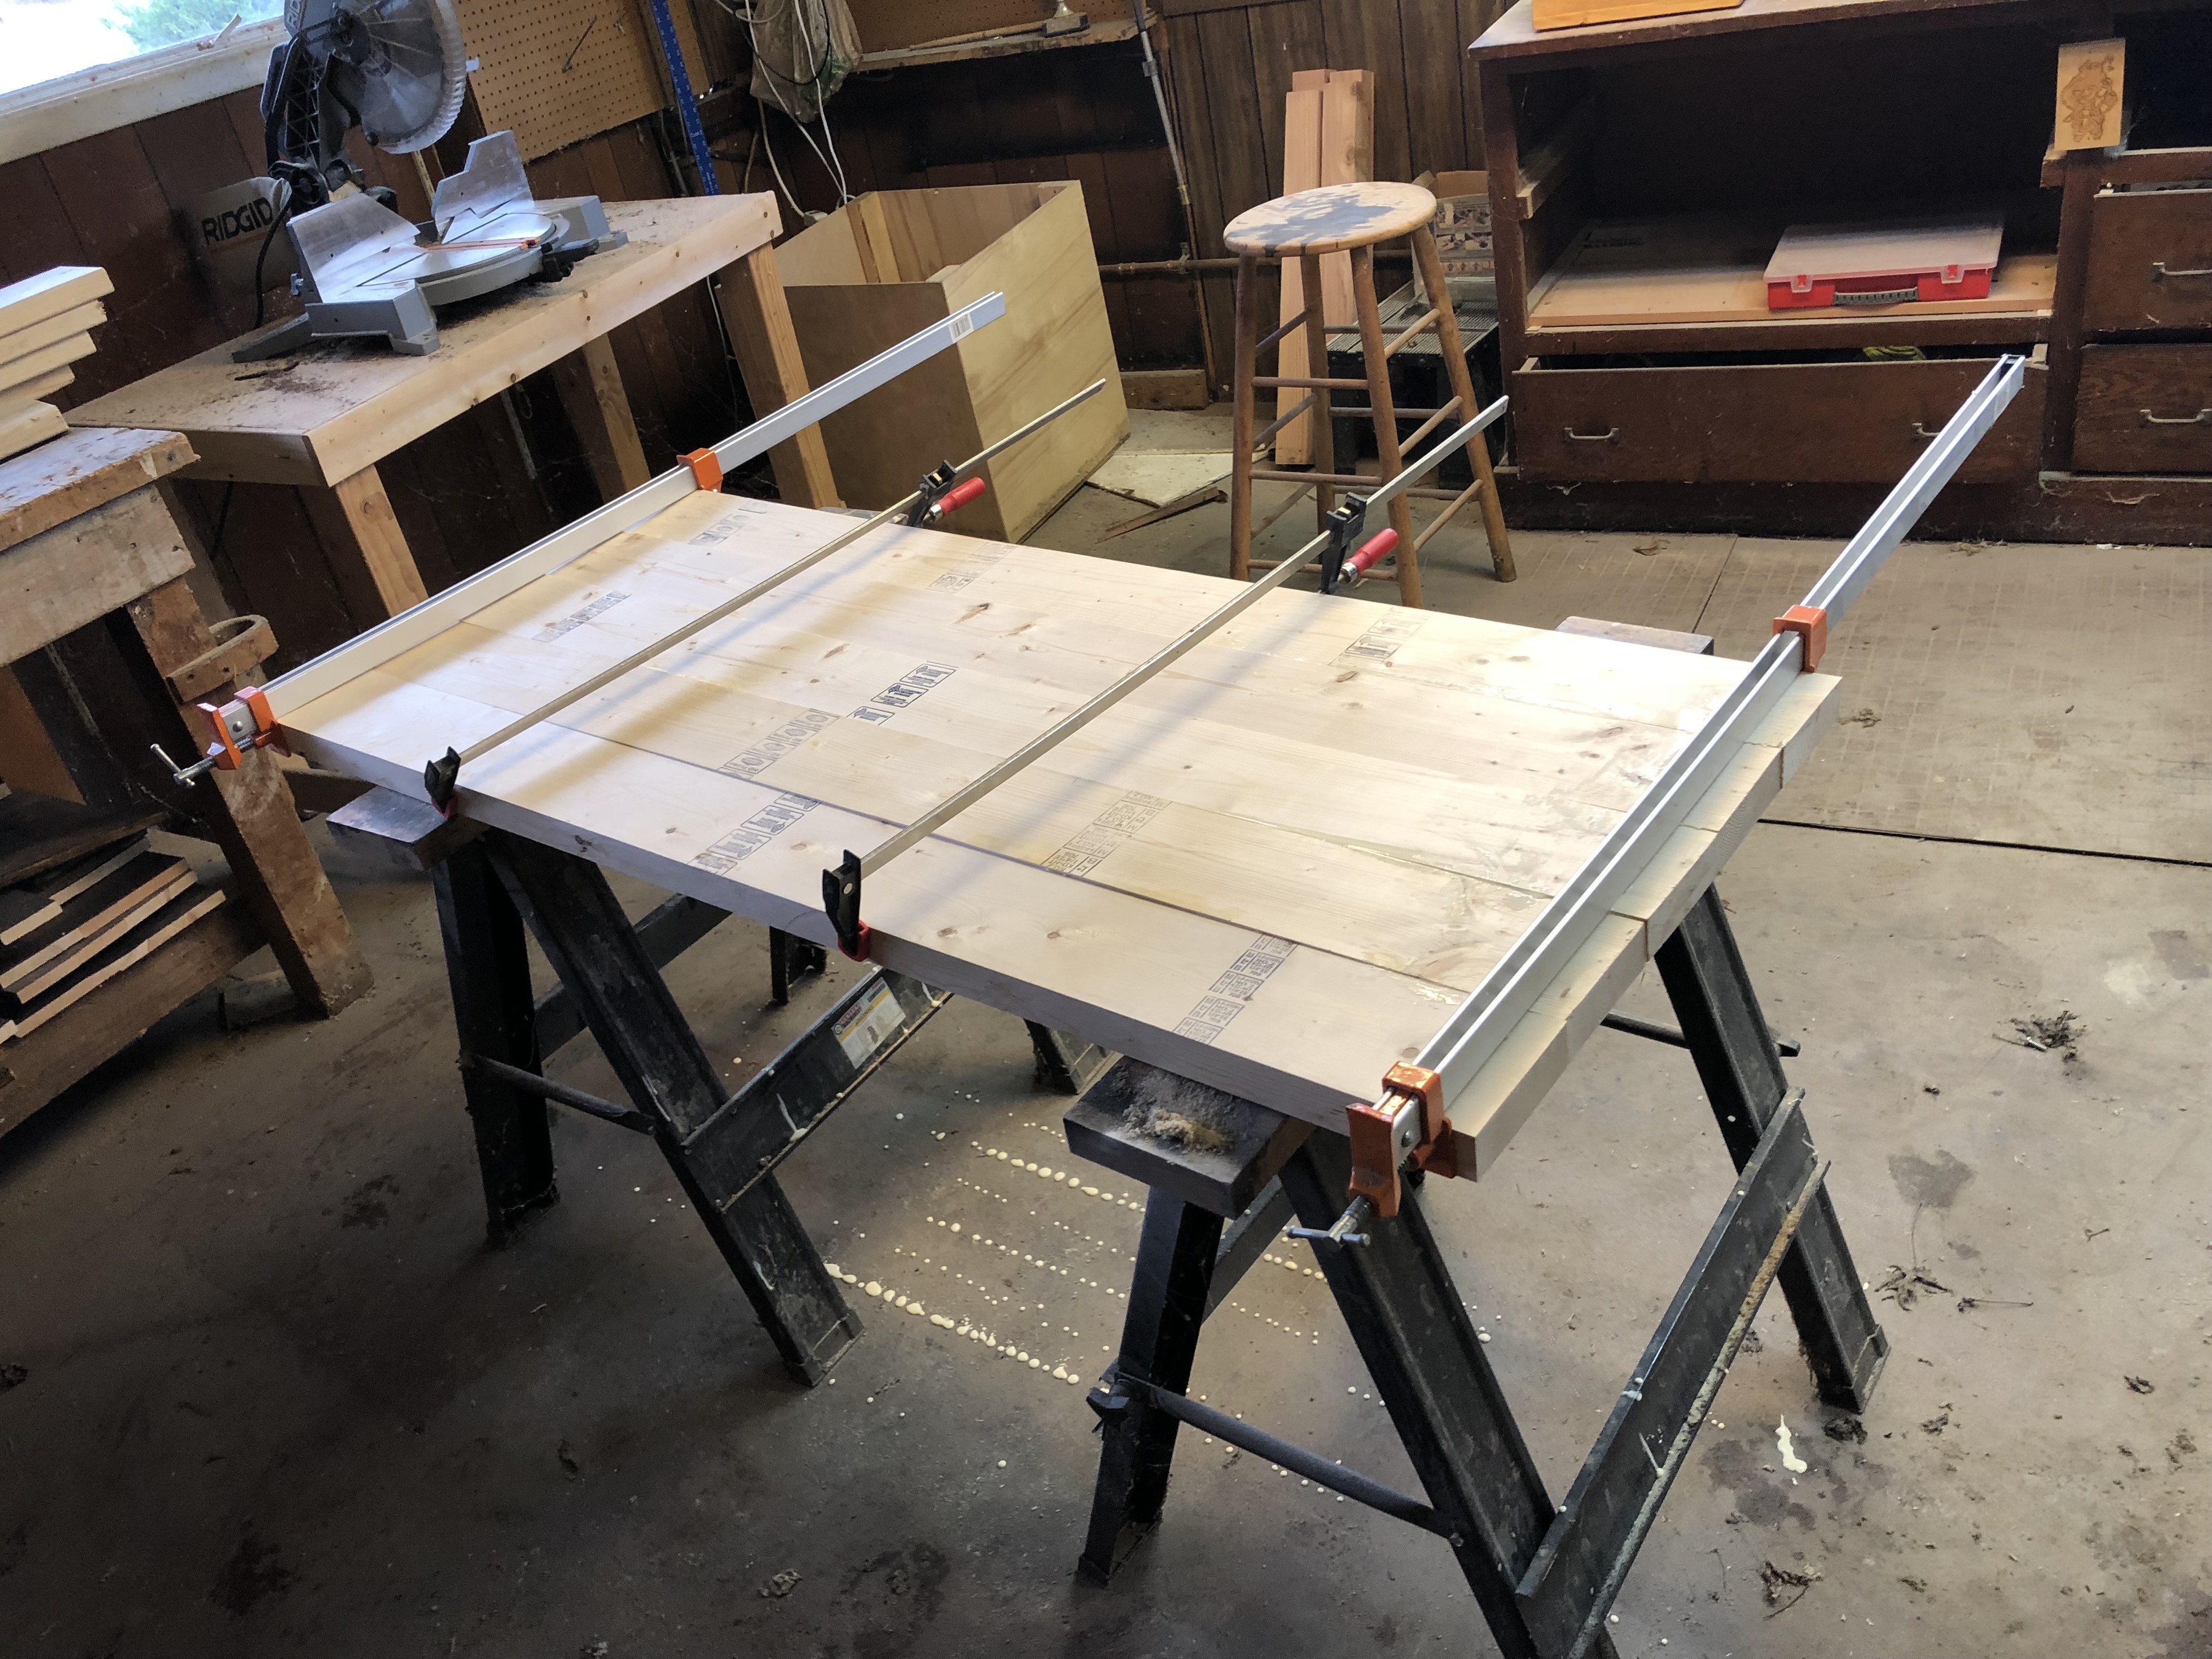
Five boards cut (5” each, ~25” deep) and ready to be joined.

Wood glue and clamps used to create the countertops.
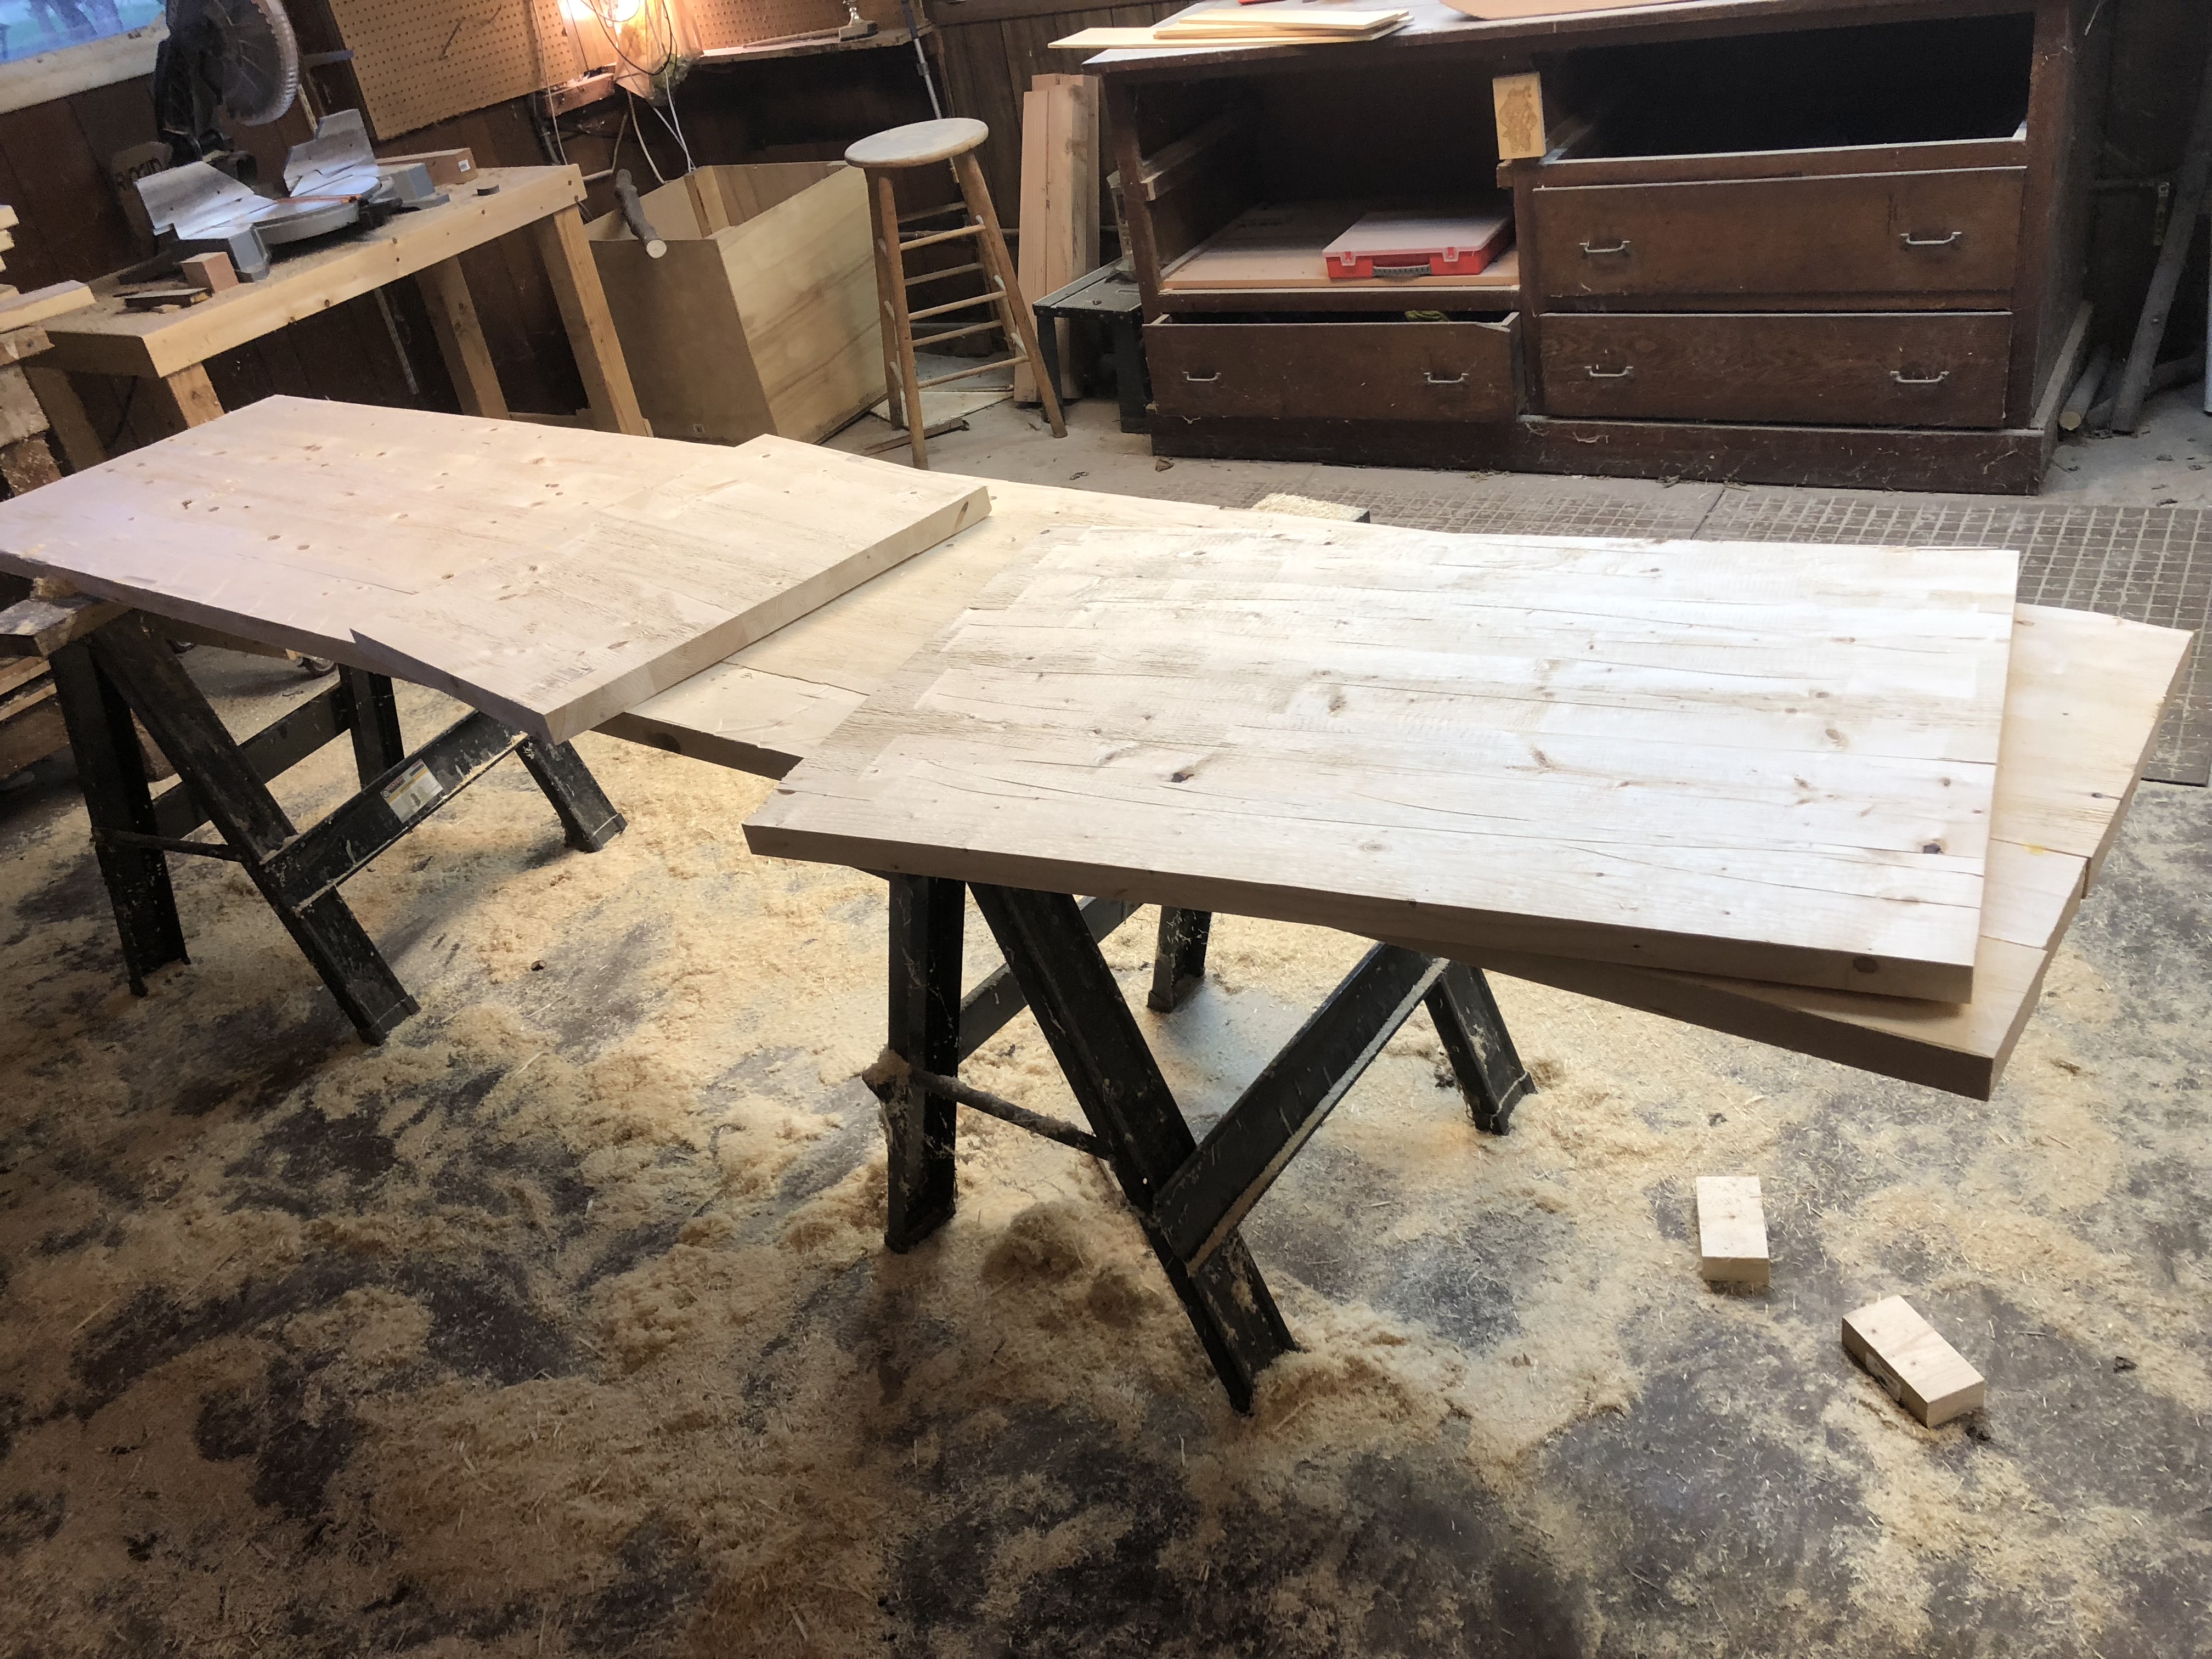
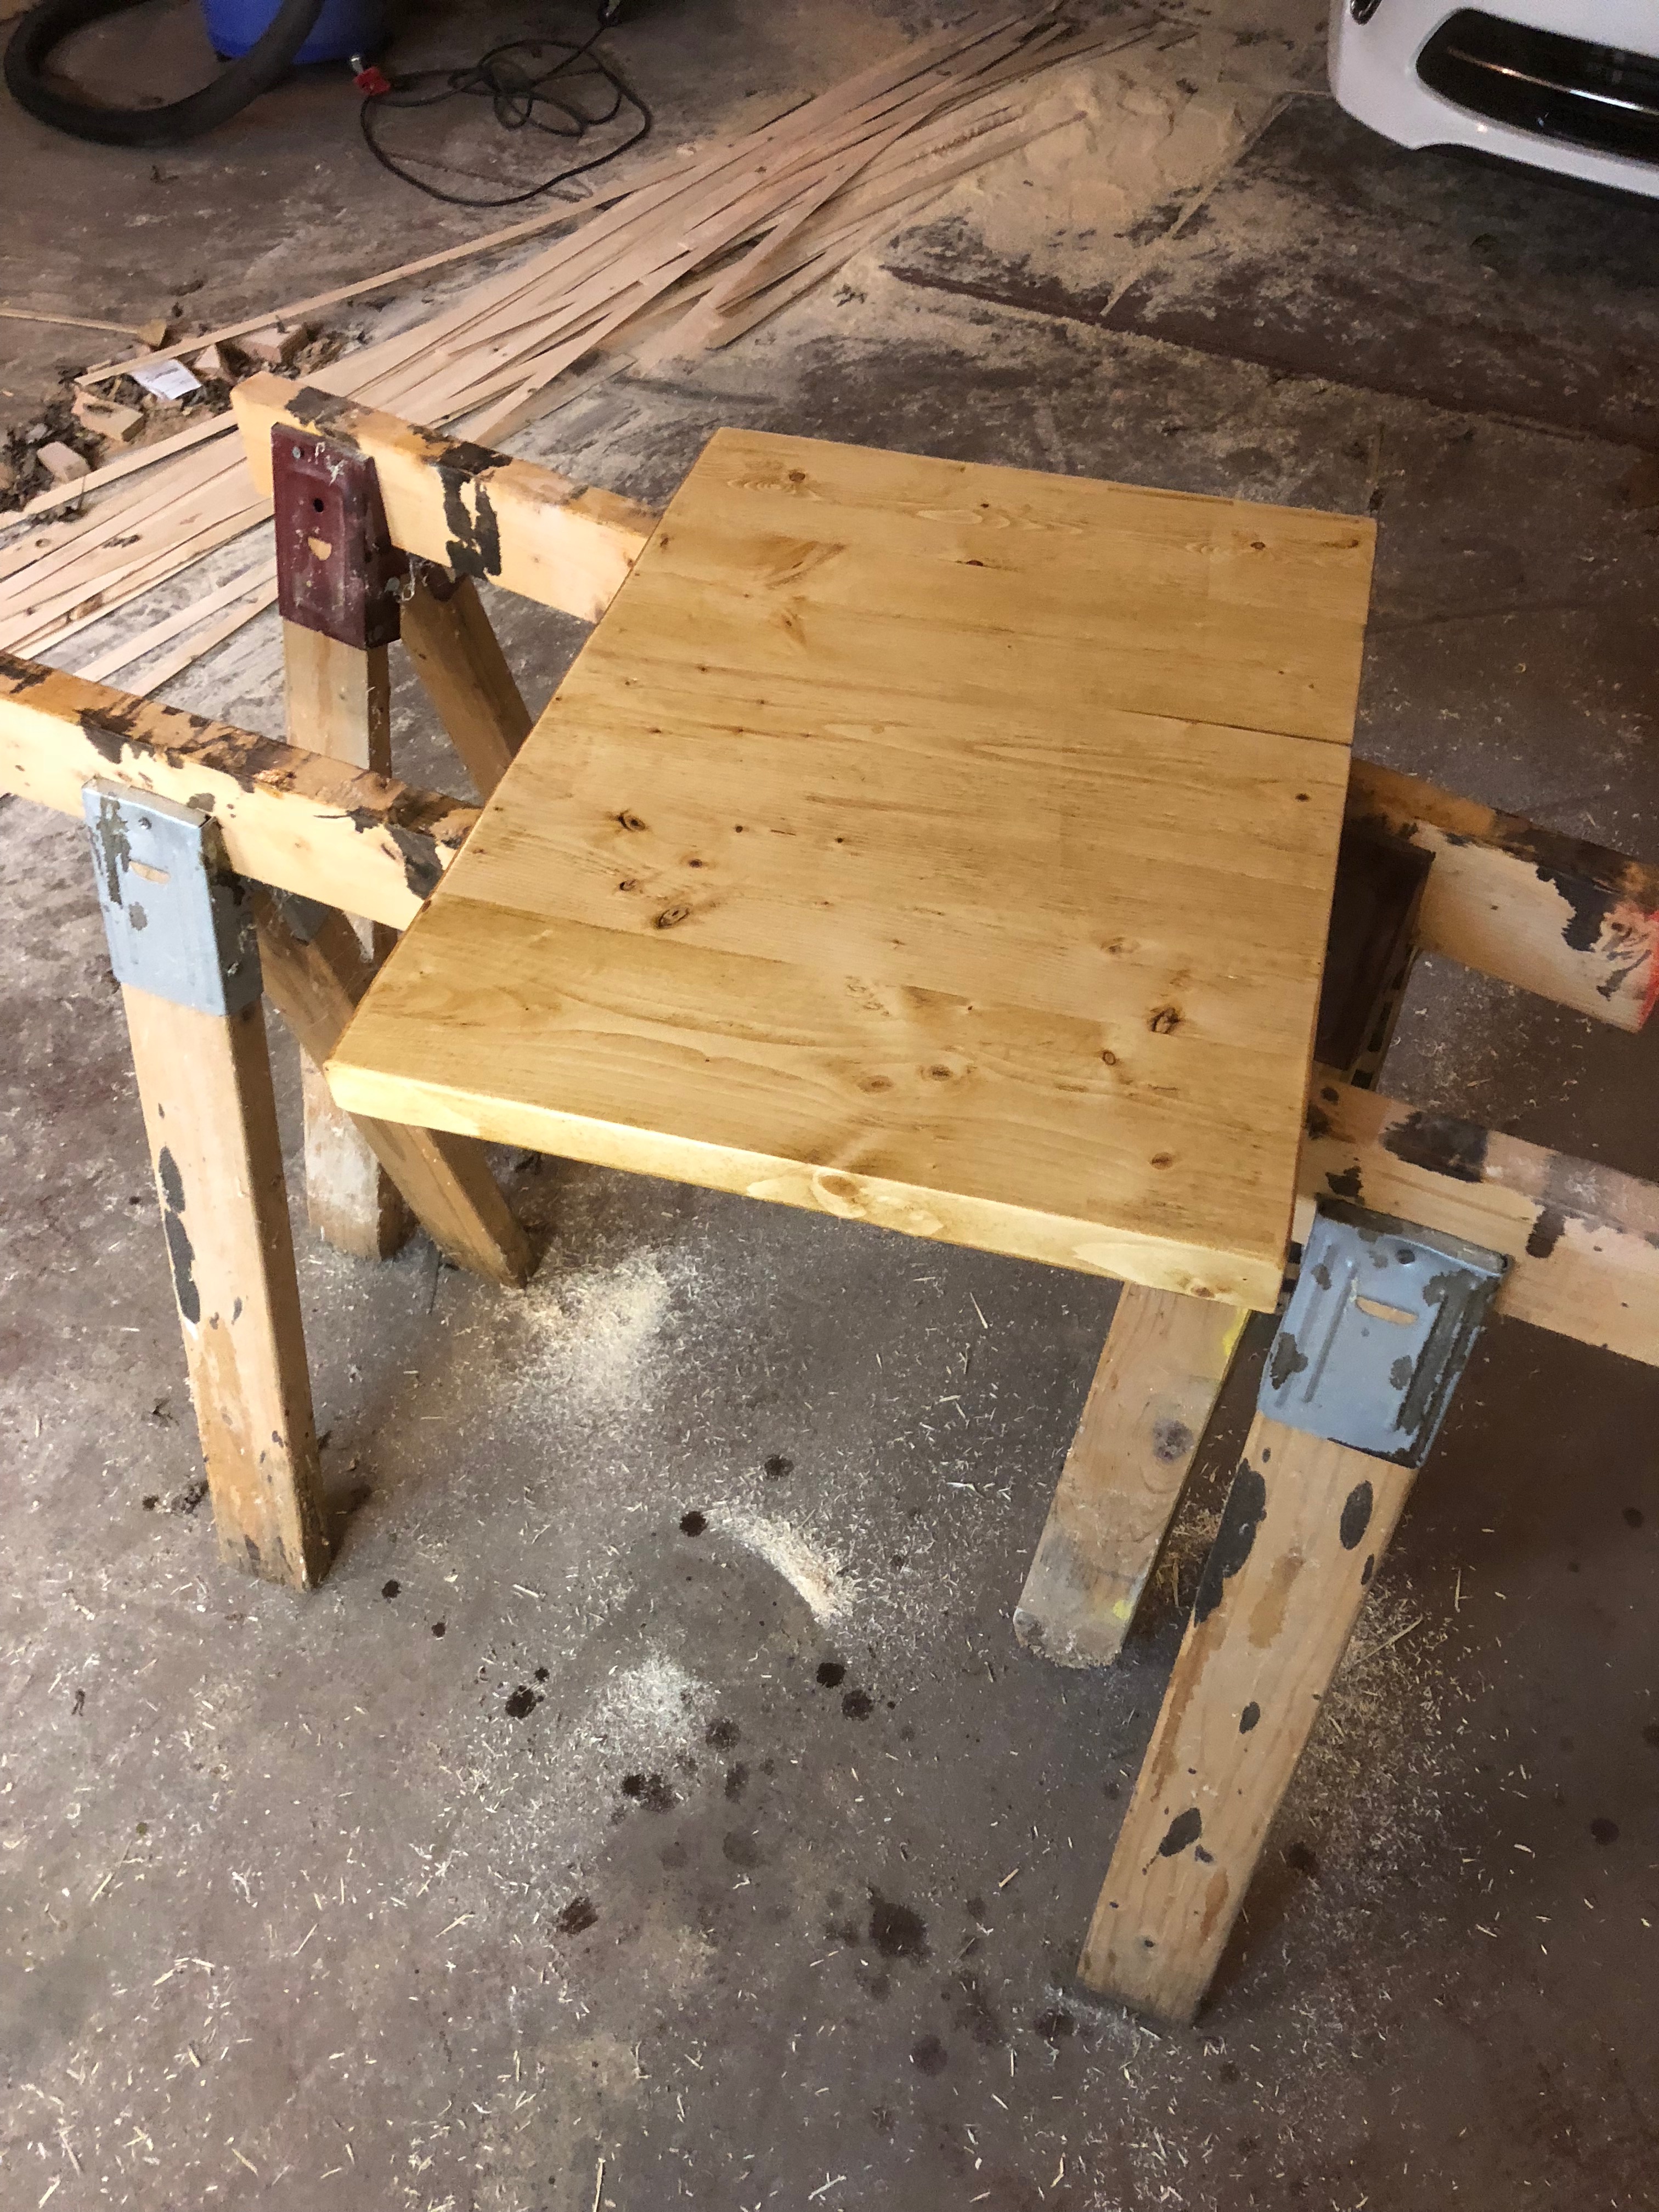
Three countertop sections built and planed. I used an electric hand planer I picked up from Harbor Freight and it ended up working very well - just look at all the dust it created!
The planer really chews into the wood to level it.
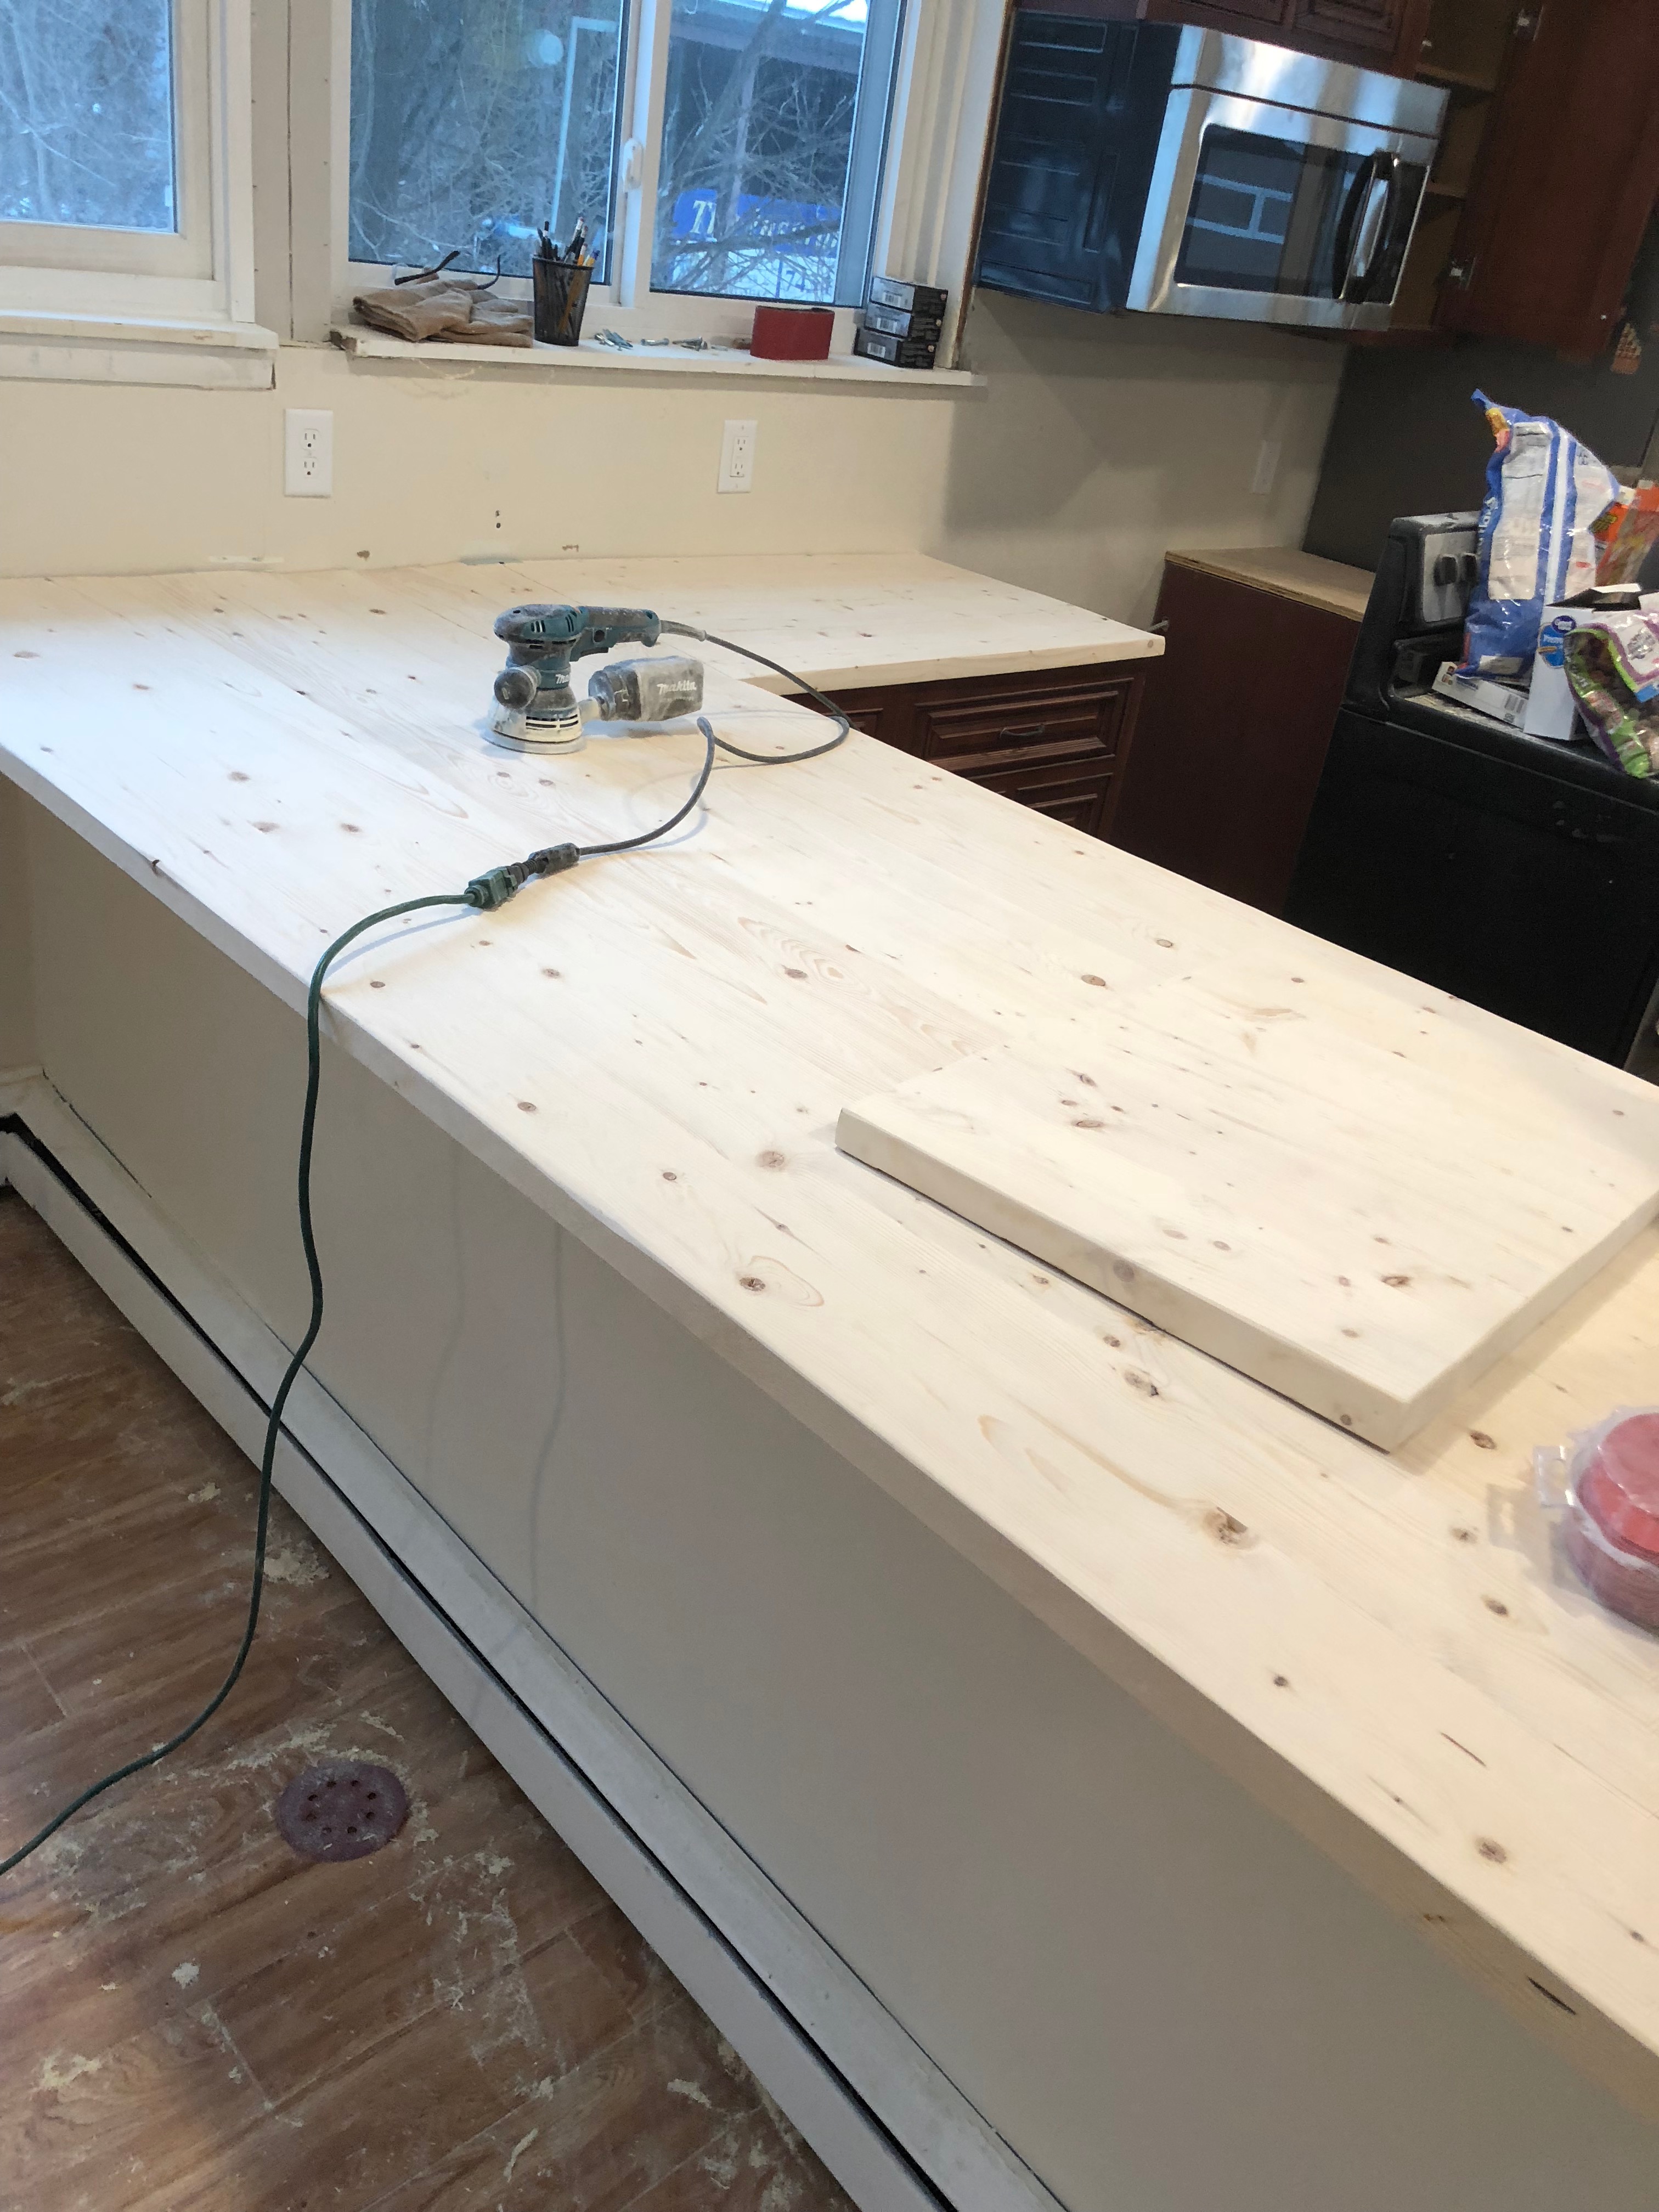
What the long piece looks like after being planed. It still will need a rough sanding with the belt sander and then a softer sanding with the random orbit sander.
Golden Oak stain applied to the small piece to test. I wanted something warm that would match the floors and provide contrast with the cabinets.
Just a preview of the unfinished small countertop sitting (not secured) on top of the cabinet.
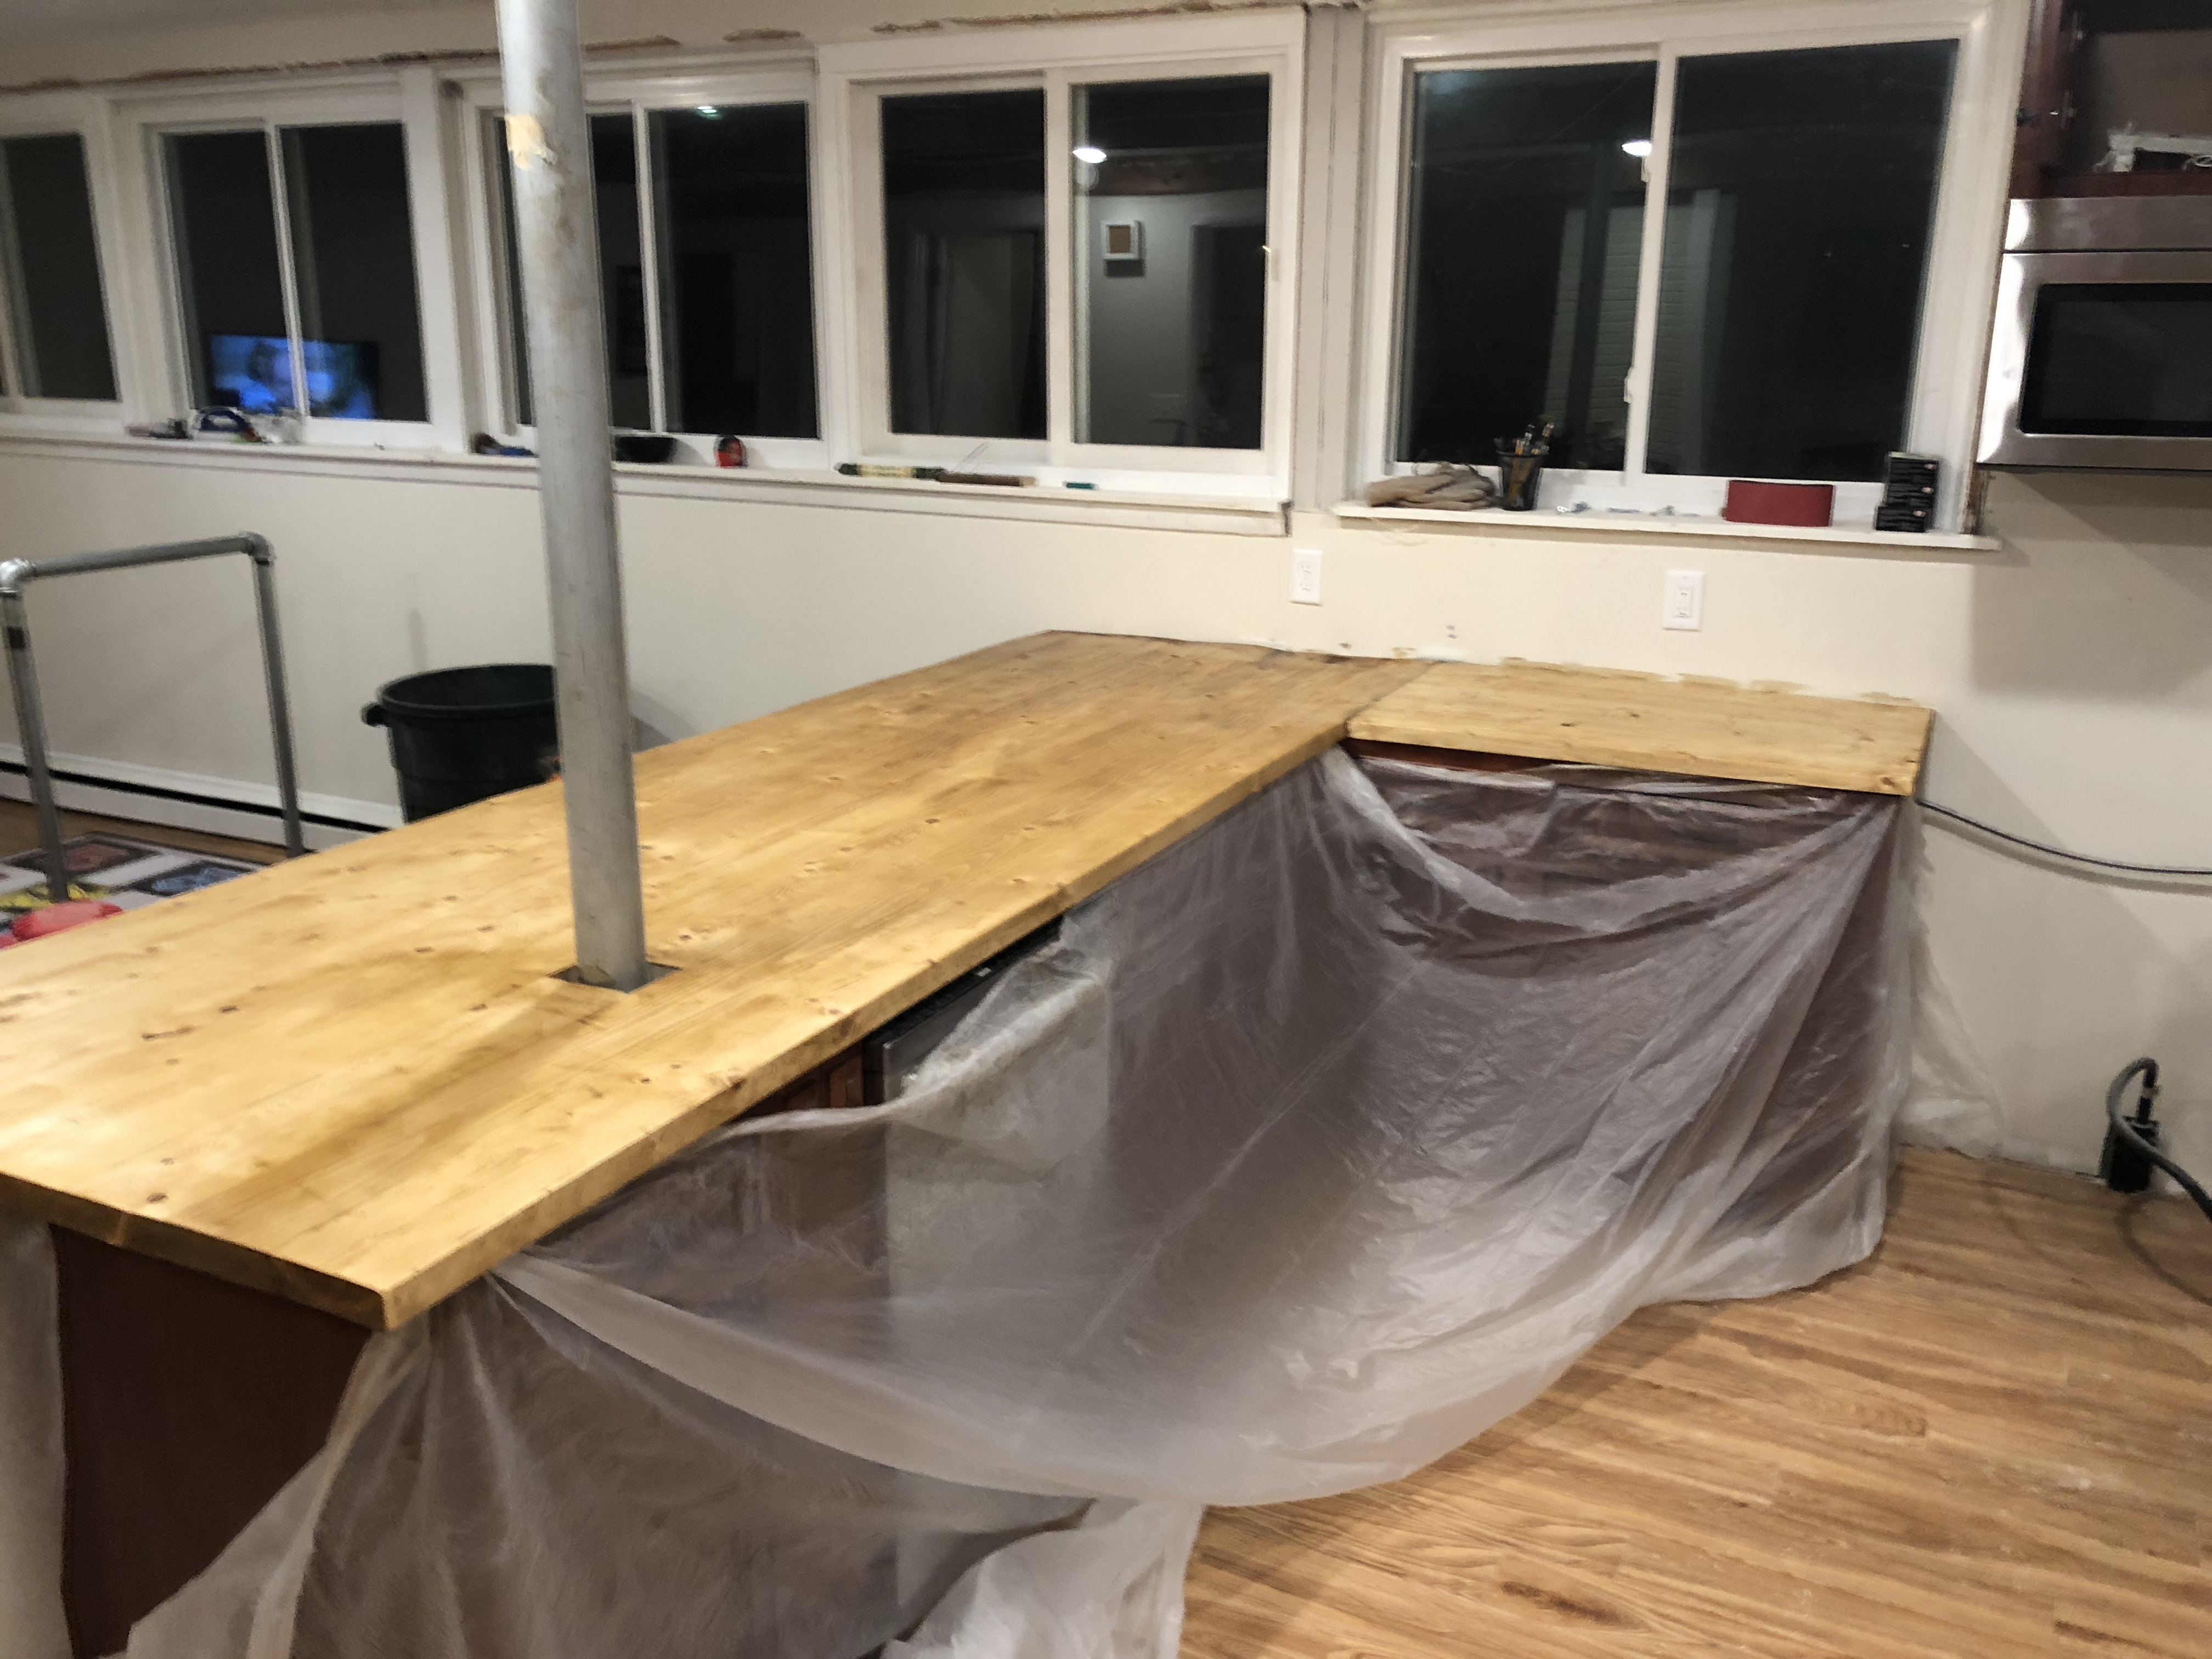
The other countertops sitting in their final places. Because of that pole that runs through the cabinet, the large countertop had to be built in 2 sections that would eventually be glued and clamped to each other around the pole. As such, once it is assembled, it’s not coming out unless it is cut or destroyed.

Minutes after putting the countertops in their final places just to get an idea of how they would look, I already started putting my stuff all over them and using them :p.
Here is an old pic before any of the cabinets were installed - my parents built that supporting wall for the cabinets.
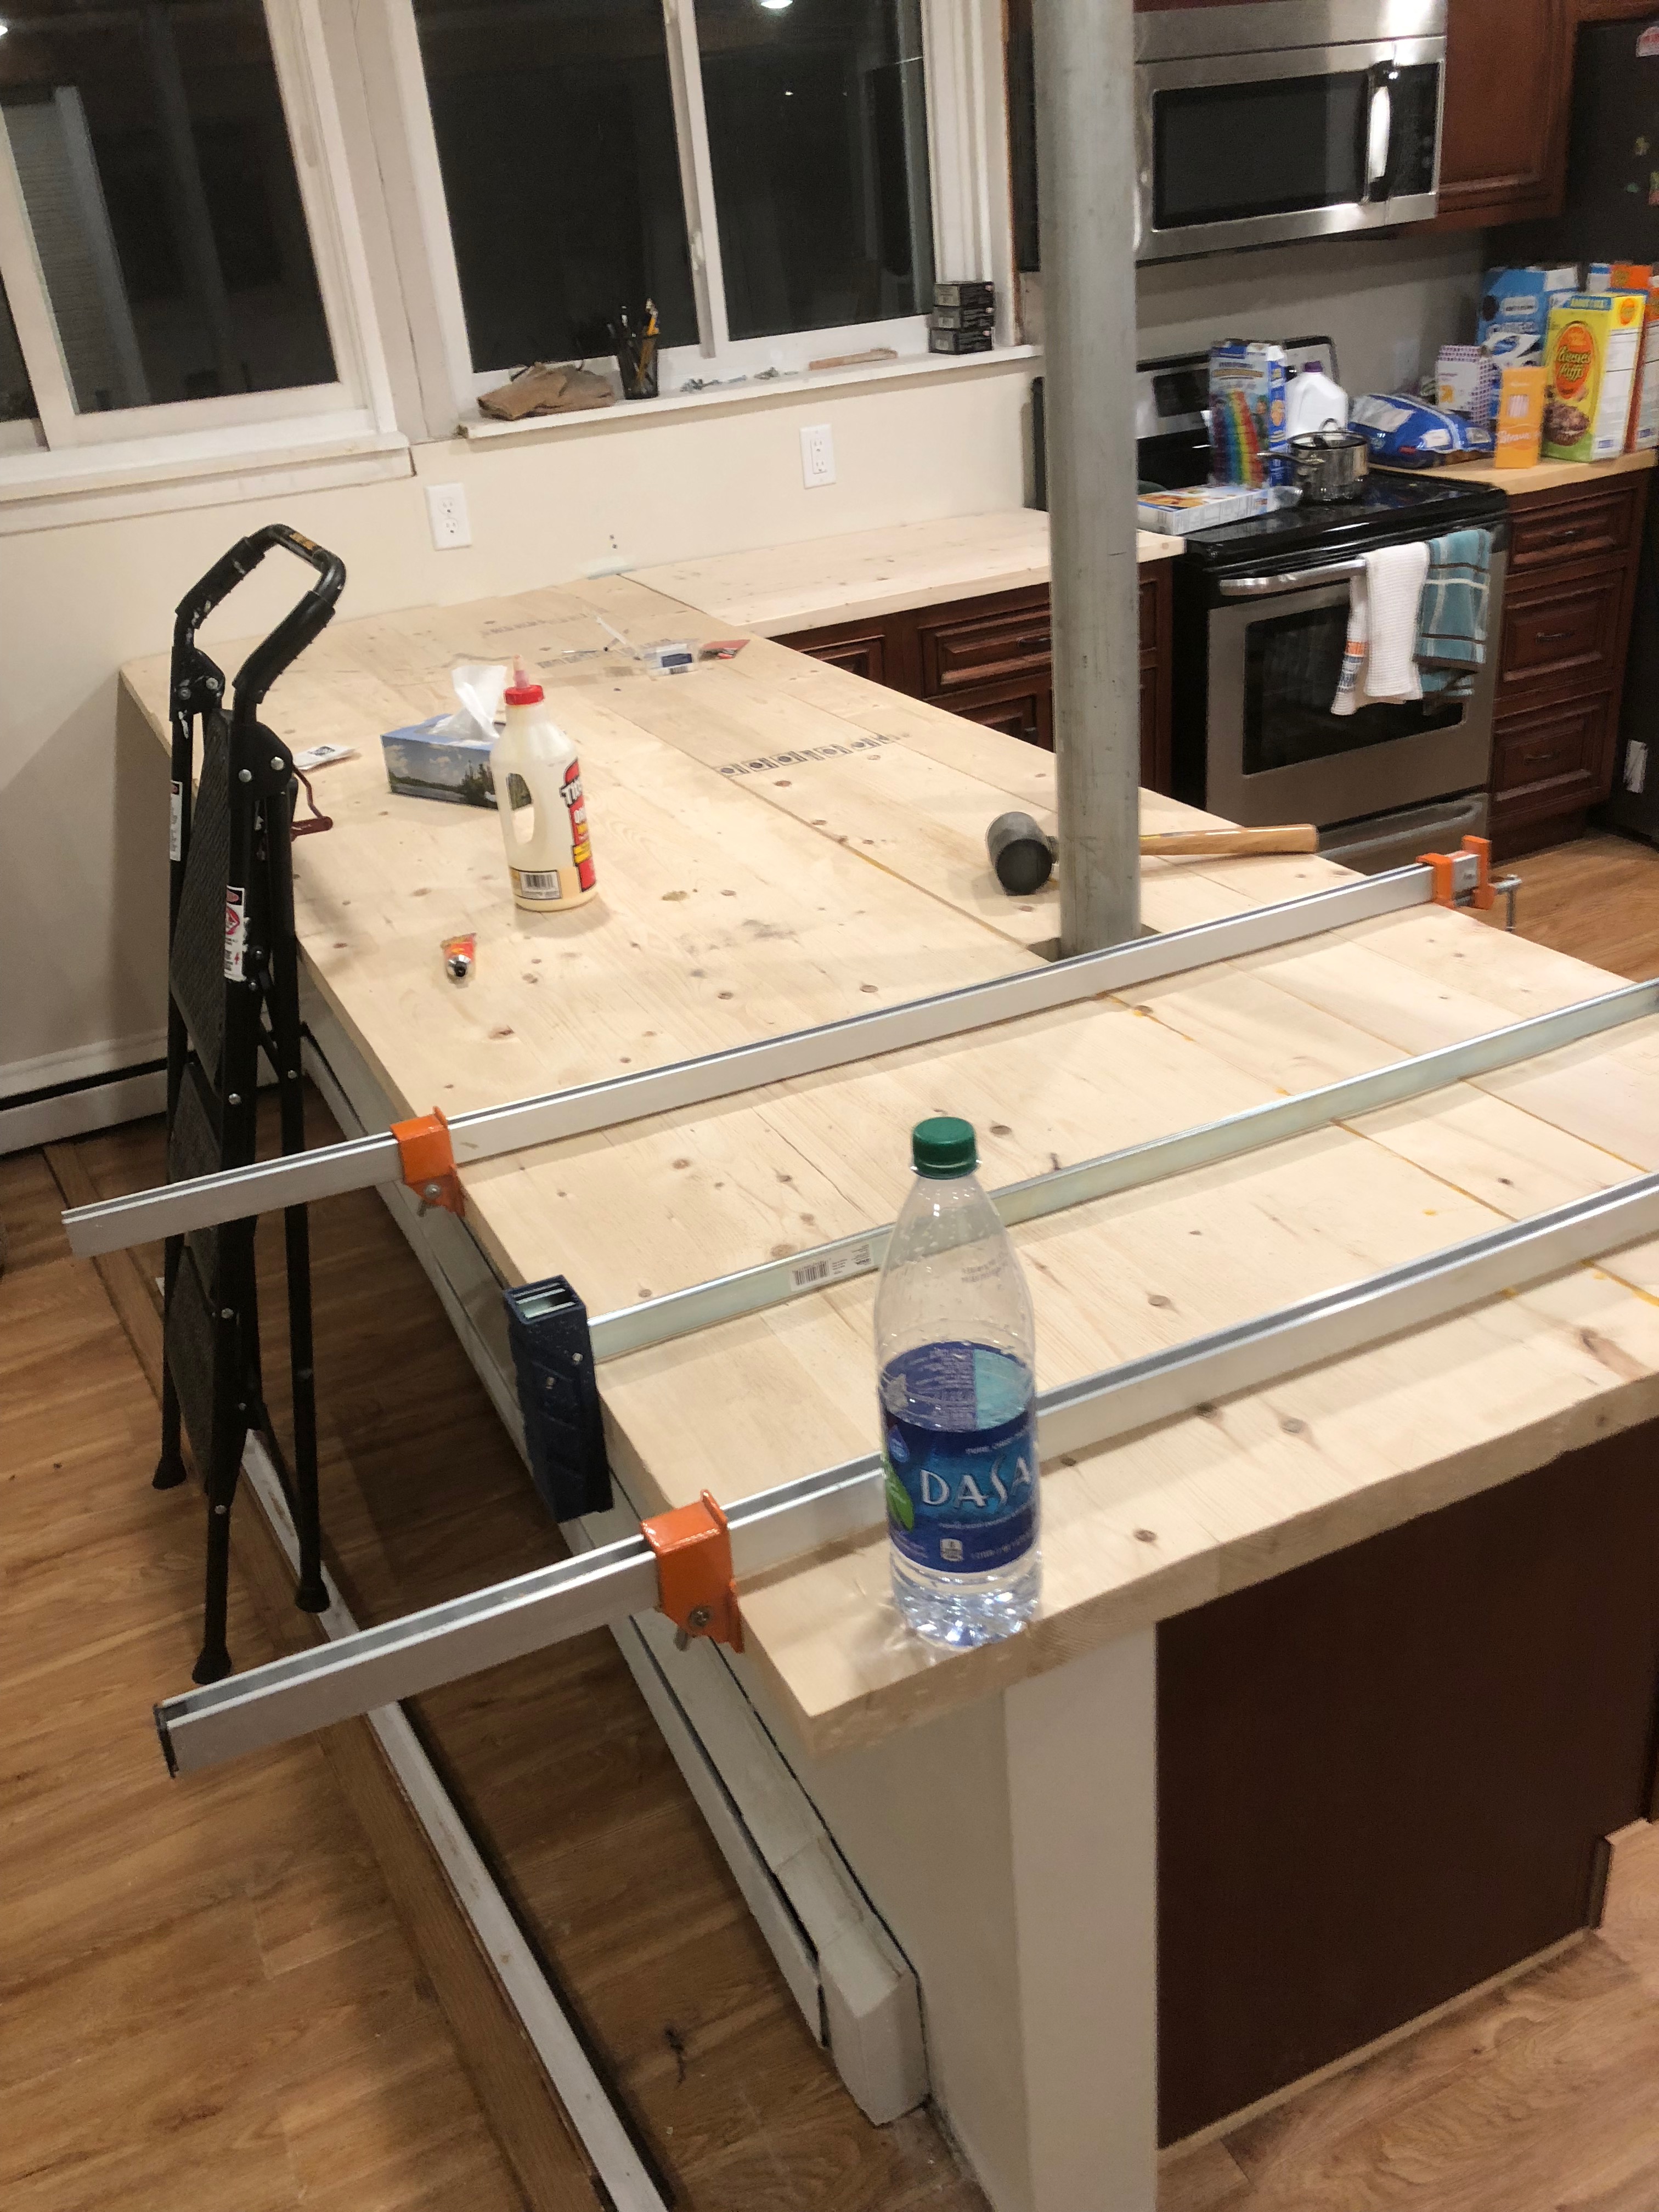
To build the countertop in sections I had to secure a section made up of 5 boards, to a section made up of 2 boards, all with a single board that was cut to make room for the pole.

After securing the first side, I then glued and clamped the second, smaller section. The truth is I didn’t have enough clamps long enough to do it all at once.
Once everything was glued and secured, I then spent hours planing and sanding it to be ready to stain and finish.
This is just a small preview of the dust that was created from this process.
Once it was all sanded, I put up plastic sheets so I could safely stain and finish it without worrying about messing up my cabinets or the floor.

Stain applied.
Another angle of the stain.
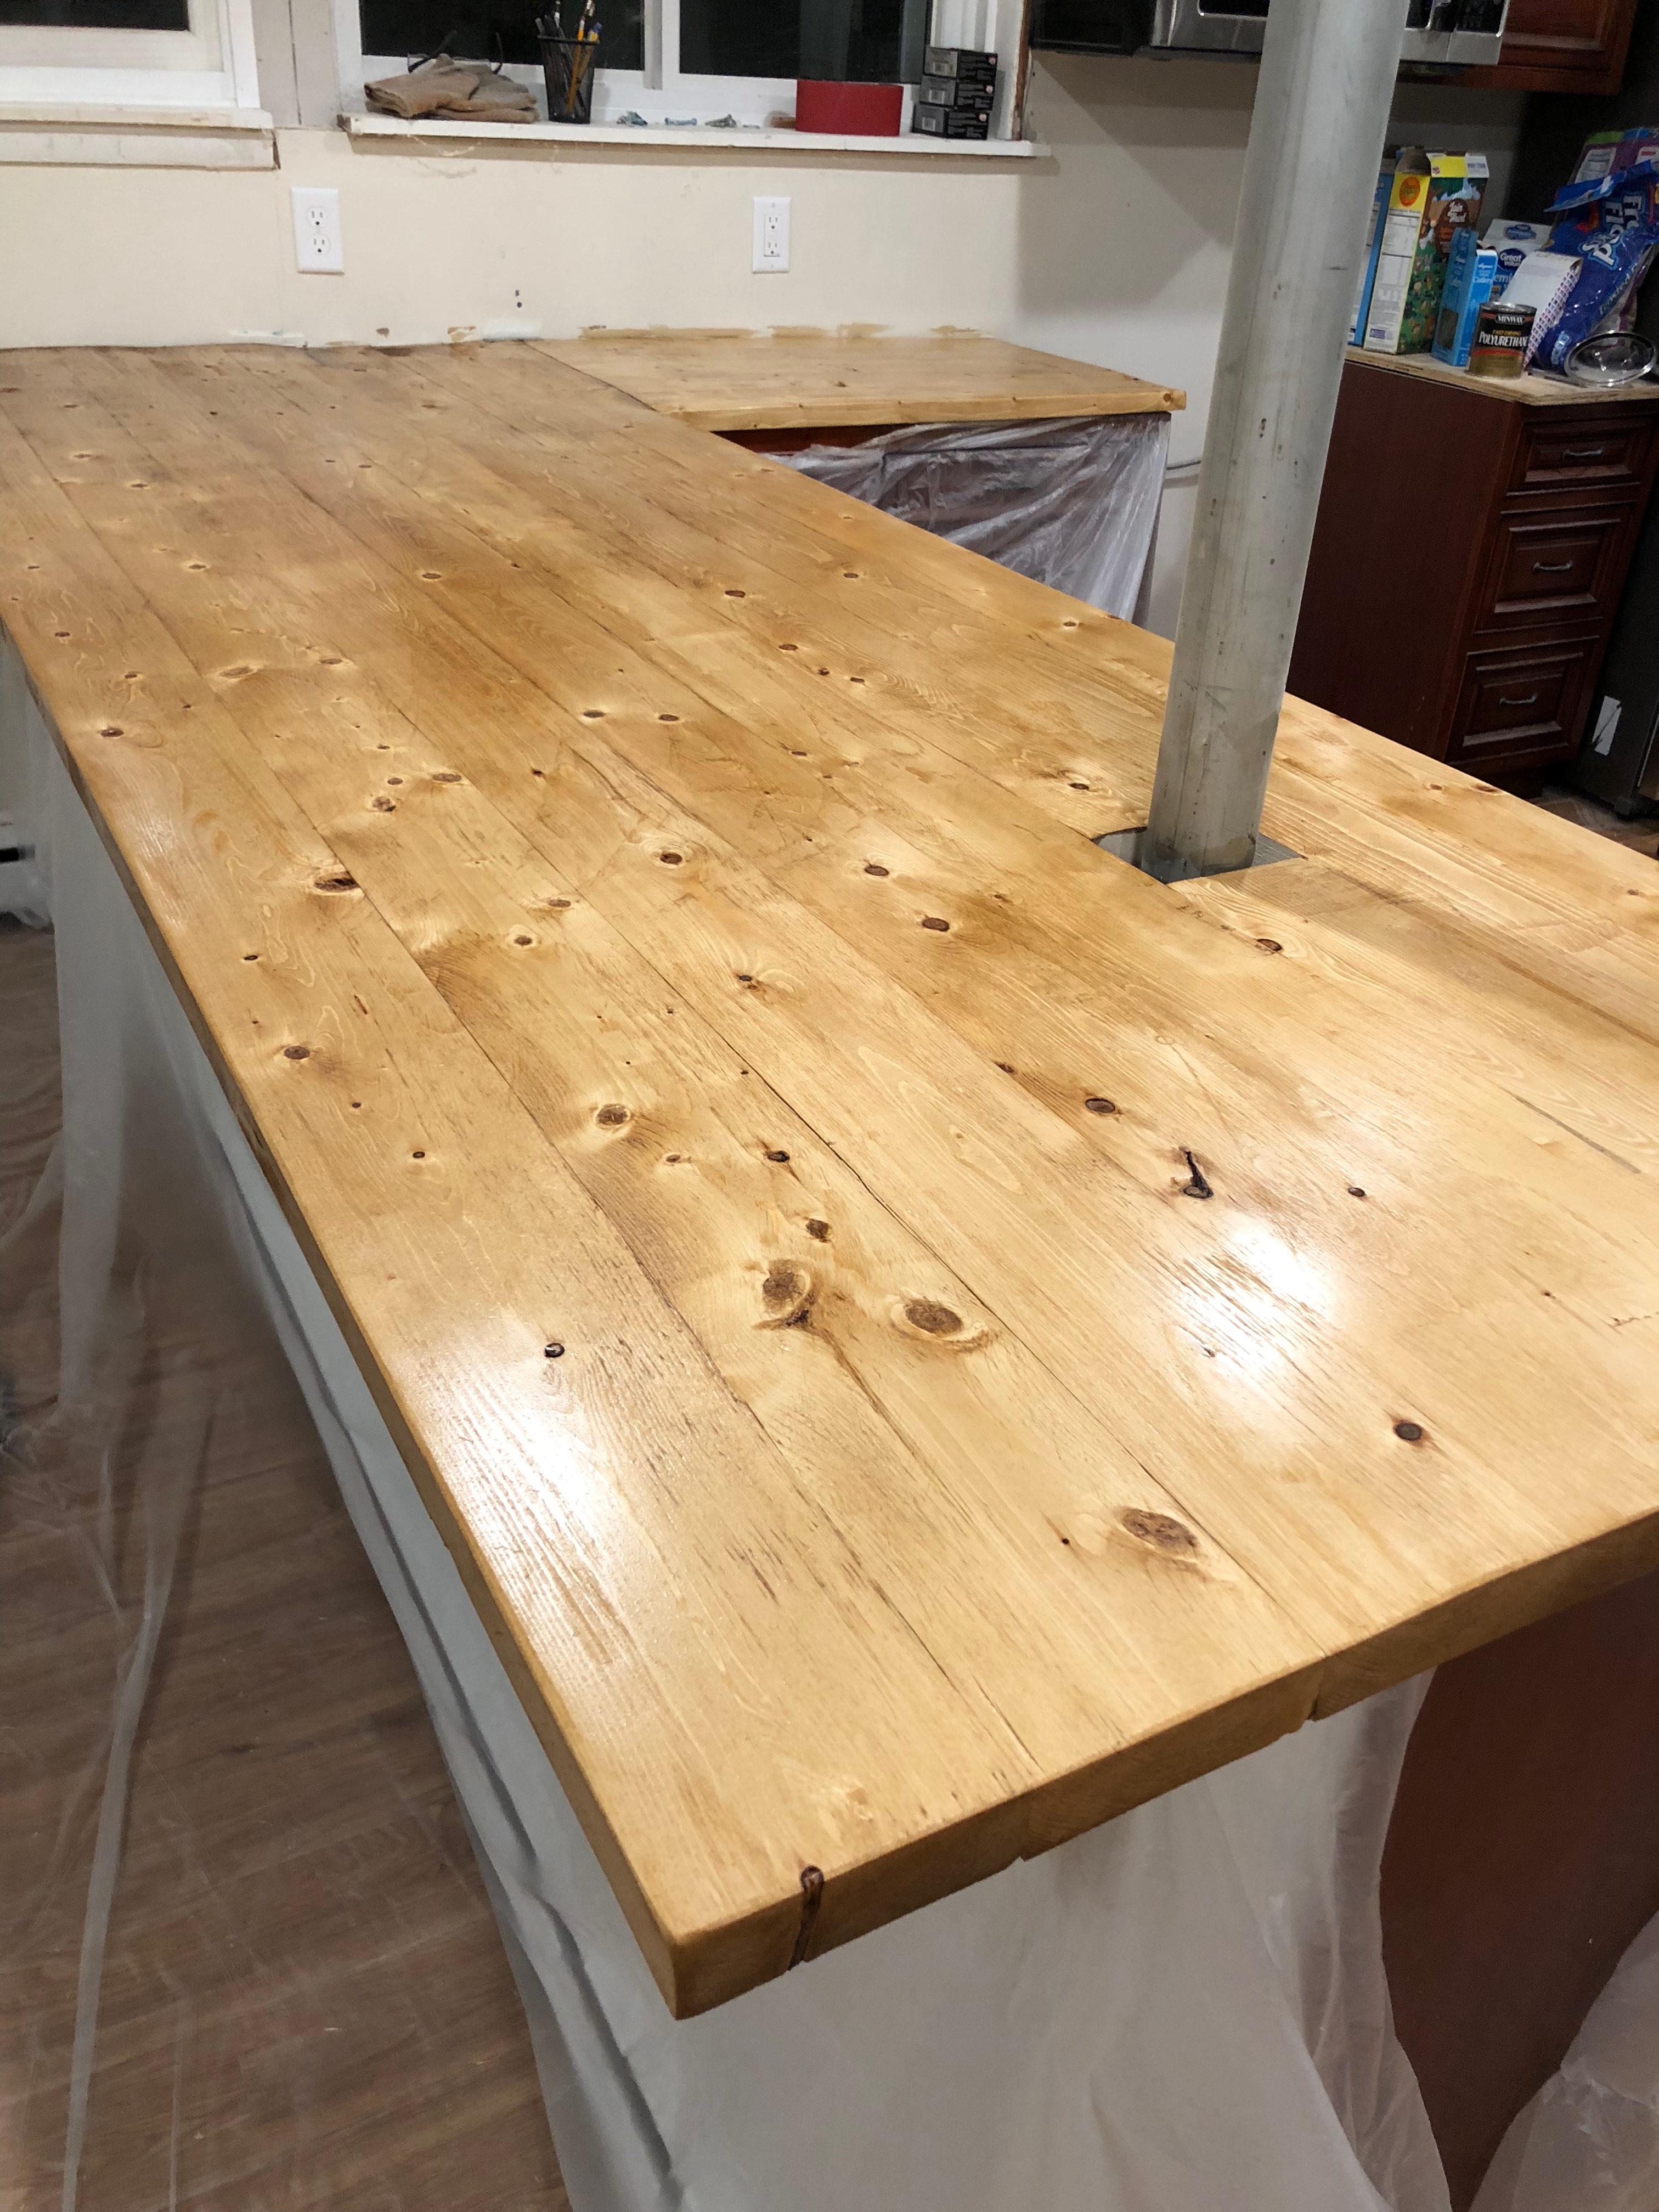
This was after the 2nd or 3rd coat of Clear Satin polyurethane I believe.
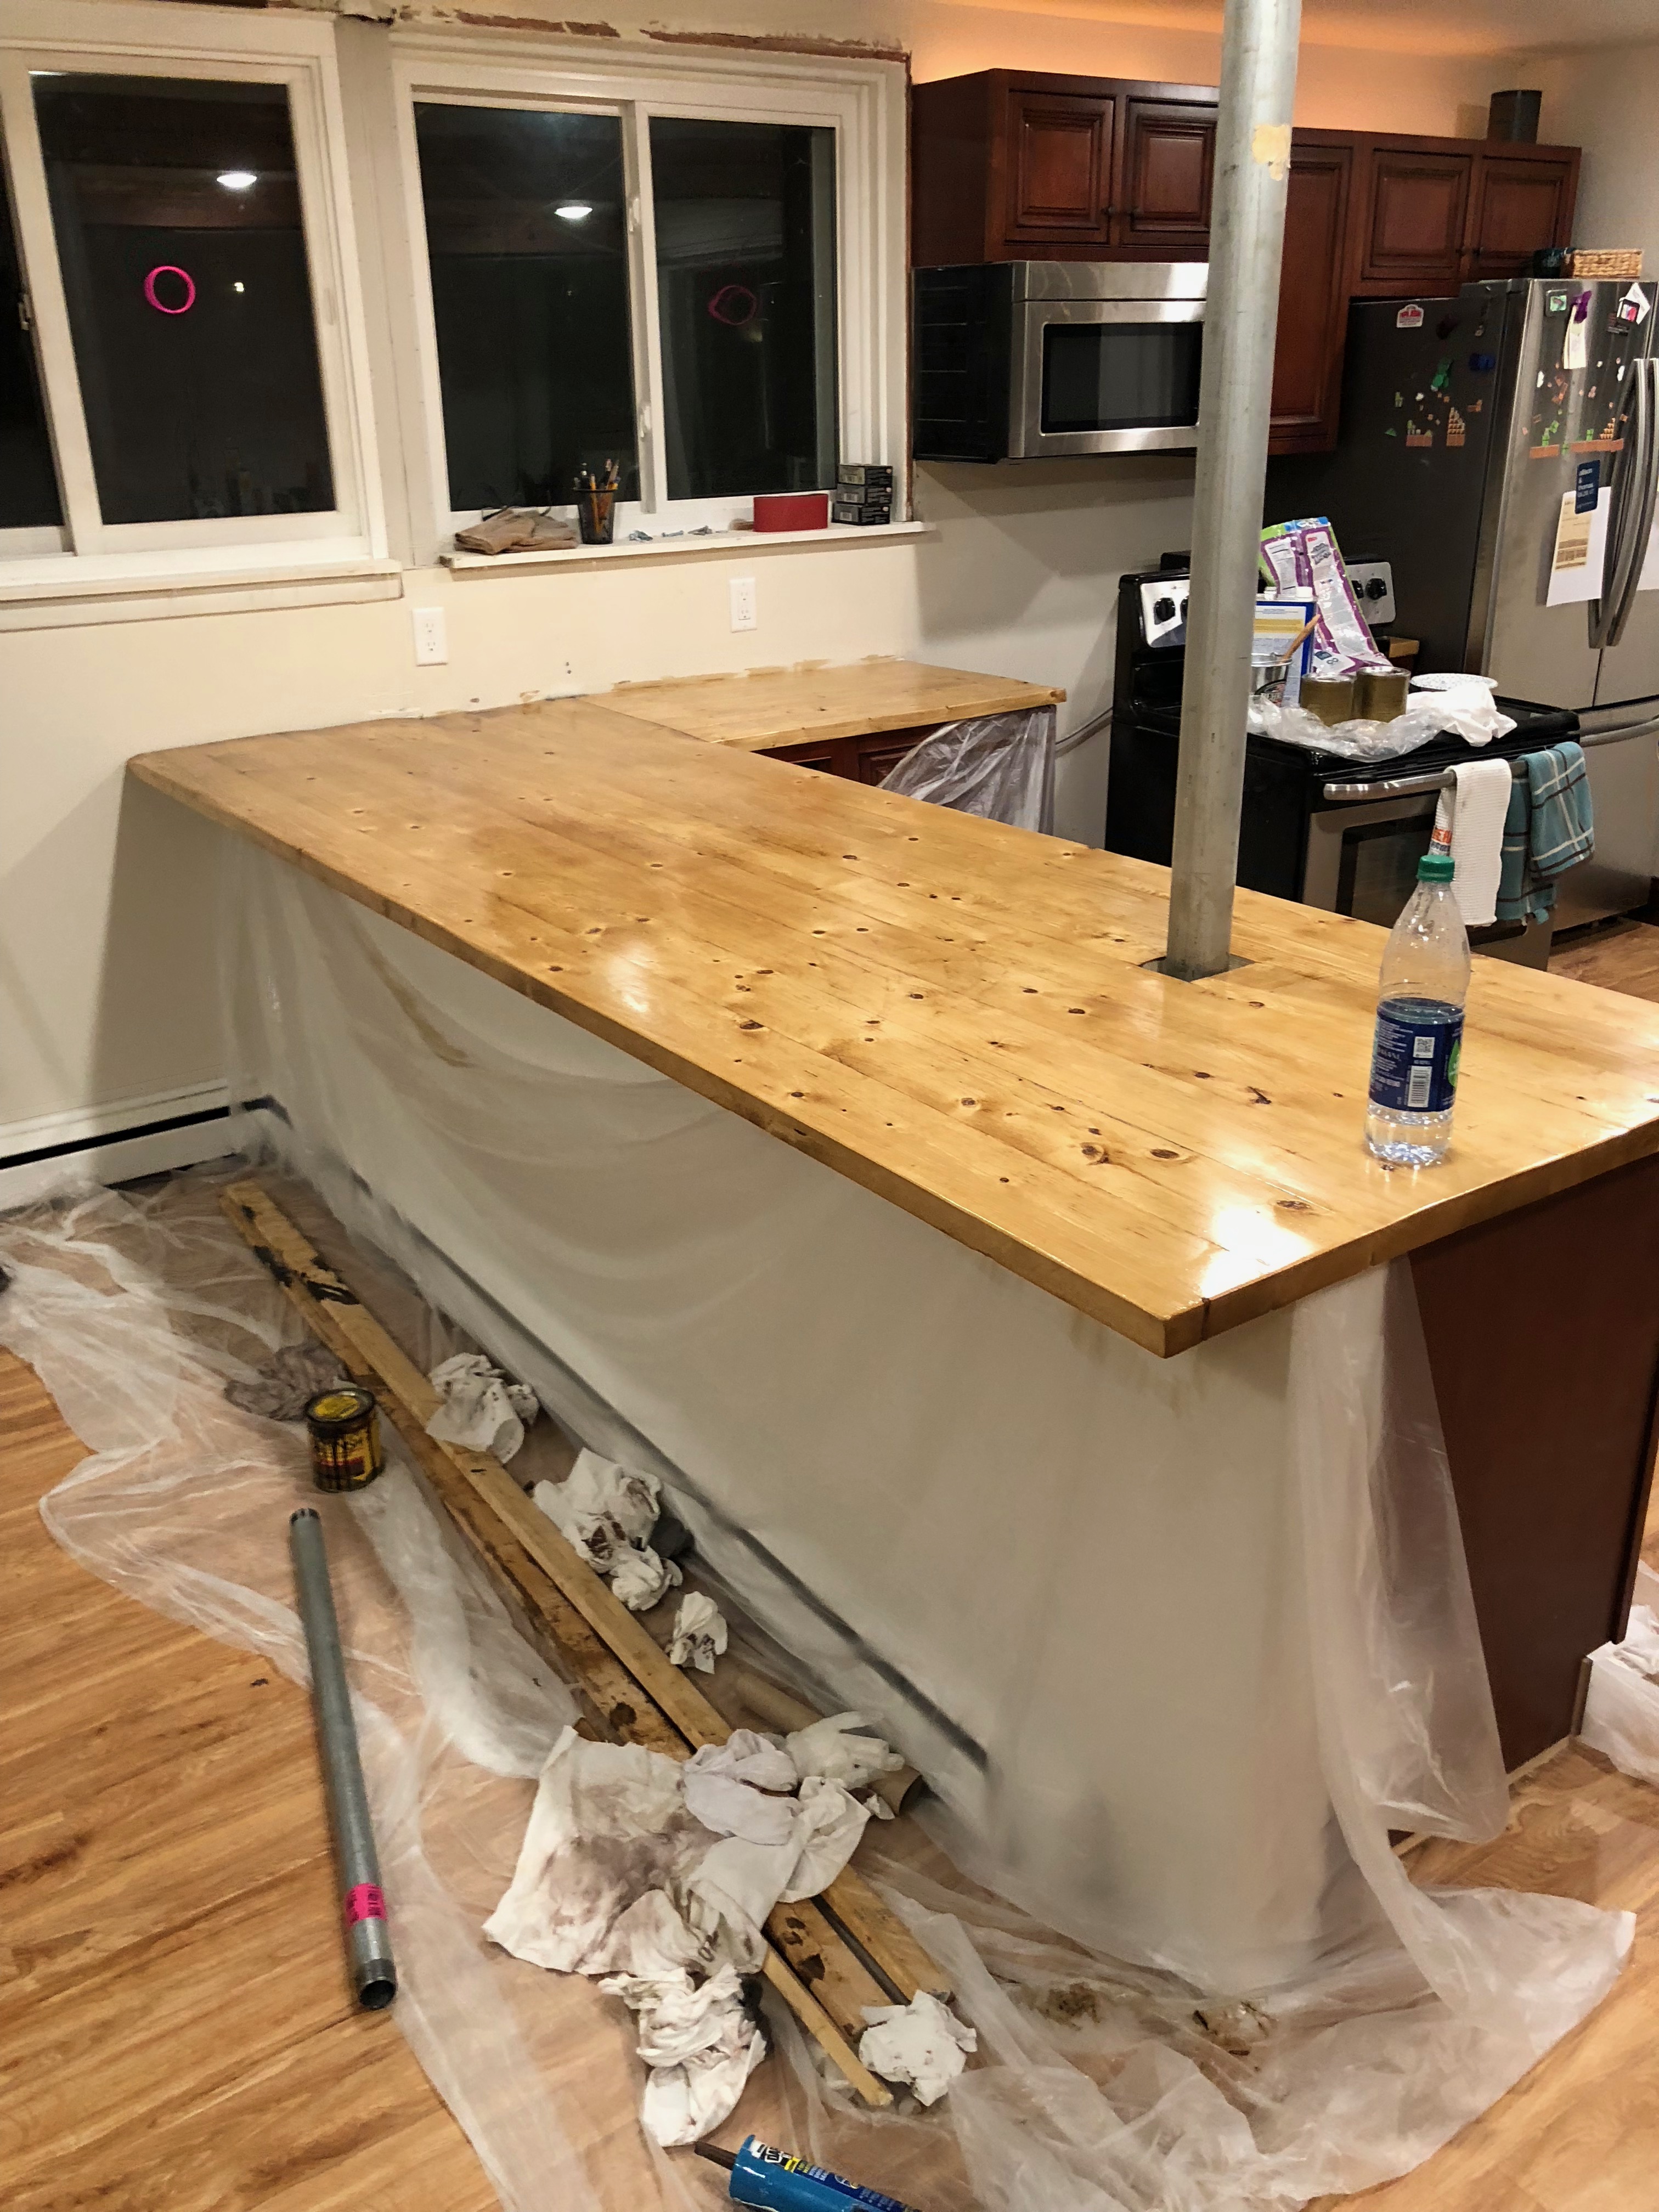
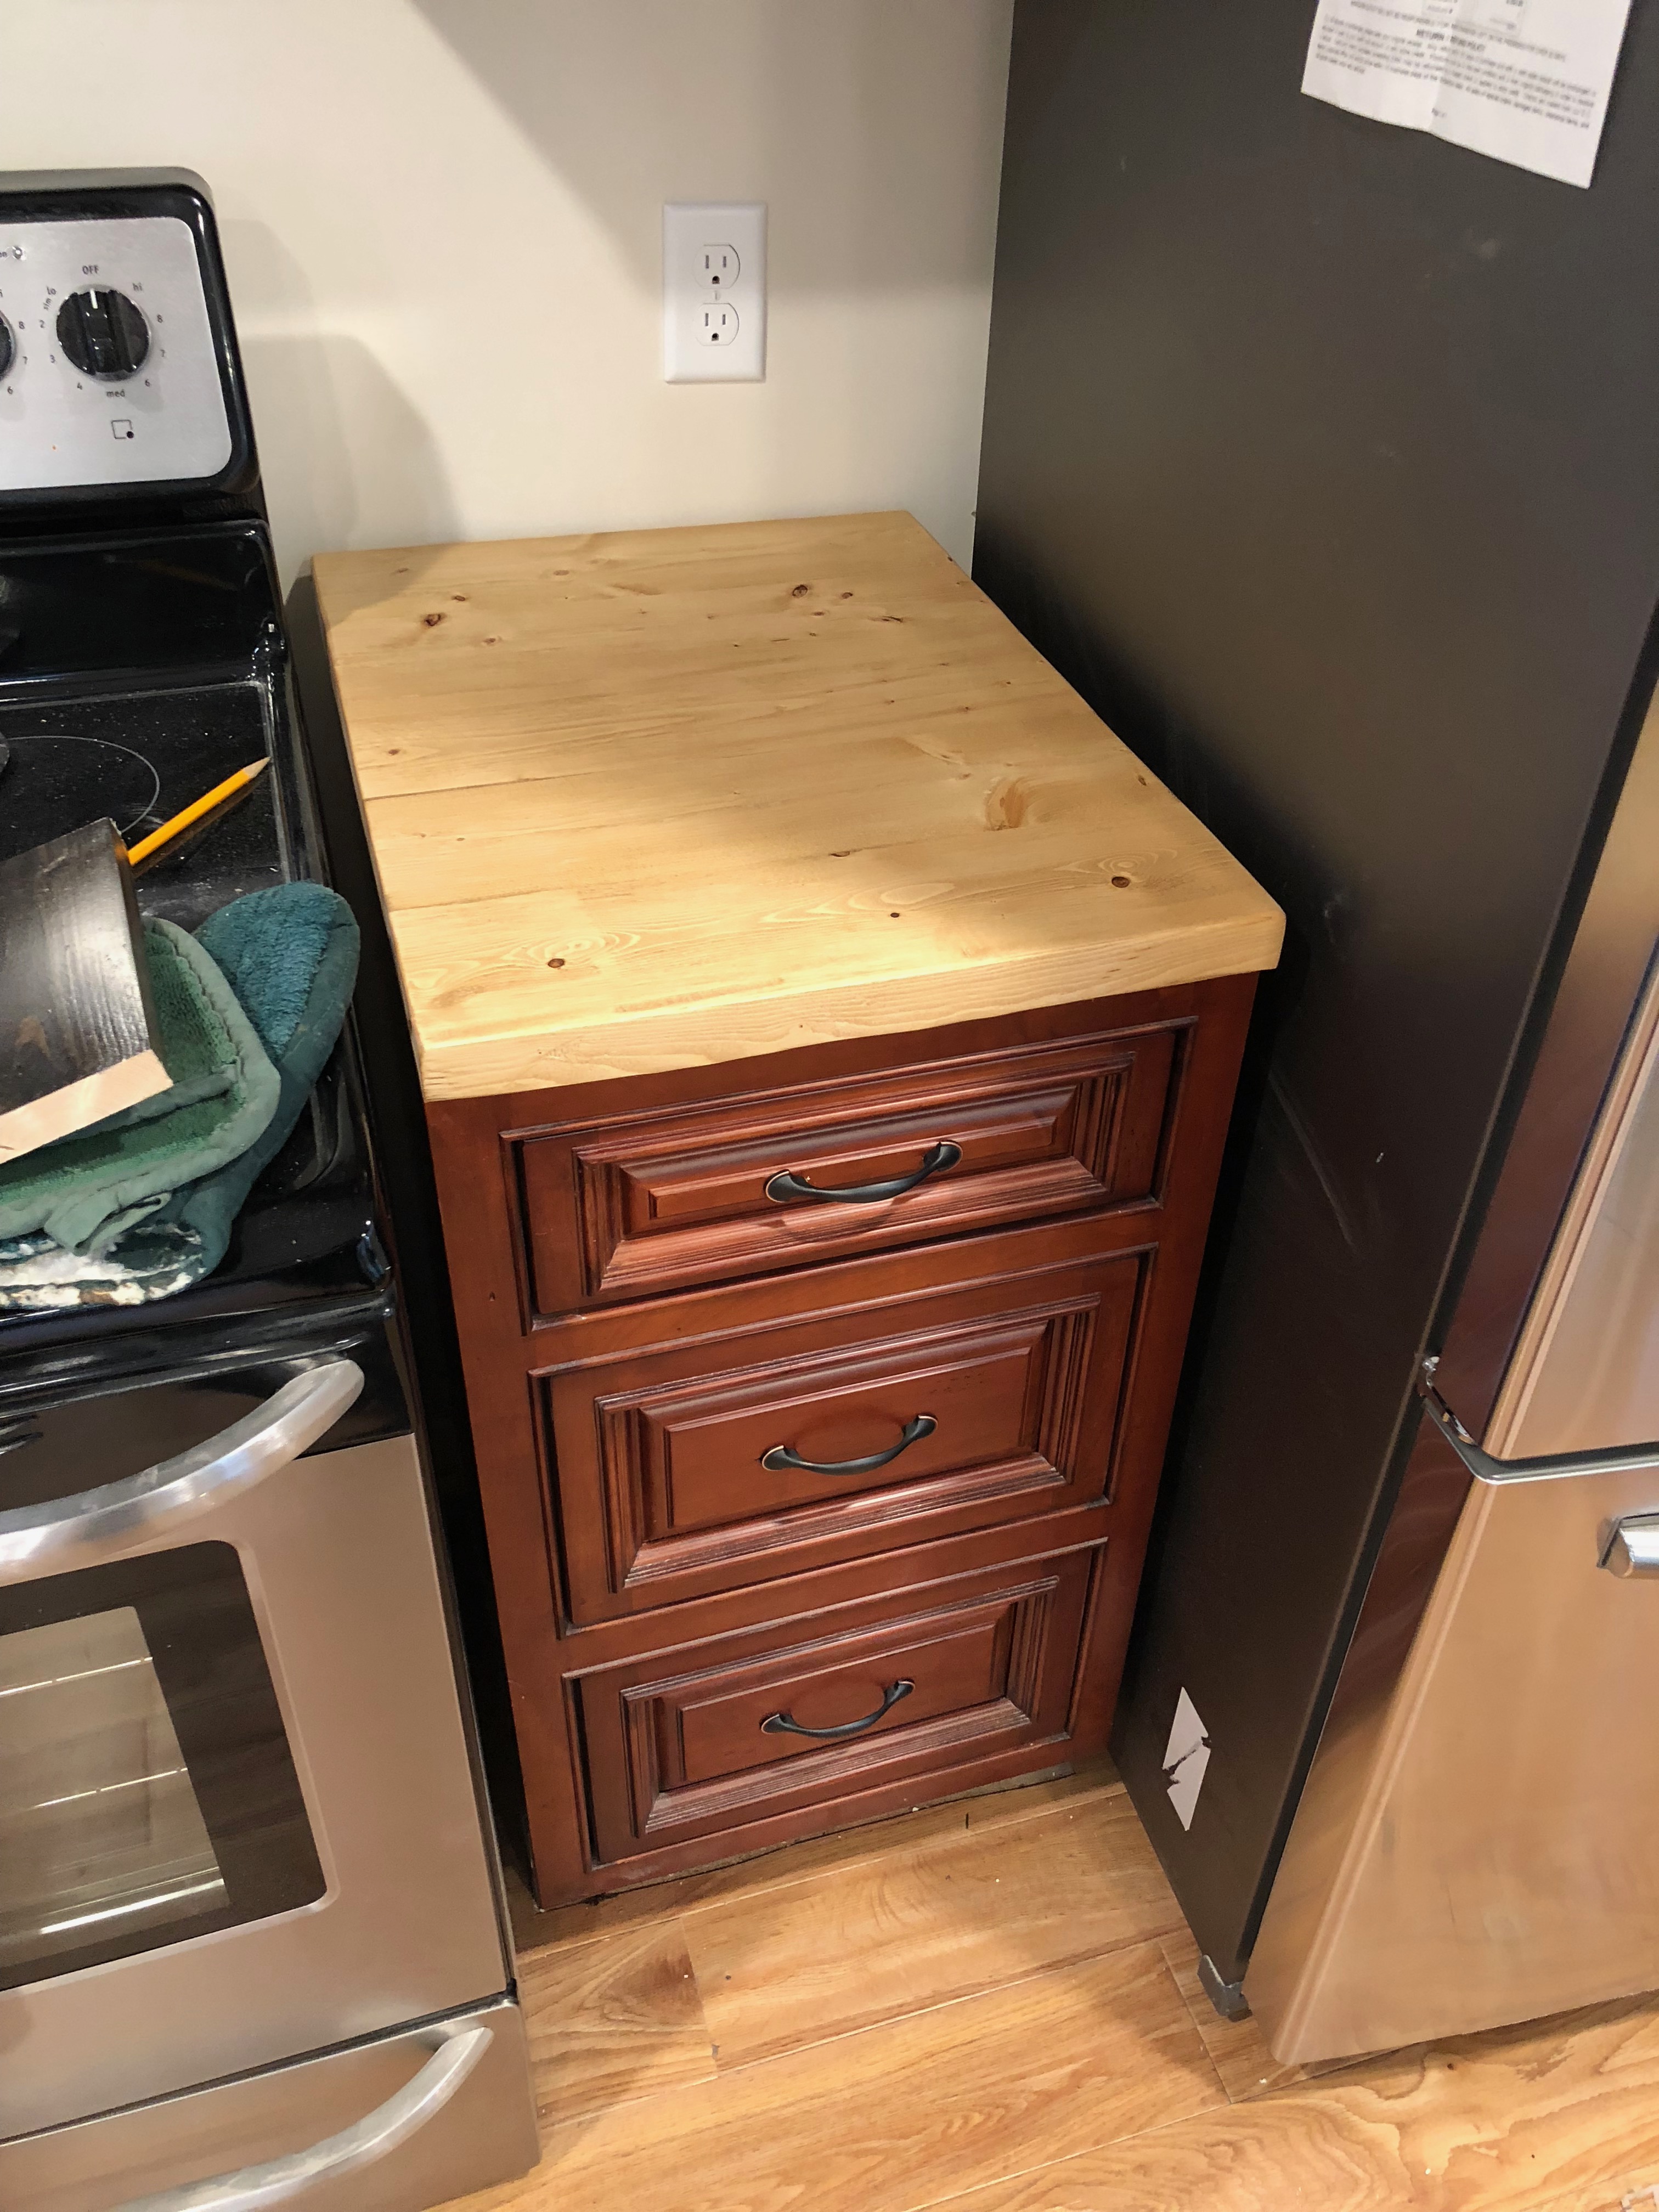
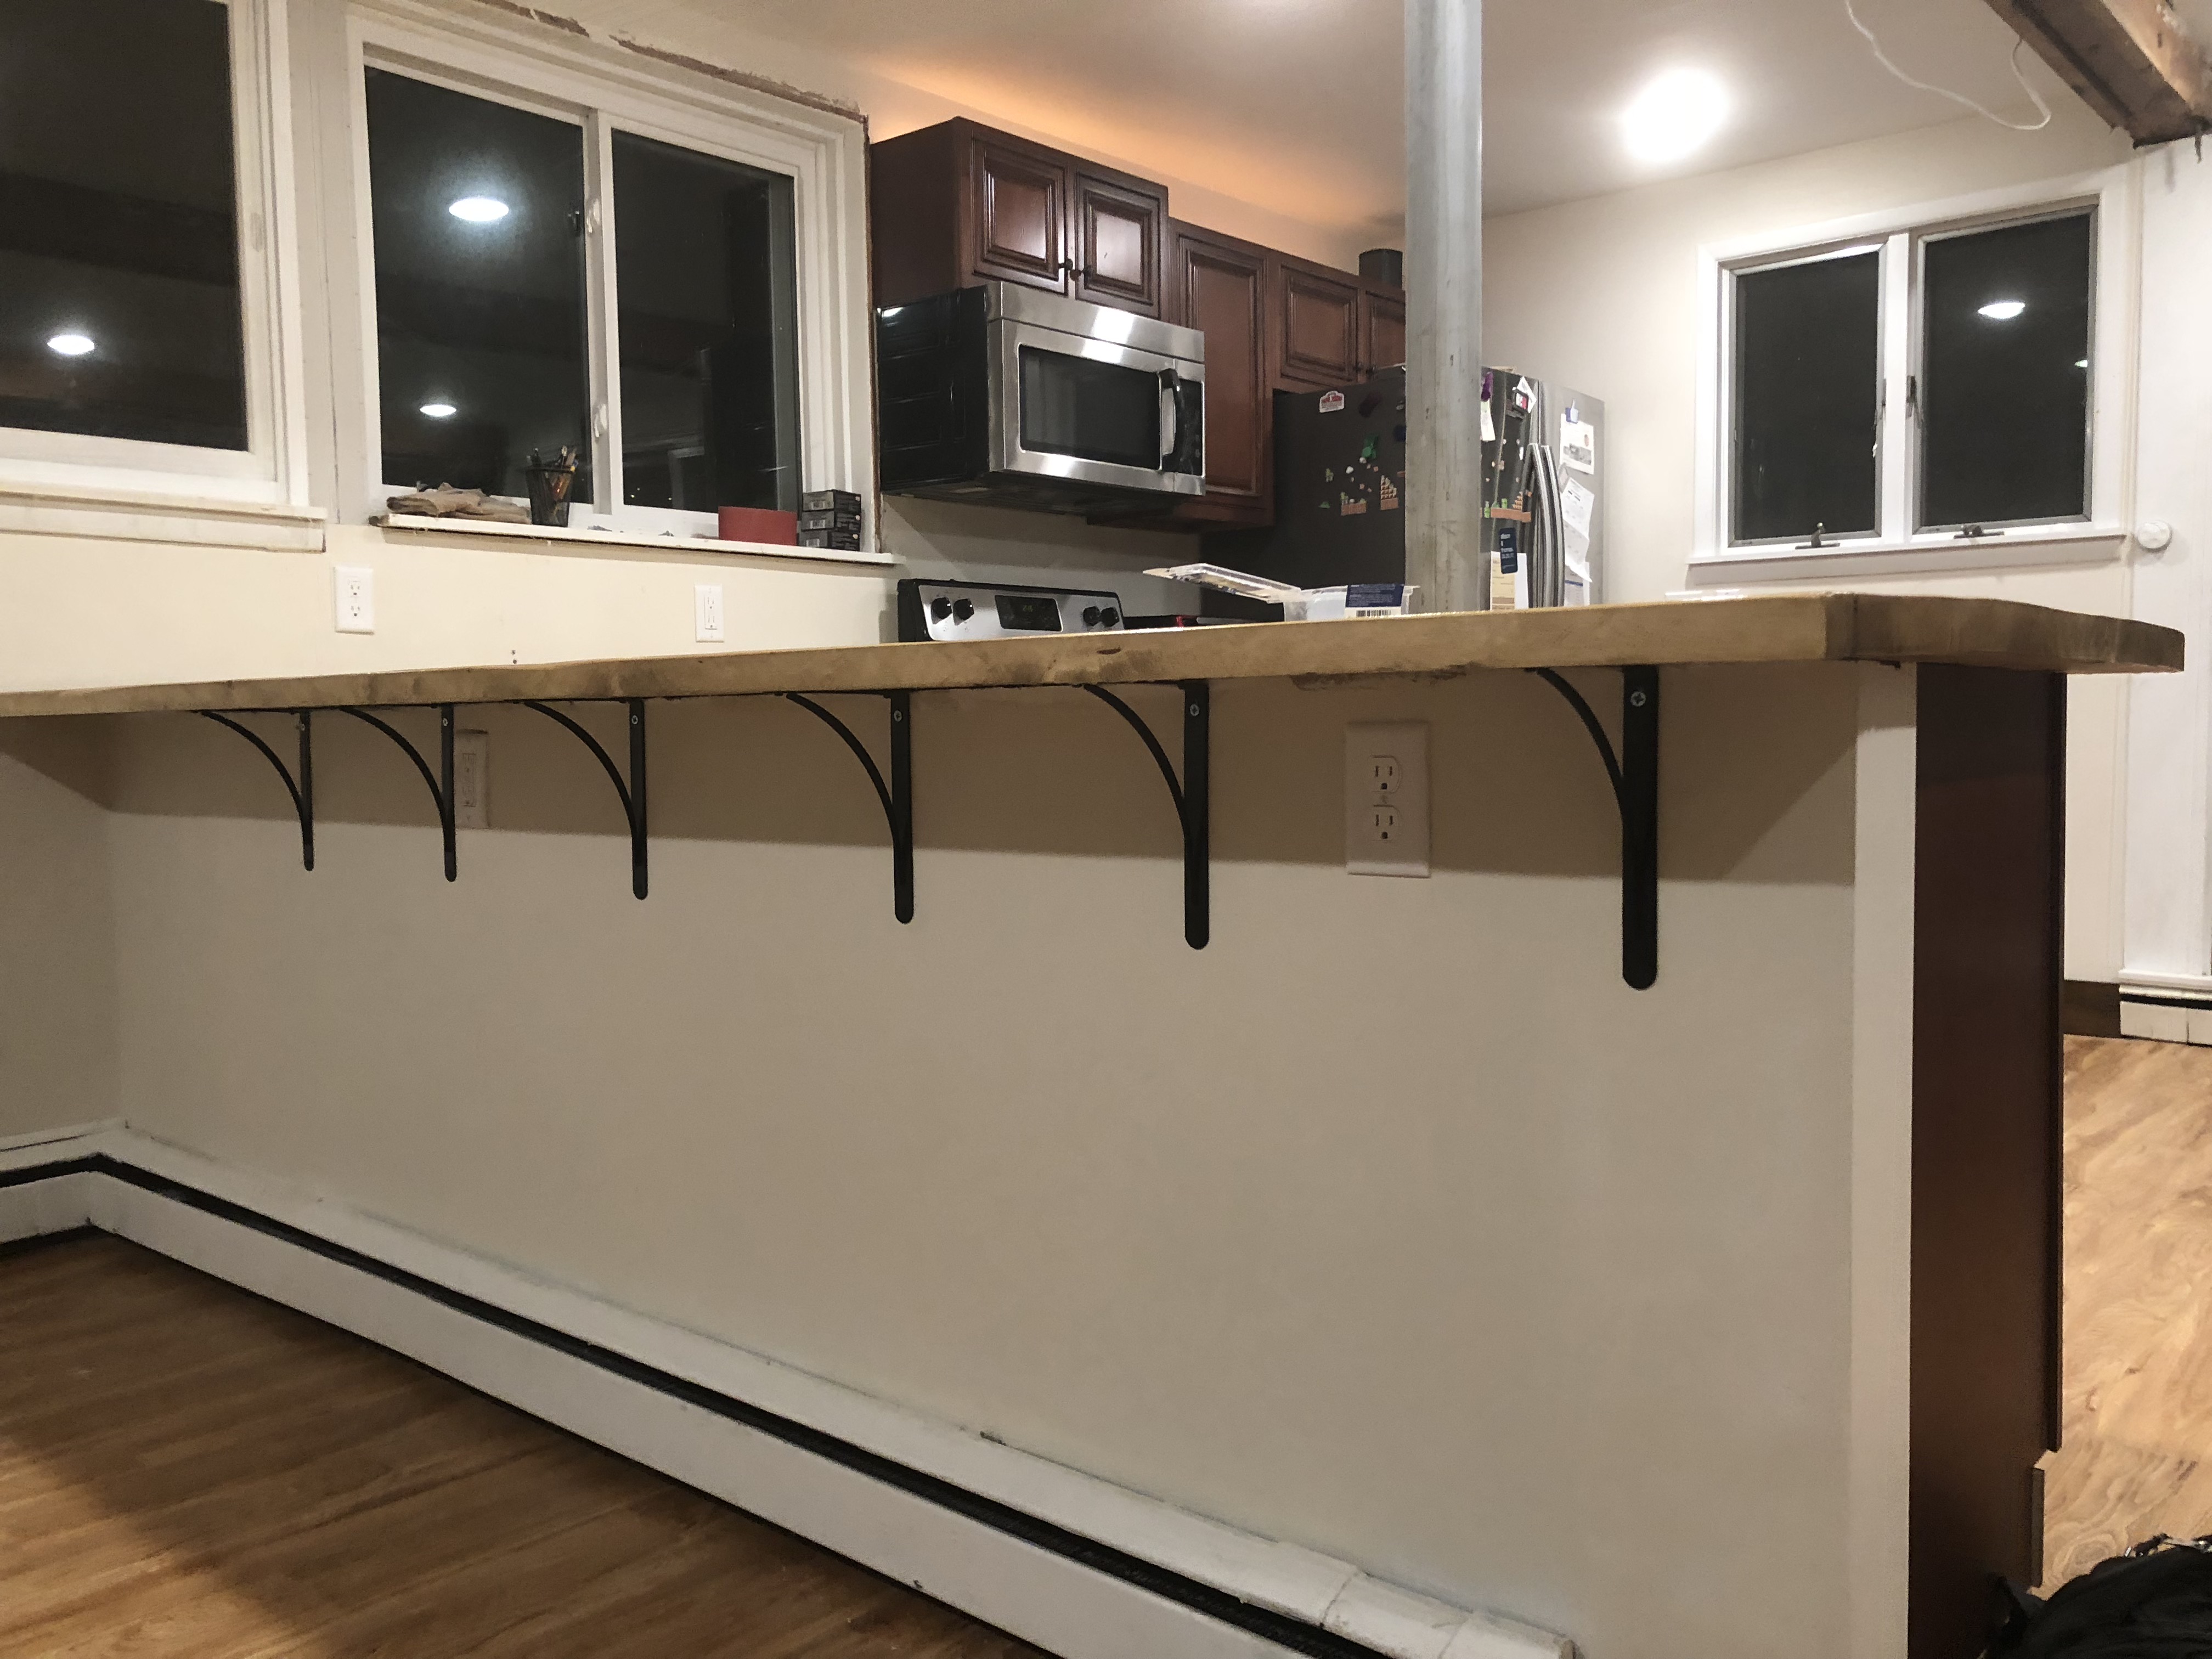
10 or 11 coats (I lost track) total of poly applied! I picked up 7 of those shelf bracket from Lowes for about $6 each. Because the countertop has about 8” of overhang from the wall, I used these brackets to ensure it would be supported and not snap or break.
All brackets are screwed into studs and into the countertop.
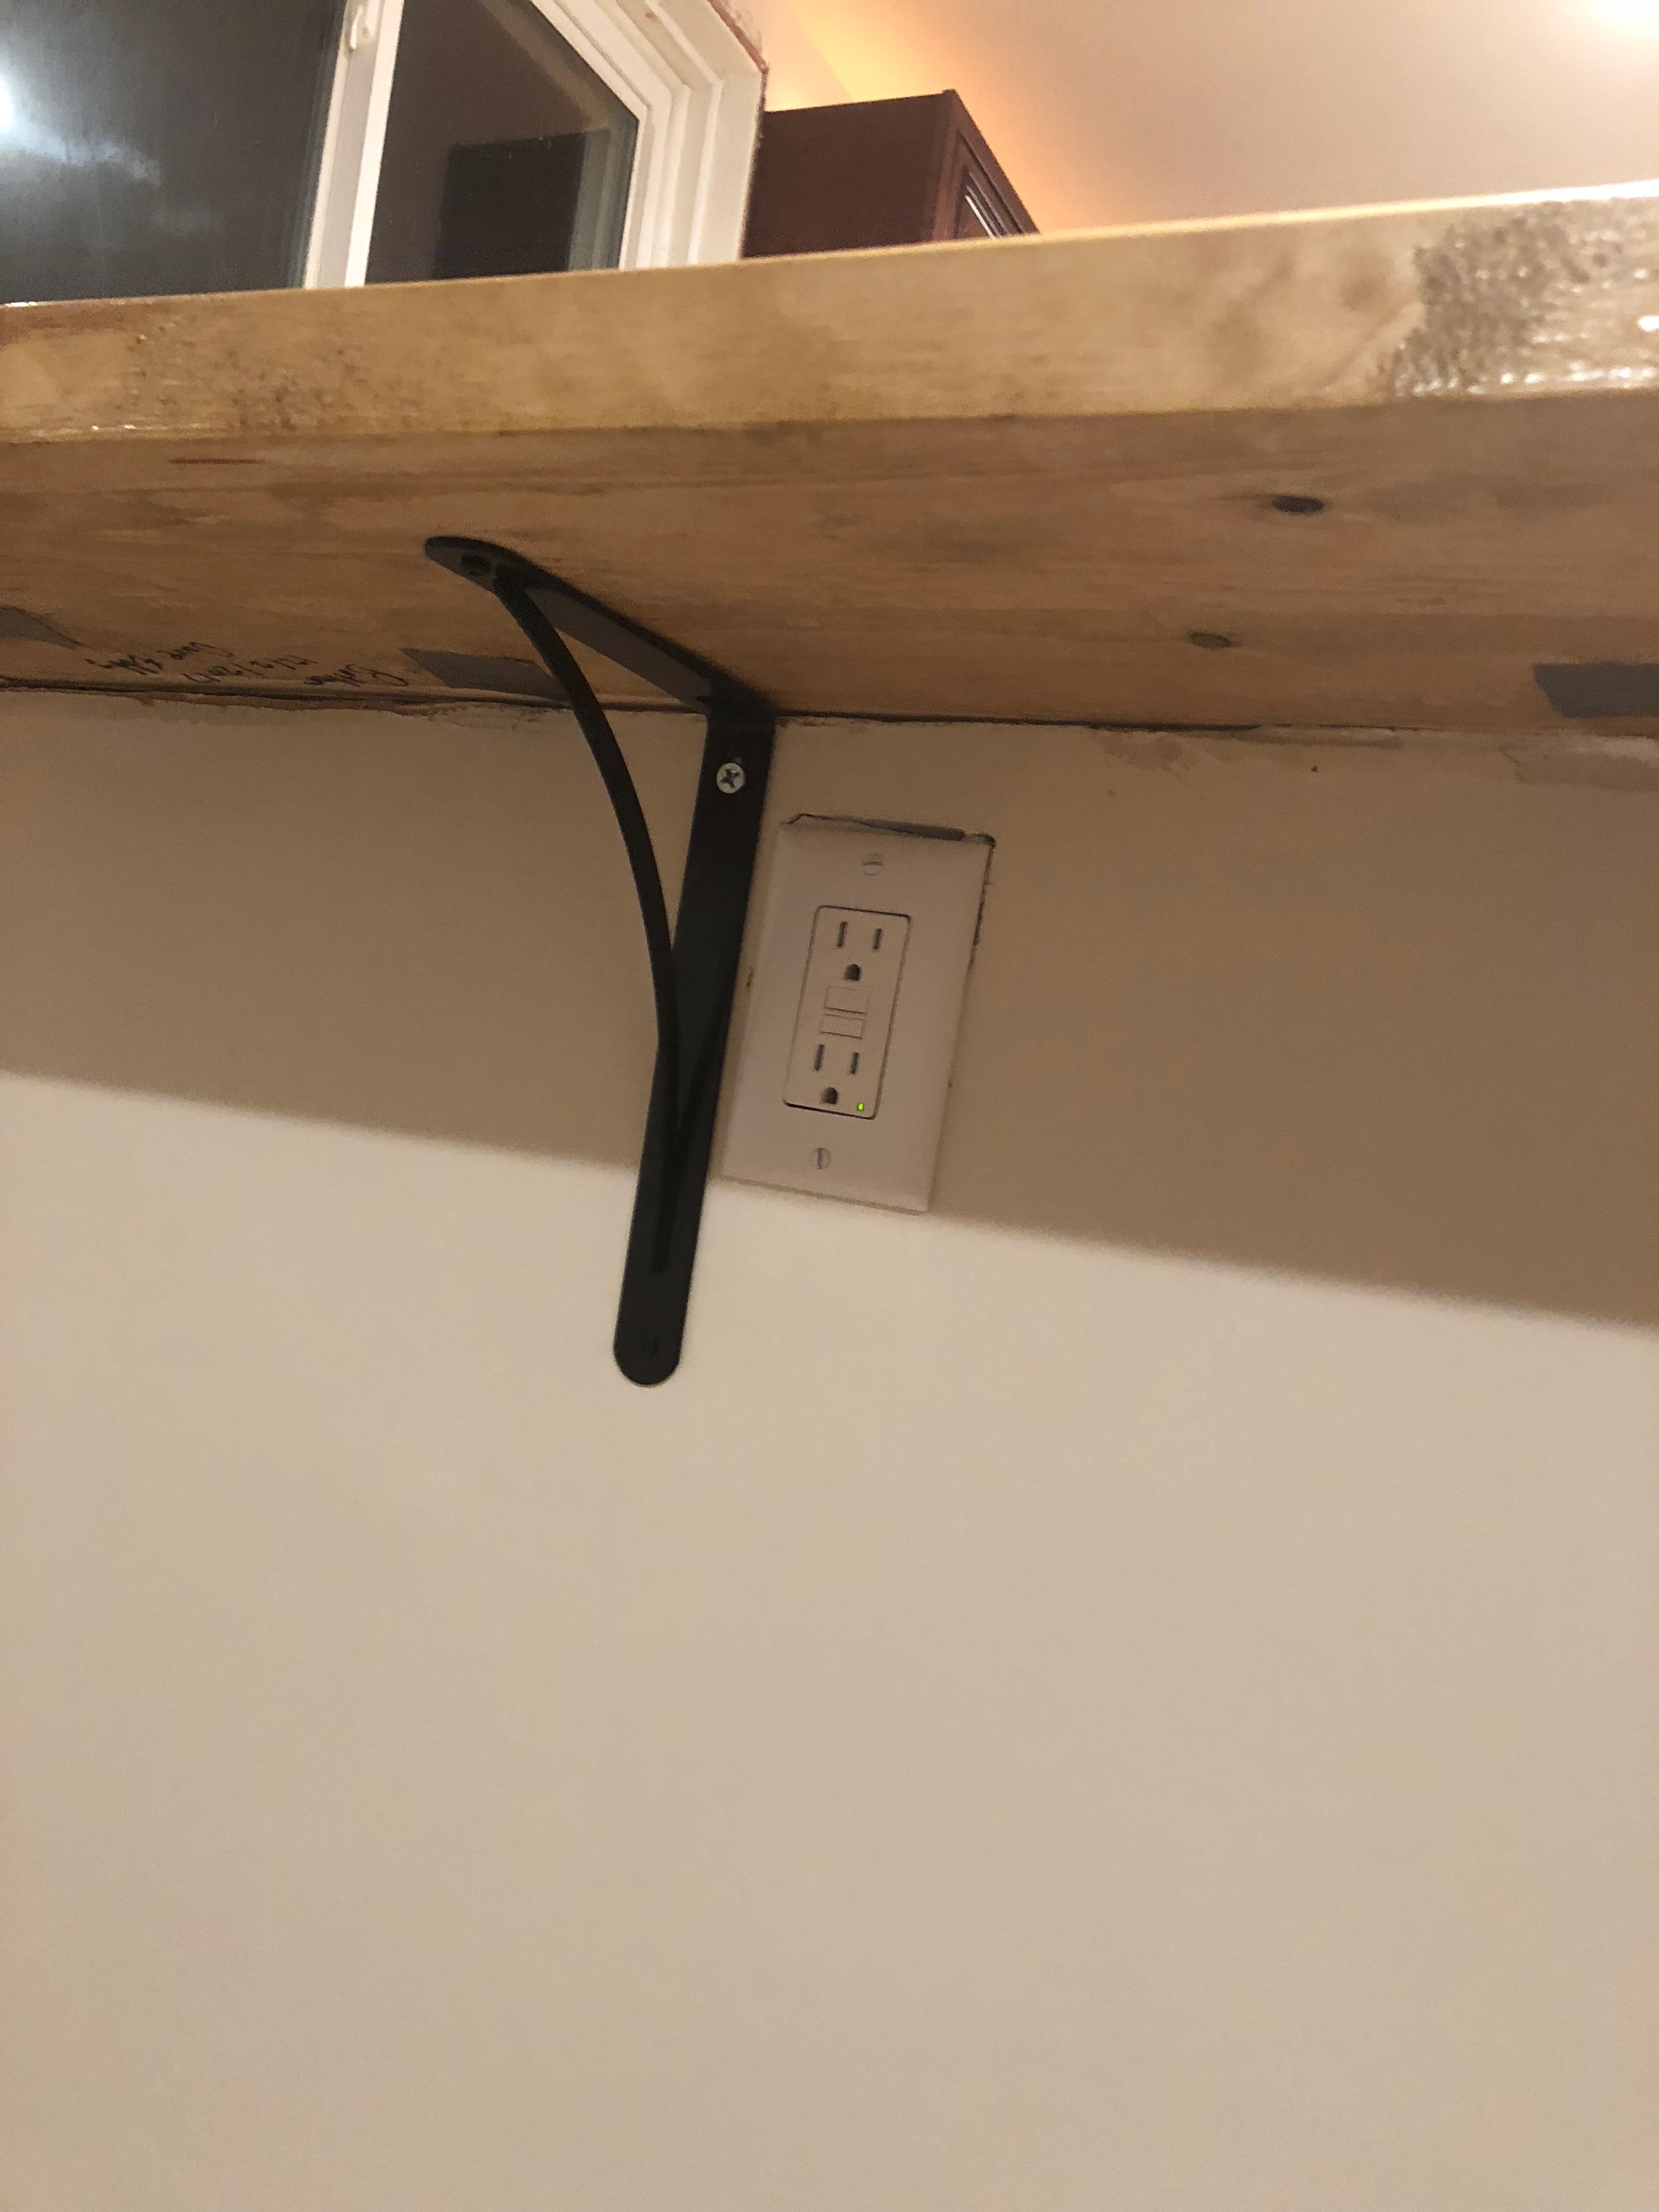
This picture is missing the 7th bracket that would eventually be installed close to the wall on the left.
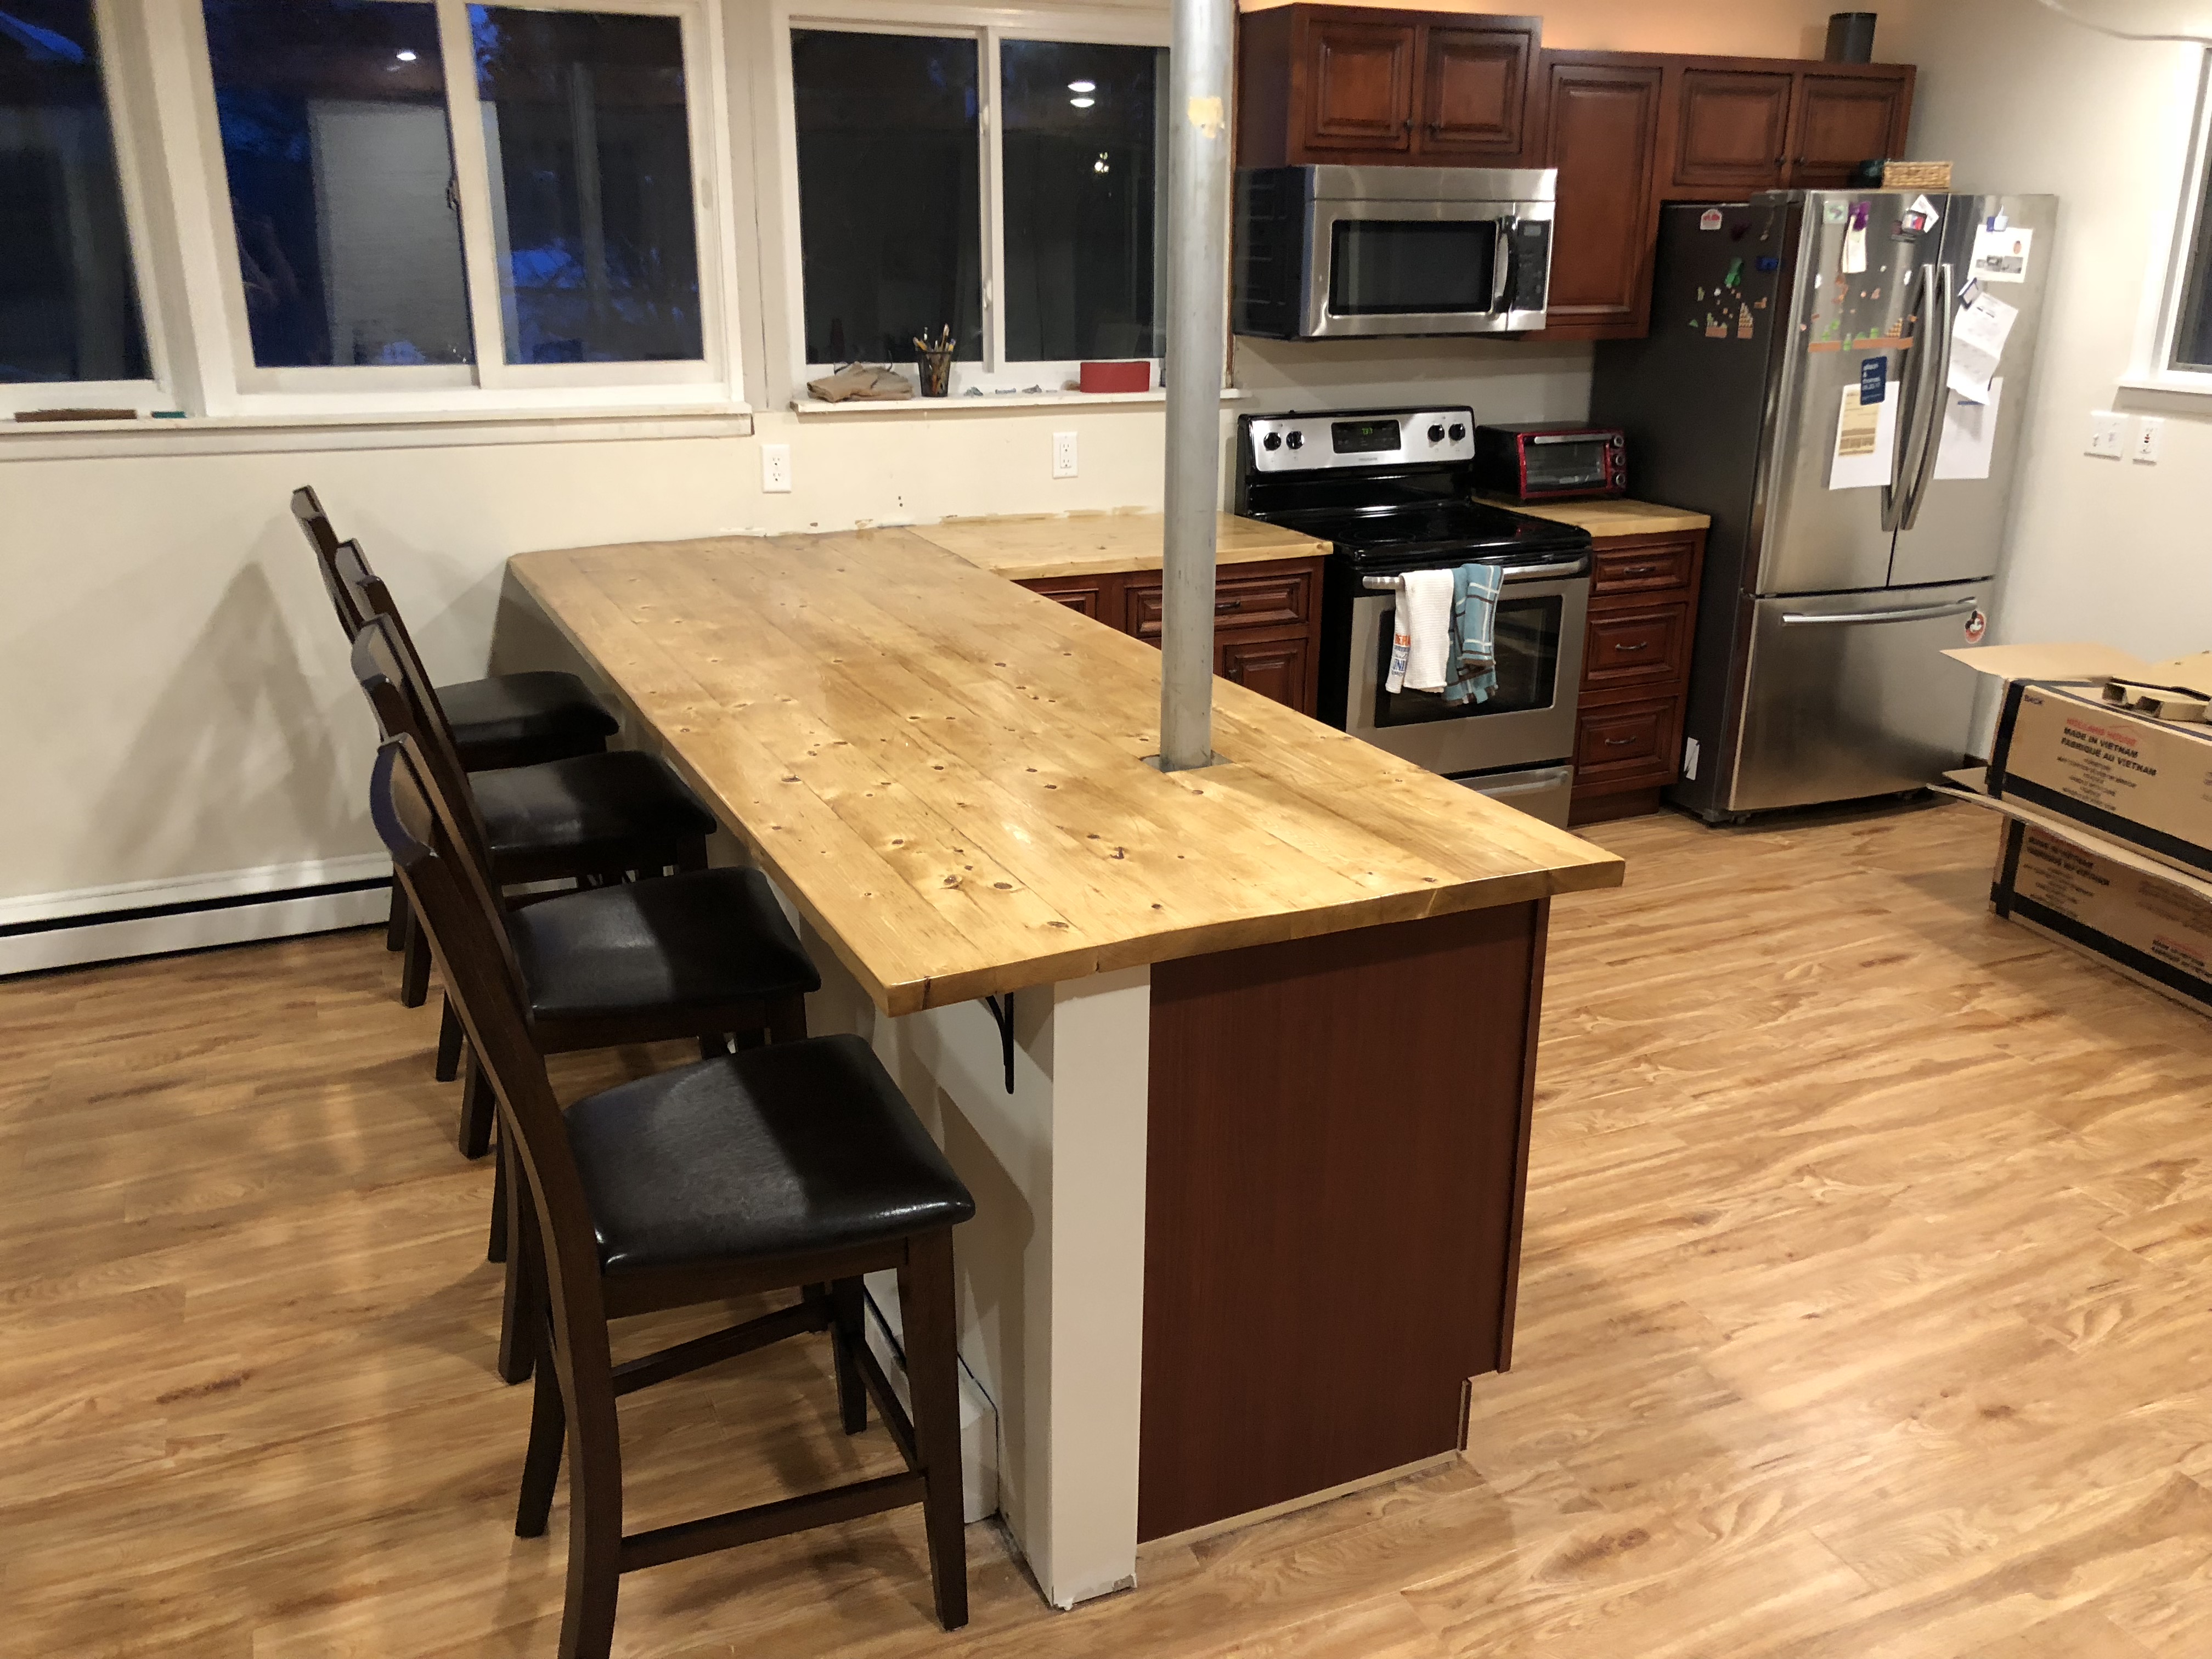
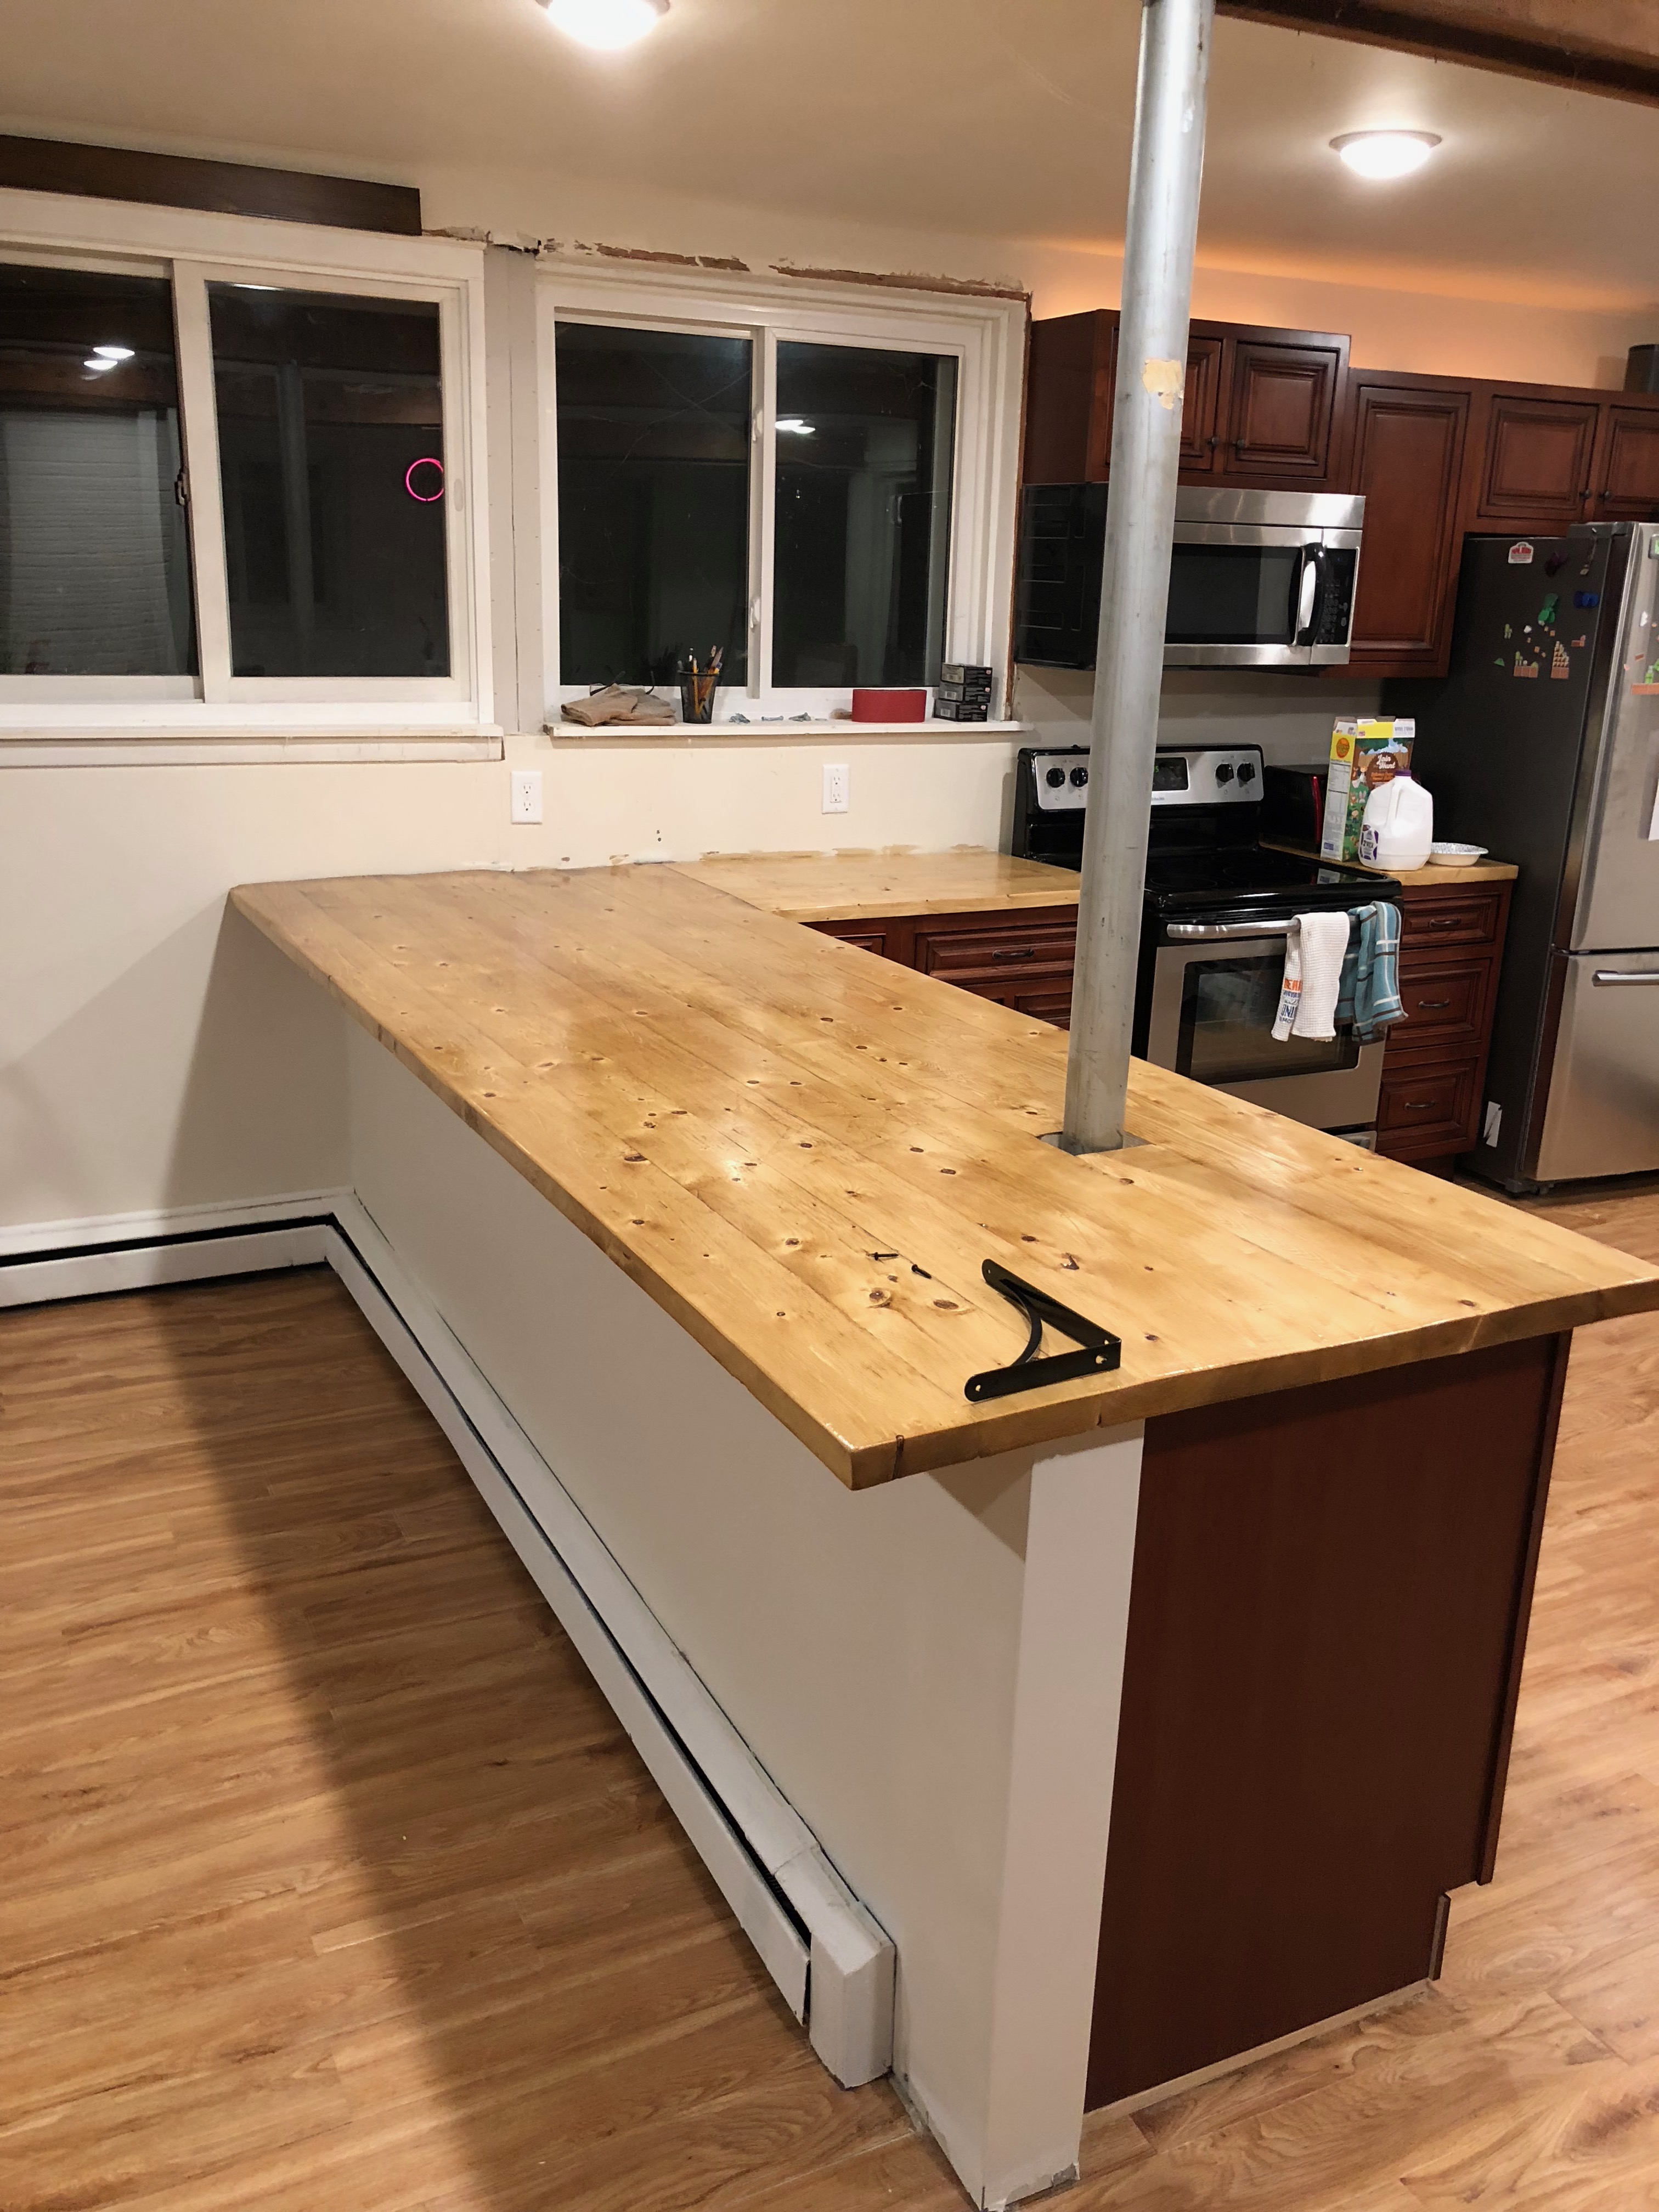
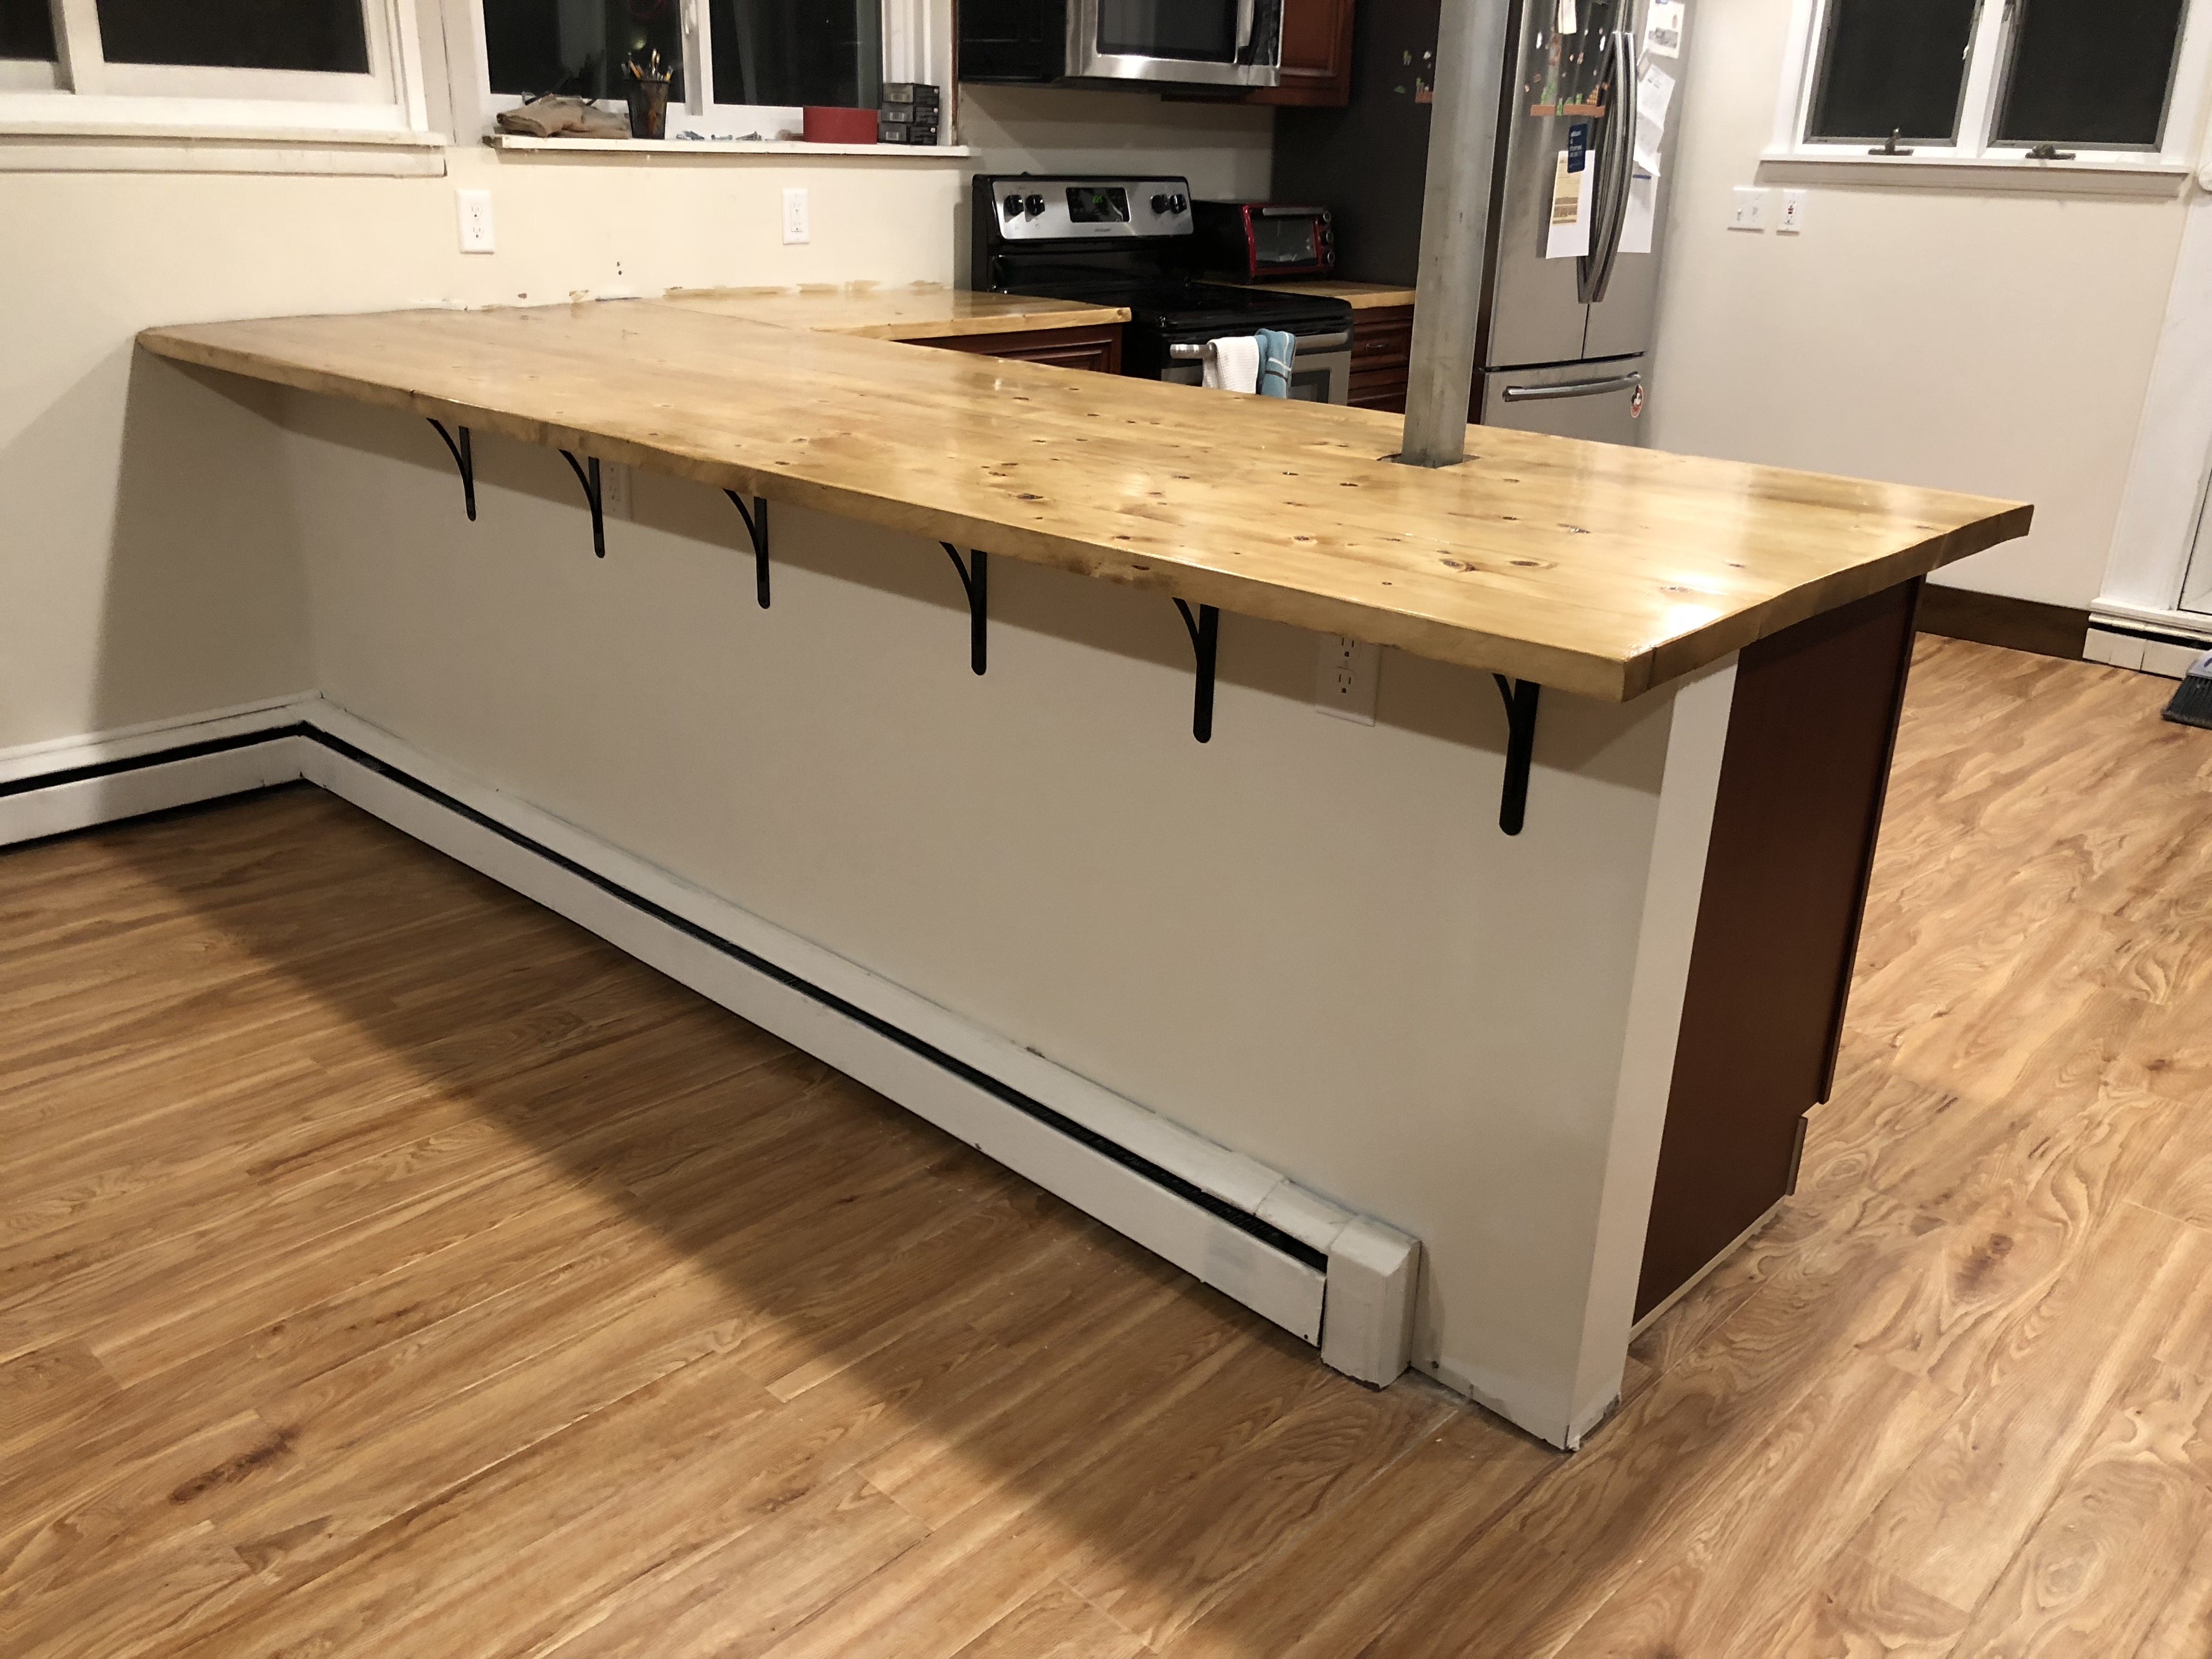
Top view of the finished countertop.

Another finished shot.
Bought 4 chairs from Raymour & Flannigan - the kitchen is coming together! Also, the Pump It Up Machine can be seen in the background.