DIY Pump It Up Pad Platform With Bars
Posted by Dave Eddy on Mar 27 2018 - tags: diyI first found Pump It Up in my freshmen year of high school - sometime between 2003 and 2004. I would go to Kahunaville at the Galleria Mall most weekends with my friend Ben, and then later with my other friend Jeremy to play as much as possible. It was a couple months later where I discovered DDR as well, and both of those dance games have just worked their way into the person I am today. That might be a little extreme, but even when I’d go a year or two without playing I’d always come back and play them even harder than I did before.
Around 2013 I discovered the Dave & Busters by my house had a Pump It Up machine and it had a lot of Kpop songs on it - that pulled me back in for a while. I’ve always thought it would be cool to own my own machine, but to find one used was proving to be very difficult, and buying new I was looking at upwards of $9,000… a lot more than I was looking to spend.
Towards the end of 2016 I pulled the trigger on some pads I had been eyeing up for a while - I bought 2x Precision Omega 5x Pads. I had setup a computer with a hacked up version of StepMania on it (skinned like PIU Prime) and it all worked. It wasn’t the best setup - I was lacking a bar for support, and the software would sometimes crash or the songs were horribly out of sync with each other.
I got back into the game heavily a couple months ago in January thanks to the wonderful PIU Upstate Squad :D. After pushing myself hard on the machine and really increasing my skills, I decided it was time to create the machine properly. This meant getting the software working 100% (spoiler: I’m using StepF2 - It works great!) as well as an actual platform for the pads with real metal support bars to use.
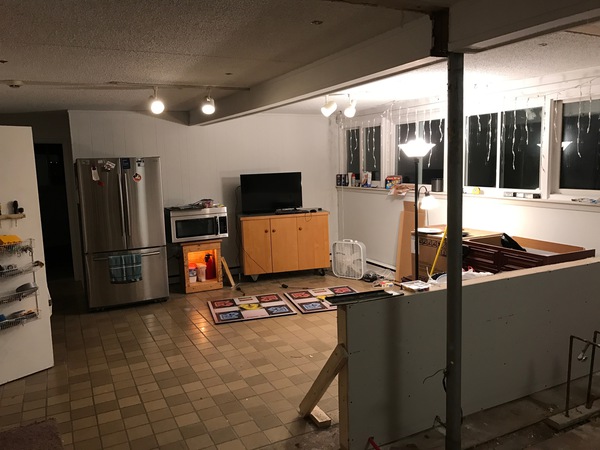
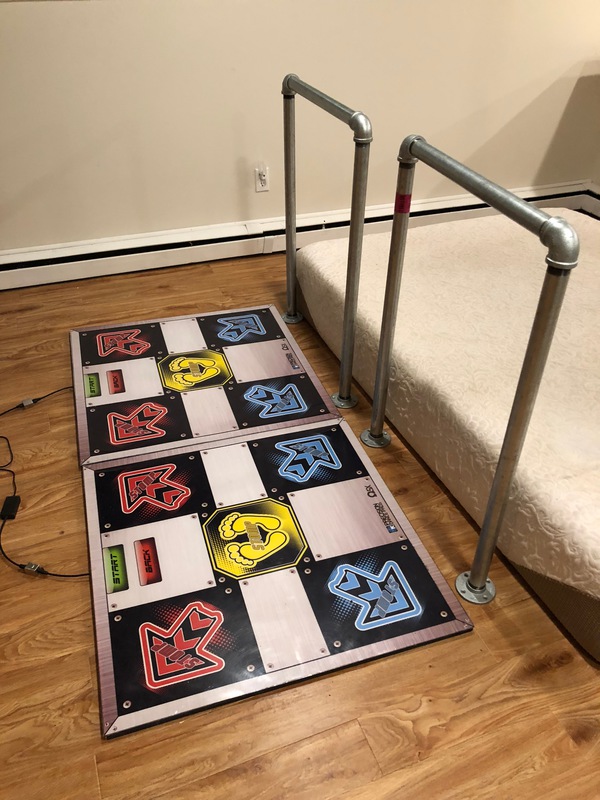
This picture is perfect in my opinion. It shows my downstairs/kitchen being renovated around the end of 2016/beginning of 2017. The pads were just kinda thrown down and used, but they didn’t really have a proper place (though to be fair, nothing did in that kitchen because it had all been torn down :p). Look at the horrible tiled floor and popcorn ceiling - I’m so glad those are both gone.
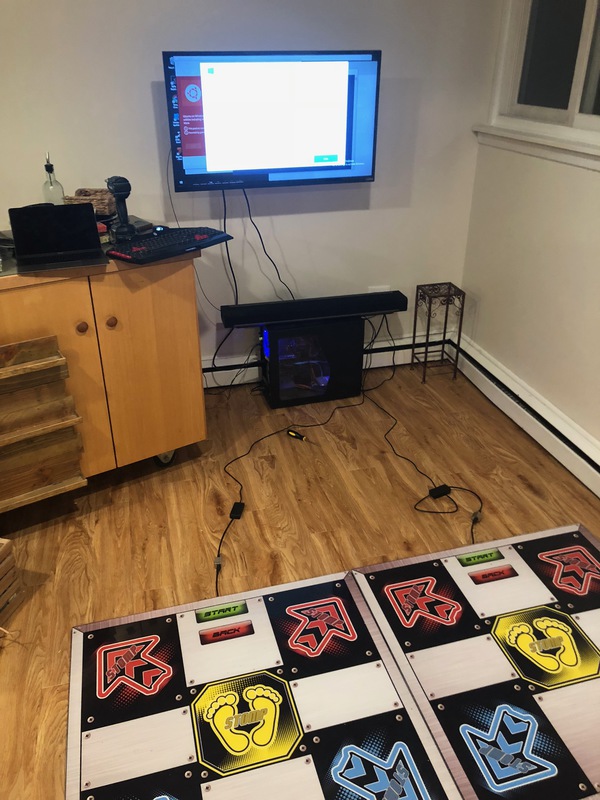
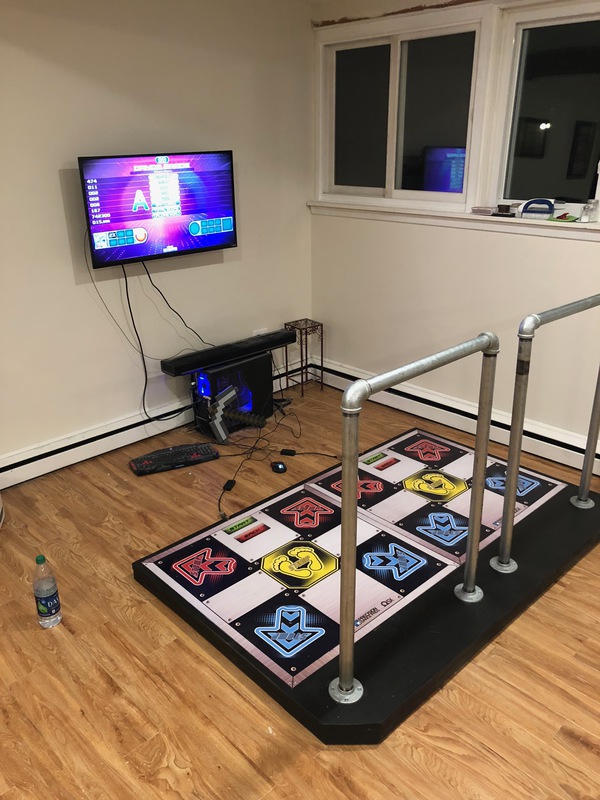
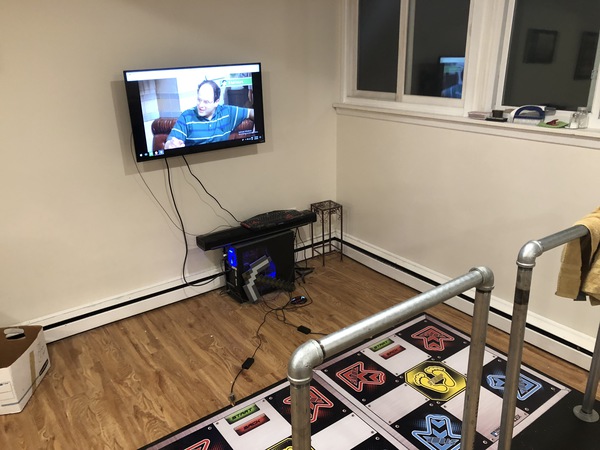
This is a way more recent picture taken about a month before this post. It had been a while since I turned on the machine so I had a lot of software updates to burn through. As you can see in the picture, the TV has been mounted to the wall, giving the setup a more permanent location.
Construction
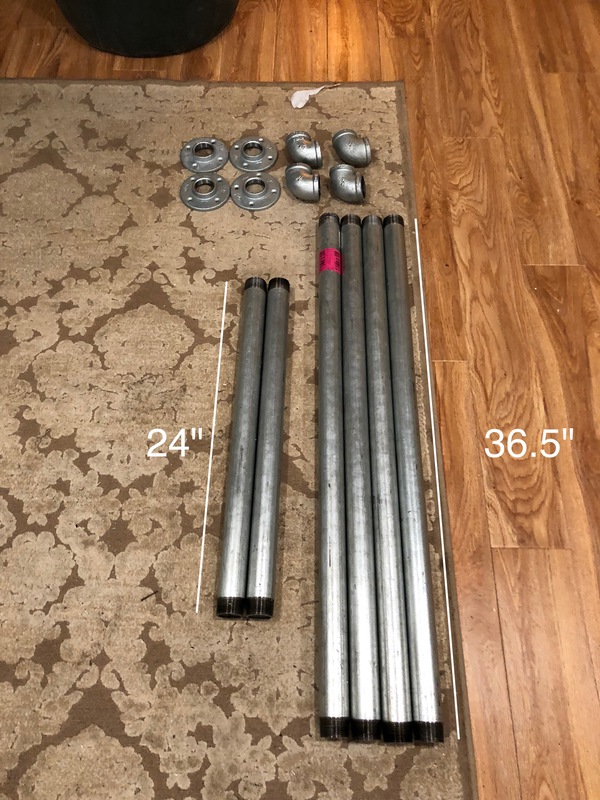
To get started, I picked up some 1-1/4” Galvanized pipe from Lowes - It took 2x 10’ poles to construct both support bars and they were cut and threaded by Lowes for free. I also bought 4 floor flanges (to secure the bars to the platform) and 4 elbows to create the U shape.
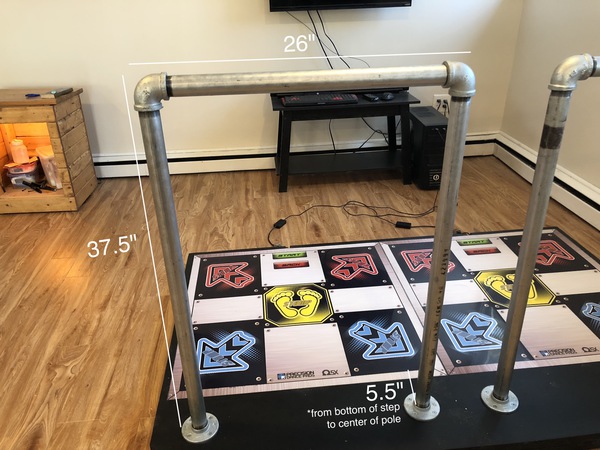
The poles on the Pump It Up Prime 2 machine I measured are 37” high and 22” wide. The lowest Lowes could cut was 2’ (24”) so I was stuck with that for the width, but for the height I had them cut the poles to 36.5”. The half inch would be accounted for by the floor flange and elbows used. In fact, I think they may now be too tall and may need to be cut down even more.
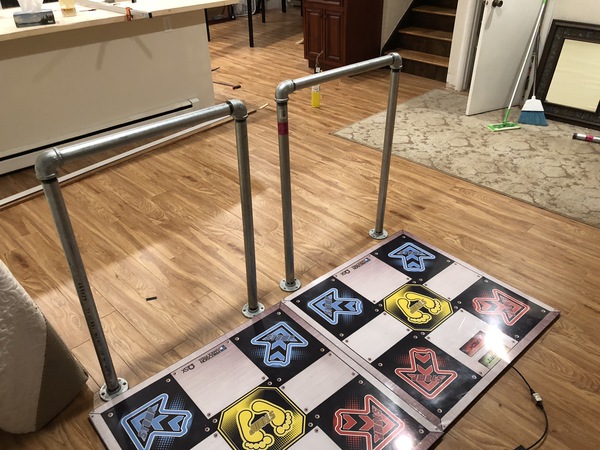
Here’s what the poles look like screwed together, but not secured to anything.
Another angle of the poles.
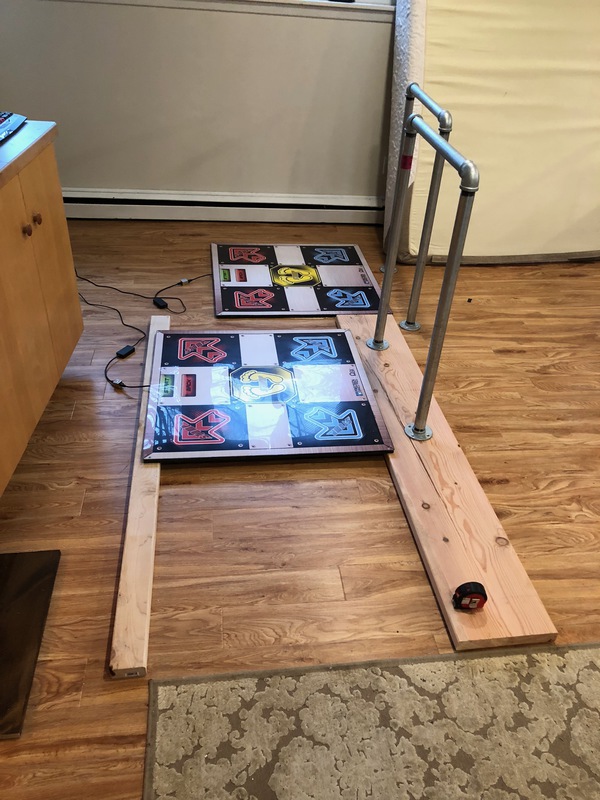
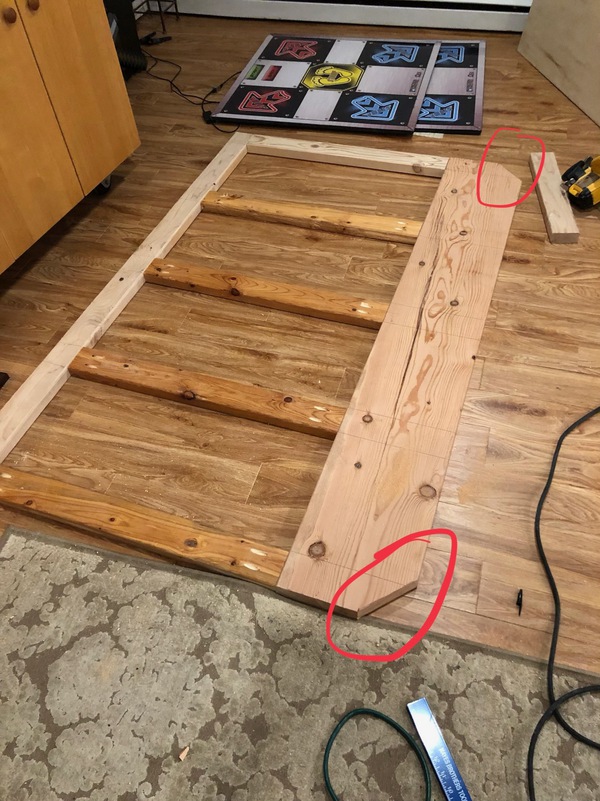
To get started making the platform, I used a 2x4 for the front and a 2x12 for the rear, both cut to 72”. I used the pads as a guide to figure out how far apart they should be spaced from each other.
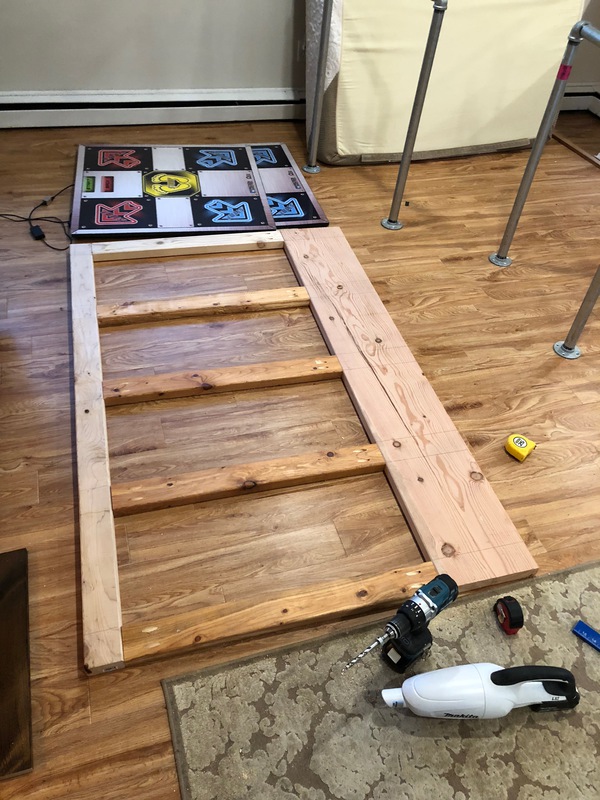
I cut 5x 2x4’s to 32” and used them to make the bottom part of the pads. The 2x4’s were secured with pockethole screws, and they were spaced roughly 14” apart from each other.
This part was very important - I chopped off the hard corners at a 45 degree angle to match what the official arcade pads look like.
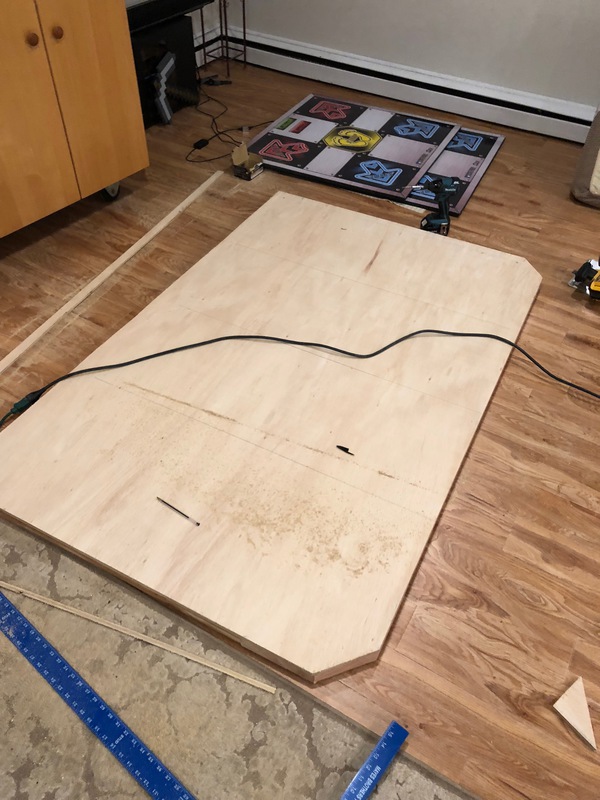
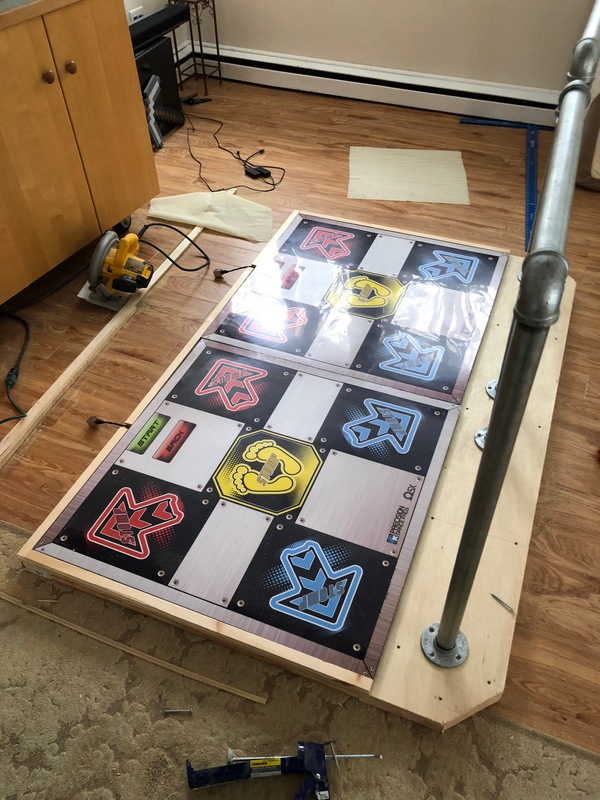
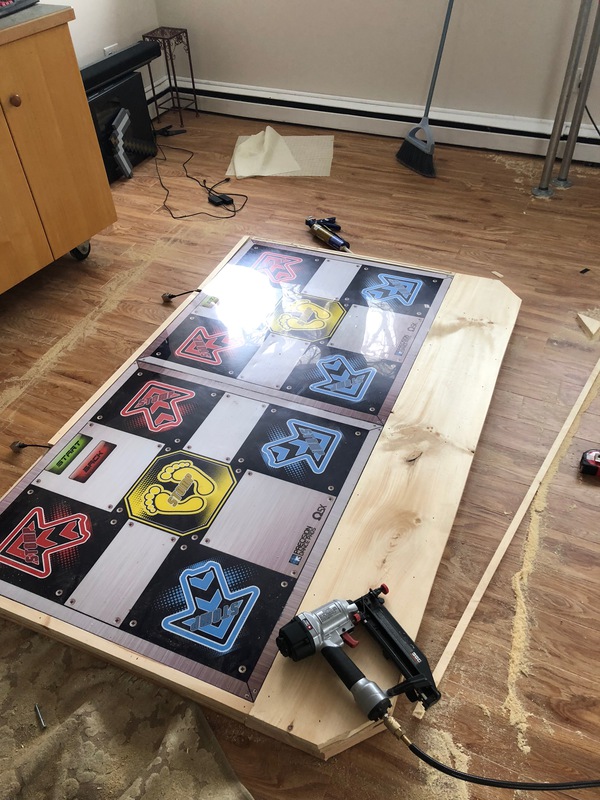
I used a 4’x8’ sheet of 1/2 plywood to put on top of the entire frame. I used 1-5/8” screws to secure the plywood to the frame, and used a circular saw to chop off the excess sides.
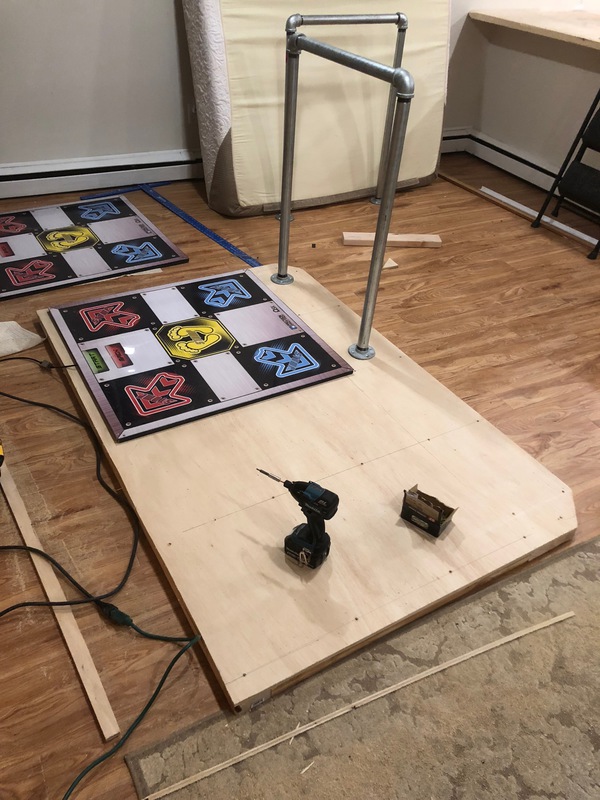
What I have so far with 1 pad for reference (not secured).
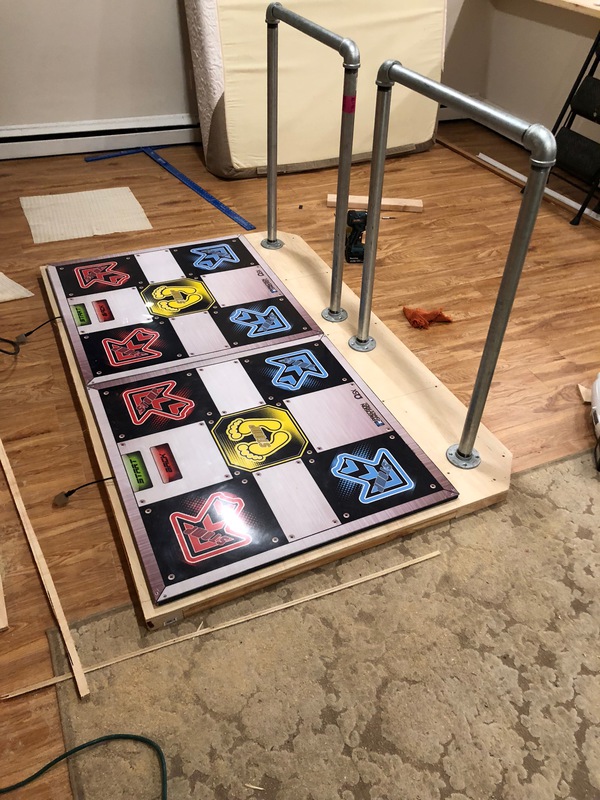
Just an idea of what the platform would look like with the pads and bars in place.
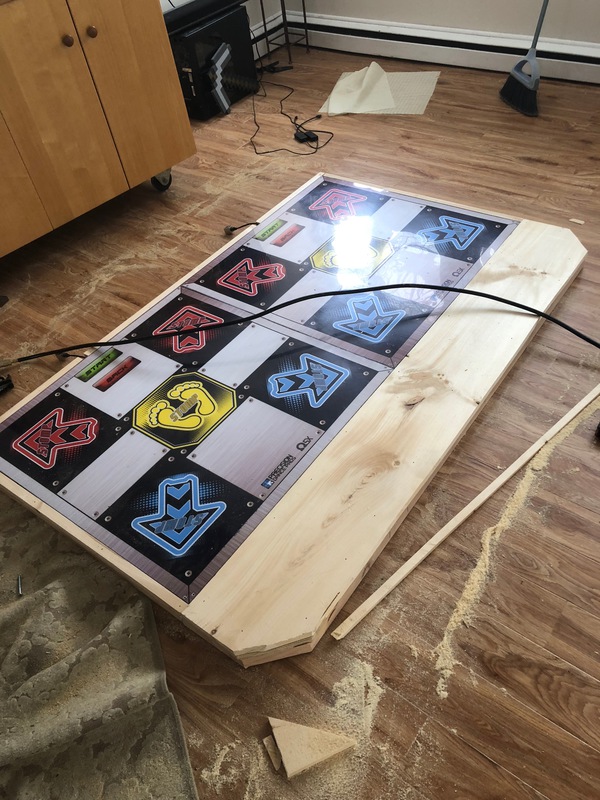
It’s hard to see, but I have some trim pieces cut on the sides and front of the platform that are meant to keep the pads nice and snug. The pads won’t be secured to anything, they’ll just be sitting on the platform.
I used liquid nails glue and 2” tack nails to hold them in place.
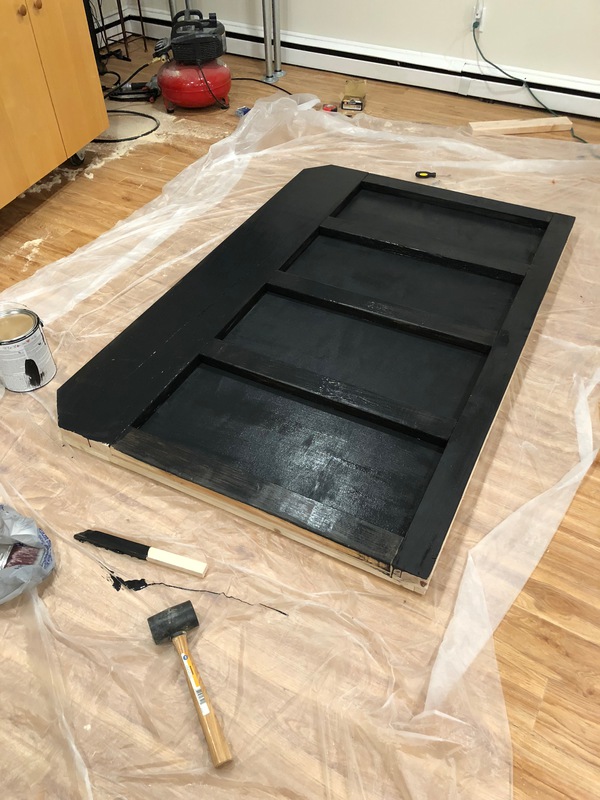
Finally, a 1x12” sheet was secured to the bottom part of the pad with glue and nails.
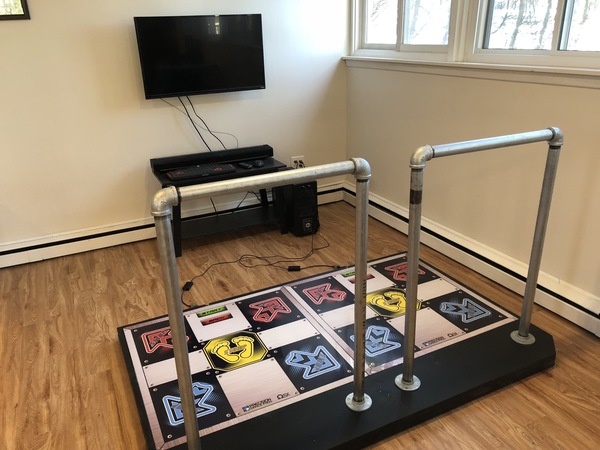
The built and almost finished product.
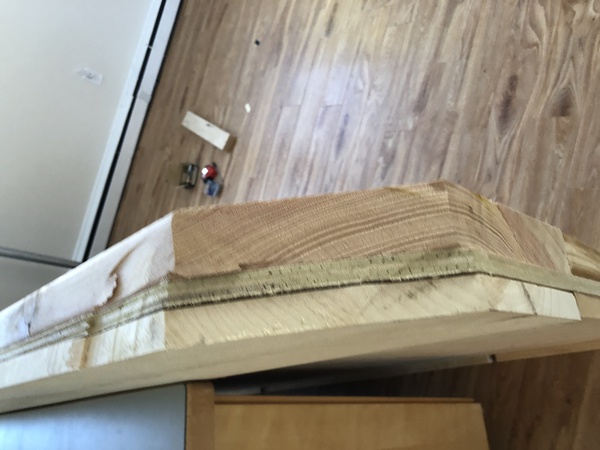
I was a little rough with the cutting, so a lot of sanding was needed to smooth this all out. The paint I was going to use would do a good job hiding these imperfections as well.
The bottom of pad painted - it kinda looks like the back of an upright piano!
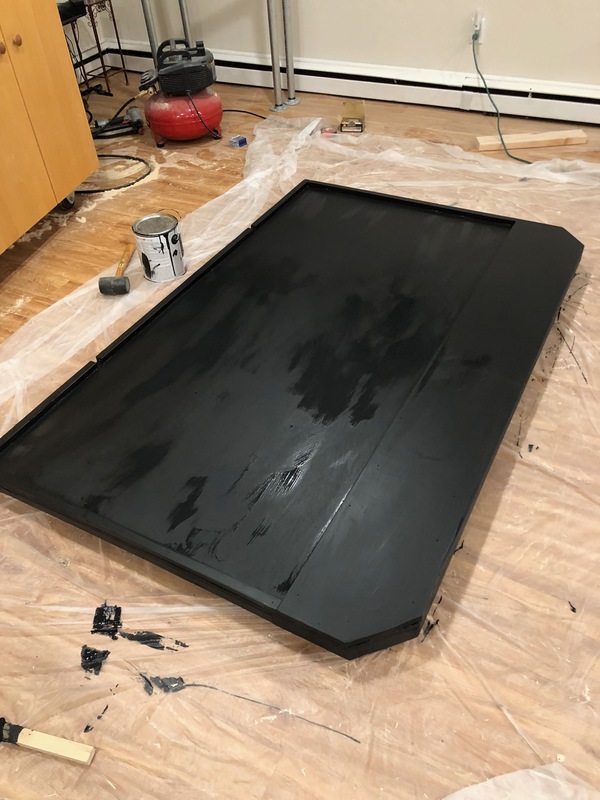
The top and sides of the pad painted.
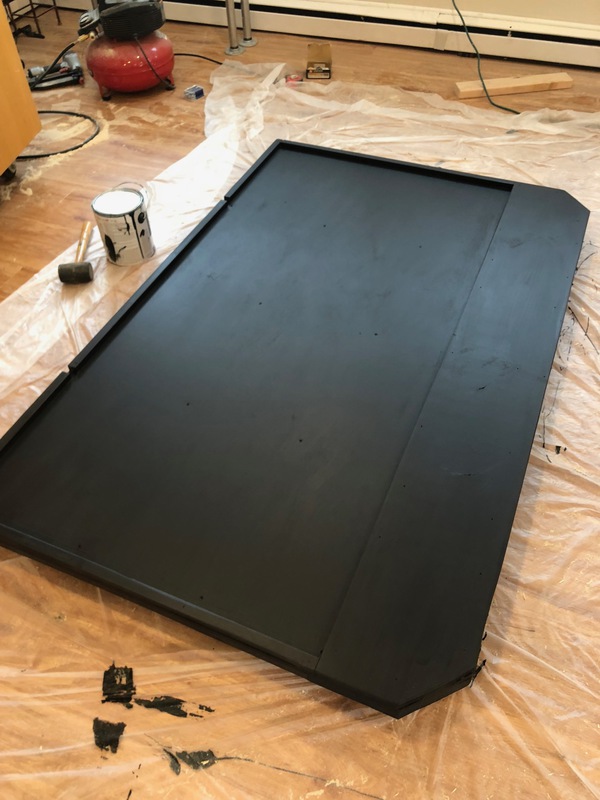
Top coat dried.
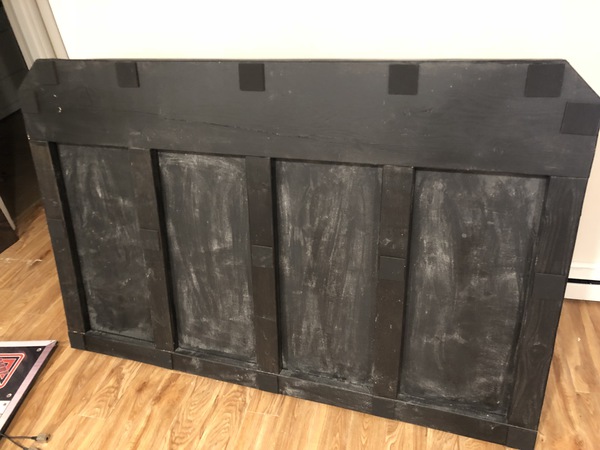
The bottom of the pad. It’s dusty because I was sanding my wooden countertops at the same time I was working on this. I used Rubber Pads to ensure the pads wouldn’t slide around or scratch up my floors.
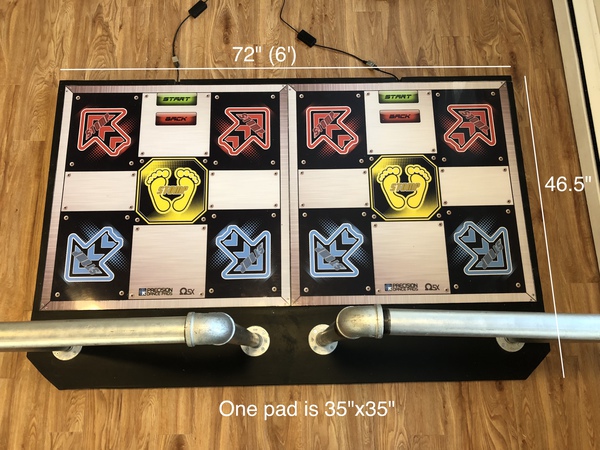
Top view of the pads with measurements. The floor flanges, and subsequently the bars themselves, are secured with 4x thick 2.5” screws.
Back view of the pads with measurements.
It works! The first chart I played ever on this pad setup was BBoom BBoom made by Kate.
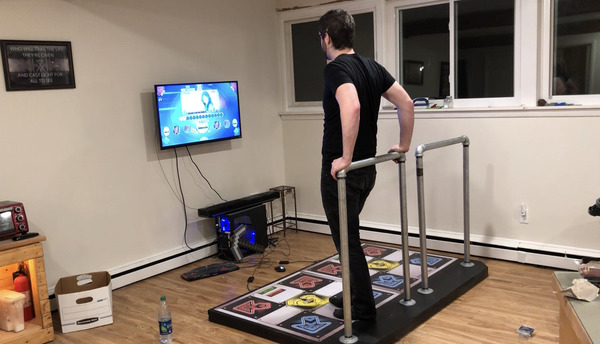
Me selecting a song - the bars are incredibly sturdy.
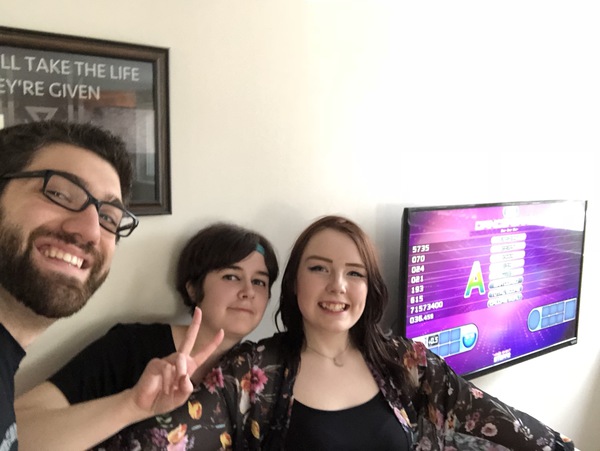
Jess, Kate, and me after finishing the first ever co-op, Bar Bar Bar, on the machine - we got an A!
Last but not least, since it’s just a computer, it can also be used to watch TV :p.
