Using Void Linux As My Daily Driver
Posted by Dave Eddy on Sep 15 2018 - tags: techI’ve been using Void Linux on my laptop for the last couple of weeks and I have been absolutely loving it. The whole system feels lean, minimal, fast, and has amazing battery life. I’ve found a majority of the software that I’ve used previously on Arch Linux is either available or compiles just fine on Void. I’ve run into a couple of issues because I’m using the musl build of Void, but I’ve managed to deal with them without too much trouble.
 </img>
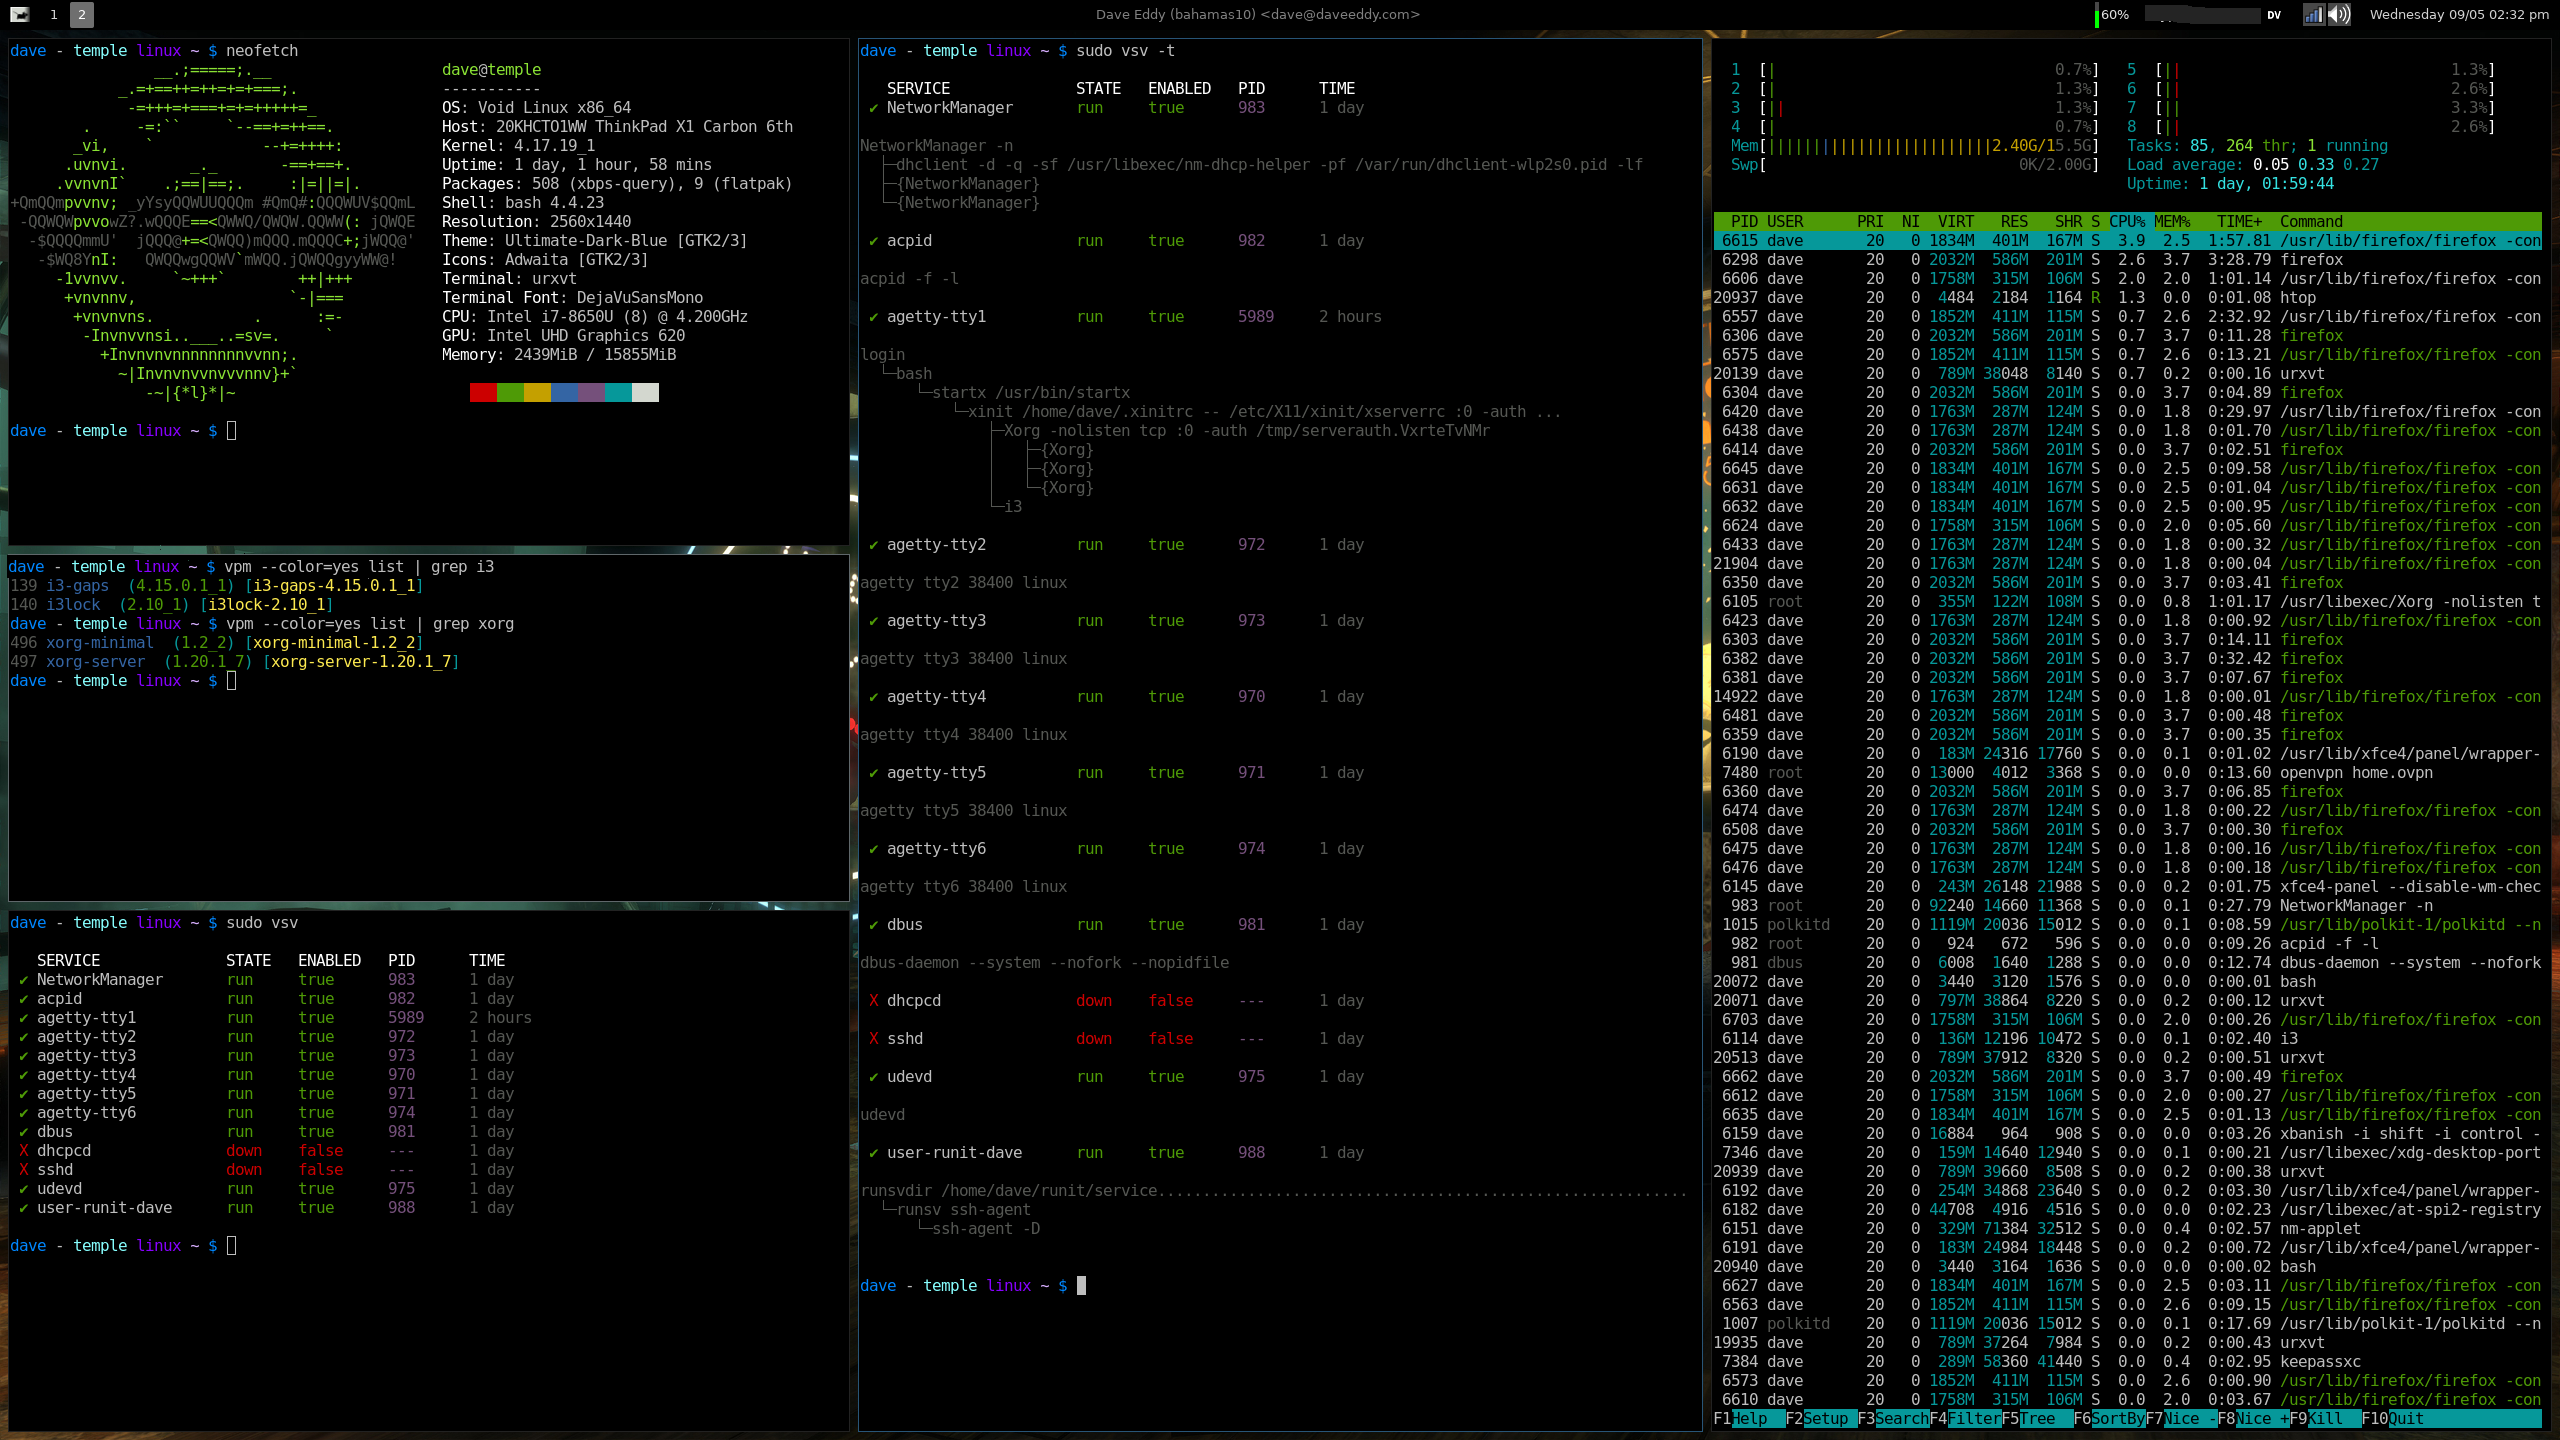
- Window Manager: i3-gaps
- Top Panel: xfce4-panel
- Terminal: urxvt
- Browser: firefox
vpm - Void Package Manager
On the basic usage page for XBPS, there are a number of example commands for installing a package, searching for a package, removing a package, etc.
xbps-install -S <pkg>- install a packagexbps-query -Rs <pkg>- search for a packagexbps-remove <pkg>- remove a packagexbps-install -Su- update packages
The first thing I wanted to do for simplicity’s sake was create aliases for
these commands. I come from SmartOS, which has the pkgin
command for packages: pkgin search <pkg>, pkgin install <pkg>, pkgin rm <pkg>,
etc. I wanted something simple like this for Void as well. At the
bottom of that wiki page, I found a link for vpm and decided to check it
out.
vpm wraps various xbps-* commands and creates a very simple interface for
using the package manager:
vpm install <pkg>- install a packagevpm search <pkg>- search for a packagevpm remove <pkg>- remove a packagevpm update- update packages
I found this usage way more approachable and easier to remember.
I also really liked that vpm doesn’t hide from the fact that it is a wrapper
for the xbps-* commands. It prints the commands it runs under the hood, as
well as the exit status from any commands executed.
For example:
$ vpm search xbanish
[vpm] Searching for: xbanish (xbps-query -v -Rs xbanish):
[*] xbanish-1.6_1 Banish the mouse cursor when typing, show it again when the mouse moves
[vpm] [xbps-query -v -Rs xbanish], return code was: 0
It shows it ran xbps-query -v -Rs xbanish and also that it exited 0.
My Fork
I’ve made a couple of changes to vpm in a pull request, but
haven’t heard anything back on it. I’m currently maintaining my own
fork of vpm that fixes a couple of bugs, greatly speeds vpm up
(caches color output), and correctly exits with the proper code based on the
xbps-* command being wrapped.
https://github.com/bahamas10/vpm
Networking
In my blog post about installing Void Linux, I initially setup
wpa_supplicant and dhcpcd to connect to my WiFi network. I wanted something
more versatile that I could more easily control from my window manager as a
normal, unprivileged user. I opted to install NetworkManager
as I had used it previously on Arch Linux without any issue.
I followed this guide on the Void wiki to get NetworkManager setup.
It was an extremely straight-forward process:
vpm install NetworkManager network-manager-applet
sv down dhcpd wpa_supplicant
rm /var/service/dhcpd /var/service/wpa_supplicant
ln -s /etc/sv/NetworkManager /var/service
ln -s /etc/sv/dbus /var/service
nm-applet &
I also added nm-applet to my i3 config to start automatically when X starts.
To configure NetworkManager, I use the nm-applet on the xfce4-panel that I
keep open as seen in the screenshot at the top of this post.
Power Saving
I started looking more seriously into power saving settings for Linux on the
laptop after reading this comment on my Reddit post about
installing Void Linux to an encrypted disk. After checking out powertop and a
couple resources online, I ended up with a small collection of commands that I
ran to better save power on my laptop. I then collected these commands
into a script and created a runit service to start at boot to enable these
power saving features.
I created a PowerSave service to run at boot with:
mkdir -p /etc/sv/PowerSave
/etc/sv/PowerSave/run
#!/usr/bin/env bash
#
# Do things to make battery life bettery
#
# Author: Dave Eddy <[email protected]>
# Date: September 12, 2018
# License: MIT

set -e

# Disable NMI watchdog
echo 0 > /proc/sys/kernel/nmi_watchdog

# Disable WoL and the link for my ethernet device
ethernet_dev='enp0s31f6'
ethtool -s "$ethernet_dev" wol d
ip link set "$ethernet_dev" down

# VM writeback timeout
echo 1500 > /proc/sys/vm/dirty_writeback_centisecs

# Set Devices to auto power
echo auto | tee /sys/bus/{pci,spi,i2c}/devices/*/power/control &>/dev/null || true

# Do Nothing
exec chpst -b PowerSave pause
I also created this file even though I don’t really ever plan on disabling these power saving settings:
/etc/sv/PowerSave/finish
#!/usr/bin/env bash
#
# Do things to make battery life... worse
#
# Author: Dave Eddy <[email protected]>
# Date: September 12, 2018
# License: MIT

set -e

# Enable NMI watchdog
echo 1 > /proc/sys/kernel/nmi_watchdog

# Enable WoL and the link for my ethernet device
ethernet_dev='enp0s31f6'
ethtool -s "$ethernet_dev" wol g
ip link set "$ethernet_dev" up

# VM writeback timeout
echo 500 > /proc/sys/vm/dirty_writeback_centisecs

# Set devices to always on
echo on | tee /sys/bus/{pci,spi,i2c}/devices/*/power/control &>/dev/null || true
Finally I enabled this service with:
ln -s /etc/sv/PowerSave /var/service
I verified it was installed by running powertop and ensuring that all tunables
were set to Good.
i3 Config
I keep all of my dotfiles on GitHub, along with a couple of scripts that I use to make life easier on my machine. Below is the relevant part of my config:
# Disable system bell
exec --no-startup-id xset b off

# Setup system to lock when suspended/screensaver
exec --no-startup-id exec xss-lock -- ~/bin/i3lock-retry -enfi ~/Pictures/lock.png

# Set screensaver to 10 minutes (xss-lock will start lock)
exec --no-startup-id xset s 600

# Set suspend to 10 minutes (xss-lock will start lock if not already locked)
# Requires passwordless `zzz` in sudoers - I've disabled this for now
#exec --no-startup-id xautolock -time 10 -locker 'sudo zzz' -detectsleep

# Enable tap-to-click on the touchpad
exec --no-startup-id xinput set-prop 'SynPS/2 Synaptics TouchPad' 'libinput Tapping Enabled' 1

# Disable middle-mouse button on the touchpad itself
exec --no-startup-id xinput set-prop 'SynPS/2 Synaptics TouchPad' 'libinput Middle Emulation Enabled' 1

# Set the DPI
exec --no-startup-id xrandr --output eDP1 --dpi 96

# Reduce tearing and fix notification area on xfce4-panel
exec --no-startup-id compton -CG --backend glx --vsync opengl-swc -b -D 0 --no-fading-openclose

# Keyboard Repeat Rate
exec --no-startup-id xset r rate 250 44

# Backgruond Image
exec --no-startup-id feh --bg-fill ~/Pictures/bg.png

# Load Xresources
exec --no-startup-id xrdb -merge ~/.Xresources

# Load xfce4-panel
exec --no-startup-id exec xfce4-panel --disable-wm-check

# Load volumeicon
exec --no-startup-id exec volumeicon

# Load network manager applet
exec --no-startup-id exec nm-applet

# Set initial keyboard layout
exec --no-startup-id setxkbmap dvorak,us

# Disable Bluetooth (done in my BIOS)
#exec --no-startup-id bluetooth off

# Disable CapsLock (this sometimes works sometimes doesn't)
exec --no-startup-id setxkbmap -option caps:none

# Hide mouse when typing
exec --no-startup-id exec xbanish -i shift -i control -i mod1 -i mod4

# Float some windows by default
for_window [class="Xfce4-panel" instance="xfce4-panel"] floating enable
for_window [class="Lxappearance" instance="lxappearance"] floating enable
for_window [class="Nm-connection-editor" instance="nm-connection-editor"] floating enable

# Backlight keys
bindsym XF86MonBrightnessUp exec --no-startup-id xbacklight -inc 5
bindsym XF86MonBrightnessDown exec --no-startup-id xbacklight -dec 5

# Volume keys (handled by volumeicon, left in here for reference)
#bindsym XF86AudioRaiseVolume exec --no-startup-id pactl set-sink-volume 0 +5%
#bindsym XF86AudioLowerVolume exec --no-startup-id pactl set-sink-volume 0 -5%
#bindsym XF86AudioMute exec --no-startup-id pactl set-sink-mute 0 toggle

# Screenshots
bindsym Print exec scrot '%Y-%m-%d_%H:%M:%S_$wx$h_scrot.png' -e 'mv $f ~/Pictures/screenshots'
bindsym --release $sup+Print exec scrot -s '%Y-%m-%d_%H:%M:%S_$wx$h_scrot.png' -e 'mv $f ~/Pictures/screenshots'
The entire i3 config is stored on GitHub.
xss-lock is a program to run an arbitrary command as the screensaver. Setting
this to i3lock makes it so when the screensaver gets activated, the computer
will lock. Then xset s 600 makes the computer lock after 10 minutes (600
seconds).
I’ve personally had issues with i3lock either crashing on me or failing
to lock, so I have a small script called i3lock-retry that calls i3lock in a
loop until it exits successfully (which happens when the correct password is
entered).
~/bin/i3lock-retry
#!/usr/bin/env bash
#
# Call i3lock repeatedly until it exits cleanly.  For some reason I've had
# i3lock crash on me and leave my screen unlocked - this is my crappy attempt
# to fix it.
#
# Author: Dave Eddy <[email protected]>
# Date: July 15, 2018
# License: MIT

while ! i3lock -n "$@"; do
	sleep .1
done
It has the same usage as i3lock but automatically assumes -n so it does not
fork.
Bin Tools
In my dotfiles repo, I keep a bin directory with useful tools for Linux on my
laptop:
https://github.com/bahamas10/dotfiles/tree/master/bin
_panel-ssid-and-vpn- print the current wifi SSID and vpn (used xfce4-panel with genmon)current-ssid- print the current wifi SSIDi3lock-retry- (seen above) retryi3lockif it failskeyboard- toggle keyboard layout or turn on the backlight (requiresupoweranddbus)lock- lock the screen (activates the screensaver)monitor- set monitor brightness, enable redshift, or enable hdmi outputstart-ssh-agent- startssh-agentif it is not already running - thanks to runit I have since retired this script!wiggle- wiggle the mouse to stop the screen from locking
Runit User Services
The way I was able to retire the start-ssh-agent script was with runit
managing user specific services. On the runit FAQ,
there is a question specifically for this:
Does runit support user-specific services?
Answer: Yes. E.g.: to provide the user floyd with facility to manage services through ~/service/, create a service runsvdir-floyd with the following run script and a usual log/run script, and tell runit about the service
#!/bin/sh
exec 2>&1
exec chpst -ufloyd runsvdir /home/floyd/service
Now floyd can create services on his own, and manage them through symbolic links in ~/service/ to have them run under his user id.
I modified this very slightly for my environment. I created a runit-user-dave
service for my user with:
mkdir /etc/sv/runit-user-dave
/etc/sv/runit-user-dave
#!/bin/sh
exec 2>&1
exec chpst -u dave:dave runsvdir ~dave/runit/service \
	...............................................................................................................................................................................................................................................................................
Before enabling the service, I created the necessary directories in my home directory for this service to work as expected:
mkdir ~/runit
mkdir ~/runit/sv
mkdir ~/runit/service
Following with the conventions of Void Linux, I have ~/runit/sv to put service
definition directories, and ~/runit/service to place symlinks to
enable/disable the services. I then started this service with:
ln -s /etc/sv/runit-user-dave /var/service
I have an ssh-agent service that runs as my username. This way, ssh-agent
is started at boot for my user and isn’t tied to a specific console or X
session.
I created the service with:
mkdir ~/runit/sv/ssh-agent
~/runit/sv/ssh-agent/run
#!/usr/bin/env bash
#
# Start ssh-agent from runit
#
# Author: Dave Eddy <[email protected]>
# Date: August 29, 2018
# License: MIT

file=~/.ssh/ssh-agent-env

exec > "$file"

echo "# started $(date)"

# For some reason, this line doesn't get emitted by ssh-agent when it is run
# with -d or -D.  Since we are starting the program with exec we already know
# the pid ahead of time though so we can create this line manually
echo "SSH_AGENT_PID=$$; export SSH_AGENT_PID"

exec ssh-agent -D
Then enabled it with:
ln -s ~/runit/sv/ssh-agent ~/runit/service
I verified it was running with:
$ sv status ~/runit/service/ssh-agent
run: /home/dave/runit/service/ssh-agent: (pid 10844) 21s
The start script has the agent write its information to ~/.ssh/ssh-agent-env,
and my bashrc is set up to automatically source that file so new shells will
have the ssh-agent environment set properly. To initially test the daemon, I
sourced the file manually and tried to list keys:
$ cat ~/.ssh/ssh-agent-env
# started Sat Sep 15 20:40:34 UTC 2018
SSH_AGENT_PID=10844; export SSH_AGENT_PID
SSH_AUTH_SOCK=/tmp/ssh-jkwaP0z2EWKw/agent.10844; export SSH_AUTH_SOCK;
echo Agent pid 10844;
$ . ~/.ssh/ssh-agent-env > /dev/null
$ ssh-add -l
The agent has no identities.
I only have ssh-agent for now, but I could envision wanting more services in
the future that are specific to my user.
Flatpak
My buddy Mike introduced me to Flatpak when I was complaining that I couldn’t get any Electron apps to compile on Void with musl. I did a ton of debugging and tried to get Electron compiled, but it really didn’t work out. For the most part, I have given up on this project for now.
The main reason I had wanted Electron was for KeeWeb and Signal. I have since moved on from KeeWeb and keepass altogether and now use rubywarden as my password manager, and by using Flatpak, I was able to install the signal desktop application on my machine!
First, I installed flatpak with:
vpm i flatpak
Then, I added the flathub repo:
flatpak remote-add --if-not-exists flathub https://flathub.org/repo/flathub.flatpakrepo
Finally, I installed signal with:
flatpak install --user flathub org.signal.Signal
The --user flag ensured that it was installed to my home directory without any
need for escalated privileges. Signal magically showed up in my rofi launcher
and I was able to start it without issue!