DIY Overwatch Themed Desk and Gaming Rig
Posted by Dave Eddy on Jul 18 2016 - tags: diyI have been absolutely hooked on Overwatch for the past couple of weeks - I haven’t had this much fun playing a PC game since StarCraft Brood War or Minecraft. I’ve been mostly playing on my iMac running Windows through bootcamp. While it worked, it could really only handle medium graphics setting at around 40 FPS. For a long time I’ve toyed with the idea of building a “rig” - a new PC specifically for gaming. Now that I finally have the game I want to play, that was all the justification I needed.
I built a new PC, and at the same time also made a new Overwatch themed desk for the PC to go in my room.
The Desk
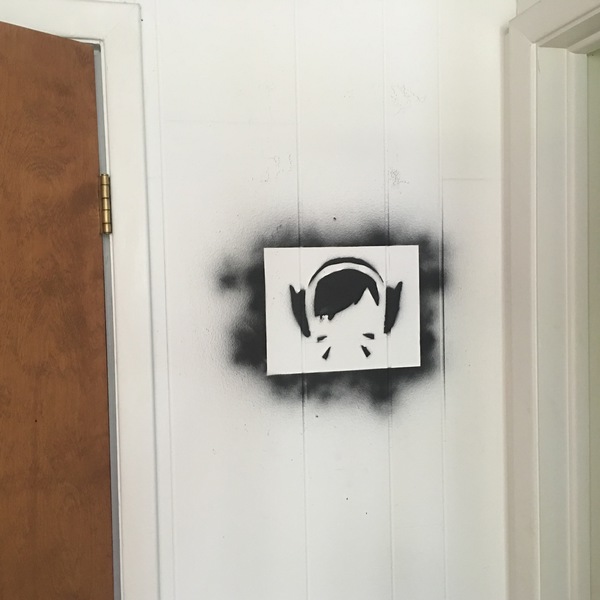
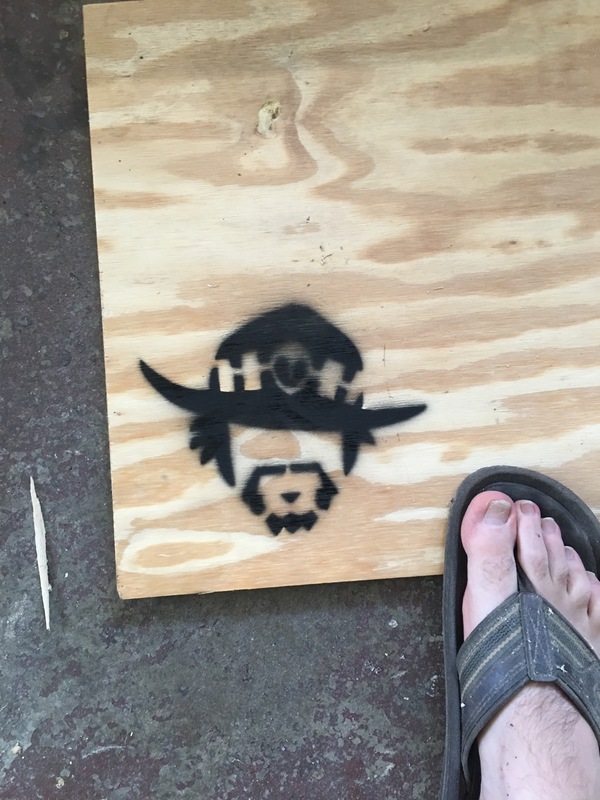
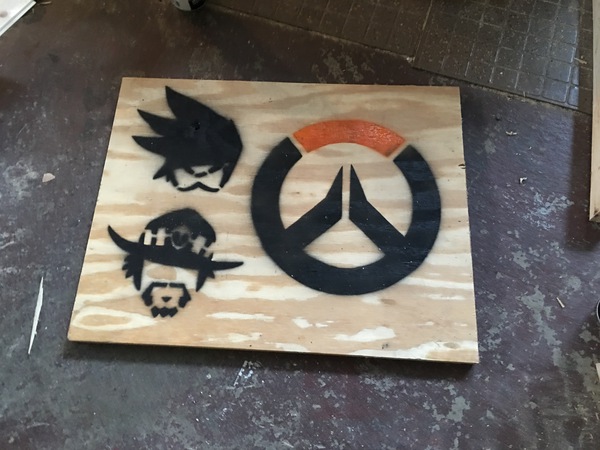
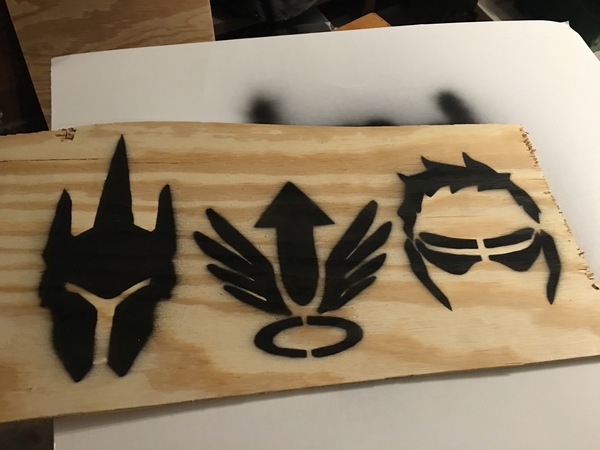
This project started originally when I cut out a couple stencils from the game based on the different characters sprays. D.Va is my favorite character to play in the game, so I originally stenciled out just her face player icon spray and put it on my wall. After that, I cut out a bunch more and put them on scrap pieces of plywood I had lying around in the garage.
After seeing how these looked, I thought it would be cool to cut out a big piece of plywood and stencil a bunch of different sprays - and then it hit me to just use the sheet of plywood as a desktop for an Overwatch themed desk.
So I began.
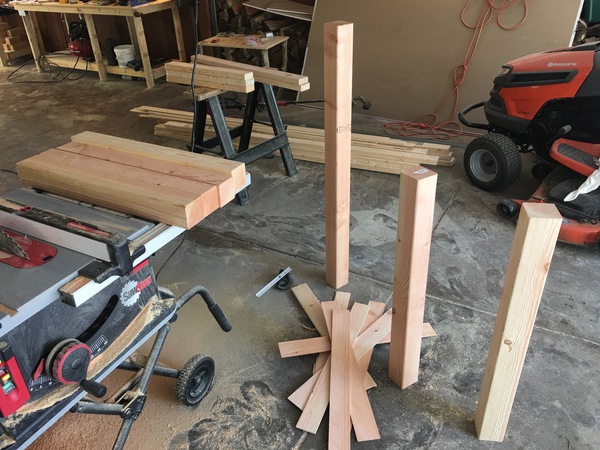
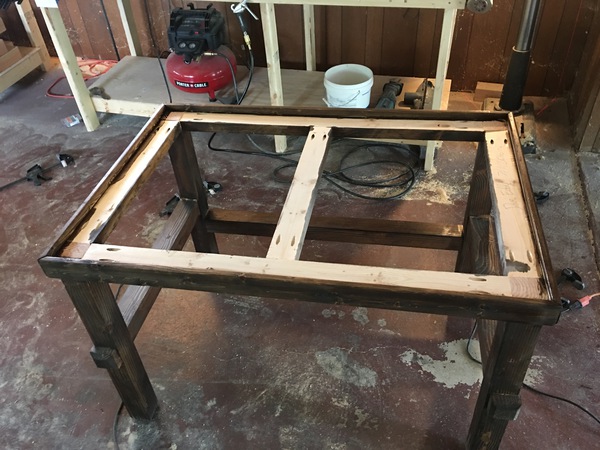
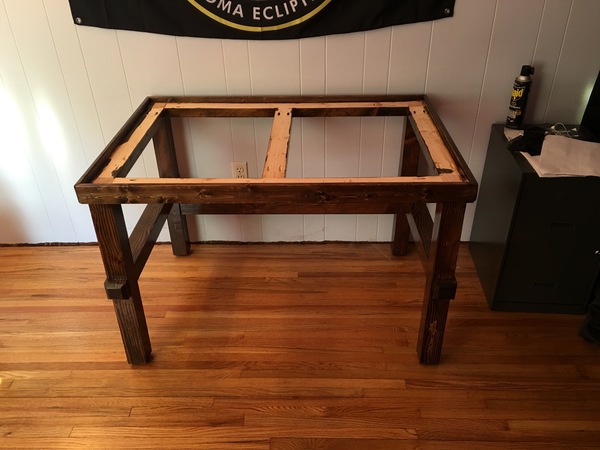
I didn’t have any formal plans or anything, I just knew I wanted it to be as tall and deep as my existing desk and not as wide. I decided on using 4x4’s for the legs and lower supports, and 2x4’s for the desktop support. I used my table saw to rip off the beveled edges to make them slightly smaller so 1. it would be lighter and 2. it wouldn’t look like the framing lumber it actually is.
All legs and supports cut to size having their edges ripped off, with the slats going on the floor.
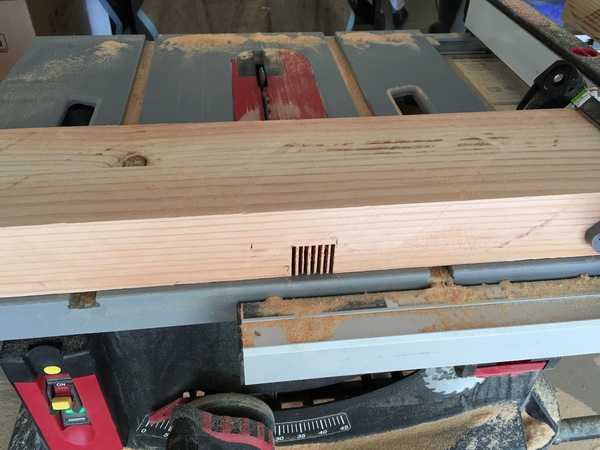
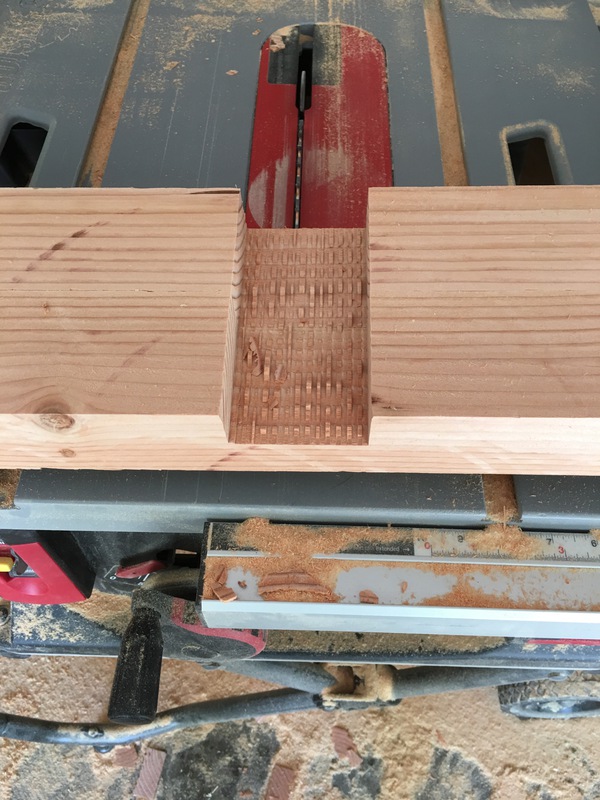
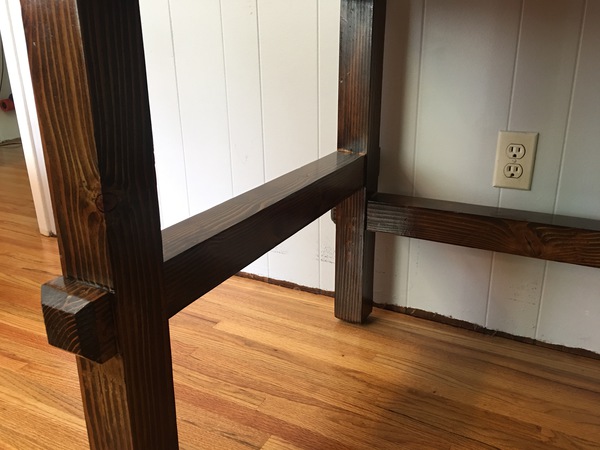
I decided to use a cross-halving joint to hold the lower supports on the legs - much like you would see on fences or mailbox posts. I cut the joints in the table saw and used my dremel to shave off the excess.
Snapped the pieces off by hand before dremeling.
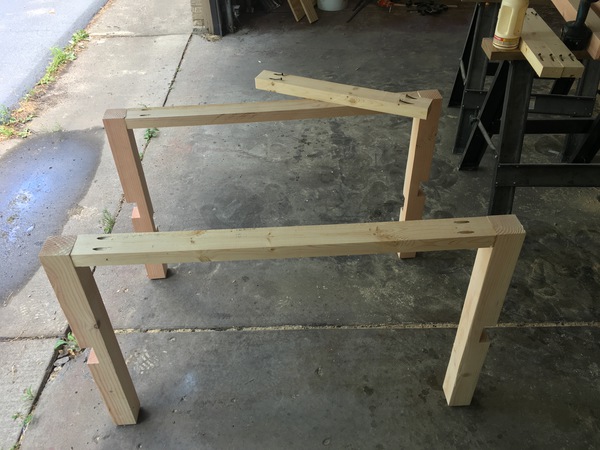
I attached 2x4’s lengthwise to hold the legs in place using pocket hole screws. The pocket holes are face up so they can be covered by the desktop itself.
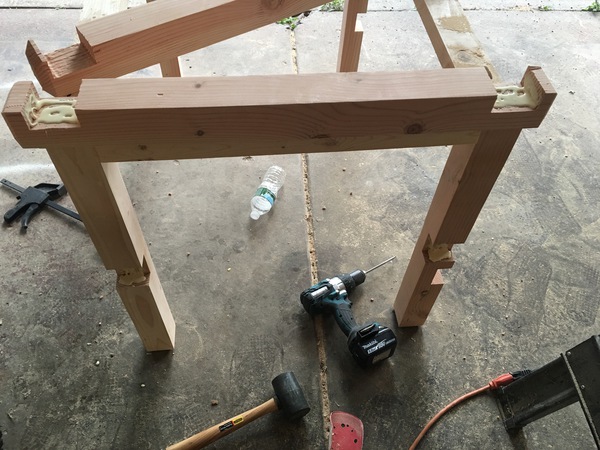
To attach the lower supports I just drowned them in wood glue and clamped them
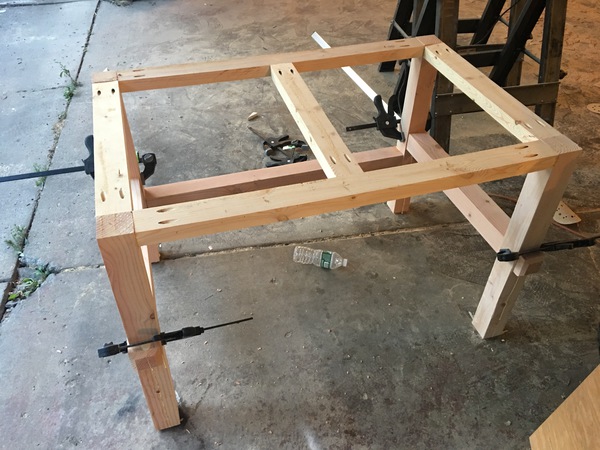
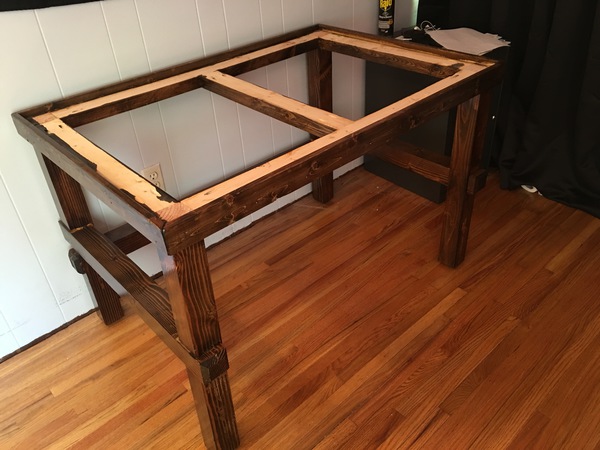
The rest of the 2x4 supports attached to eventually hold the top of the desk
Just like my original desk, I used 1x3 pieces cut at 45 degree angles to act as moulding that will cover the 2x4s and the edge of the plywood. I sanded the whole thing, removed as much excess glue as I could, and stained it all with Dark Walnut stain.
I sanded a 3/4” piece of plywood cut to size, and gave it a light coat of Ipswich pine stain to make it slightly darker and more orange
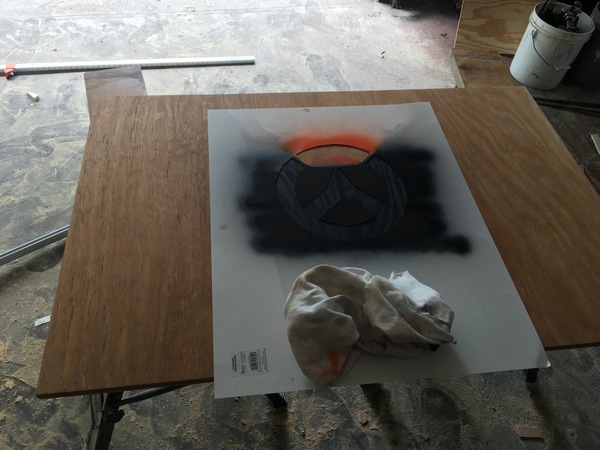
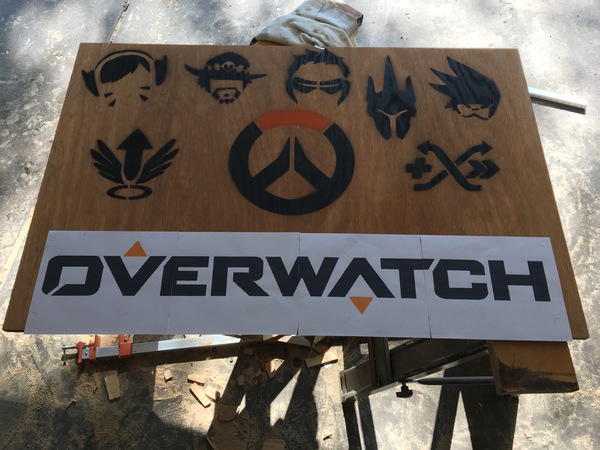
The first stencil I sprayed was the Overwatch logo itself.
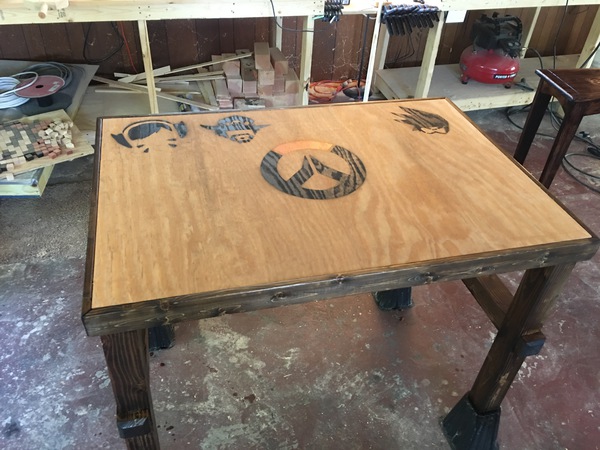
I added a couple more faces I had cut (and dry-fit the desktop to the frame)
More faces, and 2 ability icons - Mercy’s resurrection and Lucio’s healing/speed bost.
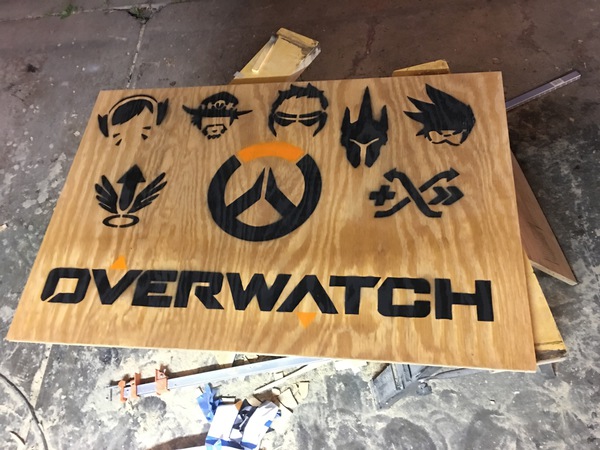
What the final spray will look like
I cut the stencil out of computer paper, laid it down, covered everything, and went to town.
Ta-da
Uh-oh… it turns out computer paper bleeds when sprayed. It had such potential but it’s back to the drawing board on this one.
You have to keep it fun or else it becomes like a chore - I had the end in my sights.
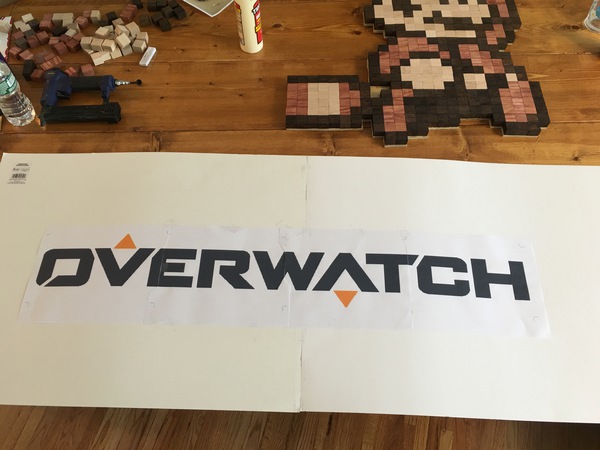
New stencil ready to be cut on 2 pieces of poster board instead of computer paper. On the same table you can see the Super Mario Cubes I made as well.
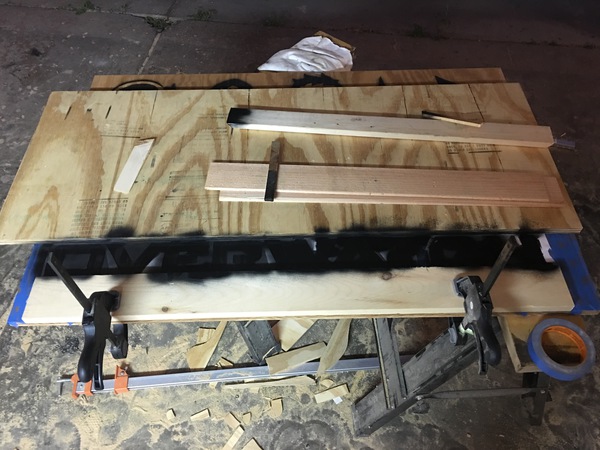
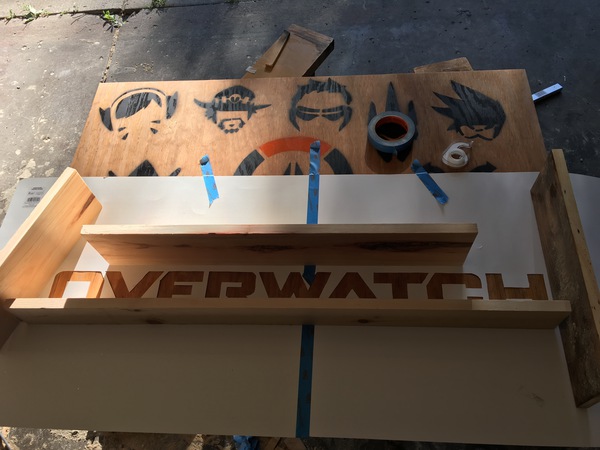
I sanded off the Overwatch text from the desktop and restained it. New stencil taped down, and scrap wood pieces used to catch any excess spray paint.
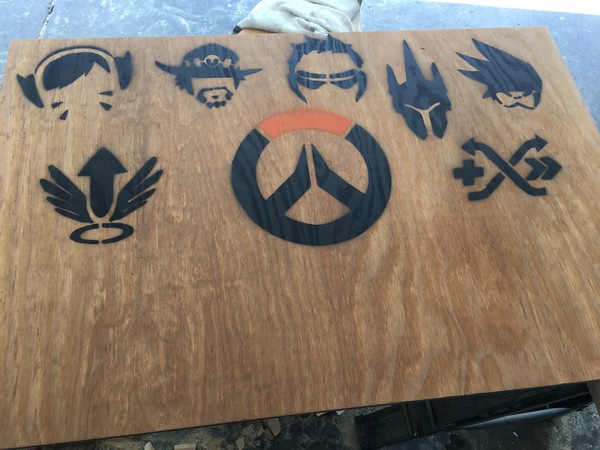
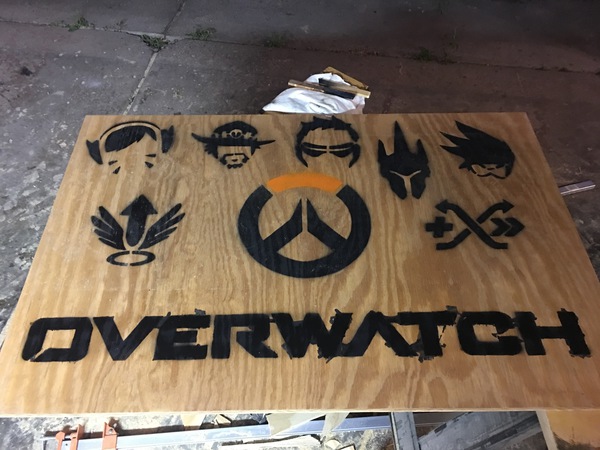
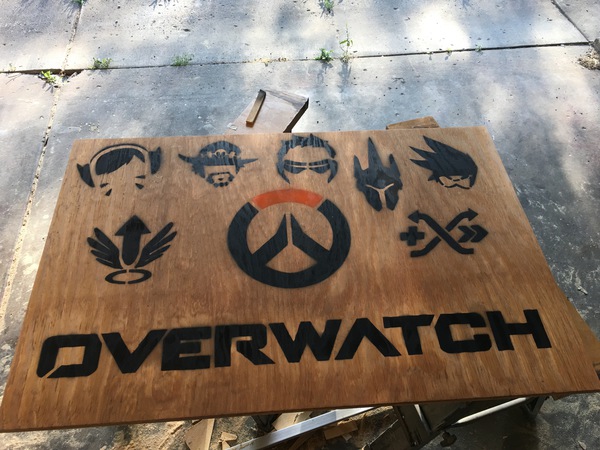
The poster board worked to make a cleaner stencil with no paint bleeding.
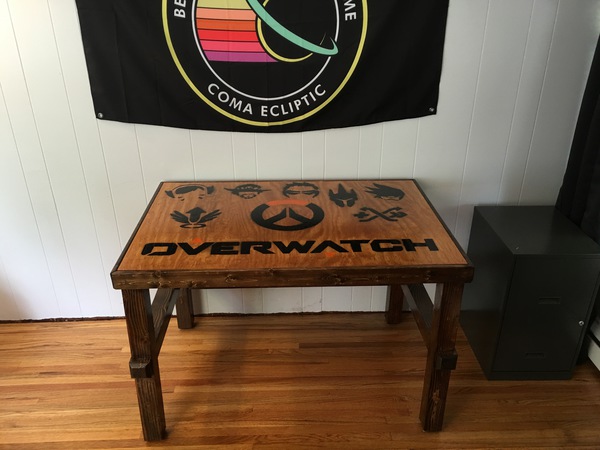
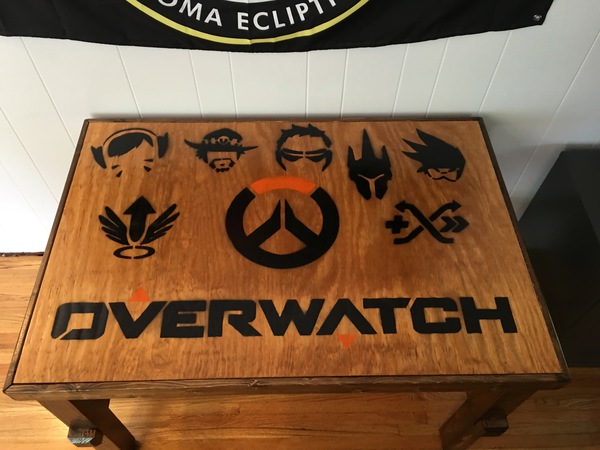
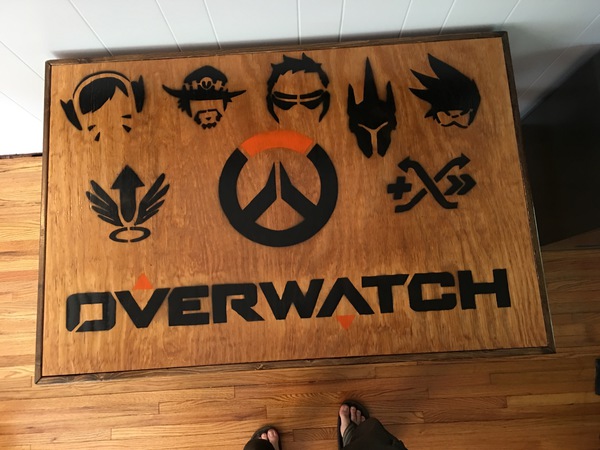
The finished dekstop
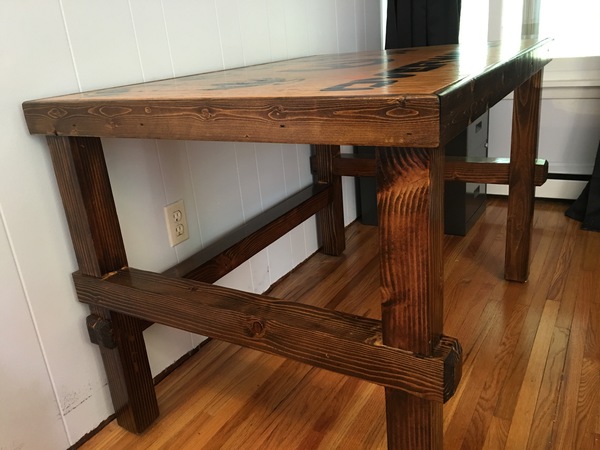
The finished frame in its final place
Same thing, different angle
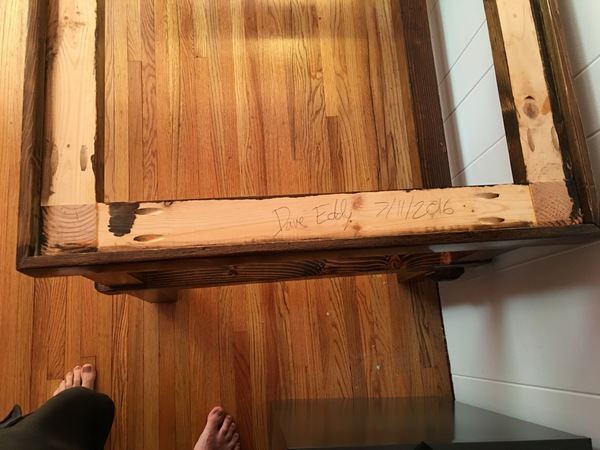
Signed my work… this will be covered by the desktop.
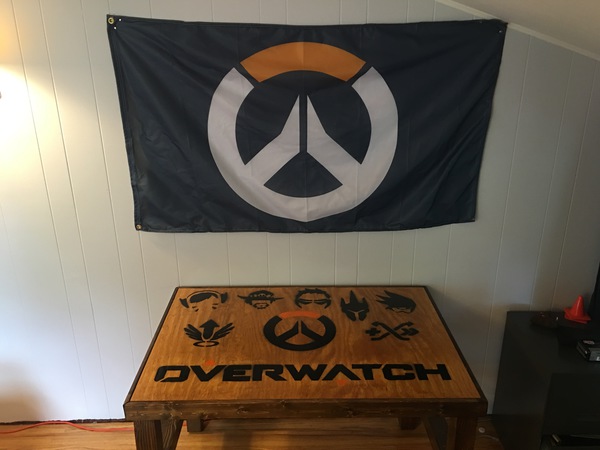
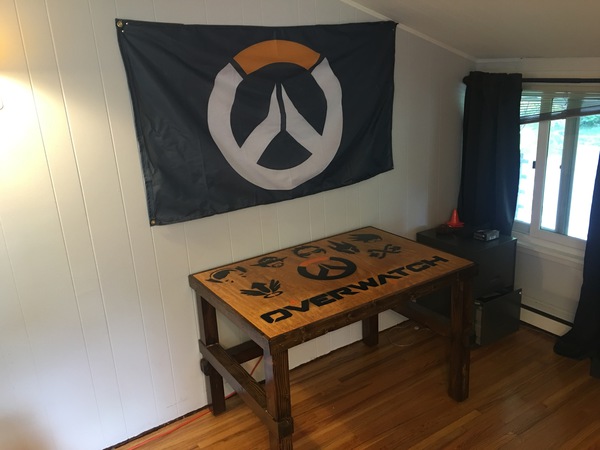
The finished desk! 3 coats of polyurethane on the frame and 7 on the desktop
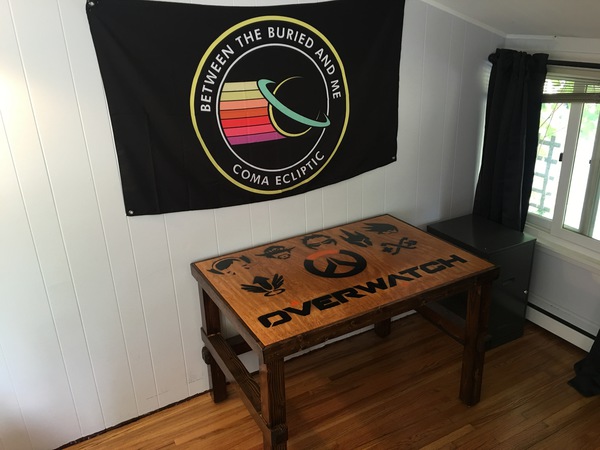
The desk in my bedroom
Close up view of the frame
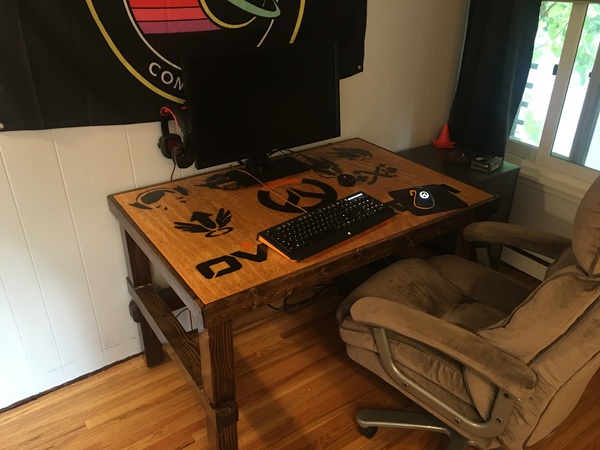
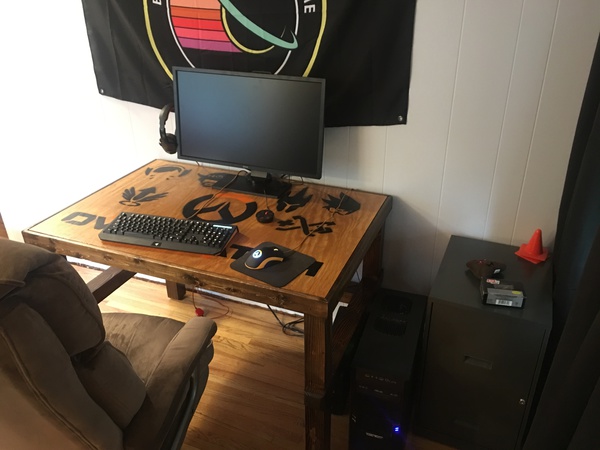
The desk with the rig on it
Another angle
Update - 8/5/2016
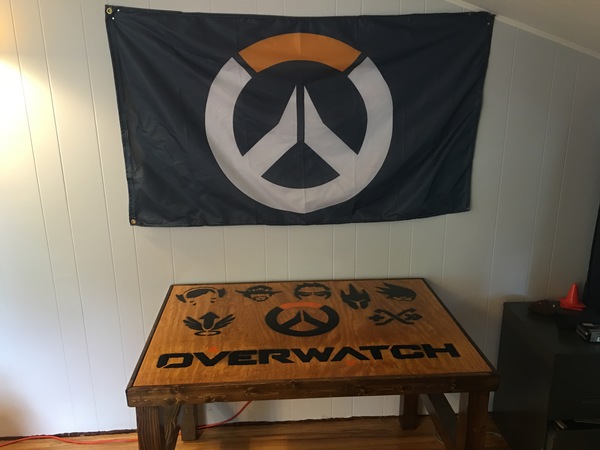
I got an Overwatch flag printed from https://www.buildasign.com/
Just need to find a new home for my Between the Buried and me flag now!
The flag file used
The Rig - “Meka”
Main parts
- Motherboard - Gigabyte GA-Z97X-UD3H-BK (Black Edition) Motherboard
- CPU i7 - Intel Core BX80646I74790K i7-4790K Processor
- CPU Cooler - Cooler Master Hyper 212 EVO
- 500GB SSD - Samsung 850 EVO - 500GB - 2.5-Inch SATA III Internal SSD
- 32GB RAM - Ballistix Tactical 32GB Kit (8GBx4) DDR3 1600 MT/s
- Video Card - NVIDIA GeForce GTX 1080 Founders Edition
Accessories / Peripherals
- 27” Monitor - BenQ XL2730Z 144Hz 1ms 27 inch Gaming Monitor
- Battery Backup - APC BR1000G Back-UPS Pro 1000VA 8-outlet Uninterruptible Power Supply (UPS)
- Overwatch Keyboard - Razer Overwatch BlackWidow Chroma Clicky Mechanical Gaming Keyboard
- Overwatch Mouse - Razer Overwatch DeathAdder Chroma Gaming Mouse
NOTE: I already had a computer case and 800W power supply laying around from an unused build that I used for this.
Stencils
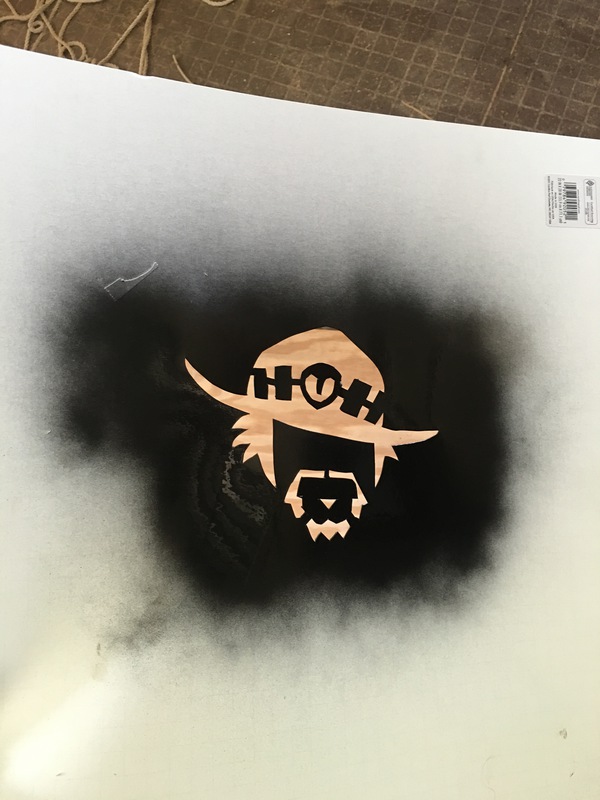
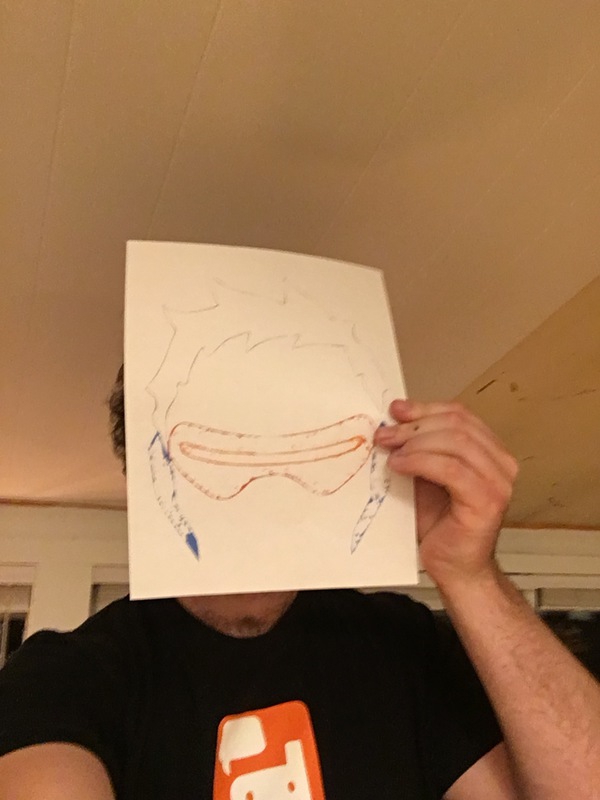
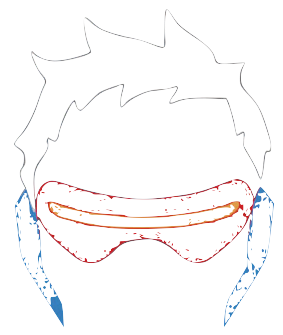
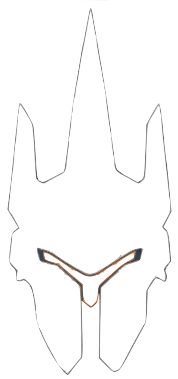
Stencils used for the desk
Career Profile
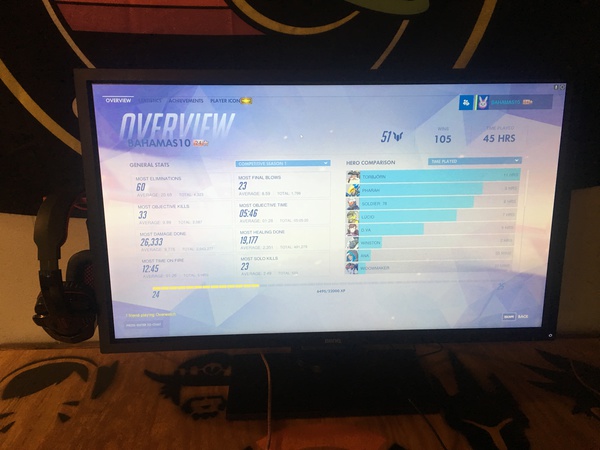
My current competitive career profile - I promise I’m not cancerous with Torb. He’s one of the best defensive characters if you are also good with the rivet gun… see some of my gameplay here https://www.youtube.com/watch?v=WDbiN81_rWI
